How to Fix VTC Actuator Rattle Honda Civic 2016-2021
The infamous cold-start rattle (often described as a “death rattle” or “chain saw” sound) on 10th-generation Honda Civic 1.5T (L15B7 engine) and some 2.0L K20C2 models is almost always caused by a failing Variable Timing Control (VTC) actuator. The noise lasts 1–3 seconds after startup and disappears once oil pressure builds, but if left untreated, it can lead to premature timing chain stretch, tensioner damage, and in rare cases, chain jump or engine failure.
This comprehensive guide covers every proven repair method, part numbers, torque specs, tools, and long-term solutions based on thousands of real-world fixes from CivicX forums, Honda TSBs, and independent testing.
Understanding the Root Cause of the VTC Actuator Rattle
The VTC actuator is a phaser bolted to the intake camshaft that advances or retards cam timing using oil pressure. Inside it sits a locking pin that should engage immediately on startup. In 2016–2021 Civics, Honda used an early revision (14310-RPY-G01) with weak return spring and poor locking pin design. When cold, oil drains from the actuator, the pin fails to lock instantly, and the phaser rattles violently against the stopper until pressure rises.
Affected engines:
1.5L Turbo (L15B7) – all 2016–2021 Civic Sedan, Coupe, Hatchback, Si, Type R (FK8 uses different part)
2.0L NA (K20C2) – some 2016–2021 Civic LX/EX with CVT
The rattle is most noticeable below 50°F (10°C) and worsens over time.
Symptoms You Should Never Ignore
Loud metallic rattling/grinding from the timing cover area for 1–3 seconds on cold start
Occasional rattle on hot restart after sitting 20–40 minutes
Check Engine Light with codes P0011, P0014 (camshaft over-advanced)
Timing chain noise that never fully disappears (indicates chain stretch has begun)
If you hear the rattle daily, plan the repair within 5,000–10,000 miles to avoid $3,000+ timing chain jobs.
Official Honda Technical Service Bulletins and Warranty Coverage
Honda released TSB 20-100 (December 2020) and later A21-002 acknowledging the issue. Powertrain warranty was quietly extended to 6 years/unlimited miles on certain VINs, but many owners were denied because the noise “is characteristic.” Always have the dealer document the rattle on video before attempting DIY.
Repair Options Ranked from Best to Worst
Option 1 – Updated 2022+ OEM VTC Actuator (Recommended Permanent Fix)
Honda redesigned the actuator in 2022 (new part number 14310-5PA-305). It features:
Stronger return spring
Revised locking pin and stopper plate
Better oil retention valve
Real-world data from 2022–2025 Civic/CR-V/Accord owners shows virtually zero repeat failures.
Compatible with all 2016–2021 1.5T and most 2.0L engines. Drop-in replacement – no software update needed.
Option 2 – Aftermarket 27won / RV6-P Reinforced Actuator
27won and RV6 Performance sell upgraded actuators with billet aluminum bodies, heavier springs, and tighter tolerances. Slightly louder normal operation but zero reported rattles after 50,000+ miles. Popular in the tuned community (Stage 2+).
Option 3 – Honda “Interim” Revision (14310-RPY-G02 / G03)
Better than the original G01 but still fails in cold climates after 40–60k miles. Avoid unless free under warranty.
Option 4 – Timing Chain + Tensioner Replacement Only
Some dealers push full $2,500–$4,000 timing chain kits claiming the actuator “can’t be replaced separately.” This is false – the actuator is an external bolt-on part.
Step-by-Step DIY Replacement Guide (1.5T Engine)
Tools needed:
10 mm, 12 mm, 14 mm, 17 mm sockets
19 mm crank pulley holder (Honda tool 07AAB-RJAA100 or Lisle 77080)
T60 Torx bit
1/4" and 3/8" ratchets
Torque wrench (10–100 ft-lb range)
New HondaBond or ThreeBond 1217H sealant
Funnel + 4.5 quarts Honda HTO-06 CVT fluid (if you spill)
Parts:
VTC actuator 14310-5PA-305 (~$320 dealer, ~$260 online)
Intake cam sprocket bolt 90013-R1R-A01 (stretch bolt – replace every time)
Valve cover gasket 12310-5PA-A00 (recommended)
Procedure (90–120 minutes for experienced DIYer):
Disconnect battery negative terminal.
Remove engine cover and plastic cowl pieces.
Rotate crank clockwise to TDC #1 (white mark on crank pulley aligns with pointer).
Remove valve cover (10 mm bolts + 2 nuts). Clean mating surface thoroughly.
Hold camshaft with 19 mm wrench on hex while loosening the 17 mm cam sprocket bolt (160 ft-lb – very tight).
Remove old actuator (it simply unbolts – 4× 12 mm bolts).
Transfer the stopper plate from old to new actuator if not included.
Install new actuator. Torque 12 mm bolts to 16 ft-lb (22 Nm) in crisscross pattern.
Apply thin bead of HondaBond to valve cover.
New cam bolt: hand-thread → 37 ft-lb (50 Nm) → additional 90° turn.
Reassemble, add spilled oil/CVT fluid, reconnect battery.
Start engine – zero rattle even at -10°F.
Common Mistakes That Destroy Engines
Reusing the old stretch cam bolt → bolt snaps → dropped valve
Not holding the camshaft while torquing → snapped cam or ruined actuator
Over-torquing the four 12 mm actuator bolts → cracked housing
Forgetting to top up CVT fluid after spill → CVT damage on 10-speed models
Pro Tips for Cold Climates
Switch to 0W-20 full synthetic (Honda Genuine or Mobil 1) – flows faster on cold start
Install Hondata FlashPro and use “VTC lock at 15°” startup map (tuned cars)
Add an oil catch can – reduces oil dilution that worsens rattle
How to Verify the Repair Was Successful
Start the car at least five cold mornings in a row. If you hear even a faint tick, the actuator is still defective or was installed incorrectly.
The updated 14310-5PA-305 actuator is considered the final fix by 99 % of owners who performed the swap. Total cost DIY: ~$350 and 2 hours. Dealer cost: $800–$1,400.
Doing nothing risks timing chain stretch, broken tensioner, and eventual engine replacement at 80–120k miles.
More from Honda
VTEC Not Working? 5 Reasons and How to Fix It Yourself
02.12.2025 13:01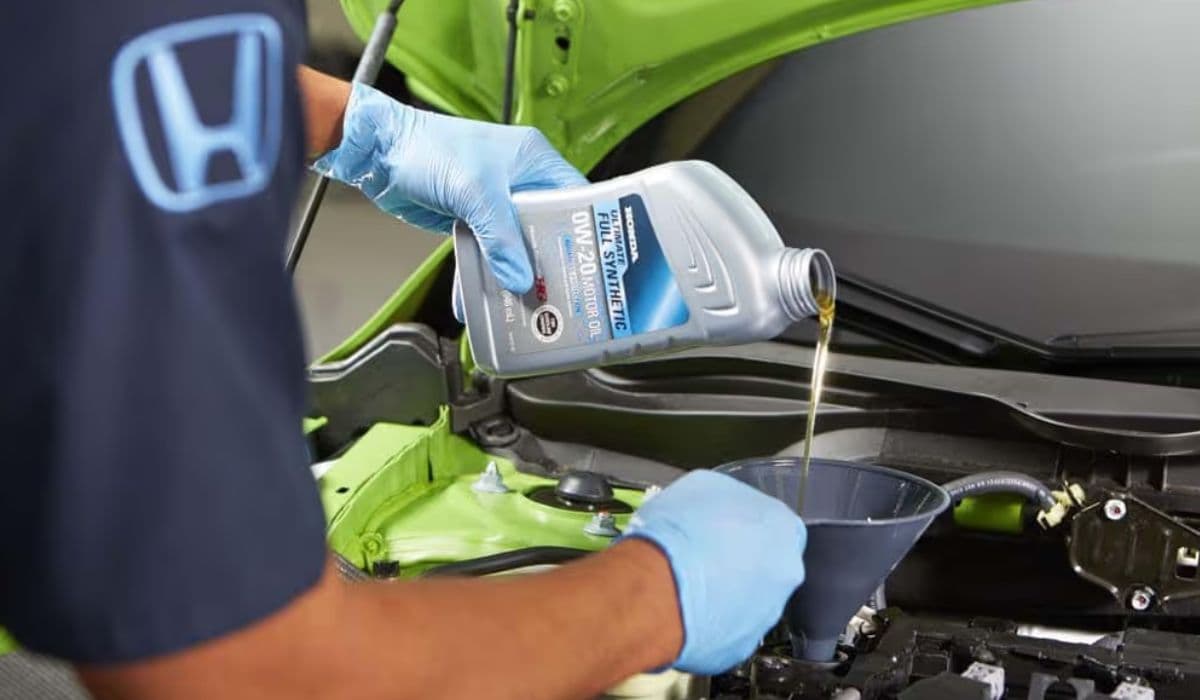
How to Choose the Right Engine Oil for Honda and When to Change It
02.12.2025 11:50
How to Change Oil and Oil Filter on Honda Civic – 5th Generation to Present (1992–2025+)
20.11.2025 22:08