How to replace front brake pads and rotors at home Tesla
Replacing the front brake pads and rotors on your Tesla can be a rewarding DIY project that saves time and gives you a deeper appreciation for the vehicle's engineering. Unlike traditional internal combustion engine cars, Teslas rely heavily on regenerative braking, which means the friction brakes see far less use. This often results in pads and rotors lasting longer, but surface rust can build up if the brakes aren't exercised regularly. Performing this job at home is straightforward for most models like the Model 3, Model Y, or Model S, with minor variations in caliper design.
The process involves basic mechanical steps but includes Tesla-specific touches, such as accessing the touchscreen for certain modes and ensuring proper piston retraction. With the right preparation, you can complete both sides in a few hours, restoring smooth, quiet braking performance.
Safety Precautions and Preparation
Safety comes first when working on brakes. Always work on a level surface with the vehicle in Park and wheels chocked.
Park the Tesla on a flat, stable surface and engage the parking brake via the touchscreen.
Gather personal protective equipment: gloves, eye protection, and knee pads for comfort.
Disconnect the 12V battery if preferred, though it's not always necessary for front brakes.
Open the hood and remove the brake fluid reservoir cap to prevent pressure buildup when compressing pistons.
Place absorbent materials under the work area to catch any fluid drips.
Preparation sets the stage for a smooth job. Choose compatible replacement pads and rotors designed for your specific Tesla model—performance variants may have different caliper types.
Jack up the front of the vehicle using approved lift points (usually marked under the battery pack edges) and secure it on jack stands.
Loosen the front wheel lug nuts before lifting, then remove the wheels once elevated.
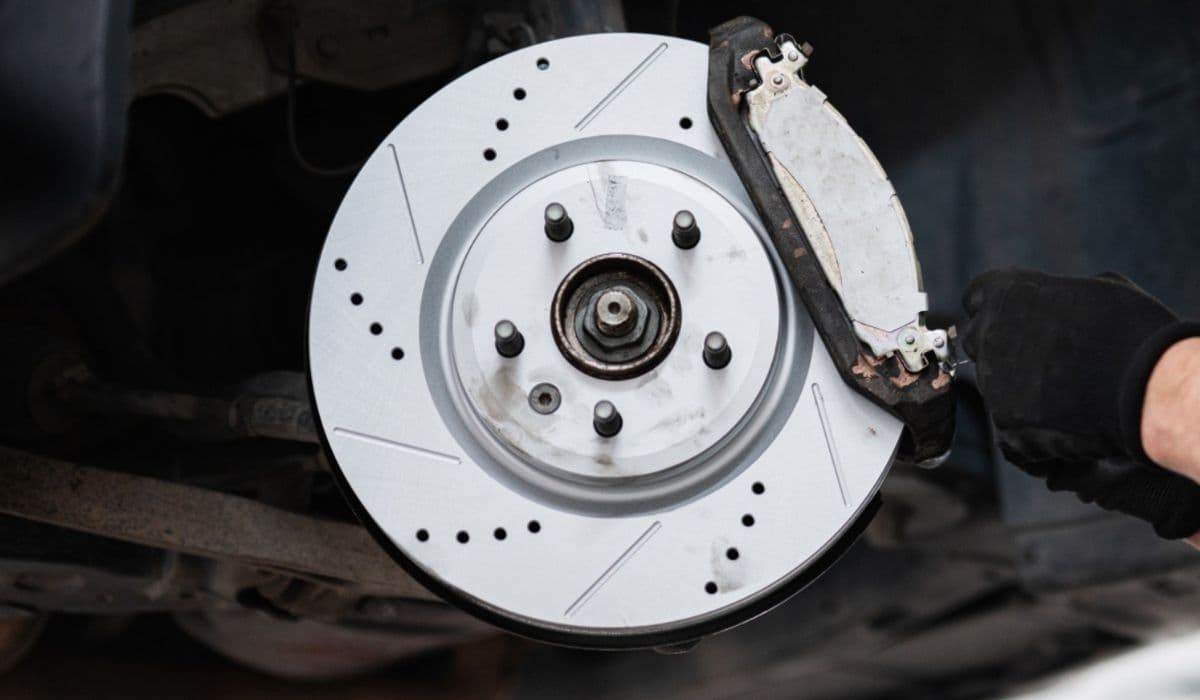
Inspect the existing brakes visually: look for uneven wear, scoring on rotors, or stuck caliper slides.
Required Tools and Materials
Having the right tools makes the difference between a frustrating afternoon and an efficient one. Most are standard garage items.
Floor jack and jack stands (with Tesla-specific puck adapters to avoid damaging the battery).
Torque wrench for precise bolt tightening.
Socket set, including sizes for caliper bolts (often 18mm or E18 Torx for performance models).
Pin punch or drift for removing pad retaining pins.
Caliper spreader tool or large C-clamp for piston retraction.
Wire brush, brake cleaner, and high-temperature brake lubricant.
Hammer (rubber mallet preferred) and pry bars for stubborn components.
New front brake pads and rotors matched to your model, plus anti-rattle clips if needed.
Step-by-Step Removal Process
Start with one side, then repeat on the other for consistency.
Remove the wheel to expose the brake assembly.
Locate and extract the pad retaining pins using a pin punch—tap gently to avoid damage.
Remove the anti-rattle spring clip carefully.
Slide out the old brake pads; note their orientation for reinstallation.
Hang the caliper securely with a bungee or wire to avoid straining the brake hose.
Remove the caliper mounting bolts (two per side) and lift the caliper off.
Unscrew the rotor retaining bolt (if present) and slide the old rotor off the hub—tap with a mallet if rusted.
Clean all contact points thoroughly with brake cleaner and a wire brush to remove rust and debris.
Installing New Rotors and Pads
Fresh components transform braking feel, eliminating vibrations or noise.
Clean the hub mating surface with a wire brush for proper rotor seating.
Slide the new rotor onto the hub and secure with the retaining bolt if applicable.
Apply brake lubricant sparingly to pad ears and caliper slides—avoid friction surfaces.
Insert the new pads into the caliper bracket, ensuring proper fit.
Retract the caliper pistons evenly using a spreader tool to accommodate thicker new pads.
Reinstall the caliper over the new pads and rotor, torquing bolts to specification.
Replace the anti-rattle spring and retaining pins.
Repeat for the opposite side, maintaining symmetry.
Final Assembly and Bedding-In
The last steps ensure everything functions optimally.
Reinstall the wheels and torque lug nuts in a star pattern.
Lower the vehicle and pump the brake pedal several times to seat the pistons against the new pads— the pedal should firm up.
Check brake fluid level and top off if needed, then replace the reservoir cap.
Take a gentle test drive, performing controlled stops to bed in the pads.
To fully integrate the new surfaces, perform a burnishing procedure: accelerate to moderate speeds and brake firmly (without skidding) multiple times in a safe area. This transfers an even pad material layer to the rotors, enhancing stopping power and reducing initial noise.
With these steps, your Tesla's front brakes will deliver responsive, confident performance. Regular use of friction brakes occasionally helps prevent rust buildup, keeping the system in top shape for miles to come.