How to replace Tesla Model 3/Y rear bumper clips (easy DIY)
Owning a Tesla Model 3 or Model Y brings immense satisfaction with its sleek design and cutting-edge performance, but minor issues like loose or broken rear bumper clips can arise from everyday driving. These plastic fasteners secure the rear fascia (the bumper cover) to the vehicle's body, and over time, they may wear out due to road debris, minor impacts, or thermal expansion in varying weather conditions. Replacing them yourself is a straightforward task that restores a secure fit, prevents rattling noises, and maintains the car's aerodynamic profile. This guide walks you through the process in detail, making it accessible even for beginners with basic tools.
Why Rear Bumper Clips Fail and When to Replace Them
Rear bumper clips on the Tesla Model 3 and Model Y are engineered for durability, but they aren't indestructible. Common triggers for replacement include:
Minor rear-end bumps that pop clips out without visible damage.
Exposure to extreme temperatures causing plastic to become brittle.
Road salt, gravel, or debris gradually wearing down the fasteners.
Frequent trunk use leading to stress on upper clips near the taillights.
Signs that your clips need attention include gaps between the bumper and body panels, unusual noises while driving over bumps, or visible misalignment around the wheel arches and trunk area. Addressing these early prevents water ingress or further detachment, keeping your Tesla looking pristine and functioning optimally.
Tools and Materials You'll Need
Gathering the right items beforehand makes the job smoother and safer. Most are common household or auto tools:
Plastic trim removal tools (to avoid scratching paint).
Socket set with 10mm socket and ratchet.
Torx bits (T20 or T25, depending on your model).
Flathead screwdriver (wrapped in tape for protection).
Painter's tape (to shield quarter panels from accidental scratches).
Flashlight or work light for better visibility underneath.
Replacement OEM-style push clips and retainers (specific to Tesla rear fascia).
Optional but helpful: jack stands if you need extra underbody access, and gloves to keep your hands clean.
Preparing Your Tesla for the Repair
Safety comes first. Park on a flat surface, engage the parking brake, and turn off the vehicle. For added protection:
Apply painter's tape along the rear quarter panels near the bumper edges.
Open the trunk to access upper fasteners easily.
If working underneath, safely elevate the rear using jack points (consult your owner's manual).
This preparation minimizes risks and ensures you can work comfortably without rushing.
Step-by-Step Removal of the Rear Bumper Fascia
Partial or full fascia removal is necessary to access most clips. The process is similar for both Model 3 and Model Y, with minor variations in clip counts.
Start at the wheel arches:
Pull back the rear wheel liners slightly.
Use a trim tool to release push clips (typically 3-4 per side) securing the liner to the fascia.
Remove any Torx screws hidden in the wheel well area.
Move to the top:
In the trunk, gently pull down the weather seal along the rear edge.
Release plastic retainers or clips holding the trunk liner.
Unscrew bolts or nuts near the taillights (one per side).
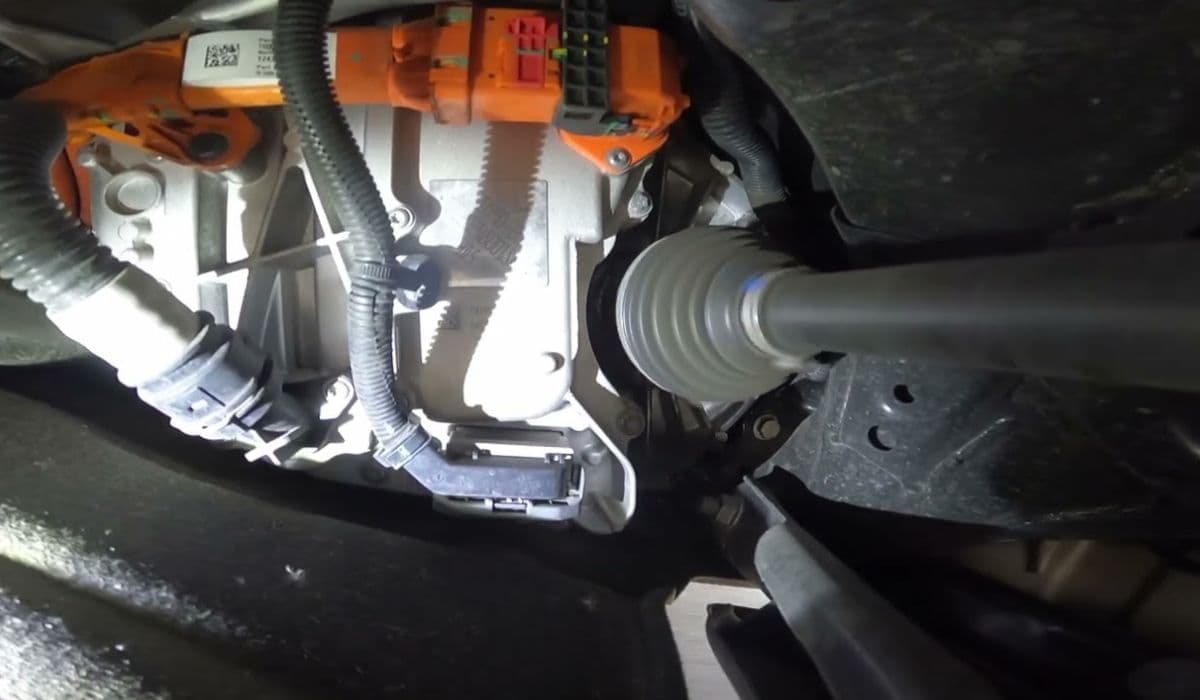
Underneath the vehicle:
Locate and remove 10mm bolts along the lower edge (around 7-9 total).
Carefully pry off additional push clips along the bottom diffuser.
Now for detachment:
With assistance if possible, start from the sides and firmly pull the fascia outward to release the main alignment clips.
Work alternately side-to-side toward the center.
Support the fascia with your knee or a stool to prevent it dropping.
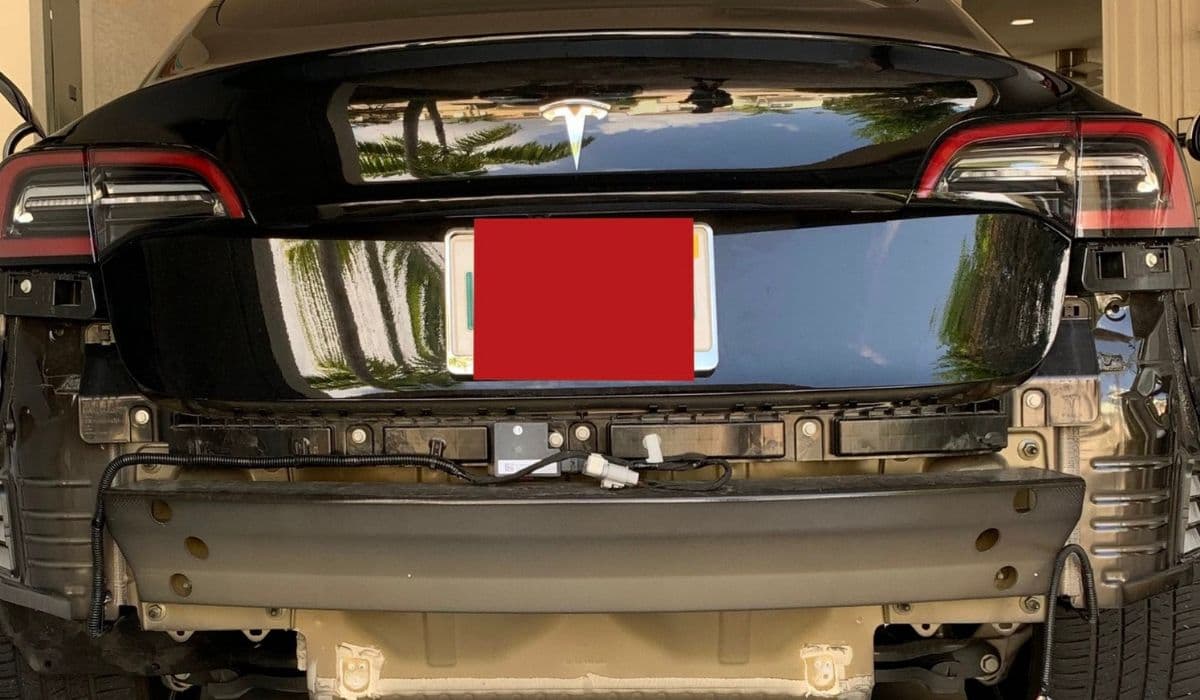
Disconnect any parking sensor harnesses (slide red tab and press release).
Once free, inspect the inner side for broken clips stuck in the body or fascia slots.
Inspecting and Replacing the Clips
With the fascia off or partially loosened, closely examine all attachment points:
Upper edge near trunk: Check for popped or cracked tabs.
Side corners: These often bear the most stress.
Lower diffuser area: Look for missing retainers.
Wheel arch overlaps: Ensure liners align properly.
To replace:
Gently remove any damaged old clips using pliers or a trim tool (avoid forcing to prevent breaking slots).
Clean debris from mounting holes.
Insert new clips firmly by hand first, then push until they click securely.
For push-pin styles, align the center pin and press down evenly.
Test fit the fascia periodically to ensure smooth engagement without gaps.
Reinstalling the Rear Bumper Fascia
Reassembly is the reverse of removal, but precision here ensures a factory-like fit:
Reconnect sensor harnesses securely.
Align the fascia starting from the center or sides.
Push firmly to engage all clips (you'll hear satisfying clicks).
Reinstall lower bolts hand-tight first, then torque evenly.
Secure wheel arch clips and screws.
Replace trunk weather seal and liners.
Finally, remove protective tape and inspect for even panel gaps all around. Take a short drive to confirm no rattles.
Tips for a Professional Finish and Prevention
To elevate your results:
Work in a shaded area to avoid heat warping plastic.
If clips resist, warm the area slightly with a hairdryer for flexibility.
Double-check sensor connections to avoid warning lights.
After completion, wash the area gently to reveal any missed misalignments.
For longevity, consider applying protective film to high-impact zones or regularly inspecting after off-road or winter driving. This DIY not only saves time but also deepens your connection to your Tesla's innovative build.