Permanent Fix for Toyota 4Runner Liftgate Window Rattle (5th Gen 2010–2024)

The rear liftgate window rattle is one of the most common and frustrating complaints among 5th-generation Toyota 4Runner owners. The noise typically appears as a buzzing, vibrating, or knocking sound from the back of the vehicle, especially on rough roads, over speed bumps, or when the audio system has bass. The root cause is almost always excessive play between the power window regulator mechanism, the glass run channels, the glass attachment clips, and the outer weatherstrip. While many owners live with the annoyance or apply temporary felt tape fixes, a properly executed permanent solution exists that eliminates the rattle completely without compromising the power window function.
Understanding Exactly Where the Rattle Originates
Before attempting any repair, pinpoint the exact source. In 95 % of cases the noise comes from one or more of these locations:
The glass-to-regulator attachment arms (the two metal “fingers” glued to the glass) have play inside the white plastic clips.
The window glass moves laterally inside the vertical run channels (especially the rear channel closest to the tailgate latch).
The outer beltline weatherstrip (the fuzzy strip the glass seals against) is too loose or has lost tension.
The window regulator cable system has slight slack, allowing the entire glass assembly to vibrate.
The glass itself contacts the metal liftgate frame when partially lowered or during body flex.
Park on a quiet street, have a helper bounce the rear suspension while you stand behind the vehicle with the liftgate open and the window fully up. Place your hand on different areas of the glass and you will immediately feel where the vibration is strongest.
Tools and Materials Required for the Permanent Repair
T30 and T40 Torx drivers
10 mm and 12 mm sockets
Plastic trim removal tools
3M Window-Weld Round Ribbon Sealer (P/N 08612 or 08611) – two packs recommended
3M Strip-Calk (black, P/N 08578) or Dum-Dum
3M 08008 Black Super Weatherstrip Adhesive (yellow tube)
DuPont Teflon Silicone Lubricant (dry film, NOT WD-40)
1/4″ closed-cell weatherstrip foam (3M 021200-04372 or similar)
Mole skin or 3M 1/8″ felt tape (for final fine-tuning)
Isopropyl alcohol and microfiber towels
Nitrile gloves and painter’s tape
Step-by-Step Removal of the Liftgate Window Glass
Lower the window about 6–8 inches.
Open the liftgate and remove the interior liftgate trim panel (pull firmly starting from the bottom, then disconnect wiper motor and defroster plugs).
Peel back the water shield carefully.
Disconnect the power window motor connector and the two regulator arms from the glass (push the white plastic clips inward and slide the metal fingers out).
Tape the regulator cables to prevent them from spooling back into the motor.
From outside, gently push the glass upward and tilt the top outward, then lift the entire pane out of the liftgate. Support it on cardboard so the regulator arms don’t scratch it.
Permanently Securing the Regulator Attachment Clips
This is the single most important step for 90 % of rattles.
Clean the metal regulator fingers and the inside of the white plastic clips with alcohol. Apply a thin bead of 3M Window-Weld ribbon sealer around each metal finger, then push them firmly back into the clips until fully seated. Add a second wrap of Window-Weld over the joint where the metal meets plastic. This urethane ribbon sealer never fully hardens and remains slightly rubbery, allowing normal up/down movement while eliminating any micro-movement that causes noise. Let cure for at least 2 hours (overnight is better).
Many owners who only use felt tape here still hear rattle later because the clips themselves move. The Window-Weld method has proven 100 % effective across multiple 4Runner forums for years.
Eliminating Glass-to-Run Channel Play
The vertical run channels are lined with felt, but the rear channel (toward the license plate side) is notoriously loose.
Remove both vertical run channels (they pop out with gentle prying).
Clean the metal channel thoroughly.
Cut strips of 1/4″ closed-cell foam and line the inside of the rear channel on both the front and back walls (not the felt side the glass touches). This takes up the 2–3 mm of extra space Toyota built in for assembly tolerance.
Reinstall the channels – they will now hold the glass much more firmly side-to-side.
Reinforcing the Outer Beltline Weatherstrip
The factory outer fuzzy weatherstrip loses tension over time and allows the top-edge glass movement.
Carefully pry the weatherstrip out of the metal retainer (start from one end).
Clean the metal channel.
Apply a thin bead of 3M black weatherstrip adhesive along the bottom of the channel.
Add a 1/8″ thick strip of closed-cell foam or two layers of quality mole skin along the entire length where the glass contacts the fuzzy side.
Press the weatherstrip firmly back in. The added thickness restores factory-new sealing pressure and stops virtually all top-edge buzz.
Regulator Cable Slack and Motor Bracket Fix
Some 4Runners develop slight cable slack after 80,000+ miles.
While the glass is out, cycle the regulator up and down by hand. If you feel any looseness, remove the motor (three 10 mm bolts) and add one or two flat washers between the motor housing and the liftgate metal as a shim. This increases cable tension without binding the mechanism. Re-test by hand – the regulator should feel tight with no free play.
Final Reassembly and Testing
Carefully lower the glass back into the liftgate from outside, making sure the bottom edge sits correctly in both run channels.
Reconnect the regulator arms to the reinforced clips.
Plug the motor back in and test operation several times with the water shield still off.
Apply a very light mist of DuPont Teflon Silicone Lubricant to the felt in the run channels (dry film only – no greasy silicone sprays).
Reinstall the water shield and interior trim panel.
Close the liftgate, turn up the bass, and drive over the worst road you know. In almost every documented case using the full method above, the rattle is completely gone forever.
Optional Extra-Quiet Modifications Owners Swear By
Adding 3M Thinsulate or Noico 80 mil sound deadener to the inside of the liftgate metal skin.
Dynamat or similar on the exterior side of the license plate panel (common secondary rattle source).
Replacing the liftgate bumper stops with slightly taller GRAMS-style adjustable stops to reduce body flex.
These are not required for the window rattle itself but take the entire rear end to library-quiet levels.
This comprehensive approach using OEM-grade sealers and precise shimming has been refined over years by hundreds of 5th Gen 4Runner owners and remains the gold-standard permanent solution that actually works.
More from Toyota
Camry 2018+ 8-Speed Transmission Fluid Drain & Fill: Complete DIY Guide
08.12.2025 14:38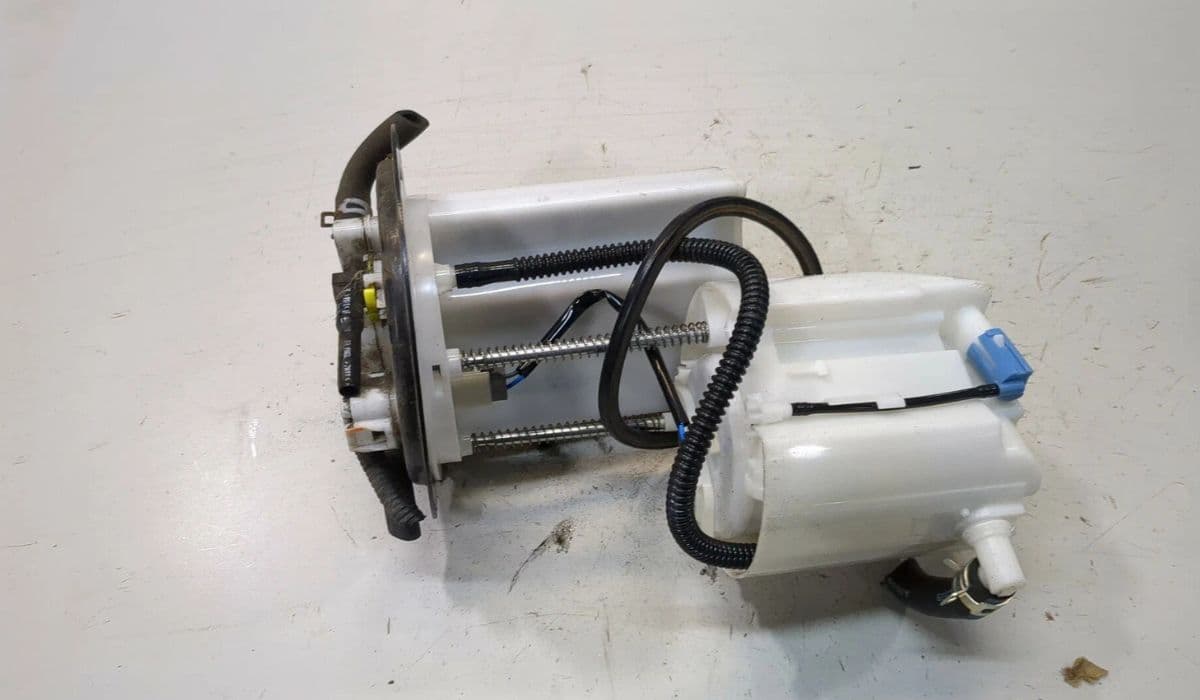
RAV4 2019-2024 Fuel Pump Recall DIY Check: How to Verify If Your Toyota Is Affected and What to Do Next
08.12.2025 14:41
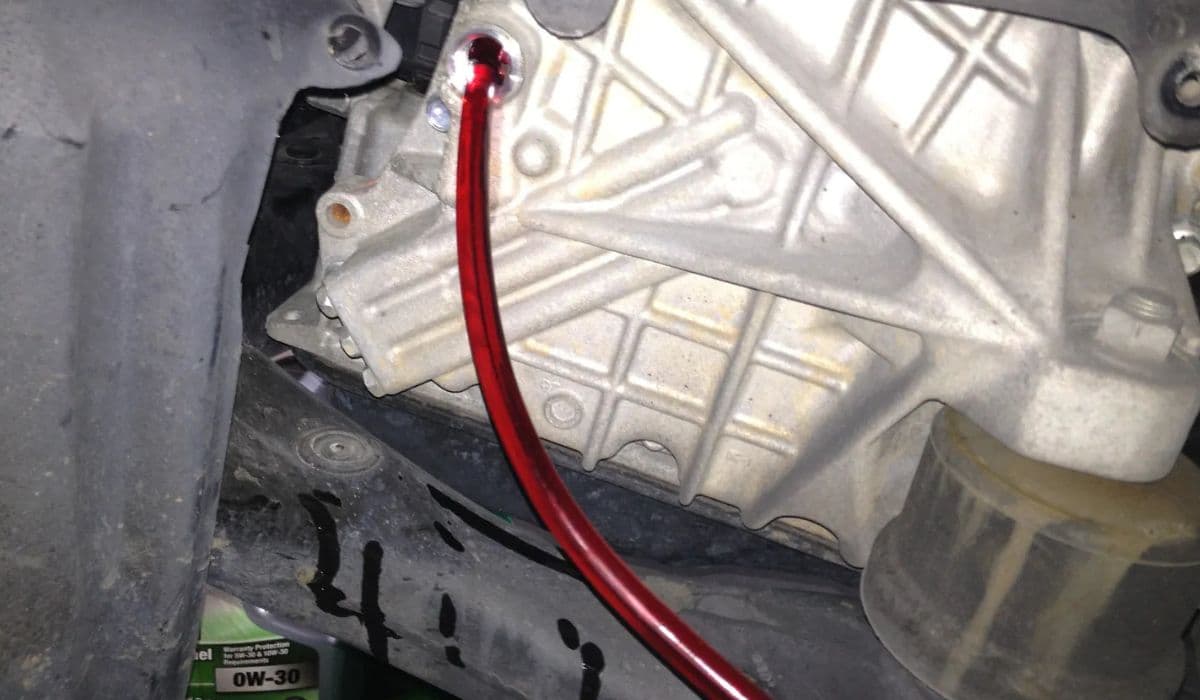
4Runner 5th Gen Rear Differential Breather Mod: The Ultimate Guide to Preventing Water Ingestion and Extending Diff Life
08.12.2025 14:44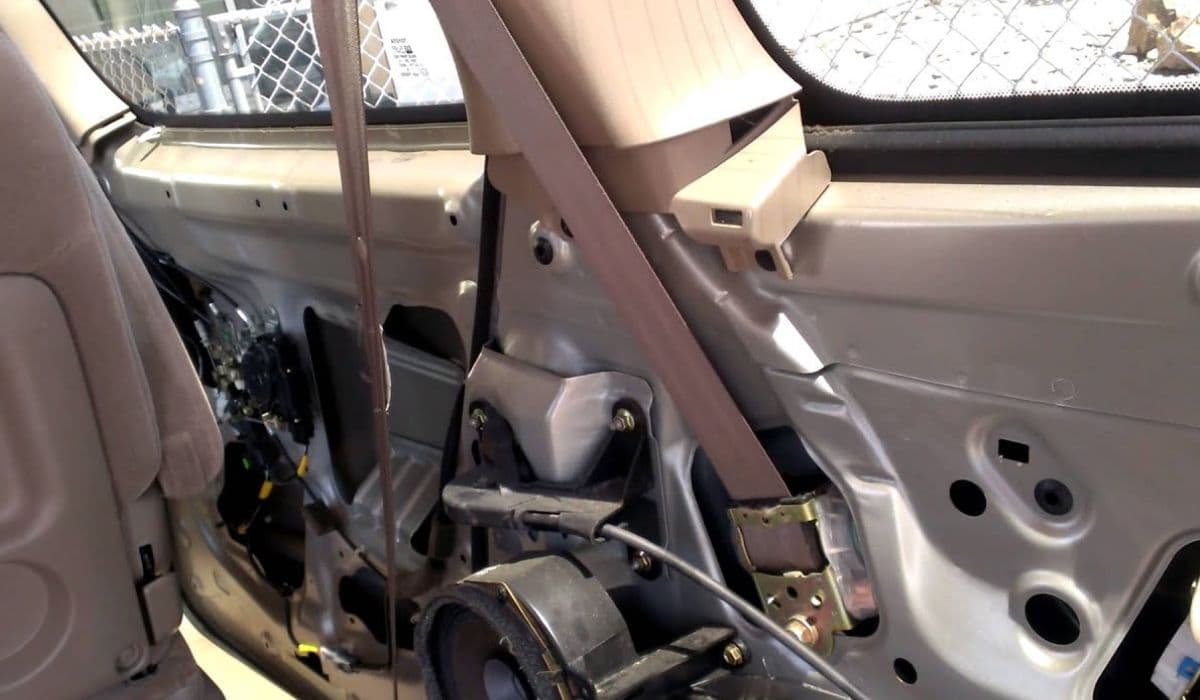
How to Fix a Toyota Sienna Sliding Door Cable Snap – Complete DIY Repair Guide
08.12.2025 16:44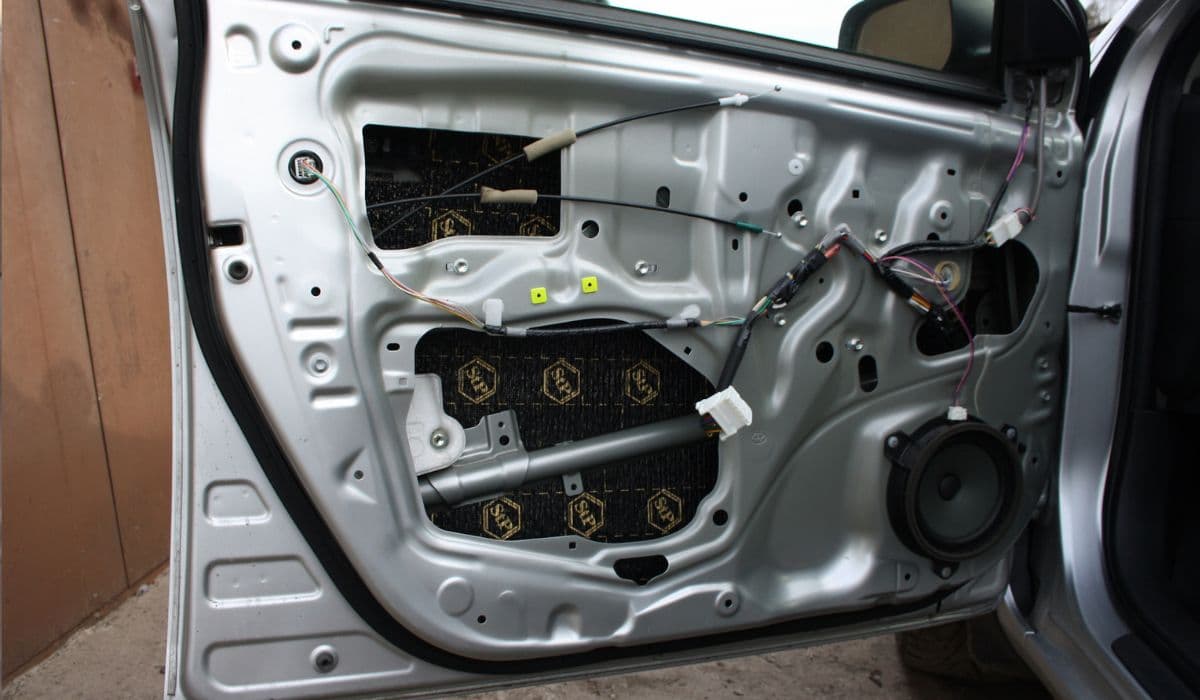
How to Fix Toyota Corolla Cross Wind Noise with a Simple Door Seal Modification
08.12.2025 16:47