4Runner 5th Gen Rear Differential Breather Mod: The Ultimate Guide to Preventing Water Ingestion and Extending Diff Life

The 5th-generation Toyota 4Runner (2010–2024) is legendary for its off-road capability, but one factory weak point consistently causes expensive failures when the rear differential breather. Located low on the axle housing, the stock breather tube terminates only a few inches above the diff, making it extremely vulnerable during water crossings, deep mud, or even heavy rain on trails. Once water enters through the breather, it contaminates gear oil, destroys bearings, and can cause a complete rear differential lock-up, and leads to repair bills that often exceed $3,000–$5,000.
Performing a rear differential breather relocation (commonly called the “diff breather mod”) is one of the most cost-effective and important modifications any 5th-gen 4Runner owner can do, especially if the truck ever sees water deeper than a shallow puddle.
Why the Factory Rear Diff Breather Design Fails Off-Road
Toyota placed the factory breather valve directly on top of the rear axle housing with a short rubber hose that ends just above the pumpkin. Under normal street driving this is fine, but the differential heats up, pressure increases, and the breather releases excess pressure. The problem occurs when the axle is suddenly submerged in cold water: the hot air inside the housing contracts rapidly, creating vacuum that literally sucks water straight past the breather valve and into the gear oil.
Real-world examples from owners on forums such forums as T4R.org, Toyota-4Runner.org, and the 5th Gen 4Runner Owners Facebook group show dozens of failures every year after popular trails such as Rubicon, Moab, Ouray, and even mild East Coast water crossings. Symptoms of water ingestion include milky gray gear oil, metallic particles on the drain plug, whining noises, and eventually seized bearings.
Benefits of Relocating the Rear Diff Breather
Complete protection against water ingestion during deep crossings
Prevents costly differential rebuilds or replacement
Allows safe use of deeper wading depths (up to frame rails with proper extension)
Reduces pressure spikes when running thick aftermarket gear oil
Extremely cheap insurance – usually under $60 in parts
Takes 1–2 hours for a DIY install with basic tools
Parts Needed for the 5th Gen 4Runner Rear Diff Breather Mod
Most owners choose one of three popular routes:
Toyota OEM extended breather kit (part 90930-03181 + hose) – cleanest factory look
Daystar KU71126BK or Airaid 790-545 universal breather kits
Custom setup using 3/8″ fuel/emission hose, barbed fittings, and a small fuel filter as a breather (cheapest)
Additional parts commonly used:
8–10 mm ID high-quality fuel-injection hose or transmission cooler hose (Subaru part 807608110 is popular)
3/8″ brass or nylon barb × 1/8″ NPT fitting
Small conical K&N, UNI, or Outerwears pre-filter (acts as both filter and one-way valve)
Zip ties, Adel clamps, or P-clips for clean routing
Hose clamps (preferred over zip ties for long-term reliability)
Step-by-Step Installation Guide
Safely raise and support the vehicle. No need to remove wheels.
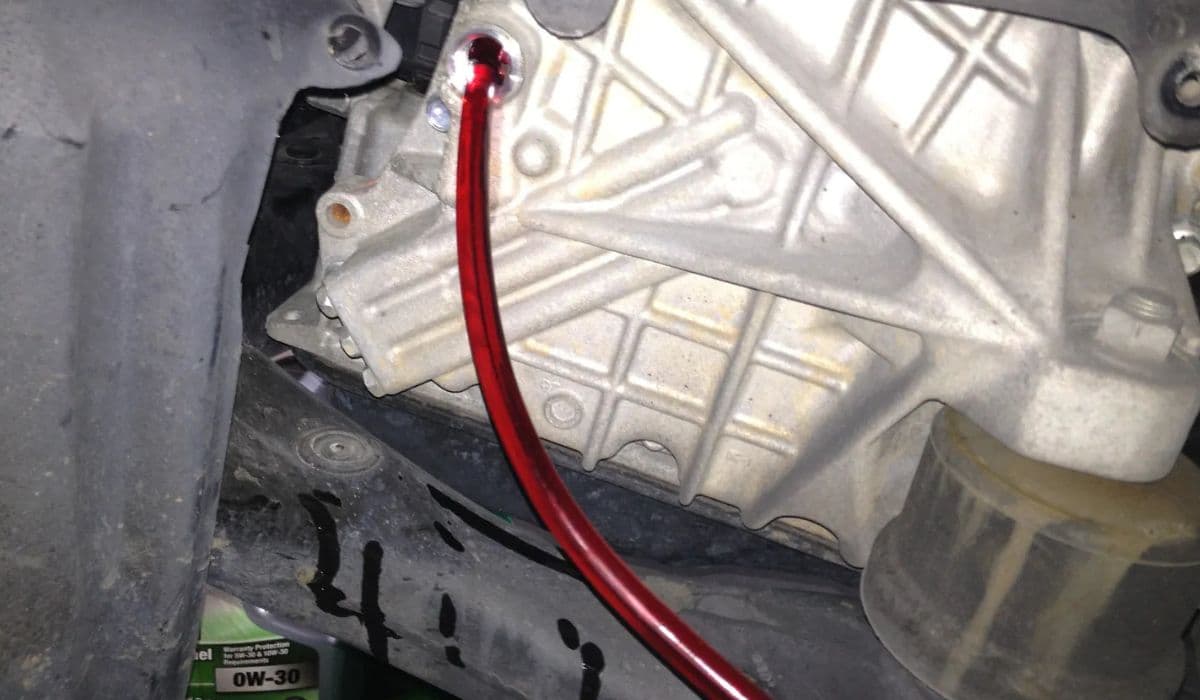
Locate the factory breather on top of the rear axle housing (passenger side, small black plastic cap with short hose).
Carefully pry off the factory plastic cap – it is a press-fit with an O-ring. Some owners cut the hose instead to preserve the cap.
Install the new barbed fitting (usually 3/8″ barb × 1/8″ NPT) into the axle housing. Use Teflon tape or Toyota FIPG sealant on the threads.
Attach high-quality hose to the barb and route it upward along the frame rail, avoiding exhaust, suspension movement, and sharp edges.
Most owners route along the passenger-side frame, up the firewall, and terminate in the engine bay near the cowl or inside the airbox for maximum height.
Secure hose every 12–18 inches with Adel clamps or heavy-duty zip ties.
Install the filter/breather at the highest point. Many drill a 5/8″ hole in the plastic cowl cover and press-fit a K&N vent filter.
Double-check for kinks and test for leaks by overfilling the diff slightly and driving – you should see a small amount of oil mist at the filter but no drips.
Pro Tips and Common Mistakes to Avoid
Never use regular vacuum hose – it collapses under heat and vacuum.
Route the hose away from the driveshaft and exhaust (minimum 4–6 inches clearance).
Use stainless or coated clamps – cheap worm clamps rust quickly.
If you wheel in extreme dust (Moab, Baja), wrap the filter with an Outerwears pre-filter cover.
While you’re under the truck, consider extending the front differential and both transfer case breathers at the same time – they use the same fittings.
Some owners install a small T-fitting and run a single high-mounted breather for front diff, rear diff, and transfer case to simplify the setup.
Recommended Breather Heights for Different Wheeling Styles
Mild trails and occasional puddles – terminate under the hood ~30″ wading
Moderate trails with axle-deep water – terminate in engine bay ~40–42″ wading
Hardcore rock crawling and deep water – route into cab or install dedicated high-mount tower (some reach 50″+)
Real-World Longevity and Owner Experiences
Thousands of 5th-gen 4Runners have completed this mod with zero water ingestion failures afterward, even after repeated axle-deep and deeper crossings on trails such as Fordyce, Dusy-Ershim, and the Trans-America Trail. Owners who skipped the mod and later sucked water universally report wishing they had spent the $40 and two hours earlier.
The rear differential breather extension remains one of the highest ROI modifications you can perform on a 5th-generation 4Runner. It costs almost nothing, takes an afternoon, and can literally save the entire rear axle.
More from Toyota

A25A-FKS 2.5 Dynamic Force Engine Long-Term Review: Real-World Durability and Ownership Experience
08.12.2025 13:12
Toyota Tacoma Frame Rust Repair DIY: Complete Undercoating Guide
08.12.2025 13:56
How to Change Transmission Fluid in 3rd Gen Toyota Tacoma (Sealed Transmission) – Complete DIY Guide
08.12.2025 13:59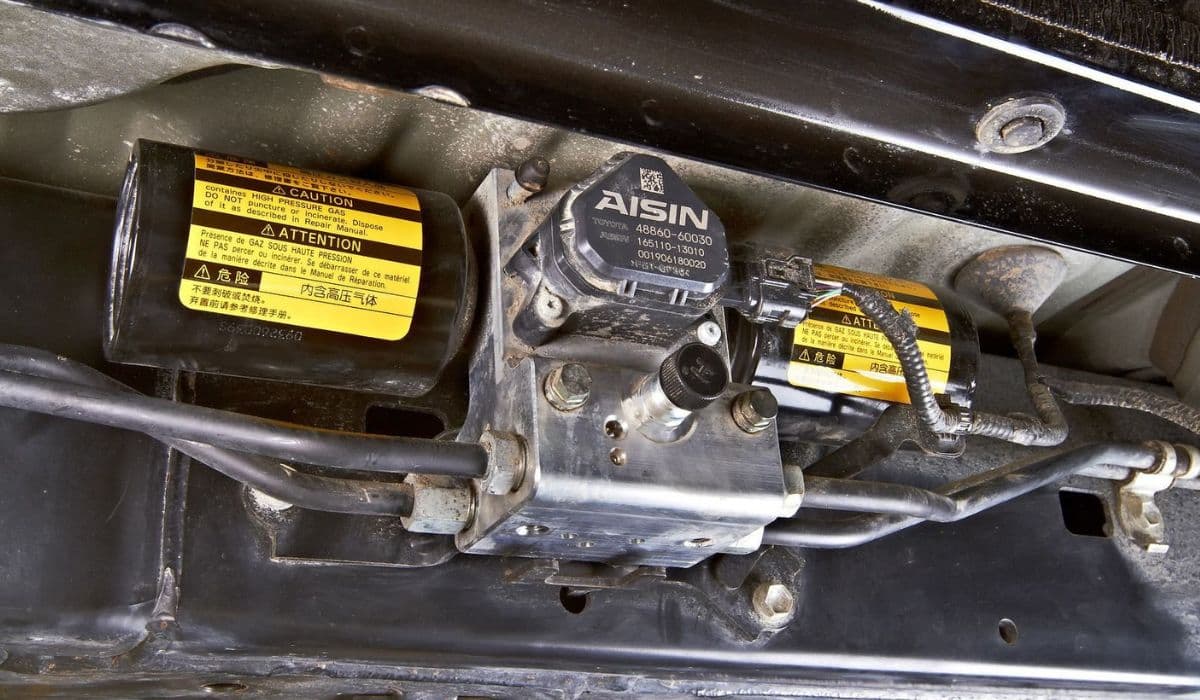
How to Fix 4Runner KDSS Lean at Home – Complete DIY Guide
08.12.2025 14:34
RAV4 2019-2024 Fuel Pump Recall DIY Check: How to Verify If Your Toyota Is Affected and What to Do Next
08.12.2025 11:41