How to replace valve cover gasket oil leak BMW (common on N20/N55)
The valve cover gasket oil leak ranks among the most frequent issues BMW owners face with N20 and N55 engines. These turbocharged powerplants, found in models ranging from the 3 Series to X5s, develop this problem due to heat cycles, plastic aging, and constant pressure changes in the crankcase ventilation system. What starts as a faint burning smell often escalates into visible oil pooling around the engine perimeter, drips onto exhaust components, or even minor misfires from contaminated spark plug wells.
Many enthusiasts initially attempt simple bolt tightening, but the integrated design of modern valve covers means the gasket rarely survives long-term without replacement. On N55 engines, the plastic cover often warps slightly over time, while N20 units show similar degradation but with tighter packaging in the engine bay. Addressing the leak promptly prevents oil from reaching hot exhaust parts, reduces fire risk, and maintains engine cleanliness.
Recognizing the Valve Cover Gasket Leak Early
Spotting the issue before it worsens saves significant hassle. Key indicators include:
A distinctive burning oil odor inside the cabin or from the engine bay, especially noticeable during idle or after hard driving
Visible oil residue along the seam between the valve cover and cylinder head, often shiny or blackish from heat
Oil accumulation in spark plug wells, leading to rough running, hesitation, or check engine lights related to misfires
Smoke from under the hood when oil contacts hot exhaust manifolds or downpipes
Faster-than-normal oil consumption without external puddles under the car
On N20 engines, leaks frequently appear near the rear near the vacuum pump area. N55 variants often show seepage along the front or passenger side due to integrated PCV components. Cleaning the engine bay with brake cleaner reveals fresh oil trails after short drives, confirming the source.
Tools and Parts You Will Need
Success depends on preparation. Gather these items before starting:
E10 external Torx socket set (critical for valve cover bolts)
1/4-inch and 3/8-inch ratchets with extensions and universal joints
Torque wrench capable of low values (around 8-10 Nm range)
Flathead and Phillips screwdrivers
Trim removal tools for plastic covers
Shop rags, brake cleaner, and gloves
New valve cover gasket set (consider one with additional seals like eccentric shaft or vacuum pump if worn)
Optional: new valve cover if cracks appear during inspection
Many opt for complete valve cover replacement on higher-mileage engines since the plastic hardens and warps, but gasket-only swaps work well when the cover remains intact.
Step-by-Step Preparation and Disassembly
Begin with a cold engine to avoid burns and warped components. Disconnect the battery negative terminal for safety.
Remove engine cover, cabin air filter housing, and any strut brace or support bar crossing the engine top
Disconnect electrical harnesses carefully: ignition coils, Valvetronic motor (N55), VANOS solenoids, and oxygen sensor connectors
Unplug fuel injectors and high-pressure fuel pump lines (use a crowfoot wrench on hard lines to avoid rounding)
Depressurize the fuel system first by removing the fuel pump fuse and cranking briefly if needed
Remove coil packs and set them aside; inspect wells for oil pooling
Disconnect PCV hoses, vacuum lines, and crankcase ventilation components (note routing for reassembly)
On N55 engines, pay special attention to the integrated oil separator and breather hoses — these often become brittle
Work methodically from front to back, labeling connectors with tape if memory fails.
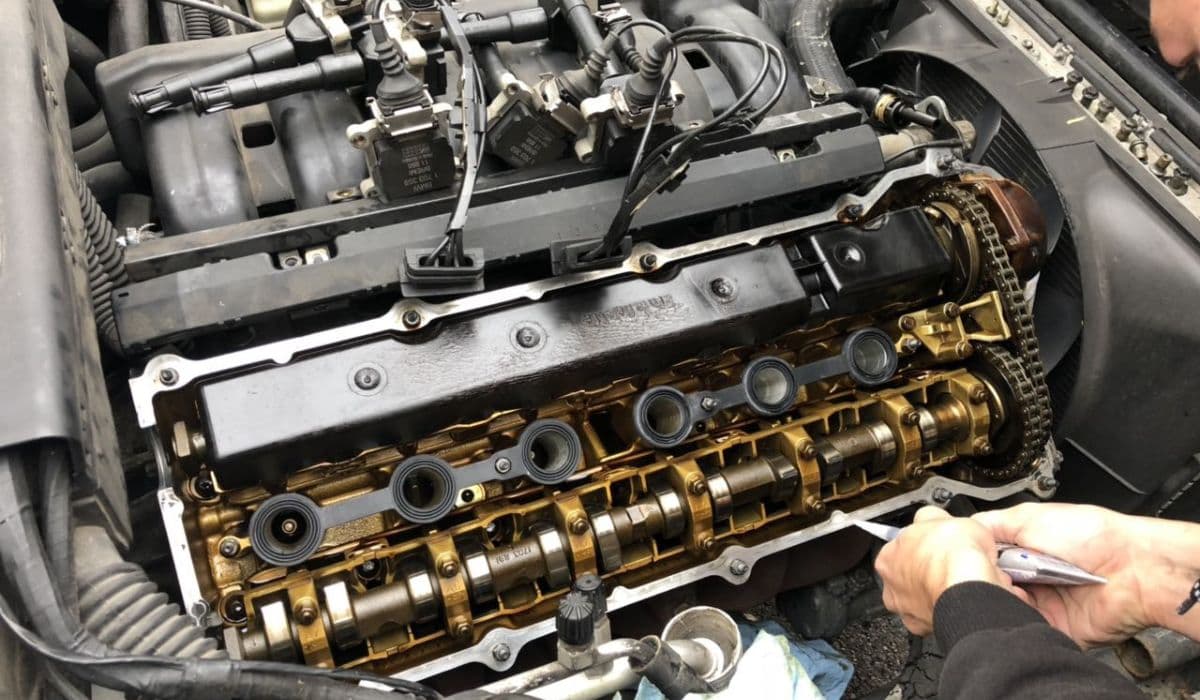
Removing the Valve Cover
The valve cover secures with multiple E10 bolts arranged in a pattern. Loosen them in a reverse spiral: start from outer edges and work inward to prevent warping.
Remove all visible bolts; some hide under harnesses or brackets
Gently rock the cover side-to-side while lifting — it often sticks due to gasket adhesion
Watch for the Valvetronic eccentric shaft or cam lobes catching the gasket lip (common snag point on passenger side)
Lift straight up once free; tilt toward the driver side on many chassis to clear firewall components
Clean mating surfaces thoroughly with brake cleaner and plastic scraper — never use metal tools that could gouge aluminum
Inspect the old cover for cracks, especially around bolt bosses or PCV areas. If deformation exists, install a new cover.
Installing the New Gasket and Reassembly
Position the fresh gasket firmly in the valve cover groove. Some kits include adhesive spots — align carefully.
Lower the cover evenly, ensuring it seats without twisting
Hand-thread all bolts first to avoid cross-threading
Tighten in spiral pattern from center outward to specified torque (typically 8-10 Nm; check service data for exact value)
Reconnect all hoses, lines, and electrical plugs in reverse order
Double-check fuel line fittings for proper seating and torque
Reinstall coils, covers, and battery connection
Start the engine and watch for leaks. A brief smoke puff from residual oil burning off is normal.
Pro Tips for a Leak-Free Result
Replace related seals (eccentric shaft, vacuum pump O-ring) during the job to avoid repeat disassembly
Use low-profile tools for tight rear bolts — extensions with swivels prove invaluable
Cover open injector ports and fuel rails with clean rags to prevent debris entry
On N20 engines, the vacuum pump area requires patience; lubricate the new seal lightly with oil
After 50-100 km, re-torque bolts gently if any weepage appears — plastic expands with heat
Combine this repair with spark plugs or coil replacement since access matches perfectly
Many owners report the repair transforms engine bay appearance and eliminates annoying odors. With careful execution, the fix proves rewarding and restores confidence in these capable turbo engines.
More from BMW
How to fix BMW coolant leaks from expansion tank (B58/N55 engines)
13.12.2025 06:48
How to fix VANOS solenoid rattle and codes BMW
13.12.2025 05:32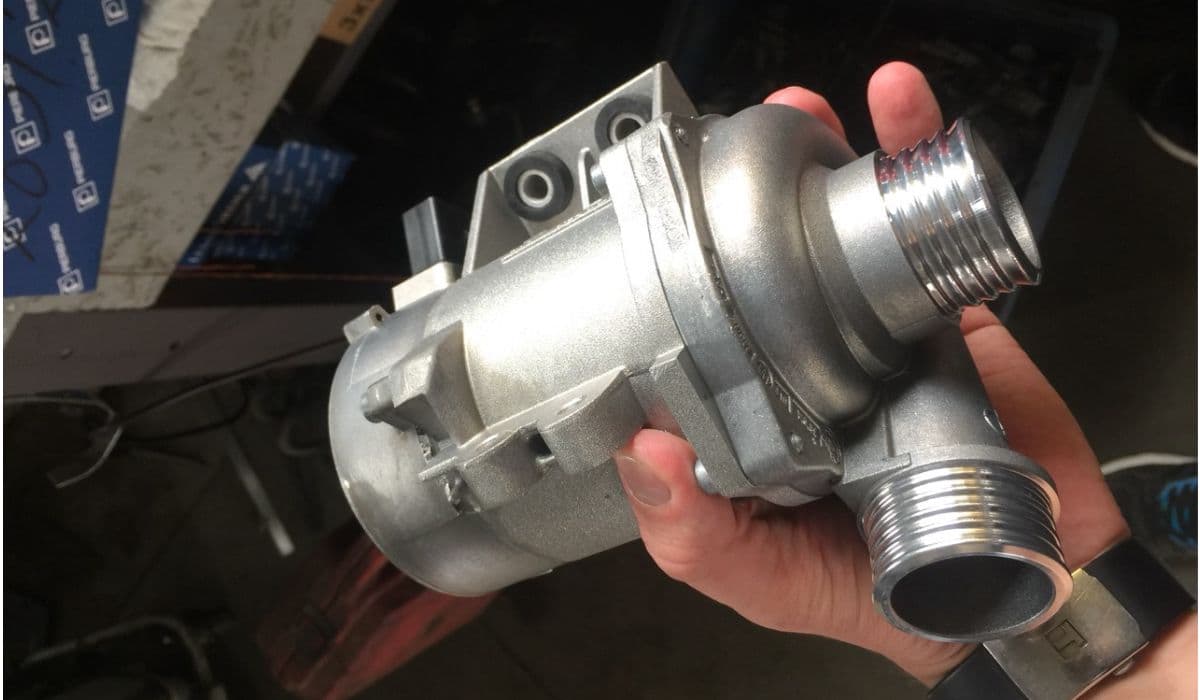
How to replace electric water pump on BMW F30/F32 models
12.12.2025 23:53