How to Permanently Fix F-150 Cam Phaser Rattle on 2017-2020 Models – Full DIY Guide
The infamous cam phaser rattle on 3.5L EcoBoost and 5.0L Coyote engines in 2017-2020 F-150 trucks is one of the most discussed issues among owners. The characteristic cold-start “diesel-like” or “marbles in a can” noise that lasts 1-3 seconds is caused by failed or failing cam phasers, worn timing chains, stretched chains, bad tensioners, and very often low oil pressure reaching the phasers at startup. This is a proven DIY repair that can be done in a weekend with basic to intermediate mechanical skills.
Understanding What Actually Causes the Cam Phaser Rattle
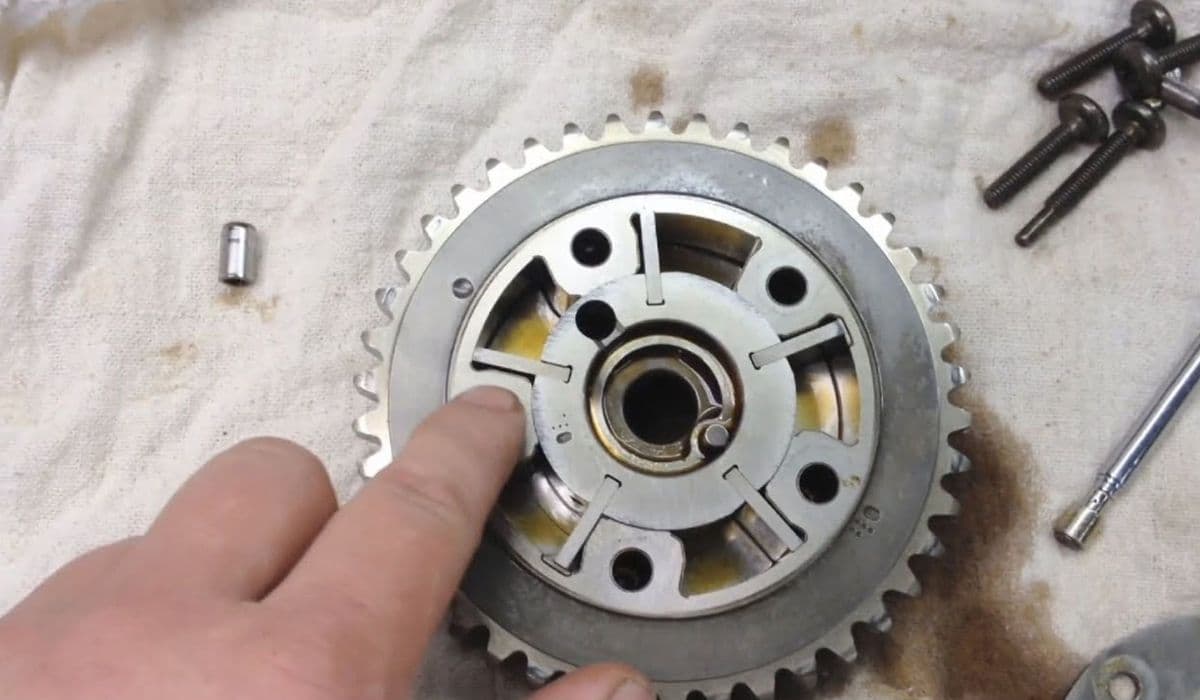
Cam phasers are variable valve timing actuators bolted to the end of each camshaft. Oil pressure pushes an internal spool valve and advances or retards cam timing. Inside each phaser is a locking pin that is supposed to hold the phaser in the full retard (base) position when the engine is off. When oil pressure is low or the internal springs weaken, the locking pin does not engage properly, allowing the phaser to “rattle” until oil pressure builds and locks it.
On 2017-2020 F-150s Ford used a revised but still problematic phaser design (part numbers ending in -AD, -AE, -AF). The factory phasers have weak return springs, poor oil filtration inside the phaser, and the locking pin mechanism wears quickly wears. Once one phaser starts rattling, the others usually follow within 10-20k miles.
Symptoms You Can’t Ignore
Loud rattle/marble noise for 1-4 seconds on cold start
Occasional rattle on hot restart if the truck sat for 20-60 minutes
Check Engine Light with codes P0011, P0016, P0021, P0022 (cam/crank correlation or over-advanced/over-retarded)
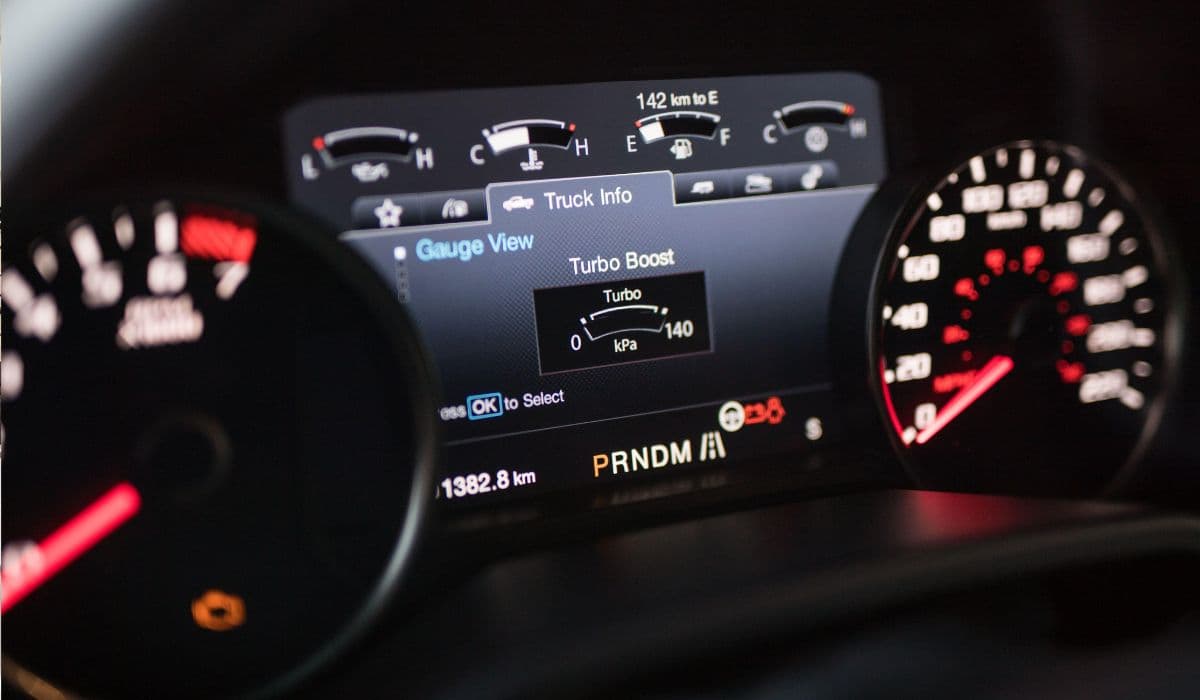
Slight loss of low-end torque and throttle response
Timing chain slap noise at 1500-2200 rpm under load (advanced stage)
Parts You Absolutely Need for a Permanent Fix
Skip the “rattle fix kits” with only lockout wedges. The only repair that lasts 100k+ miles is replacing all components:
4 × latest revision cam phasers (Ford ML3Z-6C525-B or Motorcraft equivalent – revision “AJ” or newer)
Complete timing chain kit: primary chain, secondary chains (2), guides (4), tensioners (2), crankshaft sprocket
VCT solenoids (4) – highly recommended to replace while everything is apart
Water pump (metal impeller version – the plastic impeller ones fail early)
Oil pump (Ford updated version with higher volume) – strongly recommended on 3.5L EcoBoost
Front crankshaft seal
Camshaft seals (4)
Valve cover gaskets (updated thicker design)
Motorcraft XO-5W30-QSP oil and Motorcraft FL-500S filter
New cam bolts (4) and crank bolt (torque-to-yield, one-time use)
Total parts cost: $900-$1300 depending on brand (genuine Ford vs aftermarket)
Tools Required for the Job
⅜” and ½” drive torque wrench
Cam phaser holding tool (OTC 6683 or Lisle 36880)
Cam phaser locking wedge tool set (essential for 2018+)
Crankshaft holding tool (OTC 6684 or Schley 13270)
Valve spring compressor (for 5.0L if you want to install lash adjusters/followers)
18mm, 15mm, 13mm, 10mm, 8mm wrenches and deep sockets
T70 Torx for water pump
Pick set and long magnets
Engine support bar or cherry picker
3-4 quarts of brake cleaner and plenty of shop towels
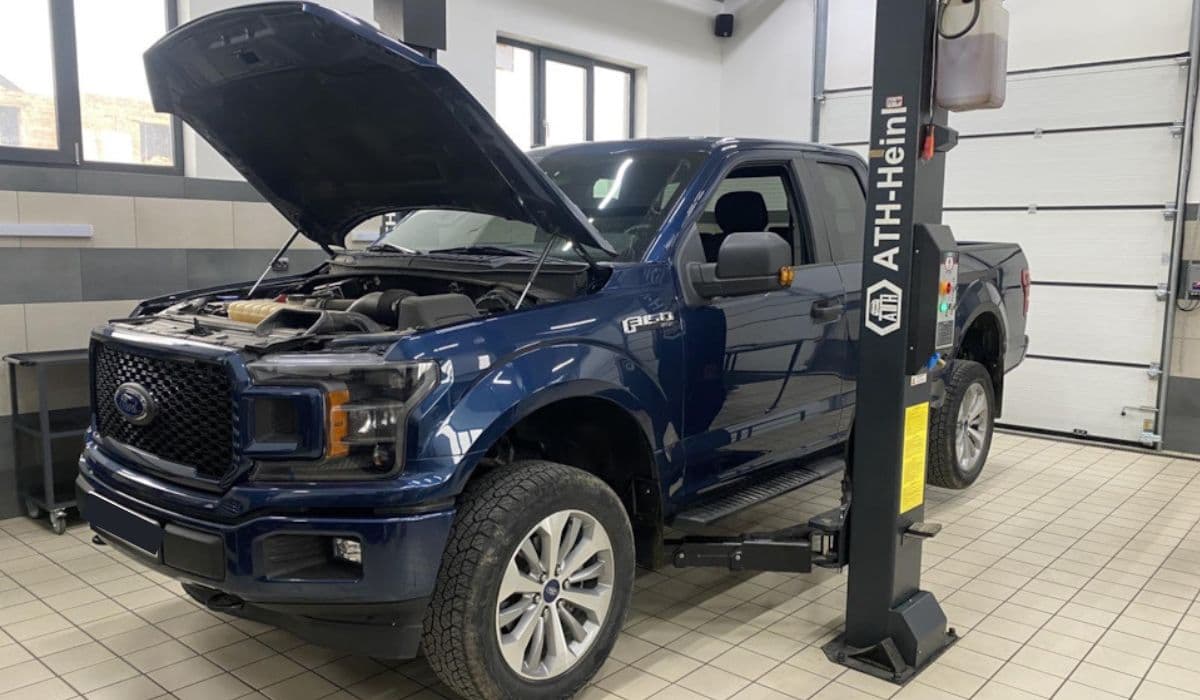
Step-by-Step Removal Process
Disconnect battery, drain coolant and oil
Remove radiator fan shroud, fan clutch (left-hand thread), serpentine belt
Remove valve covers (mark all VCT solenoid connectors)
Remove power steering reservoir and bracket (3.5L)
Support engine with bar across the strut towers
Remove engine mount nuts, jack engine up 2-3 inches
Remove front engine cover (timing cover) – 24 bolts, be patient
Rotate engine to TDC #1 using crank bolt (clockwise only)
Install cam locking wedge tool between the two banks on 2018-2020 (mandatory)
Remove crank bolt, install holding tool
Remove tensioners, guides, chains, and old phasers (use phaser holding tool + 27mm wrench)
Critical Installation Tips That Prevent Comebacks
Clean every oil galley with brake cleaner and compressed air – the #1 cause of repeat failure is debris
Soak new phasers in oil for 30 minutes before installing
Apply clean oil to all chain guides and tensioner pads
New crank bolt: hand thread → 50 Nm → 90° → another 90°
New cam bolts: 40 Nm + 90°
On 2018-2020: install new style wedge plates that come with the updated phasers
Torque valve cover bolts in sequence: 5 Nm then 10 Nm
Prime oil system before first start: disable fuel and ignition, crank 15-20 seconds three times
First Start and Break-In Procedure
Fill with exactly 7.7 quarts (3.5L) or 8.8 quarts (5.0L) of Motorcraft 5W-30 synthetic blend
Turn key to ON for 30 seconds (to prime turbos on EcoBoost)
Start engine and immediately bring to 2500 rpm for 10 seconds (this locks phasers quickly)
Let idle for 15 minutes watching for leaks
Change oil and filter at 500 miles, then every 5,000 miles thereafter
Common Mistakes That Bring Trucks Back to the Shop
Reusing old VCT solenoids (screens clog → repeat rattle in 5k miles)
Not replacing both timing chain tensioners
Forgetting to install the small o-rings on the VCT solenoids
Over-torquing or under-torquing the crank bolt
Using aftermarket phasers that are still old “AD/AE” revision
Skipping the oil pump on high-mileage 3.5L EcoBoost (oil pressure drop is the root cause)
Expected Results After Proper Repair
Completely silent cold and hot starts
Noticeably better throttle response and low-end torque
Smoother idle
No more timing-related codes
Timing components good for another 150-200k miles with proper oil changes
This repair has been performed successfully by thousands of owners and independent shops. When done correctly with all updated parts, the cam phaser rattle is gone forever.
More from Ford
Ford F-150 Complete Maintenance Schedule: 2000 – Present (All Generations, Engines & Powertrains)
30.11.2025 12:32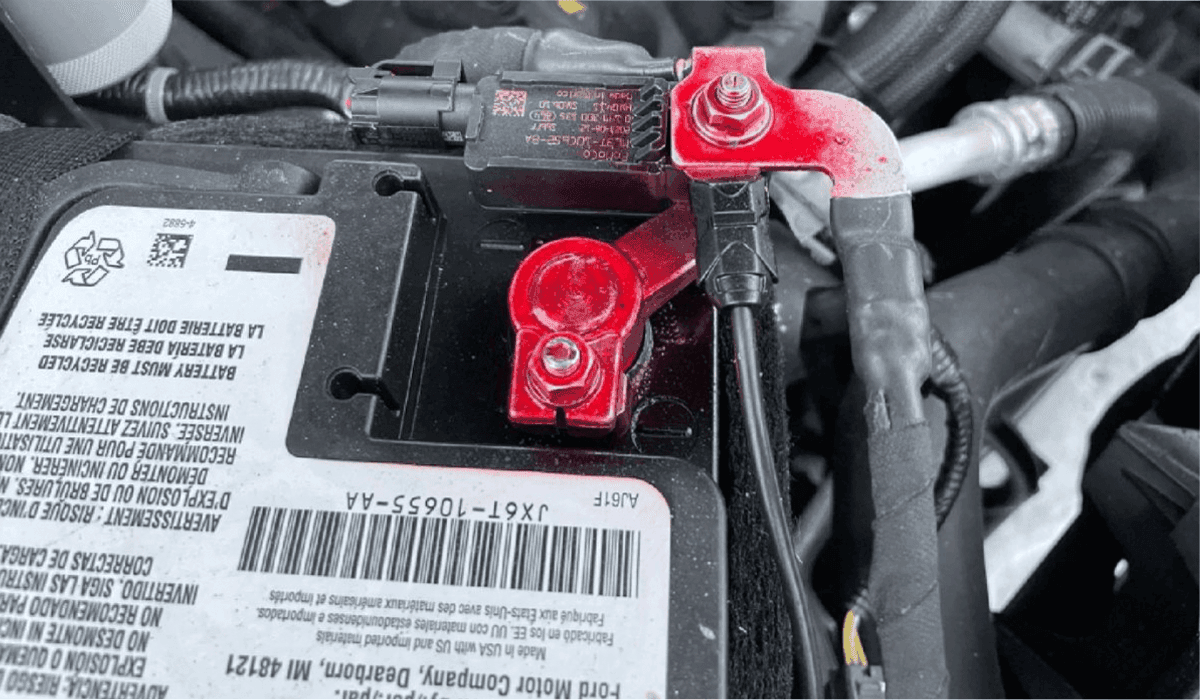
How to Replace the Battery in a Ford F-150 (Any Year & Engine)
30.11.2025 04:04
How to Change Oil and Oil Filter on Ford F-150 (1990s to Present)
24.11.2025 14:03