Honda CR-V Vibration at Idle: Why Engine Mount Replacement Is Often the Real Fix
Honda CR-V owners frequently notice an annoying vibration felt through the steering wheel, seat, and floor when the vehicle is stopped in Drive with the engine idling. The shaking is usually most noticeable at traffic lights or in heavy traffic, and it often disappears as soon as you press the gas pedal. While many drivers first suspect spark plugs, motor oil issues, or even the A/C compressor, the most common and lasting solution on third-generation (2007–2011), fourth-generation (2012–2016), and fifth-generation (2017–2022) CR-Vs is replacing worn hydraulic engine mounts.
How Engine Mounts Work in the Honda CR-V
The CR-V uses three main engine mounts and one transmission mount:
Right (passenger-side) hydraulic mount – the most frequently failing part
Left (driver-side) hydraulic mount
Rear hydraulic mount (often called the “lower torque rod” mount)
Front torque strut mount
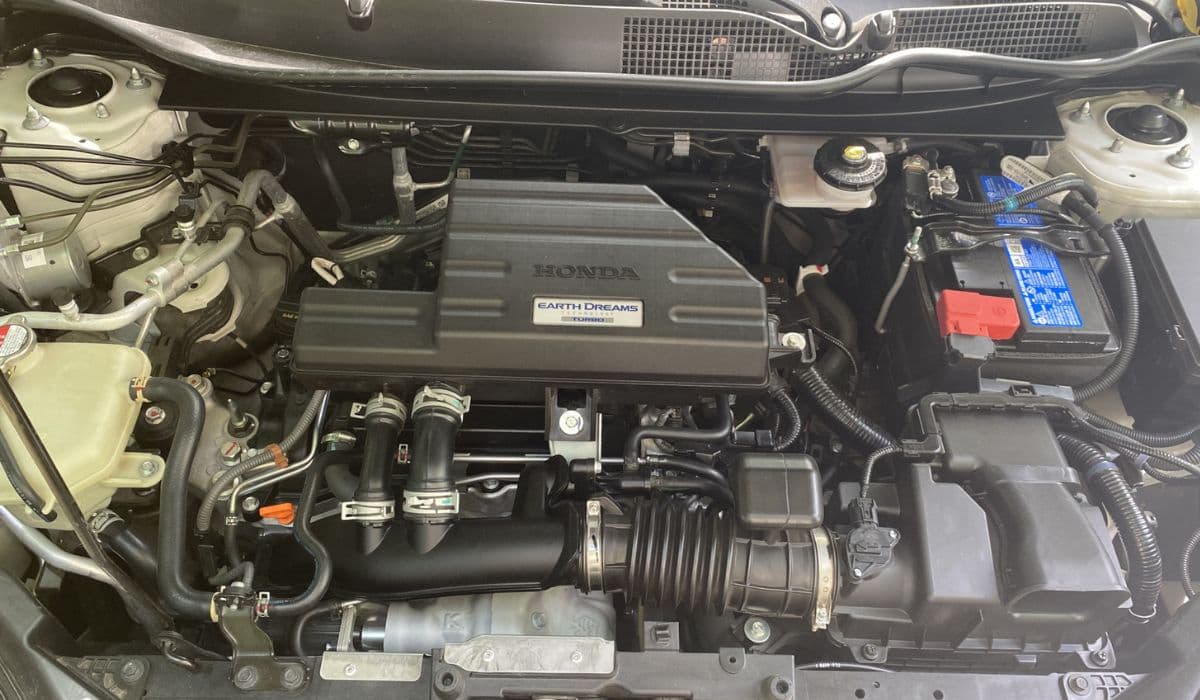
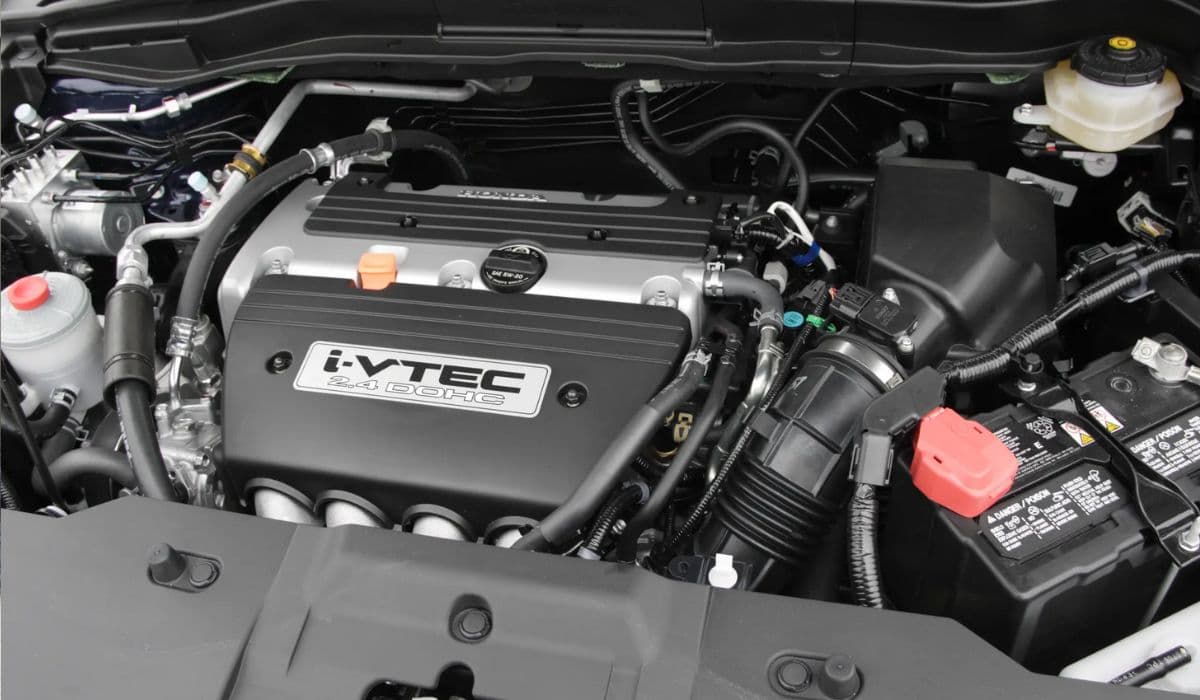
The right-side and rear mounts are liquid-filled hydraulic units designed to dampen the 1.5L turbo or 2.4L naturally aspirated Earth Dreams engines’ vibrations. Over time, heat cycles and engine movement cause the internal hydraulic fluid to leak or the rubber to tear, turning a sophisticated damper into a solid piece of hard rubber. Once that happens, every small imbalance from the four-cylinder engine is transmitted directly into the cabin.
Classic Symptoms of Bad Engine Mounts in CR-V
Owners typically report:
Strong vibration at-idle vibration that is worse in Drive than in Neutral or Park
Vibration intensity increases when A/C is on (extra load on the engine)
A distinct “thunk” or clunk when shifting from Park to Drive/Reverse or when accelerating from a stop
Steering wheel oscillates left-to-right at idle
Vibration almost completely disappears above 1000 RPM
Occasionally accompanied by slight movement of the entire engine visible under the hood when shifting gears
If you open the hood, place the transmission in Drive with your foot firmly on the brake, and lightly blip the throttle, a healthy engine will barely moves. A CR-V with failed mounts will rock noticeably, sometimes hitting the hood latch area or radiator support.
Which Mount Fails First and Why
In 95% of cases, the passenger-side (right) hydraulic engine mount is the primary culprit. It bears the majority of the engine’s torque reaction under acceleration and deceleration. The OEM mount uses a relatively soft rubber compound and a small hydraulic chamber. After 80,000–130,000 miles (sometimes much earlier in hot climates), the rubber tears around the edges and the fluid leaks out. Once the hydraulic damping is lost, the mount essentially becomes a solid block.
The rear mount located under the battery tray (rear lower torque mount) is the second most common failure. It controls fore-aft movement and also uses hydraulic damping.
OEM vs Aftermarket Mounts – What Actually Works Long-Term
Honda dealerships charge premium prices for genuine mounts (often $350–$550 each plus labor), but many owners report that even brand-new OEM mounts fail again within 50,000–70,000 miles. This has led to a large aftermarket ecosystem:
Best-regarded replacements in owner communities:
Anchor 10010 (passenger side) – direct fit, slightly stiffer, rarely leaks
DEA/TYC A65030 or A4525 – budget options that surprisingly last
Anchor 10011 (rear lower) – significantly more durable than OEM
Hardrace or Innovative Mounts polyurethane-filled inserts – for those wanting zero movement (very harsh ride)
Many CR-V owners replace all three hydraulic mounts at once because labor is the biggest cost (4–6 hours on a lift).
Step-by-Step Diagnostic Process You Can Do Yourself
Start the engine, open the hood, and observe engine movement while an assistant shifts from Park → Reverse → Drive. Excessive rocking = bad mounts.
With the engine idling in Park, turn the A/C on maximum. Vibration increase points to mounts, not ignition issues.
Place your hand on the intake manifold and feel for harshness. Compare to a known-good CR-V if possible.
Use a long pry bar to gently push on each mount while someone watches for excessive deflection.
Check for cracked rubber or oil/fluid residue around the passenger-side mount (leaked hydraulic fluid looks like dark oil).
Detailed Replacement Procedure (Passenger-Side Mount Example)
Tools needed: 17 mm, 19 mm deep sockets, 14 mm wrench, torque wrench, jack stands, long extensions, universal joint.
Disconnect battery negative terminal.
Remove air intake duct and battery + tray for access.
Support engine from underneath using a floor jack and wood block on the oil pan (do NOT jack directly on the pan).
Remove the three 17 mm bolts holding the mount to the body and the two 19 mm through-bolts to the engine bracket.
Slightly raise the engine with the jack until the mount can be maneuvered out (about 2–3 inches).
Install new mount, hand-thread all bolts.
Lower engine slowly, torque body bolts to 47 ft-lbs, through-bolts to 65 ft-lbs.
Reinstall battery tray and intake.
The rear mount requires removing the lower splash shield and supporting the transmission, while the driver-side mount is the most difficult due to tight clearance near the firewall.
What Doesn’t Fix the Vibration (Common Misdiagnoses
New spark plugs, coils, or injector cleaning – helps misfires, not mount-related vibration
Engine flush or thicker oil – temporary placebo effect at best
Transmission fluid change – may reduce shift shock but not idle vibration
New motor/transmission fluid – irrelevant to hydraulic mount failure
If the vibration is RPM-dependent (worse at specific engine speeds while driving) rather than load-dependent at idle, then consider alternator pulley, cracked flexplate, or inner CV joints.
Long-Term Prevention Tips
Avoid excessive throttle while the transmission is shifting (reduces torque shocks)
Let the engine warm up for 30–60 seconds before driving in very cold weather
Use only genuine Honda or high-quality aftermarket mounts – cheap $60 Amazon mounts tear in months
Consider replacing all three mounts plus front torque strut at the same time to avoid repeat labor
A properly executed engine mount replacement on a Honda CR-V almost always completely eliminates the infamous idle vibration, restoring the smooth and quiet cabin the model is known for.
More from Honda

How to Fix and Prevent Premature Brake Wear on Honda Accord 2018–2022
08.12.2025 12:06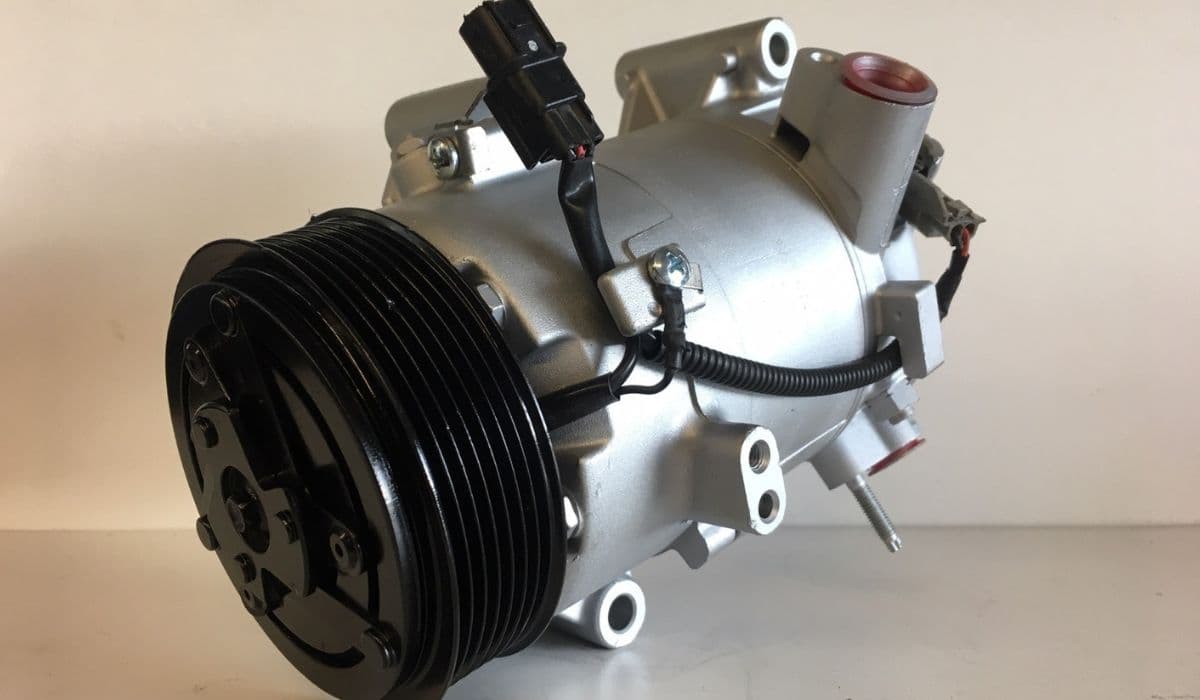
10th Gen Honda Civic AC Compressor Clutch Replacement – Complete DIY Guide
08.12.2025 12:12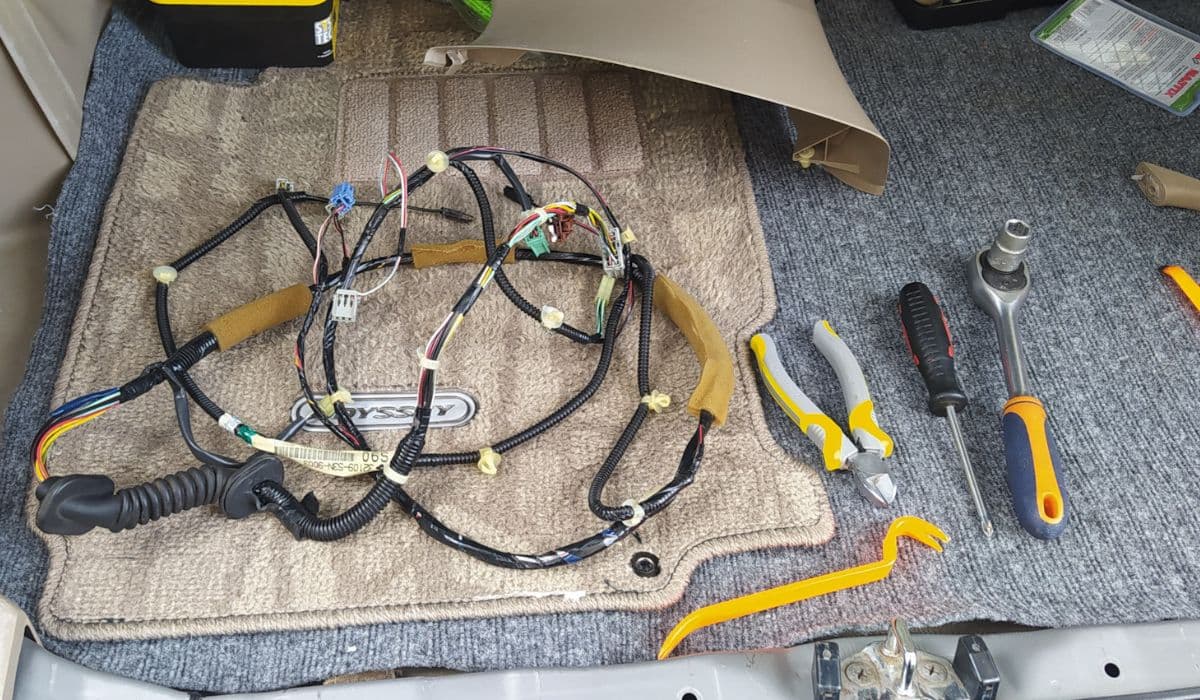
How to Permanently Fix 2008-2017 Honda Odyssey Sliding Door Cable Snap (Complete DIY Repair Guide)
08.12.2025 12:18
Honda Pilot 9-Speed ZF Transmission Fluid Change DIY: Complete Step-by-Step Guide
08.12.2025 09:15
How to Change Honda CVT Fluid Properly (Step-by-Step)
08.12.2025 09:08