10th Gen Honda Civic AC Compressor Clutch Replacement – Complete DIY Guide
Replacing the air conditioning compressor clutch on a 10th generation Honda Civic (2016–2021 sedan, coupe, hatchback, Si, and Type R) is one of the most rewarding and cost-effective repairs an owner can perform. A failed clutch typically causes the familiar “click-but-no-cold-air” symptom while the magnetic coil still receives power. Doing the job yourself saves $600–$1200 compared to dealership or independent shop prices.
Signs Your 10th Gen Civic AC Compressor Clutch Needs Replacement
The most common symptoms include:
The AC compressor pulley spins freely but the clutch plate does not engage
Loud squealing or grinding noise from the compressor when AC is turned on
Intermittent cooling that works only at certain RPMs
Burnt smell from the belt area
Diagnostic scan shows P0534 (refrigerant charge loss) or no clutch control signal (rarely the real cause)
Check the clutch gap first: with the engine off, the air gap between the clutch plate and pulley should be 0.35–0.65 mm (0.014–0.025 in). If it’s larger than 0.8 mm, the clutch will slip or refuse to engage even with good voltage.
Required Tools and Parts
Specific tools for 10th-gen Civic (1.5T L15B7, 2.0 K20C2, and 1.5T high-output engines):
10th-gen specific compressor clutch puller (Honda OEM tool 07AAB-TK8A100 or aftermarket equivalent – regular universal pullers often do not fit)
Clutch holder tool (07AAB-RJAA100 or a large strap wrench with rubber strap)
14 mm, 17 mm, 19 mm thin-wall sockets
8 mm and 10 mm flex-head ratcheting wrenches
Snap-ring pliers (internal and external, 90-degree tips help)
Torque wrench (inch-pounds and ft-lbs)
Digital caliper or feeler gauges
Refrigerant recovery machine (mandatory – never vent R-1234yf)
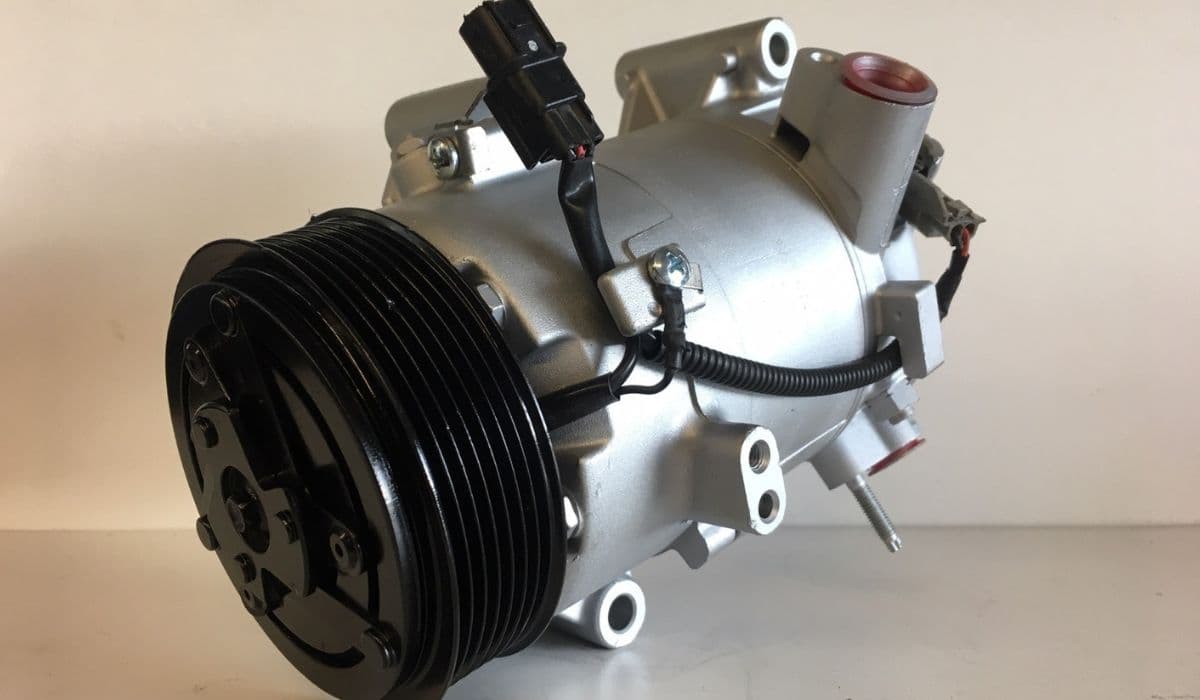
New clutch assembly (Denso 38810-5BA-A01 or genuine Honda 38900-5AA-A01 – both are identical)
New clutch pulley bearing if yours is noisy (38824-5R0-003)
New field coil if burnt (38924-5AA-A01)
Shims pack (0.1 mm, 0.3 mm, 0.5 mm) – usually comes with new clutch
Safety and Legal Notes
R-1234yf is classified as mildly flammable (A2L). Recovery is required by law in most countries that adopted the EPA SNAP rule. Use only certified recovery/recycle/recharge equipment. Wear safety glasses and nitrile gloves – refrigerant burns are serious.
Step-by-Step Clutch Removal Without Removing the Compressor
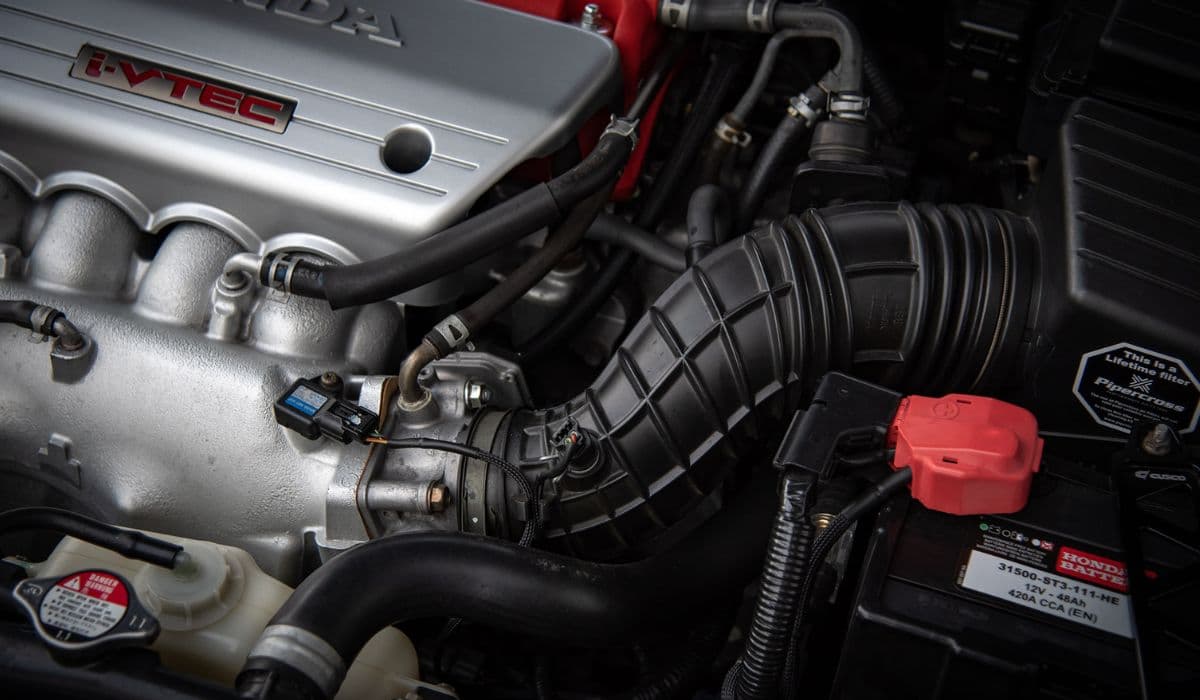
The beauty of the 10th-gen platform is that the compressor is mounted low on the passenger side and the clutch can be replaced in-car.
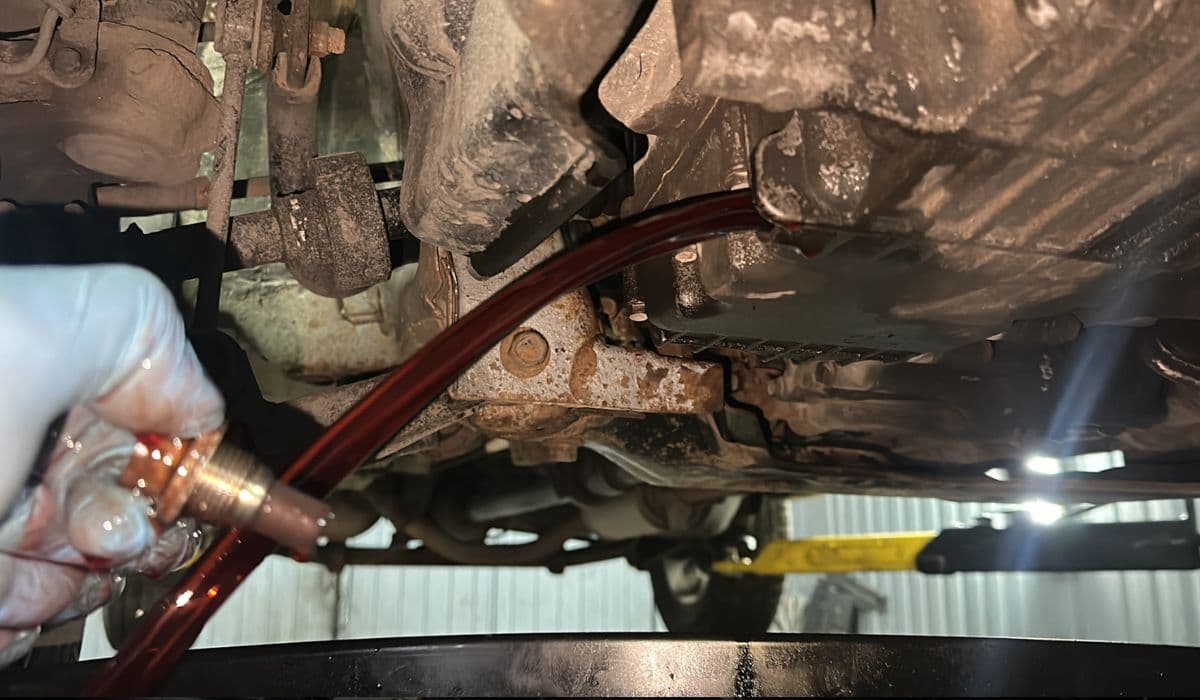
Recover all refrigerant using a certified machine.
Disconnect the negative battery terminal.
Remove the passenger-side front wheel and inner fender liner (10 mm bolts and plastic clips).
Remove the serpentine belt: use a 14 mm wrench on the tensioner from under the car (clockwise to release).
Unplug the clutch coil connector (small gray plug on top of compressor).
Remove the 8 mm bolt in the center of the clutch plate (use clutch holder tool to stop rotation). Apply penetrating oil if seized.
Thread the correct clutch remover tool (M14×1.5 thread) into the clutch plate and slowly tighten the center bolt of the puller until the clutch plate pops off.
Remove the shim(s) from the compressor shaft and keep them – you will reuse or replace with correct thickness later.
Use internal snap-ring pliers to remove the pulley retaining ring (it’s behind the pulley, not visible from front).
Use the clutch puller again (now with the larger pulley adapter) to pull the pulley/bearing assembly straight off. Light heat (heat gun, never torch) around the pulley hub helps if stuck.
Pry off the second snap ring that retains the field coil (90-degree snap-ring pliers are almost mandatory here).
Unclip the coil wire from the compressor body and lift the coil straight up.
Inspection and Common Failures
Check pulley bearing: spin by hand – any grinding or resistance means replace (38824-5R0-003).
Inspect the clutch friction surface – deep grooves or bluing indicate overheating.
Check coil resistance: should be 3.5–4.1 Ω at 68 °F. If open or shorted, replace coil.
Examine compressor shaft for scoring where the pulley bearing rides.
Reassembly and Critical Clutch Gap Adjustment
Clean the compressor shaft with scotch-brite and brake cleaner.
Install new field coil (if replaced). Route wire exactly like factory and snap into plastic retainer.
Install coil snap ring (beveled side facing out).
Slide new pulley assembly onto shaft. Tap gently with plastic mallet until it seats against the step on the shaft.
Install pulley snap ring (beveled side toward pulley).
Place the original shim(s) on the shaft first (or start with 0.5 mm + 0.3 mm from the new kit).
Install new clutch plate. Install center 8 mm bolt finger-tight only.
Reconnect clutch connector temporarily and reconnect battery.
Start engine, turn AC on MAX. The clutch should pull in and spin the compressor.
Measure gap all around with feeler gauge through the inspection windows in the clutch plate. Target: 0.4–0.6 mm (0.016–0.024 in).
If gap is too large, shut off engine, remove 8 mm bolt, remove clutch plate, remove 0.1–0.3 mm shim. If too small, add shim.
Repeat until gap is perfect. This step is critical – wrong gap causes premature failure.
Once correct, torque center bolt to 12 ft-lb (144 in-lb) while holding clutch with holder tool.
Reinstall belt, inner fender, wheel.
Evacuate system for minimum 45 minutes (below 500 microns).
Recharge with exact amount of R-1234yf (typically 480–510 g depending on VIN – check door sticker).
Torque Specifications
Clutch center bolt – 12 ft-lb (16 Nm)
Compressor mounting bolts – 18 ft-lb (24 Nm) if loosened
Belt tensioner bolt – 33 ft-lb (44 Nm)
Pro Tips Specific to 10th Gen Civic
The 1.5T high-output (Type R and some Si) uses a slightly different clutch bolt (same thread but shorter shoulder) – verify part numbers.
If you hear bearing noise after reassembly, you installed the pulley snap ring backwards – it will push the bearing outward.
Many aftermarket clutches come with incorrect shims – always measure gap instead of trusting the “pre-set” thickness.
Use only ND-11 or equivalent PAG oil if you need to add any during service.
After recharge, let the car idle with AC on MAX for 10 minutes. Compressor should cycle normally, clutch should stay solidly engaged, and vent temperature should drop below 45 °F at ambient 80 °F. Drive the car and verify no belt squeal or clutch slip under load.
Performing this repair yourself on a 10th-gen Civic typically takes 3–5 hours once you have the special puller tool and recovery machine access. The satisfaction of cold air again – and keeping $800+ in your pocket – makes it well worth the effort.
More from Honda
How to Fix VTC Actuator Rattle Honda Civic 2016-2021
08.12.2025 11:54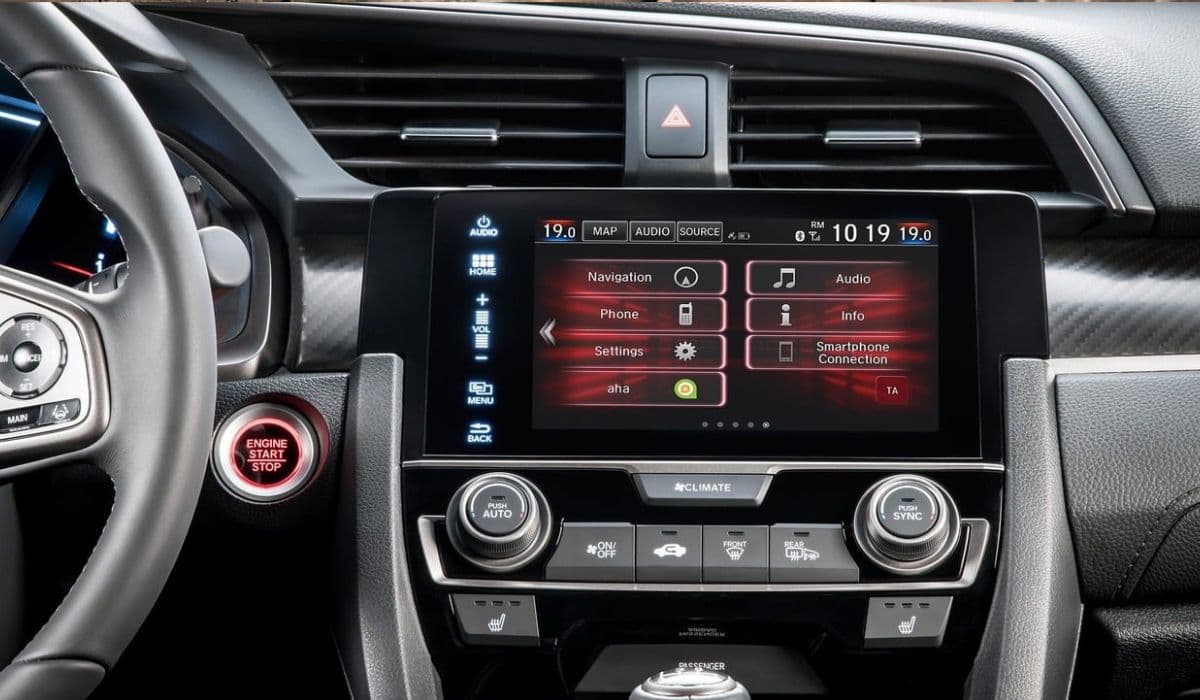
How to Fix Honda Civic 10th Generation Infotainment System Random Rebooting
08.12.2025 12:01
How to Fix and Prevent Premature Brake Wear on Honda Accord 2018–2022
08.12.2025 12:06
How to Change Honda CVT Fluid Properly (Step-by-Step)
08.12.2025 09:08
Honda CR-V 1.5T Turbo Coolant Leak – Complete DIY Repair Guide
08.12.2025 09:03