How to Permanently Fix 2008-2017 Honda Odyssey Sliding Door Cable Snap (Complete DIY Repair Guide)
The sliding door cable snap is one of the most common and frustrating failures on third-generation (RL5) and fourth-generation (RL6) Honda Odyssey minivans. When the external power sliding door cable frays and eventually snaps, the door becomes impossible to open manually or with the power button, the fuel filler door locks shut, and the dash often shows a “Sliding Door” warning light. This article covers every detail of the permanent repair that thousands of owners have successfully performed.
Understanding the Root Cause of the Cable Failure
The factory design routes the power sliding door cable through a tight 180-degree bend inside the rear quarter panel, right where it exits the track roller assembly. Constant flexing, exposure to road salt, moisture that wicks along the cable, and poor grease from the factory cause the inner strands to corrode and fray. Once 30–50% of the strands break, the remaining wires snap under normal opening/closing load, usually with a loud “pop” sound.
The problem affects both driver-side and passenger-side doors equally, and almost every 2008-2017 Odyssey will eventually experience it, often between 100k–180k miles.
Symptoms That Your Sliding Door Cable Has Snapped
Door will not open manually (handle feels completely loose or moves the latch but the door stays shut)
Power sliding door buttons do nothing, no motor sound
Fuel door cannot be opened (same cable releases the fuel lid lock)
Dashboard shows “Door Open” or “Sliding Door” warning even when closed
You can hear the motor strain or click when pressing the button
Visible frayed or broken cable hanging under the rear roller cover
If you have these symptoms, the cable is almost certainly snapped.
Tools and Parts You Will Actually Need
OEM replacement cable kit (Honda part 72531-TK8-A11 for passenger side, 72571-TK8-A11 for driver side) – strongly recommended over Dorman
Extra 10 mm, 12 mm, and 8 mm sockets and wrenches
T30 and T40 Torx bits
Trim removal tools (plastic pry tools)
Phillips and flat-head screwdrivers
Flashlight or droplight
Zip ties and electrical tape
White lithium grease or Honda Shin-Etsu grease
Optional: new center roller assembly (72050-TK8-A11 or 72010-TK8-A11) if yours is seized
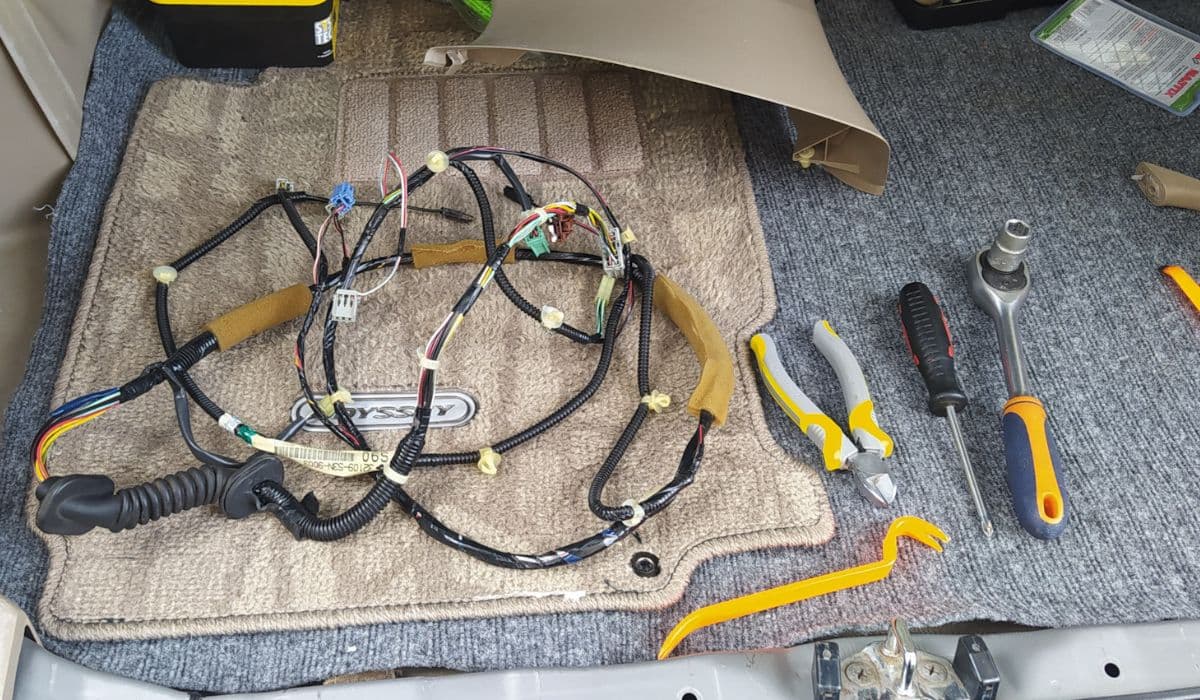
Step-by-Step Removal of the Broken Cable
Disconnect the negative battery terminal (prevents the motor from trying to move while you work).
Manually release the door: open the small rubber plug on the rear edge of the sliding door, insert a flat screwdriver, and push the release lever forward. The door can now be forced open.
Remove the rear tail light (two 8 mm bolts) to gain better access to the motor area.
Remove the lower roller cover (black plastic piece under the rear quarter glass) – one Phillips screw and several clips.
Remove the center roller plastic cover (the long piece that runs along the track) – pull straight down carefully.
Inside the van, remove the rear quarter trim panel: pull the seat belt out of the slot, remove the cargo hook, pop off the panel starting from the bottom.
Unplug the power sliding door motor connector and remove the three 10 mm bolts holding the motor. Let it hang.
Remove the rear roller assembly (three 12 mm bolts). The broken cable end will now be visible and free.
Removing the Snapped Cable from the Front Pulley
This is the trickiest part for most owners:
Open the front door and remove the B-pillar lower trim (one clip and pull).
Peel back the rubber weatherstrip along the bottom and side.
Locate the white plastic front pulley housing near the step well.
Remove the single T30 Torx screw holding the pulley cover.
Carefully pry the cover off – the snapped cable end is usually still attached to the nipple inside.
Pull the entire old cable forward through the chassis and out the rear.
Installing the New Cable – Critical Tips
Heavily grease the new cable with white lithium or Honda grease before routing.
Route the new cable exactly the same path: from rear roller → along the track → down into the body → through the tight bend → to the front pulley.
Seat the front nipple firmly into the white pulley and snap the cover back on (make sure the nipple is fully seated or the door will not close properly).
At the rear, attach the cable nipple to the sliding bracket on the new center roller assembly.
Reinstall rear roller assembly (torque 12 mm bolts to 16 ft-lb).
Reconnect motor, but do not bolt it yet.
Adjusting Cable Tension Perfectly
This step prevents premature failure of the new cable:
Close the door manually until the rear latch clicks.
Pull any slack out of the cable at the motor end and temporarily zip-tie it.
Plug the motor back in and use the power button to cycle the door fully open and closed twice.
Remove the zip tie – the motor self-adjusts the final tension.
Bolt the motor back (three 10 mm bolts, 7 ft-lb).
Common Mistakes That Cause Repeat Failures
Not replacing the center roller assembly (old seized rollers over-stress the new cable)
Skipping grease on the new cable
Not fully seating the front nipple
Reusing the old frayed cable sleeve in the tight bend area
Forgetting to reconnect the fuel door release rod
Pro Tips from Owners Who Have Done This 3+ Times
Replace both sides at the same time – the other side will fail within months.
Wrap the section of cable that makes the 180-degree bend with self-fusing silicone tape for extra protection.
Apply anti-seize to all roller assembly bolts.
Keep the track and rollers spotless – dirt accelerates wear.
After repair, reset the power door system: turn ignition ON, hold both sliding door buttons for 10 seconds until you hear a beep.
Testing Your Repair
Cycle the door at least 20 times with the power buttons and 10 times manually. Open the fuel door. Check that the dash warning light is gone. If everything works perfectly, reinstall all trim panels in reverse order.
This repair, when done correctly with genuine Honda cables and a new roller assembly, typically lasts another 150,000+ miles with no further issues.
More from Honda
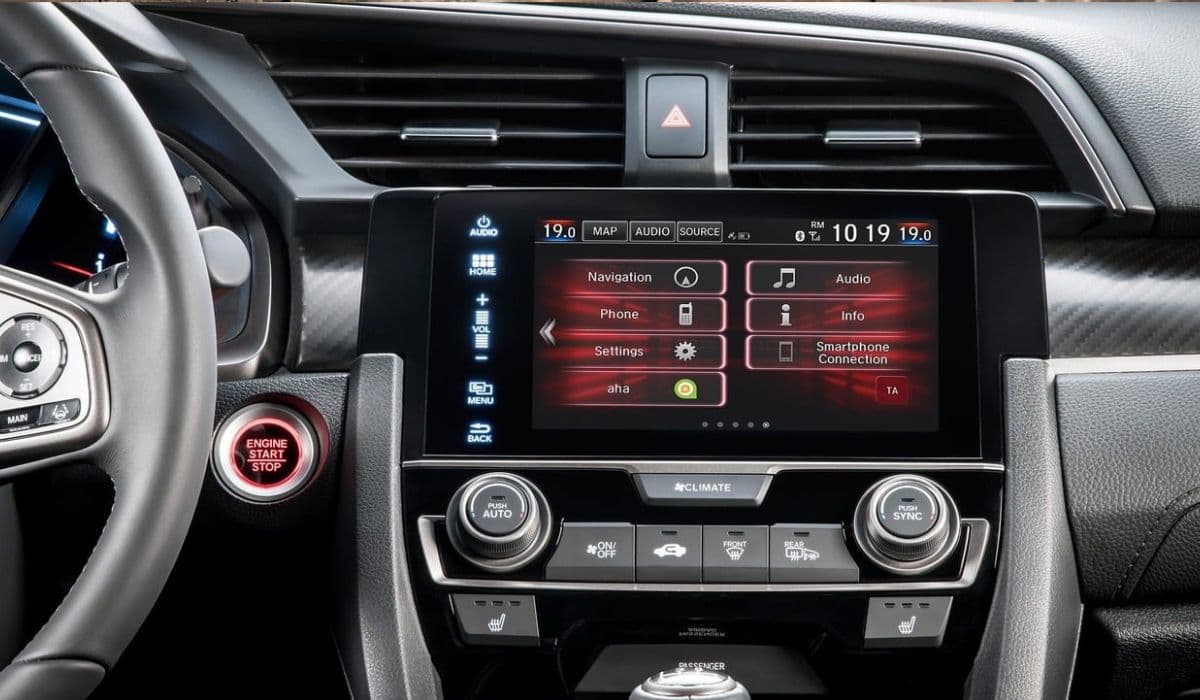
How to Fix Honda Civic 10th Generation Infotainment System Random Rebooting
08.12.2025 12:01
How to Fix and Prevent Premature Brake Wear on Honda Accord 2018–2022
08.12.2025 12:06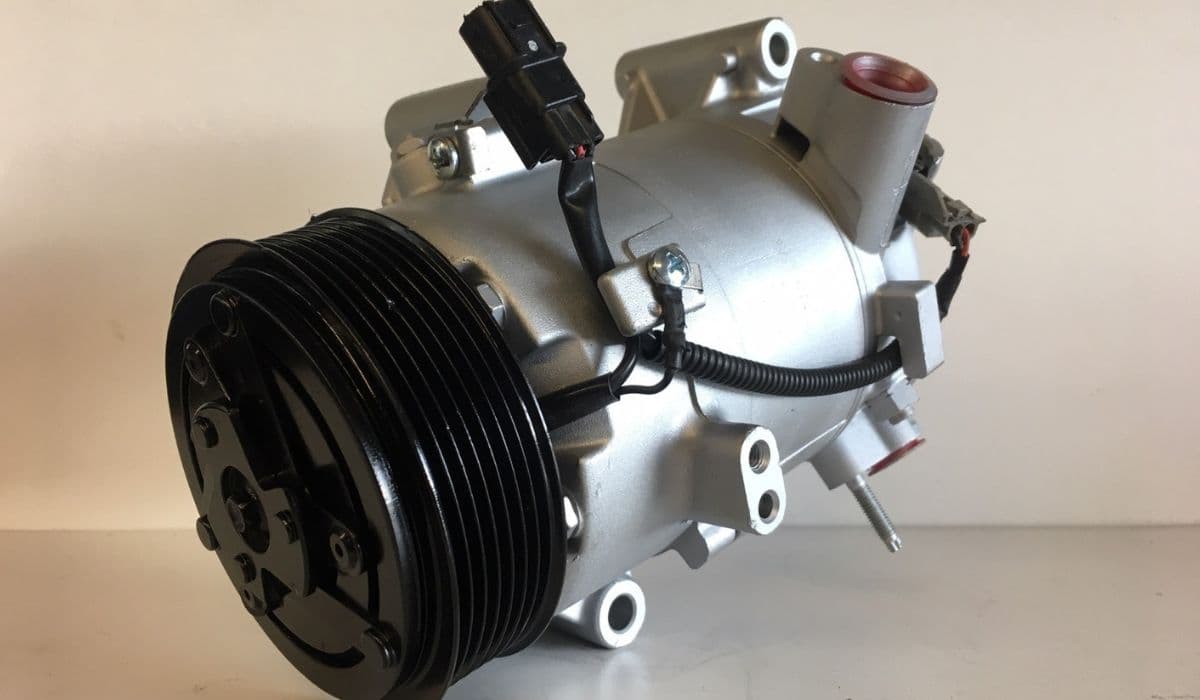
10th Gen Honda Civic AC Compressor Clutch Replacement – Complete DIY Guide
08.12.2025 12:12
Honda Pilot 9-Speed ZF Transmission Fluid Change DIY: Complete Step-by-Step Guide
08.12.2025 09:15
How to Change Honda CVT Fluid Properly (Step-by-Step)
08.12.2025 09:08