How to fix HVAC blend door actuator clicking noise Tesla

Tesla owners often encounter a frustrating clicking or knocking noise from the dashboard, particularly when adjusting climate controls or upon vehicle startup. This issue typically stems from the HVAC blend door actuator, a small electric motor responsible for precisely controlling the blend doors that mix hot and cold air to achieve the desired cabin temperature. In electric vehicles like Tesla models, the HVAC system relies heavily on these actuators for efficient operation, making any malfunction noticeable and disruptive to the quiet cabin experience.
The clicking noise occurs when the actuator's internal gears strip or jam, causing the motor to repeatedly attempt movement without success. This can happen over time due to wear, temperature fluctuations, or minor debris interference. Fortunately, many Tesla owners have successfully addressed this problem through simple troubleshooting or targeted repairs, restoring smooth and silent climate control.
Understanding the Blend Door Actuator in Tesla HVAC Systems
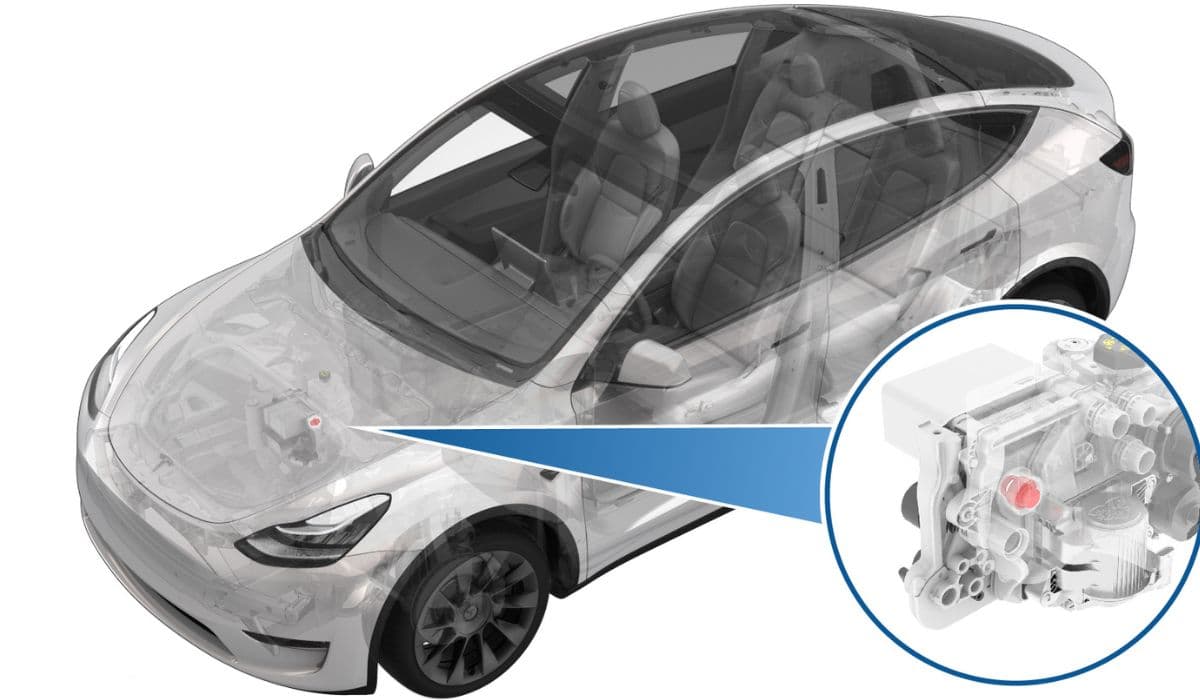
The blend door actuator is a critical component in the heating, ventilation, and air conditioning (HVAC) setup of Tesla vehicles, including popular models with heat pumps. It operates by rotating a shaft connected to the blend door, directing airflow through the heater core or evaporator to regulate temperature.
In Teslas, multiple actuators manage different functions:
Blend actuators for temperature mixing
Mode actuators for directing air to vents, floor, or defrost
Intake actuators for fresh or recirculated air
When an actuator fails, it often manifests as repetitive clicking from behind the dashboard, especially on the passenger side or near the glove box. The noise may intensify during temperature changes or system calibration at startup. Accompanying symptoms include inconsistent air temperature, reduced airflow from certain vents, or uneven heating/cooling between driver and passenger sides.
Ignoring the issue can lead to further strain on the HVAC system, potentially affecting overall cabin comfort in varying weather conditions.
Common Causes of Clicking Noise
Several factors contribute to blend door actuator failure in Tesla vehicles:
Gear wear: Plastic gears inside the actuator degrade over time, skipping teeth and causing the motor to click as it struggles.
Misalignment: The actuator shaft may lose proper engagement with the blend door after repeated cycles.
Software glitches: Occasional over-the-air updates or system resets can temporarily disrupt actuator positioning.
Debris or binding: Leaves or minor obstructions in ducts can cause doors to stick, forcing the actuator to overwork.
Calibration drift: Actuators perform self-calibration on wakeup or ignition, and any discrepancy triggers repeated attempts, resulting in noise.
Identifying the exact actuator—often the passenger-side blend or mode door—is key, as the sound usually originates from one specific location.
Initial Troubleshooting Steps
Before diving into repairs, try these non-invasive methods to resolve the clicking:
Restart the HVAC system: Turn off climate control completely via the touchscreen, wait a few minutes, then reactivate it.
Cycle temperature settings: Manually adjust from LO to HI several times to force recalibration.
Check for software updates: Ensure your vehicle is on the latest firmware, as updates sometimes include HVAC optimizations.
Inspect cabin air filter: A clogged filter can strain the system; replacing it may indirectly alleviate actuator stress.
Listen closely: With the vehicle parked, activate different vent modes and temperatures to pinpoint the noisy actuator.
These steps resolve minor issues in many cases, especially if the noise is intermittent.
DIY Recalibration Techniques
Tesla's HVAC actuators are designed to self-calibrate, but manual intervention can help:
Enter Service Mode via the touchscreen (requires specific access, often through controls).
Run diagnostic tests: In some models, advanced menus allow actuator cycling routines.
Power cycle the vehicle: Park, exit, lock, and wait 10-15 minutes before re-entering to trigger a full system reset.
Adjust settings aggressively: Set blower to maximum, temperature to extreme LO or HI, and let it run for several minutes.
Many owners report success with these, as they realign the actuator without disassembly.
Replacing the Faulty Actuator: A Step-by-Step Guide
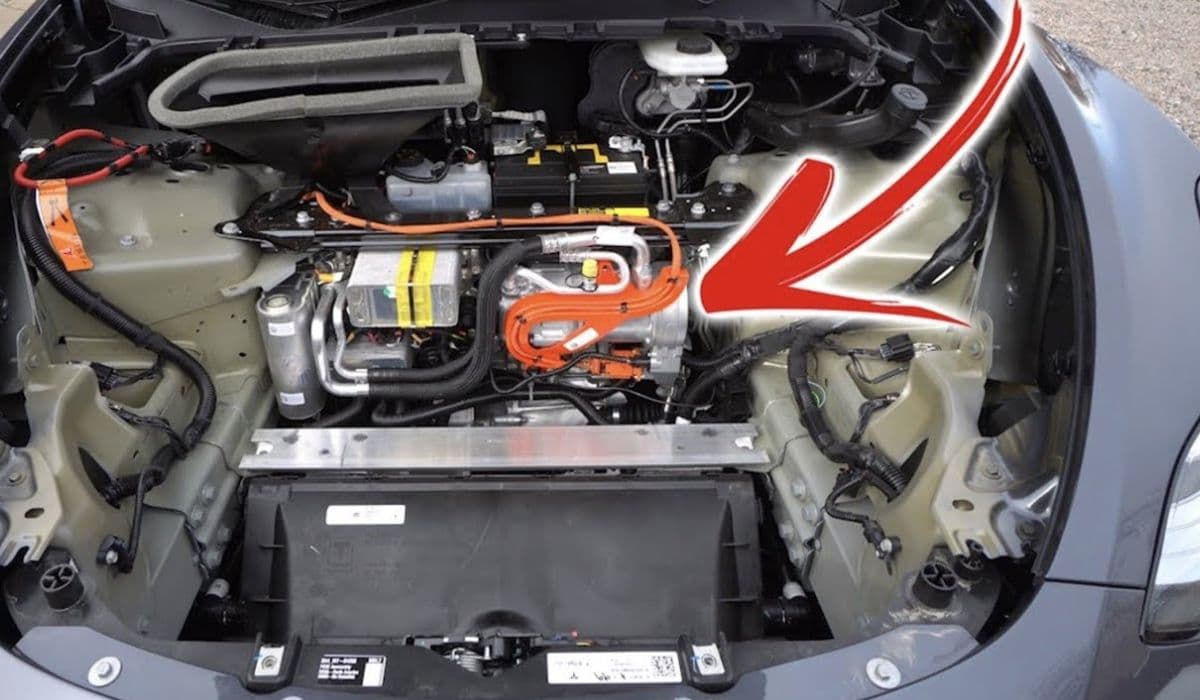
For persistent clicking, replacement is often the most reliable fix. Access varies by model but generally involves the glove box or footwell areas.
Preparation:
Gather tools: Phillips screwdriver, trim removal tools, flashlight.
Park in a well-lit area and ensure the vehicle is off.
General process (adapt to your model):
Lower or remove the glove box for passenger-side access.
Locate the actuator: It's a small black module with a wiring harness, attached by 2-3 screws near the HVAC housing.
Disconnect the electrical connector carefully.
Remove mounting screws and gently twist/pull the actuator off the shaft (note orientation).
Install the new actuator: Align the shaft precisely, secure screws snugly, and reconnect the harness.
Reassemble panels and test the system.
Post-installation:
Cycle climate controls multiple times.
Drive briefly to allow natural recalibration.
This repair restores quiet operation and proper temperature blending.
Preventive Maintenance Tips
To avoid future actuator issues:
Regularly replace the cabin air filter to reduce system strain.
Avoid extreme temperature swings when possible.
Keep an eye on HVAC performance after software updates.
Use preconditioning features to gently warm or cool the cabin.
Proactive care extends the life of these components in your Tesla's advanced climate system.
Maintaining your Tesla's HVAC ensures a comfortable, whisper-quiet drive year-round.