How to replace noisy wheel bearing (Tesla Model Y Performance)

The Tesla Model Y Performance delivers exhilarating acceleration and precise handling, but like any high-performance vehicle, its components face significant stress. Wheel bearings play a critical role in ensuring smooth rotation and stability, especially under the instant torque of dual electric motors. A failing bearing can introduce unwanted noise, compromising the serene cabin experience Tesla owners cherish. Addressing a noisy wheel bearing promptly restores quiet operation and maintains safety during spirited drives.
Identifying Symptoms of a Failing Wheel Bearing
Diagnosing wheel bearing issues in the Model Y Performance requires attention, as electric vehicles lack engine noise that might mask problems in traditional cars. Common signs emerge gradually but become unmistakable over time.
A humming or growling sound that increases with speed, often described as a low-frequency drone.
Noise that intensifies when turning in one direction, as load shifts to the affected bearing.
Subtle vibrations felt through the steering wheel or floorboard at highway speeds.
In advanced cases, a grinding sensation or slight wheel play when the vehicle is lifted.
These symptoms can mimic tire issues or suspension problems, so perform a road test: drive at varying speeds and note if the noise persists during regeneration, when mechanical brakes are less engaged. Swerving gently left and right helps isolate the side—noise louder on turns loading the bad bearing points to the culprit.
Safety Precautions and Preparation
Working on a heavy electric vehicle demands caution. The Model Y Performance tips the scales at over 4,400 pounds, with powerful regenerative forces at play.
Always park on a level surface and engage parking mode via the touchscreen. Chock the opposite wheels for added security. Disconnect the 12V battery if extensive work is needed, though not always required for wheel-end repairs. Wear eye protection and gloves to guard against debris.
Gather essentials before starting:
Floor jack and jack stands rated for the vehicle's weight.
Torque wrench for precise fastener tightening.
Socket set, including deep sockets for lug nuts and axle components.
Hub puller tool to separate the halfshaft without damage.
Wire brush for cleaning mating surfaces.
Anti-seize compound and thread locker as needed.
Enable service mode for rear electronic parking brakes through the touchscreen to release calipers safely.
Tools and Parts Required
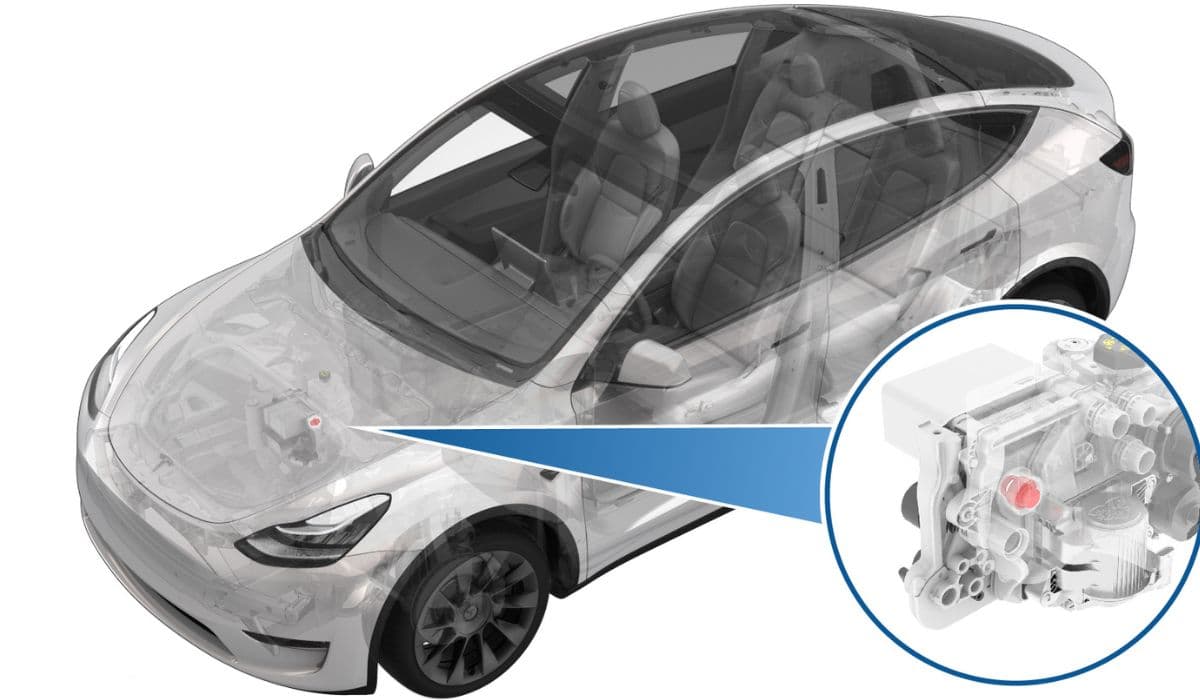
The integrated hub-bearing assembly in the Model Y simplifies replacement—no pressing required, as the unit comes pre-assembled.
Key tools include:
21mm socket for lug nuts.
Breaker bar for stubborn fasteners.
Hydraulic or manual hub puller for halfshaft separation.
Pry bar and S-hook for supporting calipers.
Dial indicator for checking runout if precision alignment follows.
Opt for a genuine or high-quality aftermarket hub assembly with an intact magnetic encoder ring for ABS and stability control functionality. Inspect the new unit's tone ring for cleanliness—magnetic debris can cause sensor errors.
Step-by-Step Removal Process
Focus on one wheel at a time, starting with the suspected noisy side. Procedures are similar front and rear, with nuances for dual-motor drive units.
Raise the vehicle securely and remove the wheel. Release the brake caliper by removing its guide bolts, then hang it aside to avoid straining the hose.
Remove the rotor retaining screw and slide off the rotor.
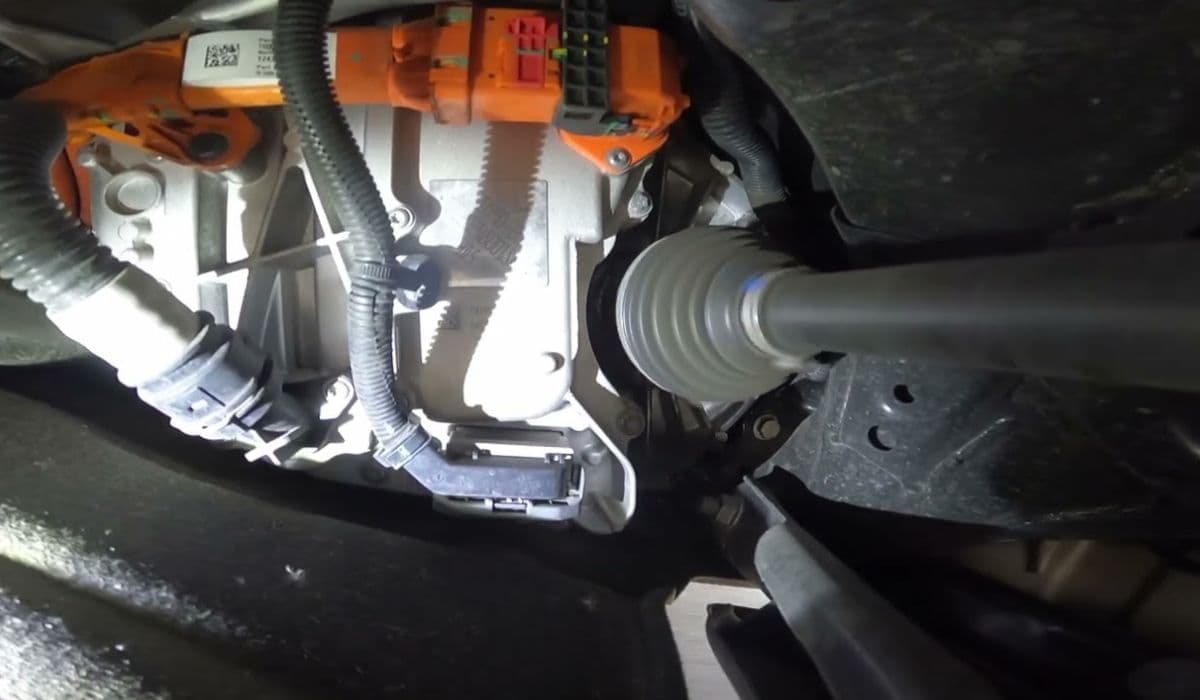
Disconnect any ABS sensor wiring carefully.
Loosen and remove the halfshaft nut if applicable (front or rear drive wheels).
Attach the hub puller to the studs and apply force to separate the halfshaft splines from the hub.
Unbolt the hub assembly from the knuckle—typically three or four bolts.
Gently remove the old hub, noting any corrosion on mating surfaces.
Clean the knuckle bore thoroughly. The magnetic tone ring on the old hub often attracts metal particles—avoid using magnetic tools nearby to prevent damage.
Installation of the New Hub Assembly
Reassembly reverses removal, with emphasis on proper torquing and alignment.
Slide the new hub onto the halfshaft splines, ensuring full engagement. Apply a light coat of lubricant to the splines if recommended.
Install new bolts securing the hub to the knuckle, tightening in a star pattern.
Reattach the rotor and caliper with fresh hardware where specified.
Torque the halfshaft nut precisely to avoid bearing preload issues.
Reconnect sensors and reinstall the wheel.
Lower the vehicle and perform a test drive, listening for silence. A four-wheel alignment is advisable afterward, as disturbing the hub can affect camber or toe settings.
Common Challenges and Tips for Model Y Performance
The Performance variant's larger brakes and lower suspension add minor complications, like tighter clearances around calipers. Dual motors mean both front and rear hubs connect to halfshafts, requiring careful separation to avoid spline damage.
If the hub resists removal, apply penetrating oil and use steady force with the puller—avoid hammering, which risks knuckle damage. Check for play in control arm bushings while the wheel is off, as they can contribute to perceived bearing noise.
Post-replacement, monitor for ABS warnings; a dirty tone ring triggers them easily. The instant torque of Performance mode tests the new bearing immediately—any residual noise suggests incomplete seating or another issue.
Post-Replacement Checks and Maintenance
After reinstallation, verify smooth rotation by hand before driving. Torque all fasteners again after initial miles, as settling occurs.
Regularly inspect wheels for balance issues, which exacerbate bearing wear. Rotate tires per schedule to distribute loads evenly. In performance driving, bearings endure higher lateral forces—aggressive cornering accelerates degradation.
Addressing a noisy bearing not only eliminates annoyance but preserves the Model Y's refined dynamics. With proper technique, this repair returns the vehicle to its whisper-quiet, high-performance best.