Camry 2GR-FE V6 Water Pump Replacement DIY – Full Step-by-Step Guide
The Toyota Camry equipped with the 2GR-FE 3.5L V6 engine delivers smooth power and impressive reliability, but even this durable powerplant has components that wear over time. The water pump stands out as one of those critical parts prone to eventual failure. A leaking weep hole, noisy bearing, or coolant contamination often signals it's time for replacement. While the job involves tight engine bay access and several accessory removals, many owners successfully complete it in their driveway with patience and basic hand tools. This detailed guide walks you through the entire process without unnecessary shortcuts.
Performing this repair yourself not only saves significant labor costs but also gives you intimate knowledge of the engine's front-end layout—knowledge that pays dividends during future maintenance like timing chain work or thermostat swaps.
Signs Your 2GR-FE Water Pump Needs Replacement
Spotting failure early prevents overheating disasters and warped cylinder heads. Watch for these common indicators:
Coolant drips under the front of the engine near the passenger side, often green or pink residue building up around the weep hole.
Grinding or whining noise from the front of the engine that changes with RPM, especially noticeable at idle after warmup.
Low coolant level in the reservoir despite no visible external leaks elsewhere.
Overheating during heavy load or highway driving, sometimes accompanied by fluctuating temperature gauge.
Milky oil or coolant in the oil (indicating gasket breach—address immediately).
If multiple signs appear together, schedule the repair soon. Delaying risks stranding you or causing far more expensive damage.
Tools and Materials You'll Need
Gather everything beforehand to avoid mid-job trips to the parts store:
Socket set (metric): 8mm, 10mm, 12mm, 14mm, 17mm (regular and deep)
Ratchets: 1/4-inch and 3/8-inch drive with extensions (at least 6-inch and 12-inch)
Torque wrench (capable of 15–90 Nm range)
Serpentine belt tool or long breaker bar with 14mm socket
Jack, jack stands, and wheel chocks
Drain pan (at least 10-liter capacity)
Coolant (Toyota Super Long Life or compatible pink extended-life antifreeze)
New water pump gasket (metal type preferred for durability)
O-rings for thermostat housing and bypass tube (often included with quality pump)
Shop rags, brake cleaner, and gasket scraper
Optional but helpful: pulley holder tool, magnetic pickup tool, spill-free funnel for refilling
A quality water pump (OEM or reputable aftermarket like Aisin) makes a huge difference in longevity.
Preparation and Safety First
Park on a level surface and let the engine cool completely—hot coolant burns are no joke.
Disconnect the negative battery terminal to prevent accidental fan activation.
Jack up the front end and secure on jack stands; remove the passenger-side front wheel for better access.
Place a large drain pan under the radiator petcock and engine block drain (if accessible).
Remove the radiator cap slowly only when cold to relieve any residual pressure.
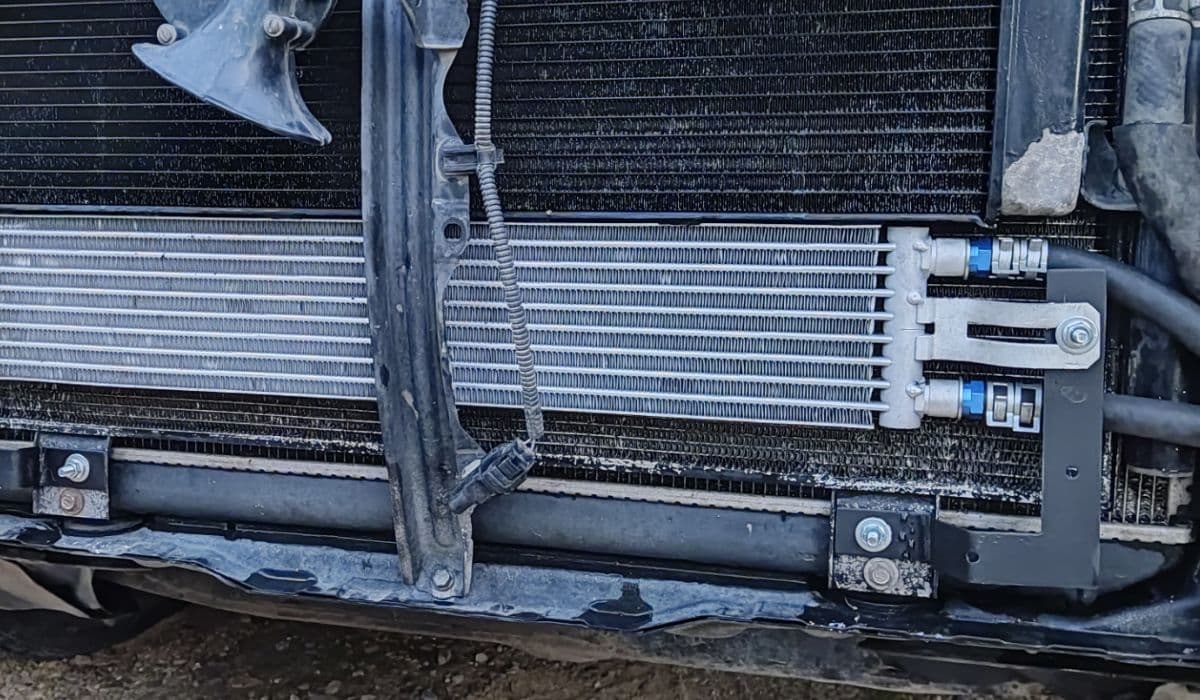
Draining the Cooling System
Proper draining minimizes mess and air pockets later:
Open the radiator drain petcock at the bottom driver side and let coolant flow into the pan.
Remove the reservoir cap to speed drainage.
For thorough emptying, locate and open the engine block drain plug (usually near the exhaust manifold on the passenger side—10mm or 12mm bolt).
Disconnect the lower radiator hose if flow is slow, but pinch hoses to control spillage.
Expect 8–10 liters of coolant to drain. Dispose of old fluid responsibly at a recycling center.
Removing Front-End Accessories
Accessing the water pump requires clearing several components in a logical sequence:
Release tension on the serpentine belt using a 14mm wrench on the auto-tensioner (turn clockwise on most setups to slacken).
Slip the belt off pulleys and set aside carefully—note routing for reinstallation.
Remove the water pump pulley (usually 4–6 bolts, 10mm or 12mm). A second person or pulley holder prevents rotation.
Unbolt and remove idler and tensioner pulleys as needed (14mm bolts common; reverse-thread possibility on some tensioners—check direction).
Disconnect electrical connectors and remove the alternator if it blocks clearance (12mm and 14mm bolts plus adjusting bracket).
Support the engine with a floor jack and wood block under the oil pan, then remove the passenger-side engine mount and bracket (multiple 14mm–17mm bolts and nuts). Slightly raise the engine for better clearance around the mount area.
These steps open the path to the thermostat housing and pump itself.
Removing the Thermostat Housing and Related Components
The thermostat housing must come off to free the pump:
Disconnect coolant hoses from the housing (use pliers on spring clamps or screwdriver on worm-gear types).
Unbolt the thermostat housing (several 10mm–12mm bolts). Pull it forward carefully—watch for stuck O-rings.
Inspect and replace the thermostat if it shows wear (many do this simultaneously).
Remove any bypass tubes or inlet pipes attached to the pump area, noting O-ring locations.
Clean all mating surfaces thoroughly with a plastic scraper and brake cleaner—old gasket material causes leaks if left behind.
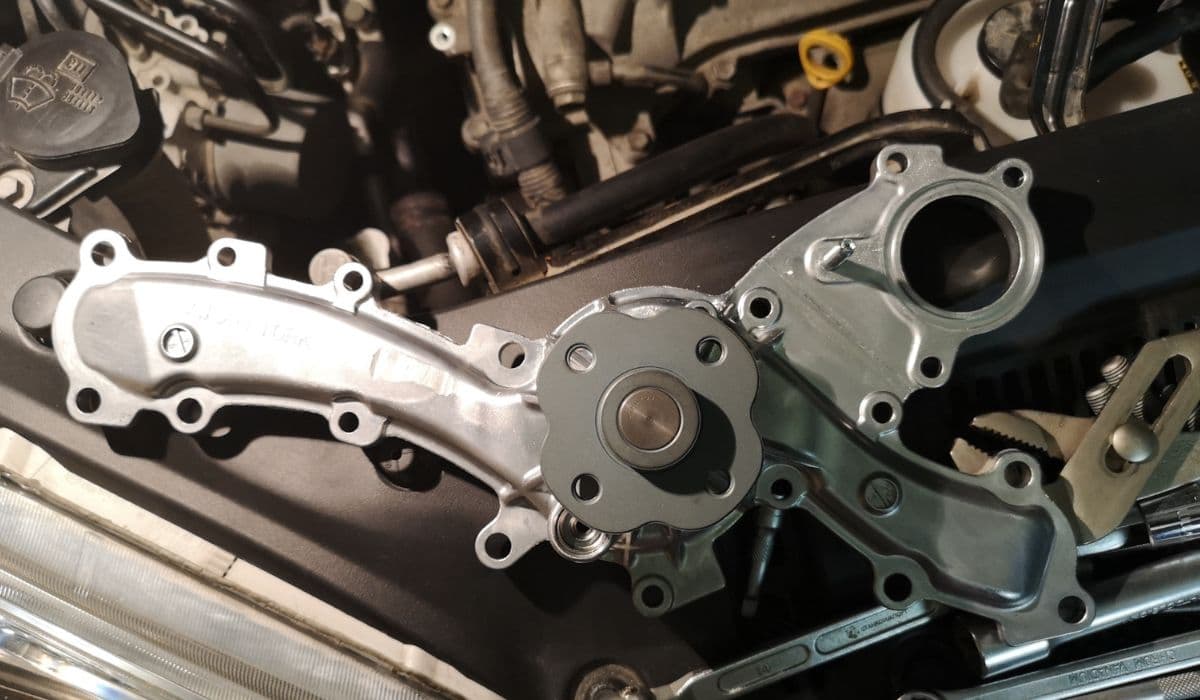
Extracting the Old Water Pump
With obstructions cleared, the pump reveals itself:
Locate the water pump bolts (typically 6–8 bolts of varying lengths, mostly 10mm and 12mm).
Remove bolts in a crisscross pattern to avoid warping.
Gently pry the pump free using a flat screwdriver or plastic pry tool at safe points—avoid damaging the timing cover.
If stuck, tap lightly with a rubber mallet. Coolant will spill, so keep the drain pan positioned.
Clean the mounting surface meticulously. Inspect for scoring or pitting on the engine block face.
Examine the old pump: a failed bearing often leaves play, and the weep hole usually shows heavy staining.
Installing the New Water Pump
Reverse the removal process with attention to detail:
Install the new gasket (dry—no sealant needed on metal gaskets; apply thin RTV only if paper type).
Position the pump and hand-thread all bolts to ensure proper alignment.
Tighten bolts in a star or crisscross pattern to manufacturer torque specs (typically 20–25 Nm for most; check service data for exact values).
Reinstall bypass tubes, thermostat housing with fresh O-rings, and torque evenly.
Reattach engine mount bracket and lower the engine carefully—align bolts without forcing.
Reinstall pulleys, alternator, and serpentine belt following the original routing diagram (often on the radiator shroud).
Double-check all connections and clamps before proceeding.
Refilling and Bleeding the Cooling System
Proper bleeding prevents hot spots and air-locked heaters:
Close all drain points and install a spill-free funnel on the reservoir neck.
Mix 50/50 coolant with distilled water (or use premixed).
Pour slowly into the funnel until full, then start the engine.
Run at idle with heater on max until the thermostat opens (watch for bubbles rising through the funnel).
Top off as air purges—cycle the engine on/off several times if needed.
Check for leaks around the new pump after reaching operating temperature.
Test drive gently, monitoring temperature and topping off coolant as it settles.
Final Checks and Tips for Longevity
After the first few drives:
Recheck all bolt torques (especially mount and pump bolts).
Inspect for any coolant seepage after heat cycles.
Monitor coolant level over the next week—slight drop is normal as air works out.
Many owners pair this job with a fresh thermostat, new serpentine belt, and pulley bearings for a comprehensive refresh. The 2GR-FE rewards thorough maintenance, often running well beyond high mileage with attentive care.
More from Toyota
Highlander Hybrid Battery Cooling Fan Cleaning: Complete Step-by-Step Guide
08.12.2025 12:56
Permanent Fix for Toyota 4Runner Liftgate Window Rattle (5th Gen 2010–2024)
08.12.2025 12:51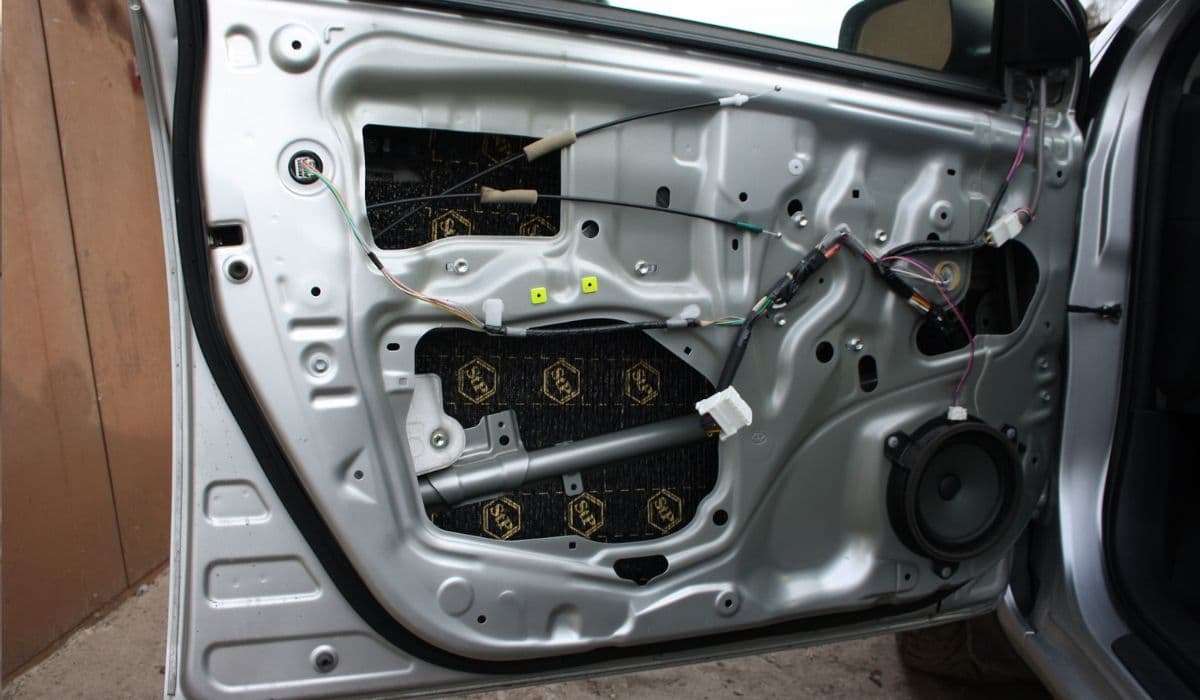
How to Fix Toyota Corolla Cross Wind Noise with a Simple Door Seal Modification
08.12.2025 12:47
2024 Toyota Tacoma i-FORCE MAX Battery Drain Fix – Complete Owner’s Guide
08.12.2025 10:35
RAV4 Hybrid Inverter Coolant Bleed Procedure: Complete Step-by-Step Guide
08.12.2025 10:31