Camry 2GR-FE V6 Water Pump Replacement DIY – Full Step-by-Step Guide
The 3.5L 2GR-FE V6 engine is one of the most reliable powerplants Toyota ever built, but the water pump is a known service item that almost always fails between 120,000 and 180,000 miles. When it starts weeping coolant from the weep hole or the bearing gets noisy, replacement is the only fix. This comprehensive DIY guide covers every detail of replacing the water pump on Toyota Camry (sixth and seventh generation), Avalon, Highlander, Sienna, Venza, and Lexus RX350/ES350 with the 2GR-FE engine.
Why the 2GR-FE Water Pump Is Tricky
Unlike most engines where the pump is bolted to the front of the block, Toyota placed the 2GR-FE water pump on the passenger side of the engine, driven by the primary (front) timing chain. This means the entire timing cover, both banks of cams, and a significant portion of the accessory drive must come off. It is not a beginner job, but it is absolutely doable in a home garage with common tools and patience.
Tools You Will Actually Need
10 mm, 12 mm, 14 mm, 17 mm, 19 mm sockets (¼", ⅜", and ½" drive) Full set of ¼" and ⅜" extensions (especially 12" and 24") Universal joint sockets 10 mm, 12 mm, 14 mm combination wrenches 19 mm and 22 mm for crankshaft pulley Torque wrench (10–150 ft-lb range) 5 mm Allen socket for tensioner Long T30 Torx for motor mount bracket 8 mm triple-square (XZN) for some mount bolts on certain years Breaker bar and cheater pipe Engine support bar or floor jack + wood block under oil pan Coolant vacuum refill tool (highly recommended) Toyota red coolant (LLC) or compatible Asian-vehicle red New Toyota water pump with metal impeller (OEM 16100-39515 or Aisin WPT-190) Three-bond 1207B or Toyota FIPG sealant New crankshaft seal (highly recommended while you’re in there)
Draining and Preparation
Park the car on a level surface and let the engine cool completely.
Remove the plastic engine cover and the air intake tube.
Place a large drain pan under the radiator petcock and drain the coolant (about 3 gallons total).
Remove the upper radiator hose from the thermostat housing to drain the block side as well.
Remove the plastic undertray and passenger-side splash shield for better access.
Removing the Drive Belts and Tensioners
Release the serpentine belt by turning the 19 mm bolt on the belt tensioner clockwise.
Remove the alternator (two 12 mm and one 14 mm bolt) – label the wires.
Remove the power-steering pump (three 12 mm bolts) and hang it to the side with zip ties – do not disconnect lines.
Remove the idler pulley and the belt tensioner assembly.
Crankshaft Pulley Removal (The Hard Part)
Use a ½" breaker bar + cheater pipe on the 19 mm crank bolt.
Have a helper hold the brake pedal or jam a long screwdriver into the flywheel teeth through the bellhousing inspection hole.
Impact gun (700+ ft-lb) makes this 10 seconds; manual method takes serious muscle.
Once loose, remove the pulley. If it is stuck, use a three-jaw puller gently.
Engine Mount and Bracket Removal
Raise the front of the car and support on jack stands.
Place a floor jack with a wood block under the oil pan for insurance.
Install an engine support bar across the strut towers and hook chains to the lifting points.
Take tension off the passenger-side motor mount.
Remove the 17 mm through-bolt, two 17 mm nuts on top, and the bracket-to-engine bolts (14 mm and T30 Torx).
Lift the engine slightly (about 2–3 inches) so the mount bracket clears the stud.
Timing Cover and Chain Tensioner
Remove all 10 mm and 12 mm bolts around the upper and lower timing cover (there are 20+).
Carefully pry the cover off – it will be stuck with FIPG.
Rotate the crankshaft so that the bright link on the primary chain lines up with the dot on the crank sprocket.
Remove the hydraulic tensioner (two 12 mm bolts) and let the chain slack appear – do not let the chain jump teeth.
Camshaft Timing Procedure
Mark both intake cam sprockets and the chain with white paint for insurance.
Remove the two 14 mm bolts holding each intake VVT-i actuator (left and right banks).
Loosen the exhaust cam bolts slightly but do not remove yet.
Carefully lift the primary chain off the water pump sprocket and tie it up with zip ties to the cam gears so it cannot fall.
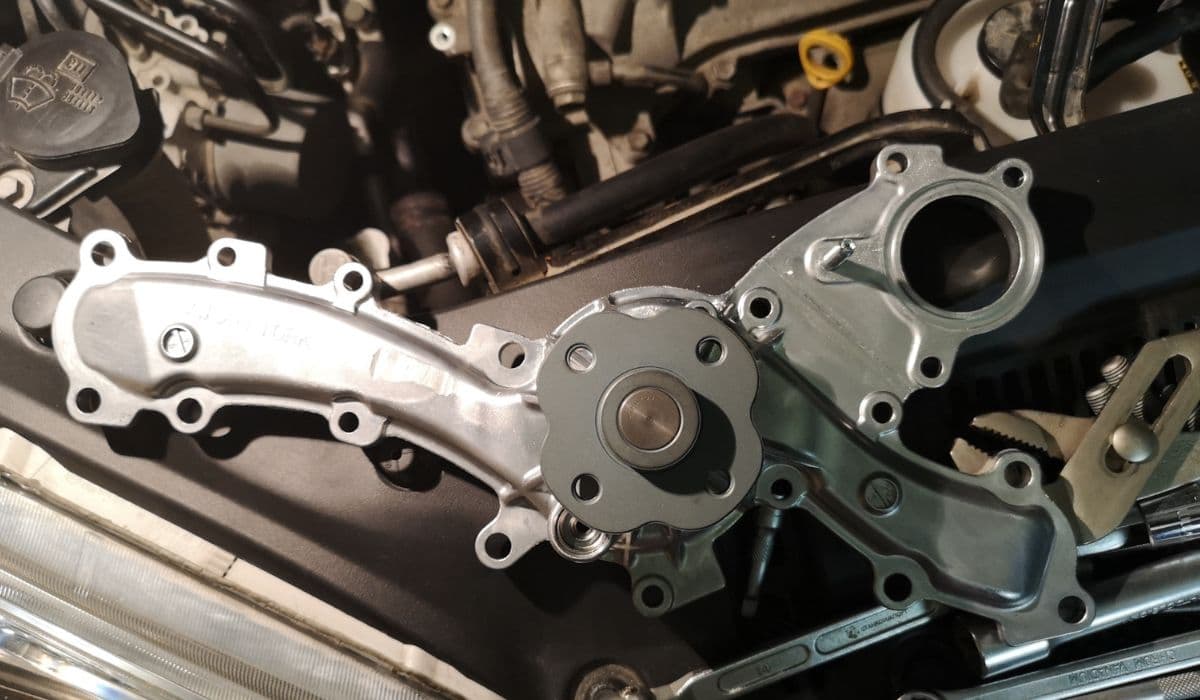
Water Pump Removal
The pump is held by nine bolts: seven 10 mm and two 12 mm.
Some bolts are hidden behind the chain guide – remove the guide (two 10 mm).
Gently pry the pump off the block – expect coolant to pour out.
Clean the sealing surface meticulously with a plastic scraper and brake cleaner – no metal tools.
Installation of New Pump
Apply a 2–3 mm bead of Three-bond 1207B around the new pump groove and a dab on the block side of every bolt hole.
Install the new O-ring on the small pipe that goes into the block.
Carefully align the pump sprocket with the chain and seat the pump fully.
Torque the bolts in a crisscross pattern: 10 mm bolts to 80 in-lb (9 Nm), 12 mm bolts to 15 ft-lb (20 Nm).
Reassembly – Critical Timing Steps
Reinstall the chain guide and tensioner (do not fully tighten yet).
Route the primary chain back over the water pump sprocket making sure the bright link is still on the crank dot.
Reinstall both intake VVT-i actuators – torque to 47 ft-lb (64 Nm).
Release the tensioner pin with a small screwdriver – you should hear it click and the chain will tighten.
Rotate the engine by hand two full turns and verify all timing marks line up perfectly.
Final Reassembly
Install new crankshaft seal (use a seal driver or large socket).
Clean old FIPG from timing cover and apply fresh 2 mm bead in the grooves.
Reinstall timing cover – torque 10 mm bolts to 80 in-lb, 12 mm to 15 ft-lb.
Lower the engine back onto the mount and reinstall bracket (torque through-bolt to 65 ft-lb).
Reinstall crank pulley (clean threads, apply Loctite, torque to 192 ft-lb).
Reinstall all accessories in reverse order.
Coolant Fill and Bleeding
Fill with 50/50 Toyota Red or compatible coolant.
Use a spill-proof funnel or vacuum bleeder.
Run the engine with the radiator cap off and heater on max until the thermostat opens and all air is purged.
Top off and install cap. Check for leaks after 50 miles.
Torque Specification Summary (Most Important)
Crankshaft pulley bolt – 192 ft-lb
Intake VVT-i actuator bolts – 47 ft-lb
Water pump 10 mm bolts – 80 in-lb
Water pump 12 mm bolts – 15 ft-lb
Timing cover bolts – 80 in-lb (10 mm) / 15 ft-lb (12 mm)
Motor mount through-bolt – 65 ft-lb
Engine mount bracket to block – 40 ft-lb
Doing this job yourself saves $1000–$1500 compared to a shop and gives you the confidence that it was done right with genuine parts. Take your time, keep everything clean, and double-check timing marks every step of the way.
More from Toyota

Permanent Fix for Toyota 4Runner Liftgate Window Rattle (5th Gen 2010–2024)
08.12.2025 16:51
Highlander Hybrid Battery Cooling Fan Cleaning: Complete Step-by-Step Guide
08.12.2025 16:56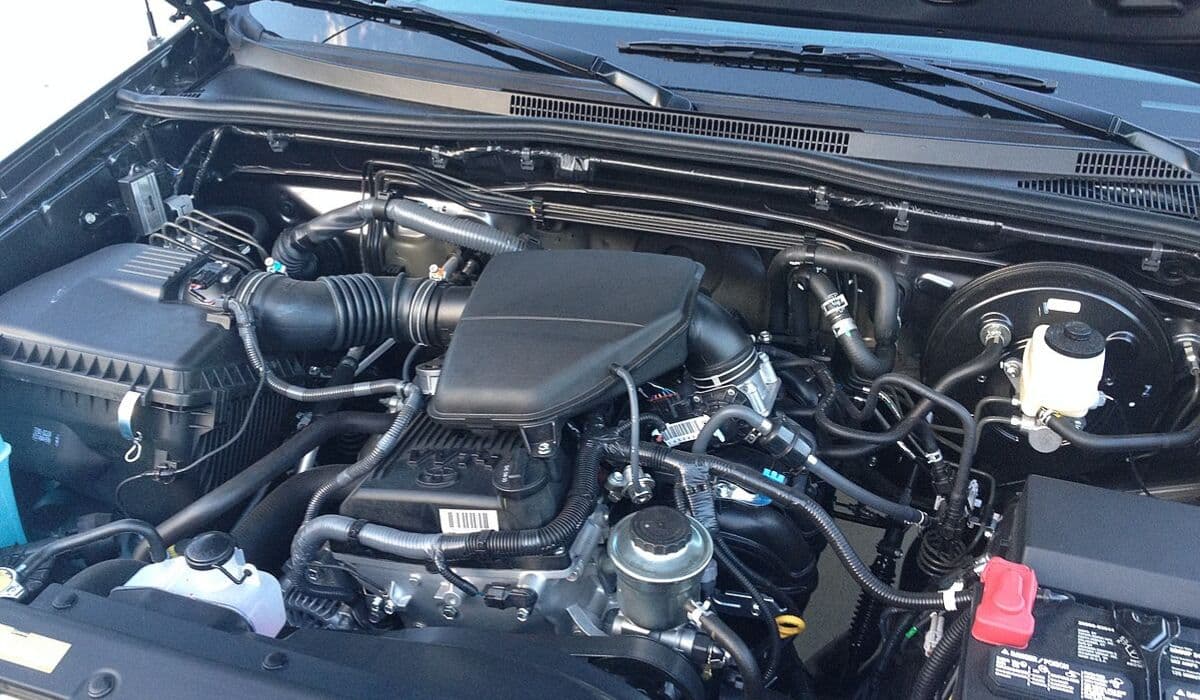
Tacoma 2.7 2TR-FE Spark Plug Replacement at 200,000+ Miles: Complete Real-World Guide
08.12.2025 17:27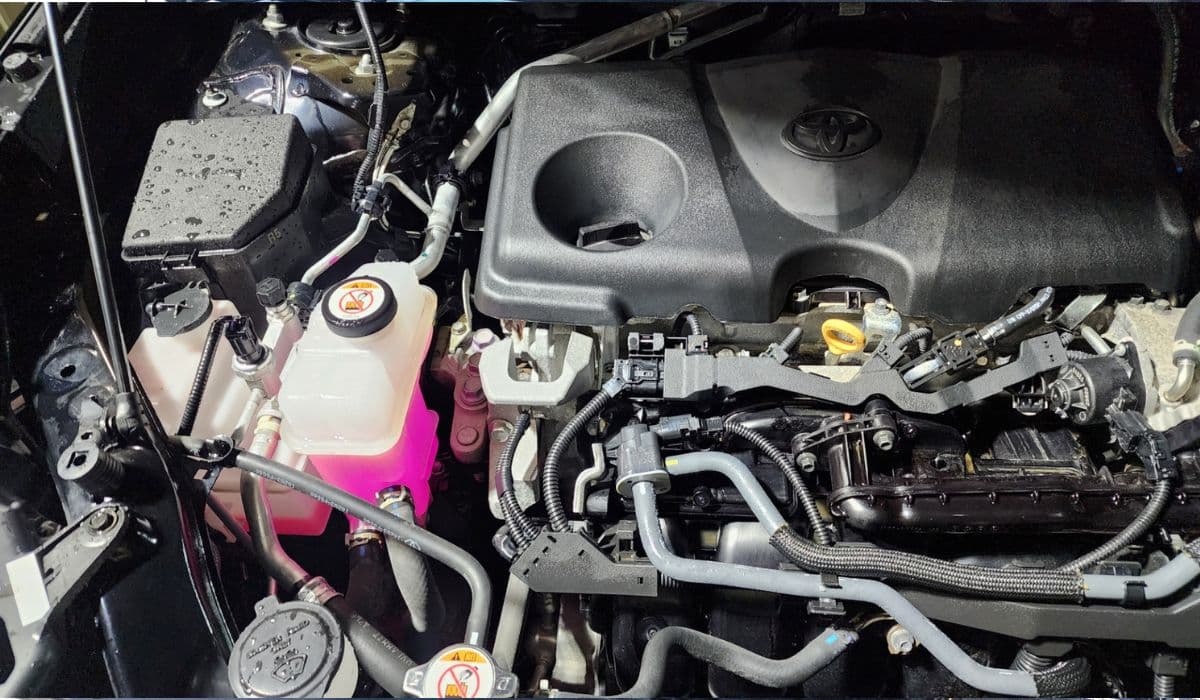
RAV4 Hybrid Inverter Coolant Bleed Procedure: Complete Step-by-Step Guide
08.12.2025 17:31
2024 Toyota Tacoma i-FORCE MAX Battery Drain Fix – Complete Owner’s Guide
08.12.2025 17:35