RAV4 Hybrid Inverter Coolant Bleed Procedure: Complete Step-by-Step Guide
The Toyota RAV4 Hybrid uses a separate high-voltage inverter cooling system that is completely isolated from the engine cooling system. Air pockets trapped in this circuit after coolant replacement, inverter replacement, or any repair that opens the loop can cause the “Inverter coolant temperature high” warnings, reduced hybrid performance, or even P0A93 DTCs. Proper bleeding is critical for long-term reliability of the hybrid power electronics.
Why the Inverter Cooling System Needs Special Attention
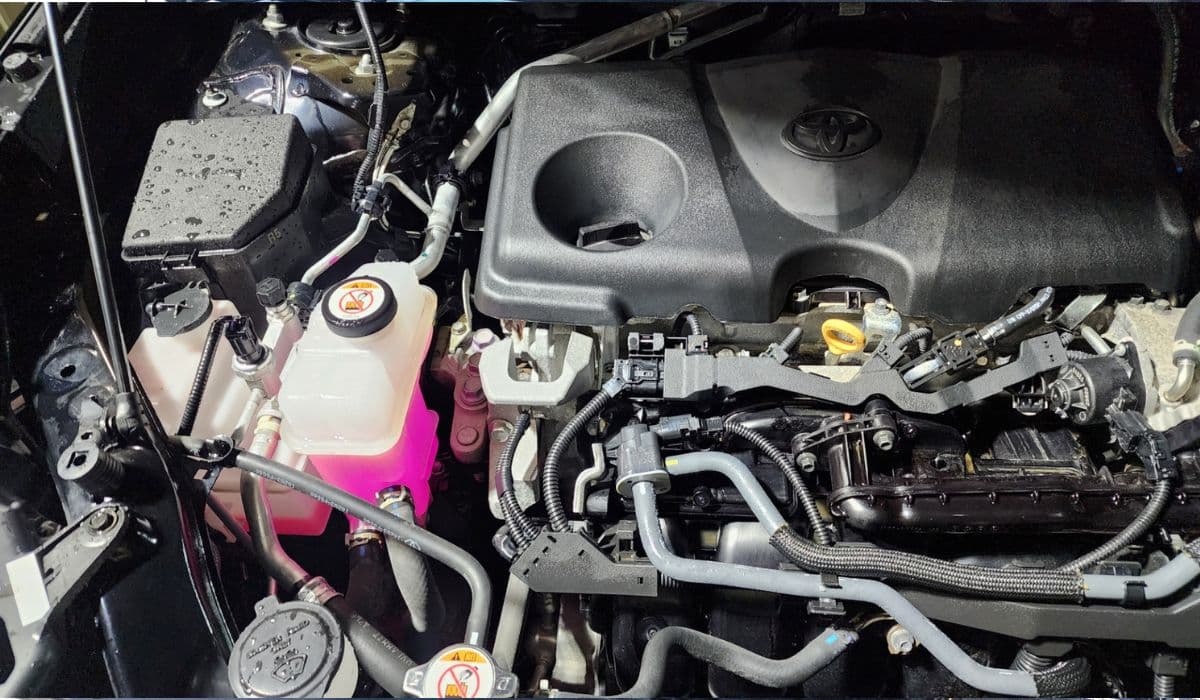
Unlike conventional engine coolant circuits, the RAV4 Hybrid inverter loop is a low-pressure system with an electric water pump, a dedicated reservoir located in the engine bay (passenger side, near the firewall), and long hoses that run to the inverter/convertor assembly under the rear seat area. The highest point of the system is often the inverter itself, making natural air migration difficult. Toyota specifically warns that conventional “burping” methods used on engine coolant are insufficient and can leave air trapped, leading to premature failure of the MG1/MG2 inverters or DC-DC converter.
Tools and Materials Required
Toyota Super Long Life Coolant (SLLC) pink, pre-diluted 50/50 (do not substitute with regular green or orange coolant
Toyota genuine inverter coolant reservoir cap (important: it has a special pressure rating)
10 mm and 12 mm wrenches
Lisle or OEM-style spill-free funnel with long neck extension
Toyota Techstream or compatible advanced scan tool (for “Inverter Water Pump Operation” function)
Clear hose 3/8″ (optional, for vacuum fill)
Floor jack and jack stands (if lifting the rear of the vehicle)
Clean rags and a small mirror for checking hard-to-see bleed valves
Safety Precautions Before Starting
Park the vehicle on a level surface, ready-hybrid system OFF, key removed. Wait at least 10 minutes after shutdown to allow high-voltage capacitors to discharge. Wear insulated gloves (Class 0, 1000 V rated) when working near orange high-voltage cables. Never open the inverter coolant reservoir when hot — the system can be pressurized even with hot coolant.
Locating All Bleed Points on RAV4 Hybrid (2019-present)
Main reservoir bleed valve — small brass screw on top of the inverter reservoir (passenger side engine bay)
Inverter assembly bleed valve — located on the aluminum inverter housing under the rear seat (requires lifting carpet and service cover)
Electric water pump bleed port — tiny screw on the pump body itself (front of engine bay, near 12 V battery)
Hose high-point bleed nipple — on the supply hose that rises toward the inverter (visible after removing plastic engine cover)
Recommended Bleeding Method 1: Techstream Active Method (Most Effective)
This is Toyota’s factory-recommended procedure and almost guarantees 100 % air removal.
Step 1: Fill the inverter reservoir to the FULL mark with Toyota SLLC pink coolant.
Step 2: Connect Techstream, turn IG-ON (do not start hybrid system).
Step 3: Navigate to Powertrain → Hybrid Control → Active Test → “Activate the Inverter Water Pump”.
Step 4: Set pump speed to HIGH (approximately 5000 rpm) and run for 5–7 minutes.
Step 5: While pump is running at high speed, open the reservoir bleed screw 1–2 turns. You will see bubbles and possible foaming — this is normal.
Step 6: Keep topping up coolant as level drops. When a steady stream of coolant with no bubbles exits the bleed screw, close it firmly.
Step 7: Move to the inverter assembly under the rear seat. Remove service cover, open the bleed valve on the inverter housing. Repeat the same process — run pump on HIGH until no air exits.
Step 8: Repeat for the electric pump bleed port if accessible.
Step 9: Cycle the pump HIGH/LOW several times to dislodge any remaining pockets.
Step 10: Top off reservoir again to FULL, install original cap.
Bleeding Method 2: Vacuum Fill + Gravity (No Techstream)
Ideal for independent shops or DIY without dealer tools.
Raise the rear of the vehicle approximately 12–15 inches higher than the front (ramps or jack stands under rear axle). This makes the inverter the highest point.
Remove inverter reservoir cap.
Attach a vacuum fill tool (Mityvac, UView Airlift, etc.) to the reservoir neck and pull -25 inHg vacuum.
While maintaining vacuum, open the reservoir bleed screw and both inverter bleed screws (rear seat area).
Draw coolant until vacuum holds steady with no more air ingestion (usually 1.5–2 liters).
Close all bleed screws, release vacuum, top off to FULL.
Install spill-free funnel with long extension into reservoir.
Start hybrid system (READY-ON), set climate control to MAX HOT, fan LOW.
The electric pump will automatically cycle. Squeeze upper and lower inverter hoses repeatedly to help air migrate.
Keep funnel full for 15–20 minutes. Burp hoses every few minutes.
When no more bubbles appear and coolant level stabilizes, remove funnel and install cap.
Bleeding Method 3: Manual Pump Cycling (Basic but Works)
If no scan tool or vacuum tool is available:
Fill reservoir to MAX
Raise rear of vehicle
Install spill-free funnel
Turn IG-ON (engine off)
Repeatedly turn the climate control from OFF to MAX HOT OFF HOT for 20–30 cycles. Each time the electric pump activates for about 30 seconds.
Keep squeezing hoses and topping up coolant.
Open reservoir bleed screw periodically to release trapped air. This method can take 30–45 minutes but is surprisingly effective.
How to Verify Complete Bleeding
Coolant level remains stable at FULL after several drive cycles
No “Inverter Coolant Temp High” message on dash
In Techstream data list, “Inverter Coolant Temp” and “Engine Coolant Temp” are within 7–10 °C of each other during normal driving
No gurgling sounds from rear seat area
Electric inverter water pump runs quietly (no cavitation noise)
Common Mistakes That Leave Air Trapped
Using regular antifreeze instead of Toyota SLLC (causes galvanic corrosion)
Bleeding only at the reservoir and ignoring the inverter bleed screw under rear seat
Not raising the rear of the vehicle, leaving the inverter as the high point
Reusing old reservoir cap with damaged seal
Running the bleed procedure with the hybrid system completely off (pump won’t activate)
Maintenance Tips for Long-Term Reliability
Check inverter coolant level every oil change. Top off only with Toyota SLLC pink. Replace inverter reservoir cap every 5 years (they lose pressure regulation). If the coolant appears brownish or has debris, perform full system flush using Toyota’s “Inverter Coolant Drain & Refill” procedure with Techstream coolant circulation mode.
Following these detailed steps will ensure your RAV4 Hybrid inverter cooling system is completely free of air and ready for hundreds of thousands of trouble-free miles.
More from Toyota

Permanent Fix for Toyota 4Runner Liftgate Window Rattle (5th Gen 2010–2024)
08.12.2025 16:51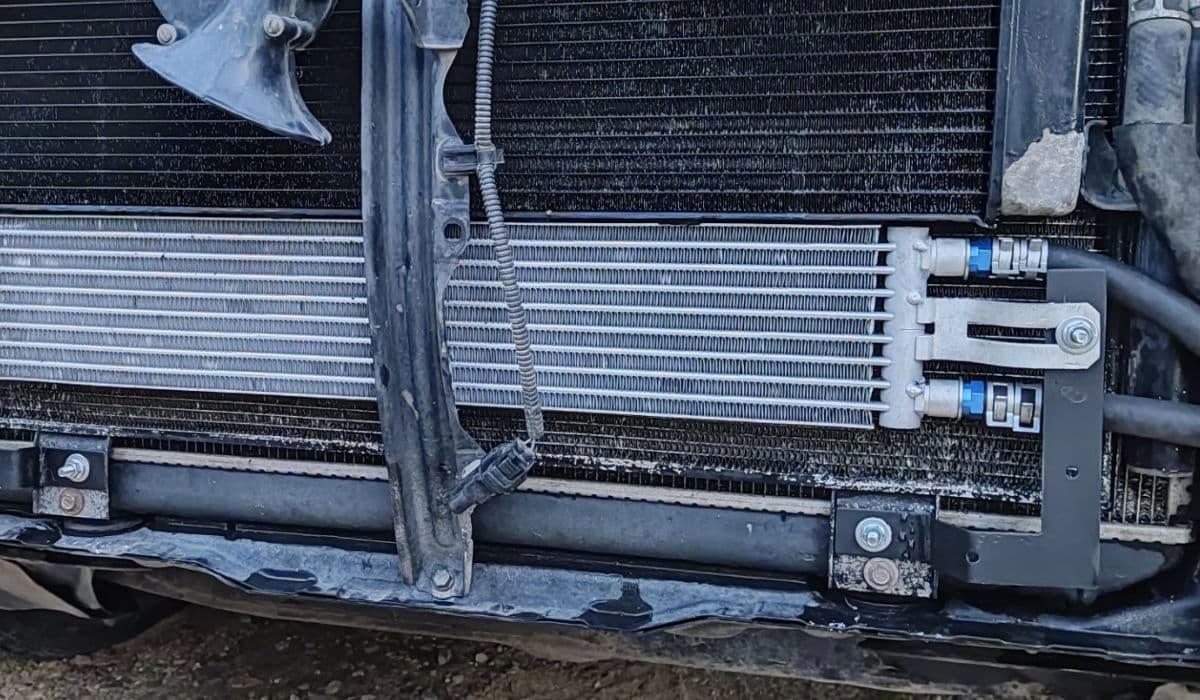
Highlander Hybrid Battery Cooling Fan Cleaning: Complete Step-by-Step Guide
08.12.2025 16:56
Tacoma 2.7 2TR-FE Spark Plug Replacement at 200,000+ Miles: Complete Real-World Guide
08.12.2025 17:27
How to Fix a Toyota Sienna Sliding Door Cable Snap – Complete DIY Repair Guide
08.12.2025 16:44
How to Fix Toyota Corolla Cross Wind Noise with a Simple Door Seal Modification
08.12.2025 16:47