Troubleshooting and Fixing the P1450 Code on Ford F-150: Focus on the Most Common Culprit
The P1450 diagnostic trouble code triggers when the powertrain control module detects an inability to properly relieve vacuum buildup in the fuel tank or evaporative emissions (EVAP) system. This Ford-specific issue disrupts the normal flow of fuel vapors from the tank to the engine for combustion, potentially leading to a check engine light illumination, difficulty refueling (like the pump shutting off prematurely), hard starts after filling the tank, or even reduced fuel efficiency. While symptoms can vary, the code itself doesn't typically cause drivability problems like stalling or power loss, but ignoring it risks failed emissions tests and worsening EVAP component damage over time.
Understanding the EVAP System and P1450 Trigger Points
The EVAP system captures hydrocarbon vapors from the fuel tank, stores them in a charcoal canister, and purges them into the intake manifold for burning during engine operation. Key components include the fuel tank pressure sensor, purge valve (mounted on the firewall or intake manifold), vent valve (near the canister under the truck), charcoal canister (located along the frame rail near the rear axle), and various vacuum hoses connecting everything.
P1450 sets during the PCM's self-test when it commands the system to "bleed up" vacuum—essentially equalizing tank pressure to atmospheric levels—but detects persistent low pressure (excessive vacuum). This monitor runs under specific conditions: engine at operating temperature, steady throttle, and not at idle. If the tank holds vacuum longer than about 30-60 seconds (depending on model calibration), the code logs. On fourth-generation F-150 trucks, this can tie into broader emissions compliance, especially with stricter OBD-II monitoring.
Most Common Cause: Stuck or Failed Canister Vent Valve
Across thousands of owner reports on forums like Ford-Trucks.com and Reddit's r/f150, the canister vent valve (also called the EVAP canister vent solenoid) emerges as the top offender for P1450, accounting for roughly 40-50% of cases based on anecdotal data and service bulletins. Located on or near the charcoal canister (driver's side frame rail, forward of the rear axle), this normally open solenoid allows fresh air into the system during purge cycles and seals it during leak tests.
When it sticks closed—due to debris, carbon buildup, electrical faults, or mechanical wear—it traps vacuum in the tank, preventing equalization. Common triggers include:
Debris intrusion: Mud, dirt, insects (like spider webs or wasp nests blocking the filter), or even fuel overflow from over-pumping at the station, which saturates the canister and gums up the valve.
Electrical issues: Corroded connectors, frayed wiring from road salt exposure, or a faulty solenoid coil that doesn't respond to the 12V signal from the PCM.
Mechanical failure: Internal diaphragm tears or plunger sticking after 50,000-100,000 miles of heat cycling.
Owners frequently note the code appearing seasonally—worse in cold weather when vacuum builds faster or after rain when water enters the vent path. In one detailed thread, a 2016 F-150 owner traced it to a clogged vent filter after off-roading, resolving it with a simple cleaning before valve replacement.
Step-by-Step Diagnosis Before Parts Replacement
Don't rush to buy parts; a systematic check saves time and money. You'll need an OBD-II scanner (like a basic $20 Bluetooth unit with Torque app), multimeter, and basic hand tools. Expect 30-60 minutes for initial inspection.
Scan and Note Freeze Frame Data: Pull codes with your scanner and record freeze frame info (RPM, load, temperature when the code set). This pinpoints conditions—e.g., if it triggers post-refuel, suspect vent issues. Clear the code and drive 50-100 miles to see if it returns.
Visual Inspection of Gas Filler Neck: On capless systems (standard since 2009), ensure the door seals fully and no debris jams it. Remove the capless insert if equipped (twist counterclockwise) and clean the O-ring with brake cleaner. Test by blowing through the filler neck; it should feel restricted but not vacuum-locked.
Check Fuel Cap Integrity (If Applicable): Though rare on newer models, a cracked or loose cap can mimic vent failure. Inspect the seal for wear; replace with OEM (Motorcraft part ~$15) if over 50,000 miles old.
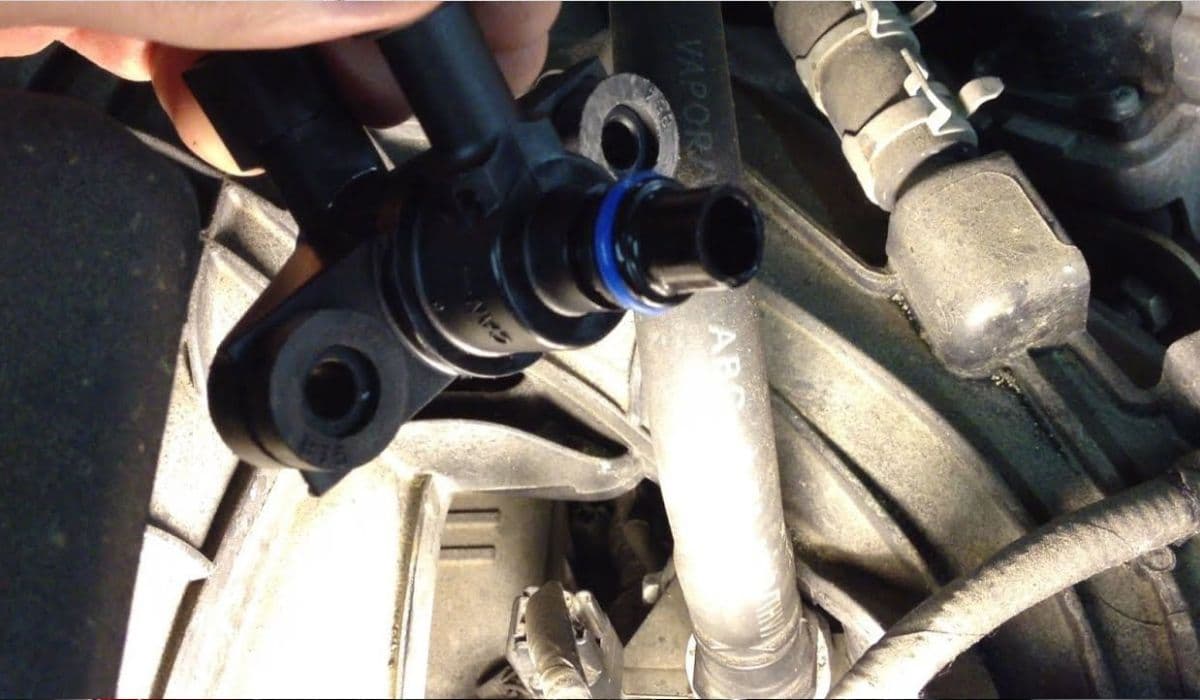
Locate and Inspect the Canister Vent Valve: Jack up the rear (safely on stands) and trace the black hose from the canister (box-like component ~8x6 inches) to the valve (cylindrical, ~2 inches long, with electrical connector and two hose nipples). Disconnect the harness and listen for a click when key-on (PCM cycles it). Use a multimeter: Probe pins for 12V battery voltage and ground; resistance should be 15-30 ohms across solenoid terminals. If no click or infinite resistance, it's bad.
Hose and Canister Check: Squeeze all rubber hoses for cracks or kinks—especially the vent line elbow at the frame crossmember, a notorious pinch point. Shake the canister; rattling suggests loose charcoal, but a blocked one feels solid. Blow compressed air (low PSI) through lines to clear debris.
EVAP Smoke Test (Pro Tip): If accessible, rent a smoke machine (~$50/day at auto parts stores) or visit a shop for $100. Introduce smoke into the purge line (engine off, fuse pulled for safety); leaks or blockages show as smoke escaping or not flowing.
Monitor Live Data: With scanner connected, watch fuel tank pressure sensor (in volts or kPa). At key-on/engine-off, it should read near 0 kPa (atmospheric). Command the vent open via bidirectional scanner; pressure should stabilize quickly.
If the vent valve tests bad (no continuity or no actuation), proceed to replacement. Accompanying codes like P0446 (vent circuit) or P0455 (large leak) point to wiring or canister faults.
How to Replace the Canister Vent Valve: DIY Guide
Replacement is straightforward for weekend warriors, costing $50-150 in parts and 1-2 hours labor. Tools: 10mm socket, pliers, zip ties for hoses.
Parts Needed: OEM Motorcraft EVAP canister vent solenoid (part CX-2433 or equivalent; confirm via VIN at RockAuto/FordParts.com). Avoid cheap aftermarket— they fail prematurely.
Steps:
Park on level ground, let engine cool. Disconnect battery negative terminal.
Raise rear via jack stands (focus on driver's side).
Locate canister (gray plastic box clipped to frame). Unplug electrical connector from vent valve (often mounted directly on canister top or side).
Clamp hoses with pliers to minimize fuel vapor escape. Disconnect inlet (from canister) and outlet (to atmosphere) hoses—twist/pull firmly; note routing.
Unbolt valve (one or two 10mm bolts). Remove old unit.
Install new valve, torque bolts to 80 in-lbs. Reconnect hoses securely (replace if cracked). Plug in harness.
Reconnect battery, clear codes, and cycle key three times to prime system.
Test drive: Fill tank partially, start immediately—should crank normally. Monitor for code return over 100 miles.
Pro yields: Shops charge $200-400 including diag, but DIY avoids markups. If under emissions warranty (8yr/80k miles federal), it's free at dealers.
Other Potential Causes and Fixes If Vent Isn't It
While the vent valve leads, rule out these in order of likelihood:
Clogged Charcoal Canister (20% of cases): Liquid fuel contamination from overfilling collapses the carbon bed, blocking flow. Symptoms: Hiss on cap removal, slow refuel. Fix: Drop tank (major job, $500-800) or install vented aftermarket canister. Prevention: Stop pumping when first click.
Faulty Purge Valve (15%): Stuck closed on firewall (passenger side). Test: Apply 12V—should click open; vacuum line pulls with mouth when energized. Replace for $40-60; easy access.
Wiring/PCM Faults (10%): Chafed harness under truck or corroded grounds. Trace with multimeter; repair splices with heat-shrink. Rare PCM reflash per TSB 13-3-5 for 2009-2011 models.
Fuel Tank Pressure Sensor: Integrated in pump module; bad signal fools PCM. Requires tank drop ($300-500).
Hose Blockages: Insects/debris in vent tube. Clean with carb cleaner; add screen filters.
Preventing P1450 Recurrence and When to Seek Pros
Routine maintenance curbs EVAP woes: Inspect hoses yearly, replace cap every 50k miles, avoid overfilling (wait 10 seconds post-click), and use top-tier fuel to minimize deposits. Cold climates exacerbate vacuum buildup, so winterize by checking vents.
If DIY diag overwhelms or code persists post-repair, hit a Ford dealer—they have pinpoint tests via IDS software. Expect $150 diag fee, waived if repaired there. For fourth-gen owners, cross-reference with Oasis reports for open campaigns.
Addressing P1450 promptly keeps your F-150 emissions-compliant and running clean, avoiding costlier cascade failures like a soaked canister leading to pump burnout.
More from Ford
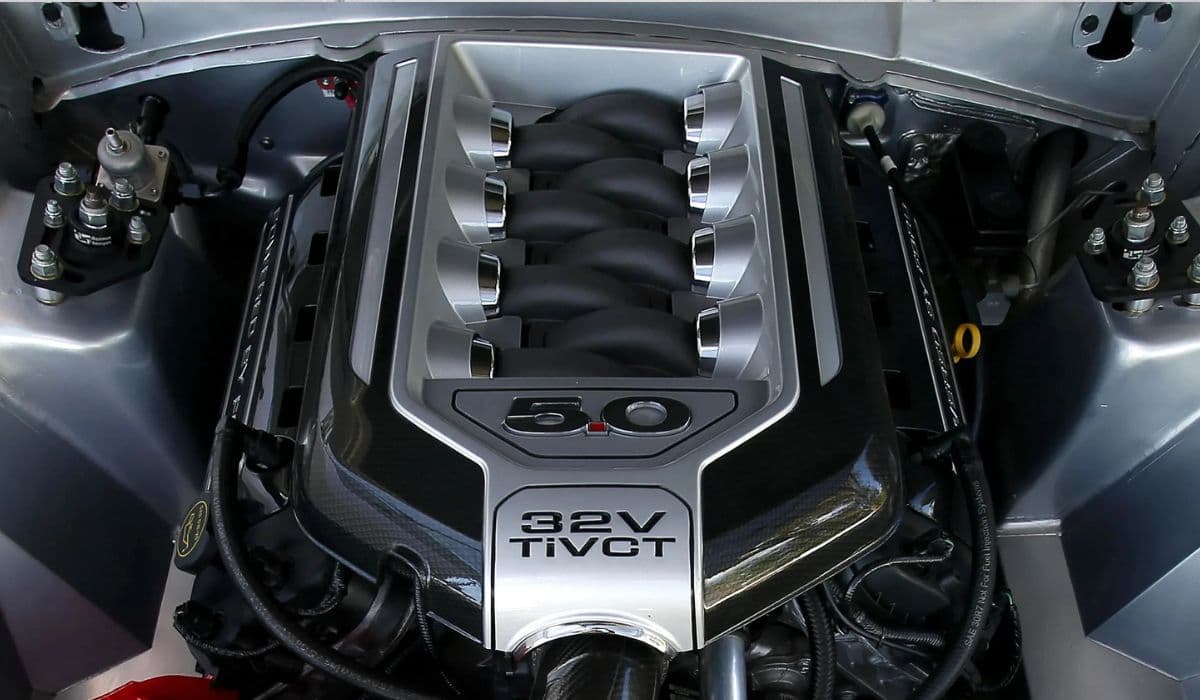
Coyote Gen 4 V8 (2024-Present) – Major Changes and Upgrades in the F-150
08.12.2025 08:42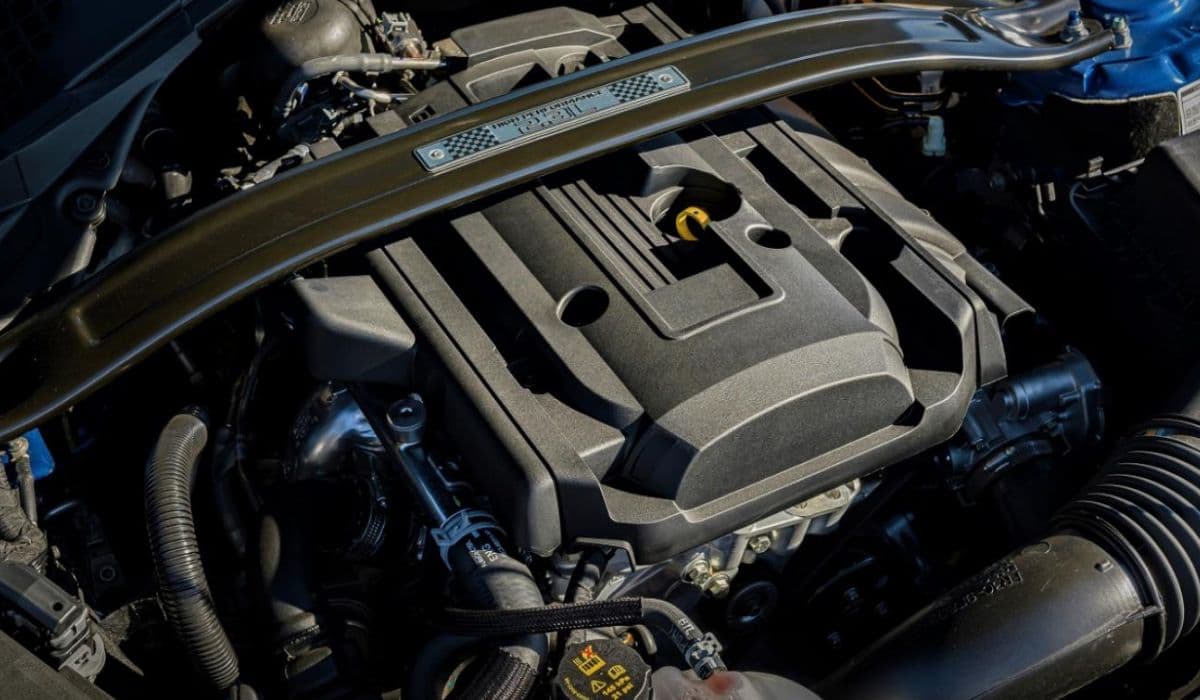
2.3L EcoBoost Mustang High-Mileage Reliability: What Really Happens After 100,000+ Miles
08.12.2025 05:04
2024–2025 Ford Ranger Raptor Engine Specs and Real-World Tuning Potential
08.12.2025 01:55
3.0L Power Stroke Diesel Engine Problems (2020–2024 F-150)
06.12.2025 15:58
6.2L Boss V8 Engine Reliability in 2011-2016 Ford F-250 Super Duty: Long-Term Owner Experience
06.12.2025 13:37