H10R80 Transmission Fluid and Filter Change DIY – Complete Step-by-Step Guide for Ford 10-Speed Owners
The Ford 10R80 10-speed automatic transmission is found in a wide range of modern vehicles including F-150, Mustang, Ranger, Expedition, Explorer, Lincoln Navigator, and even some Bronco models. Performing a proper H10R80 transmission fluid and filter change at home can save hundreds of dollars compared to dealer prices while significantly extending transmission life. This detailed DIY guide covers everything from fluid specifications to torque values, common pitfalls, and pro-level tips most tutorials leave out.
Why the 10R80 Needs Regular Fluid and Filter Service
Unlike older transmissions with “lifetime” fluid claims, the 10R80 is extremely sensitive to contaminated or degraded ATF. Heat, towing, aggressive driving, and even normal stop-and-go traffic break down the factory-fill Mercon ULV (Ultra Low Viscosity) fluid surprisingly fast. Dirty fluid leads to valve body sticking, harsh shifts, torque converter shudder, and eventually complete failure. Ford’s own severe-service schedule calls for fluid and filter changes every 30,000–45,000 miles when towing or in hot climates — far sooner than the 150,000-mile “normal” interval most owners believe.
Exact Fluid Specification – Do NOT Guess
The 10R80 requires only Motorcraft Mercon ULV (part XT-12-QULV) or a licensed equivalent that specifically states “Mercon ULV” on the bottle. Acceptable licensed brands include:
Valvoline MaxLife Multi-Vehicle ATF (new red bottle formulation)
Mobil 1 Synthetic LV ATF HP
Ravenol ATF T-ULV
Amsoil Signature Series Fuel-Efficient ATF (confirmed licensed)
Using Mercon LV, Dexron VI, or any non-ULV fluid will cause immediate shifting problems and can destroy the transmission in under 10,000 miles due to incorrect viscosity and friction modifiers.
Parts and Tools You Will Actually Need
13–14 quarts Genuine Motorcraft Mercon ULV (always buy extra)
Motorcraft FT-188 transmission filter + rubber pan gasket kit
New aluminum crush washer for fill plug (Ford part or M18x1.5 generic)
8 mm Allen socket (drain plug)
Torx T30 (pan bolts)
13 mm shallow socket (temperature check plug)
Fluid pump or long funnel with clear hose
Scan tool capable of reading transmission fluid temperature (Forscan, BlueDriver, OBDLink MX+, etc.)
Jack stands + wheel chocks
Large drain pan (15-quart minimum)
Brake cleaner and lint-free rags
Torque wrench (inch-pounds and ft-lbs)
Safety and Vehicle Preparation
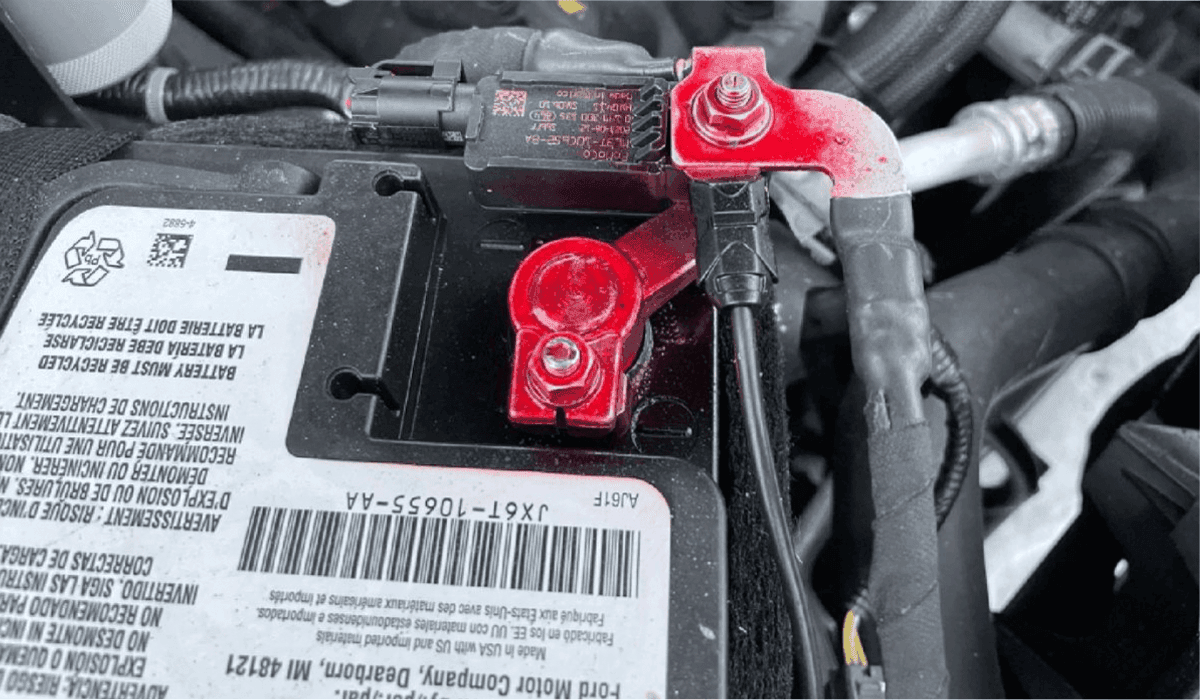
Park on perfectly level ground. Chock wheels. Raise the entire vehicle so it remains level — do NOT tilt nose-down. Allow the transmission to cool to ambient temperature overnight for the most accurate level check later. Disconnect the battery negative terminal if you are paranoid about accidental starter engagement.
Step 1 – Draining the Old Fluid
Remove the 8 mm Allen drain plug on the bottom of the transmission case (driver side, rear). Approximately 6–7 quarts will drain immediately. After flow stops, remove the small 13 mm standpipe plug inside the drain hole using a long extension — another 1.5–2 quarts will come out. This standpipe is critical — skipping it leaves almost 30 % of old fluid behind.
Step 2 – Dropping the Pan and Replacing the Filter
Remove all 18 Torx T30 pan bolts working in a crisscross pattern. The pan is plastic — pry gently near the bolt bosses only. Expect another 3–4 quarts to pour out when the pan drops. The factory filter simply pulls straight down off the valve body (no clips). Thoroughly clean the pan and both magnets with brake cleaner. Install the new FT-188 filter until it seats with an audible click. Install the new rubber gasket onto the pan (dry — no RTV). Reinstall pan and torque bolts in three stages to exactly 89 in-lbs (10 Nm) using a cross pattern.
Step 3 – Initial Fill and Static Level Check
Reinstall the drain plug with new crush washer — torque to 30 ft-lbs (40 Nm). From under the vehicle, remove the fill plug on the passenger side of the case (8 mm Allen, high up). Using a pump, add exactly 11 quarts of Mercon ULV. This is an overfill on purpose — we will correct it later at operating temperature.
Step 4 – The Critical Temperature-Based Level Procedure
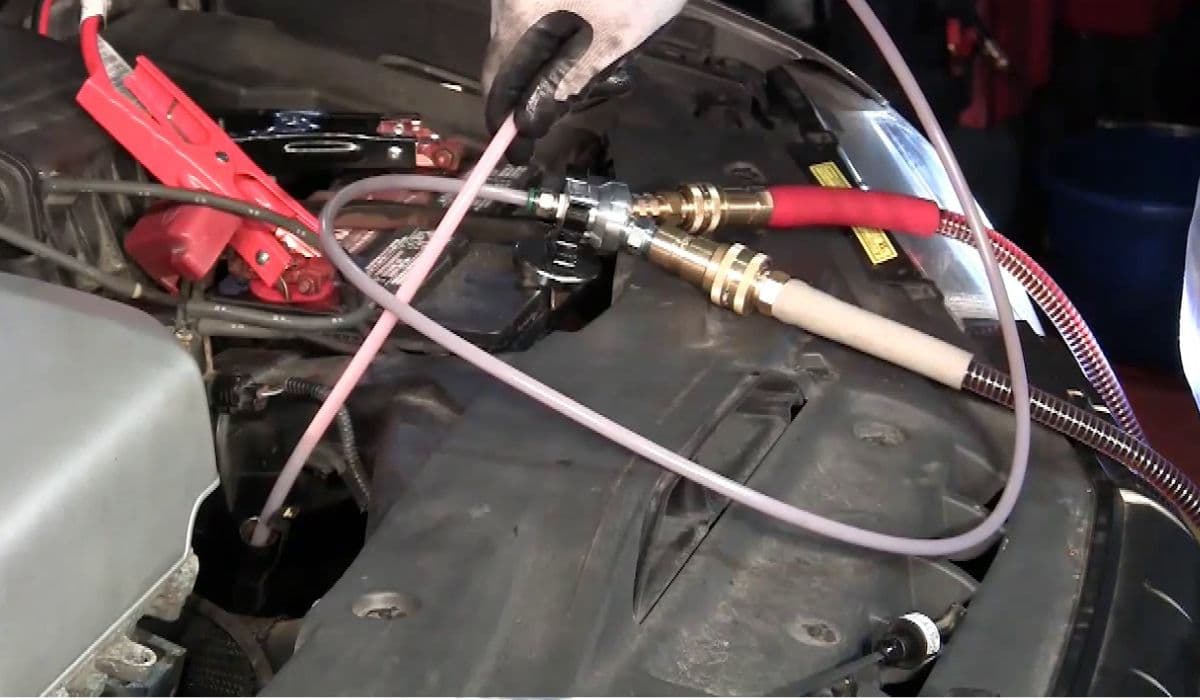
Reconnect battery. Start engine, move shifter through every gear holding 5 seconds each, end in Park. Connect your scan tool and monitor LIVE DATA → Transmission Fluid Temperature (TFT). With engine running and foot on brake, slowly add or remove fluid through the fill port until fluid just drips from the fill hole when TFT reaches exactly 203–213 °F (95–101 °C). This temperature window is non-negotiable — too cold and you will overfill, too hot and you will underfill. Most owners need to add another 0.5–1 quart during this step despite the initial 11-quart fill.
Step 5 – Final Check and Road Test
Once level is perfect at operating temperature, reinstall fill plug with new crush washer (30 ft-lbs). Shut off engine, raise vehicle, and verify no leaks. Lower vehicle and perform a 10–15 mile road test with varied driving. Re-check fluid level again at 203–213 °F — small adjustments are normal. Fluid should be bright pink and odor-free.
Common Mistakes That Destroy 10R80 Transmissions
Using the wrong viscosity fluid (Mercon LV instead of ULV)
Skipping the internal standpipe drain
Checking level cold or with engine off
Over-torquing plastic pan bolts → cracked pan
Reusing old crush washers
Adding fluid through the tiny vent tube instead of the side fill port
Trusting the dealer when they say “sealed for life”
Bonus Tips From Transmission Shops
Install an external Magnefine inline filter on the cooler return line for extra protection. Consider adding a larger aftermarket deep pan (PPE, Mag-Hytec) next service — increases capacity by 4+ quarts and drops temps dramatically. Always reset the transmission adaptive learning tables with Forscan after service for fastest relearn and smoothest shifts.
Following this exact procedure with genuine Mercon ULV and the correct temperature method will restore buttery-smooth shifting and dramatically extend the life of your 10R80 — all for under $200 in parts and an afternoon in the driveway.
More from Ford
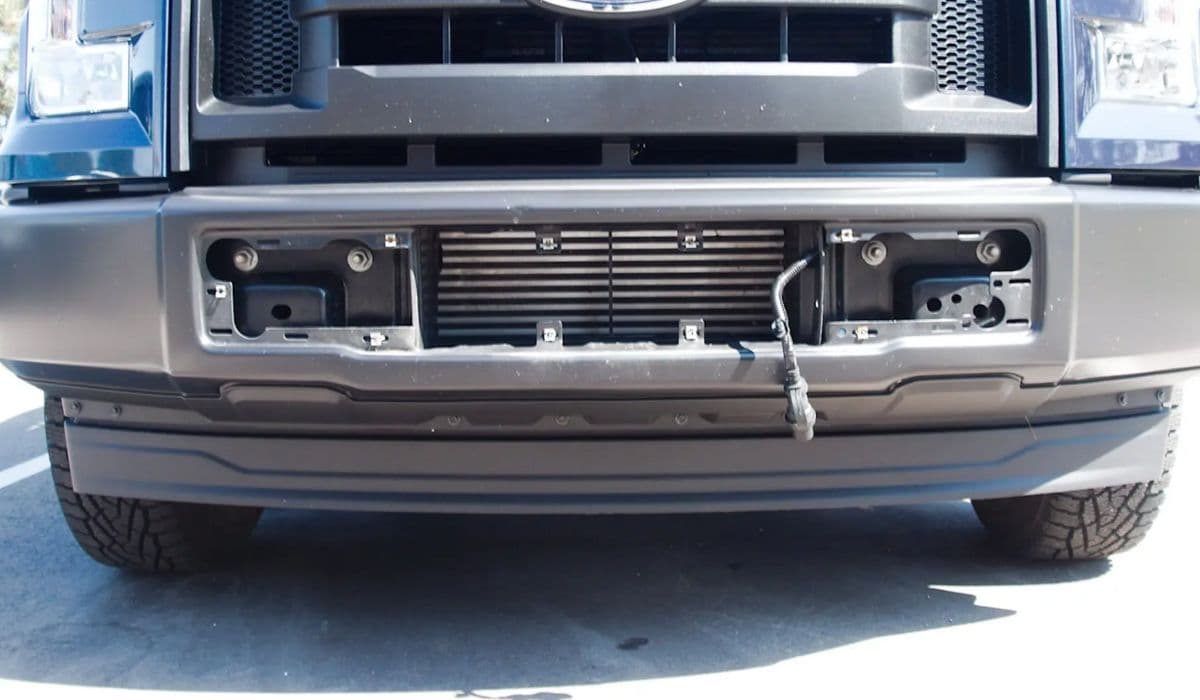
How to Delete Active Grill Shutters F-150
08.12.2025 09:13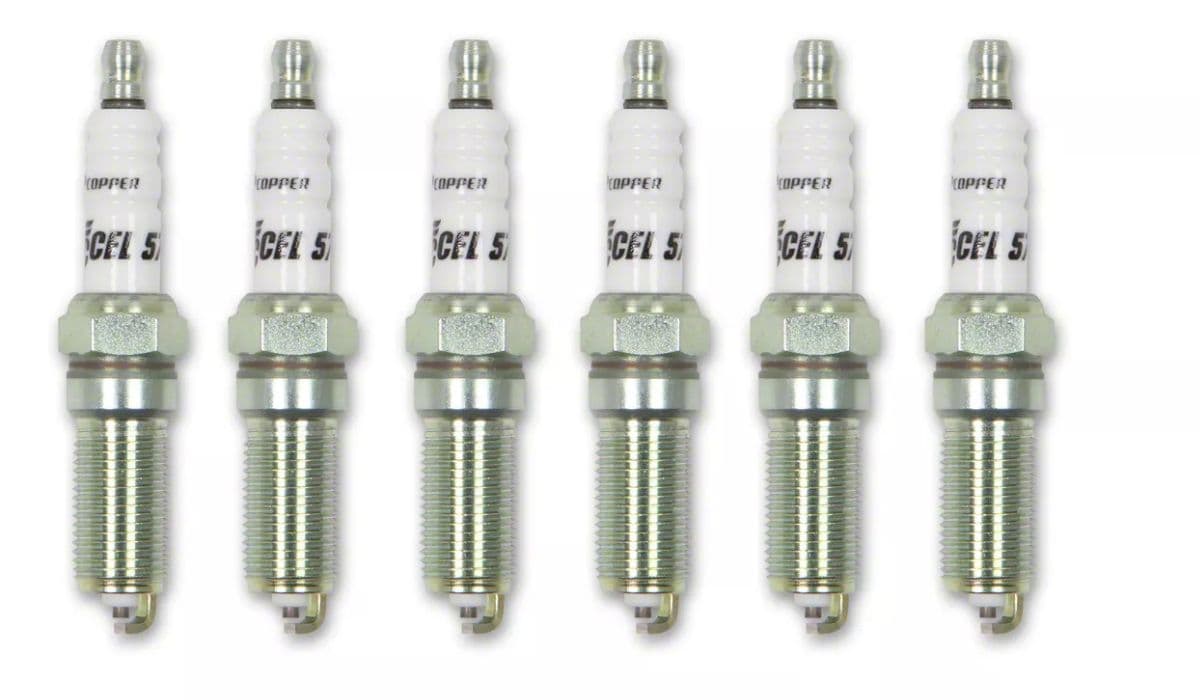
How to Remove Spark Plugs from a Ford 5.4L 3V Triton Without Breaking Them – Proven Step-by-Step Method
08.12.2025 08:58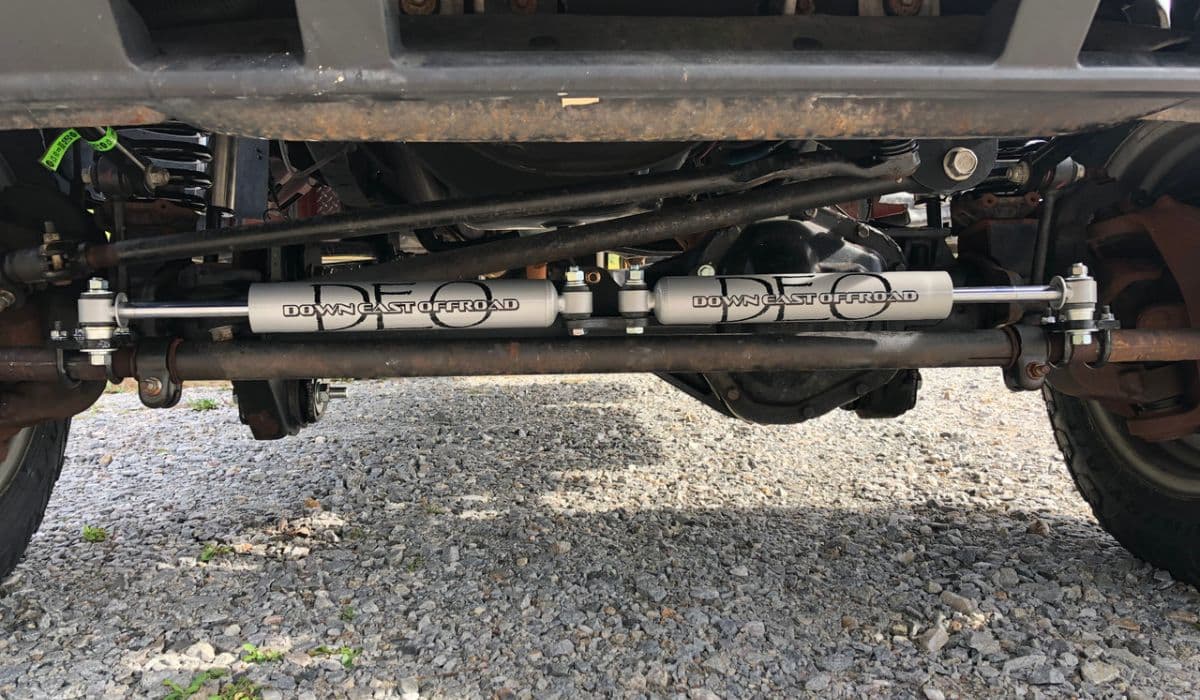
How to Fix Death Wobble on 2015-2023 Ford F-150 at Home – Real-World Permanent Solutions
08.12.2025 09:07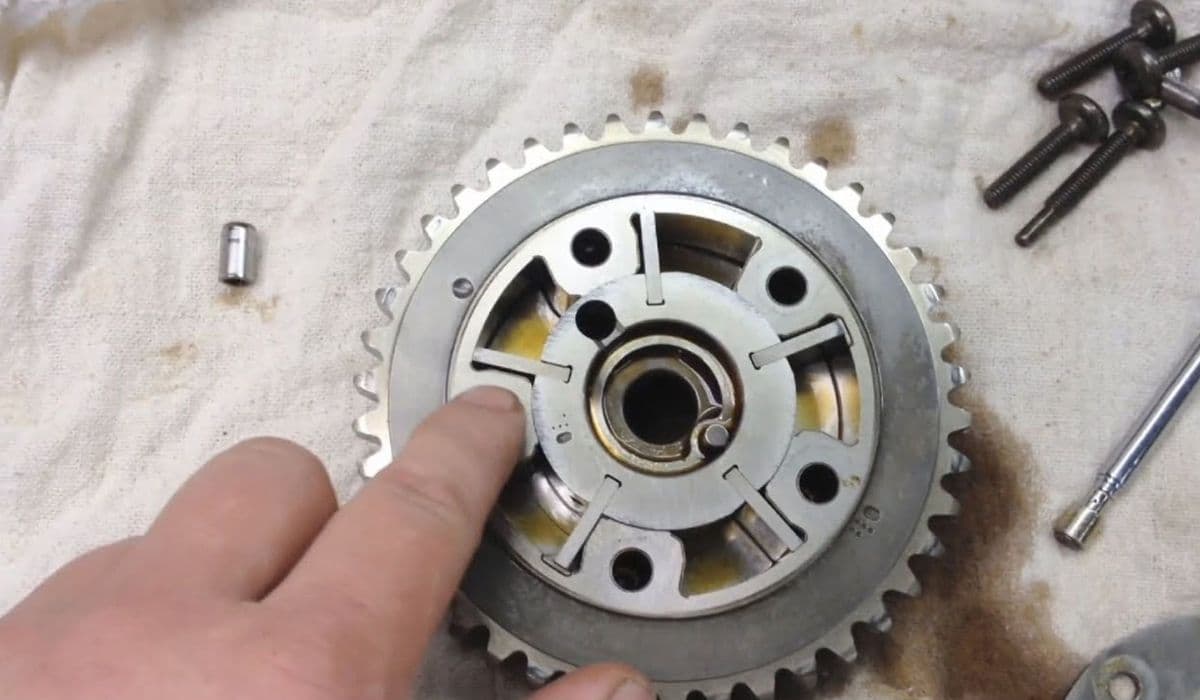
How to Permanently Fix F-150 Cam Phaser Rattle on 2017-2020 Models – Full DIY Guide
08.12.2025 08:53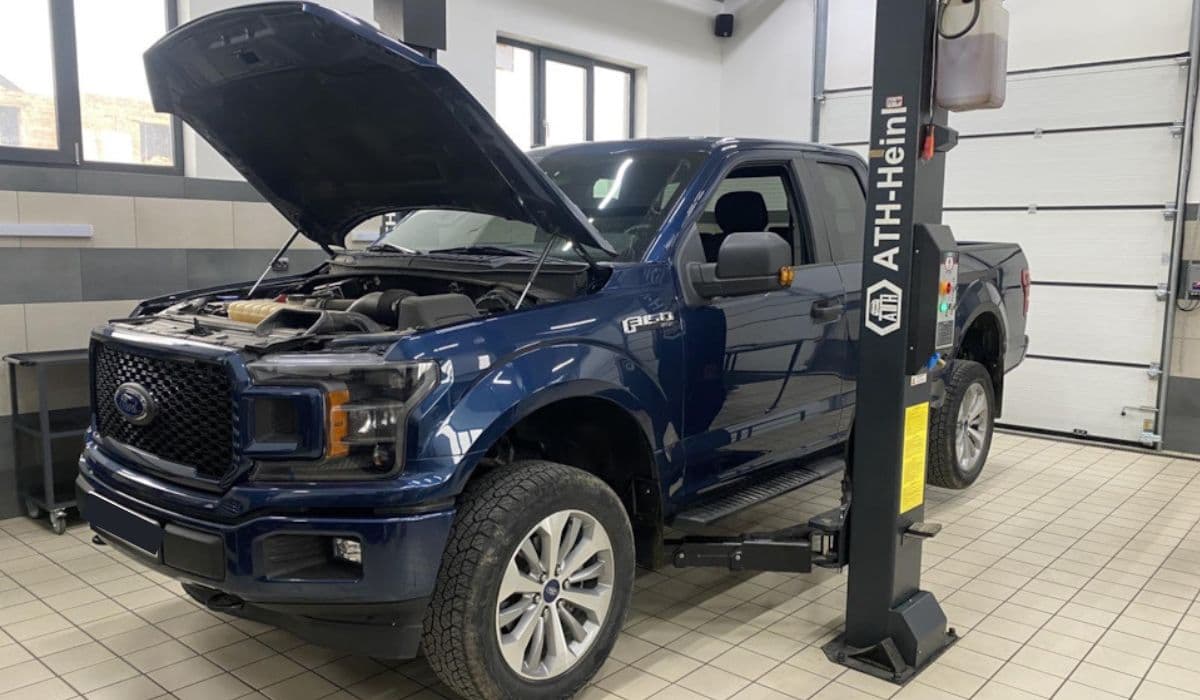
Ford F-150 Complete Maintenance Schedule: 2000 – Present (All Generations, Engines & Powertrains)
30.11.2025 12:32