How to Remove Spark Plugs from a Ford 5.4L 3V Triton Without Breaking Them – Proven Step-by-Step Method
The Ford 5.4-liter 3-valve Triton engine (found in F-150, Expedition, Navigator, Mark LT, and some E-Series vans) is notorious for spark plug seizure. The factory two-piece spark plugs tend to carbon-lock in the cylinder head, and the porcelain or the ground electrode shield often breaks during removal, leaving the lower part stuck deep in the head. Doing it wrong can easily turn a $150 tune-up into a $1500–$3000 repair. This guide shows the method that professional Ford techs and experienced owners use to get 95–98 % of these plugs out intact, even on high-mileage engines.
Why Ford 5.4 3V Spark Plugs Break So Often
The original Motorcraft SP-515 (and earlier SP-509) plugs have a long threaded section and a thin nickel ground shield. Over tens of thousands of heat cycles, carbon builds up between the steel shell and the aluminum head, and galvanic corrosion welds the threads. When torque is applied, the porcelain fractures or the entire lower shell snaps off. Once broken, extraction becomes extremely difficult and usually requires specialized tools such as Lisle 65600, Cal-Van 38900, or even head removal.
Essential Tools and Materials You Must Have
Quality 9/16" thin-wall spark plug socket (Lisbela, OEM Tools 27211, or similar with rubber insert)
6-inch and 12-inch 3/8" extensions + universal joint
3/8" ratchet and a long breaker bar (at least 24")
Torque wrench (inch-pounds and ft-lbs)
Penetrating oil: 50/50 mix of acetone and ATF (most effective) or PB Blaster, Kroil, AeroKroil
Lisle 65700 Broken Plug Remover kit (highly recommended as backup)
Shop vacuum with narrow hose + compressed air blow gun
Anti-seize (nickel, never copper, or Motorcraft XL-2 high-temp)
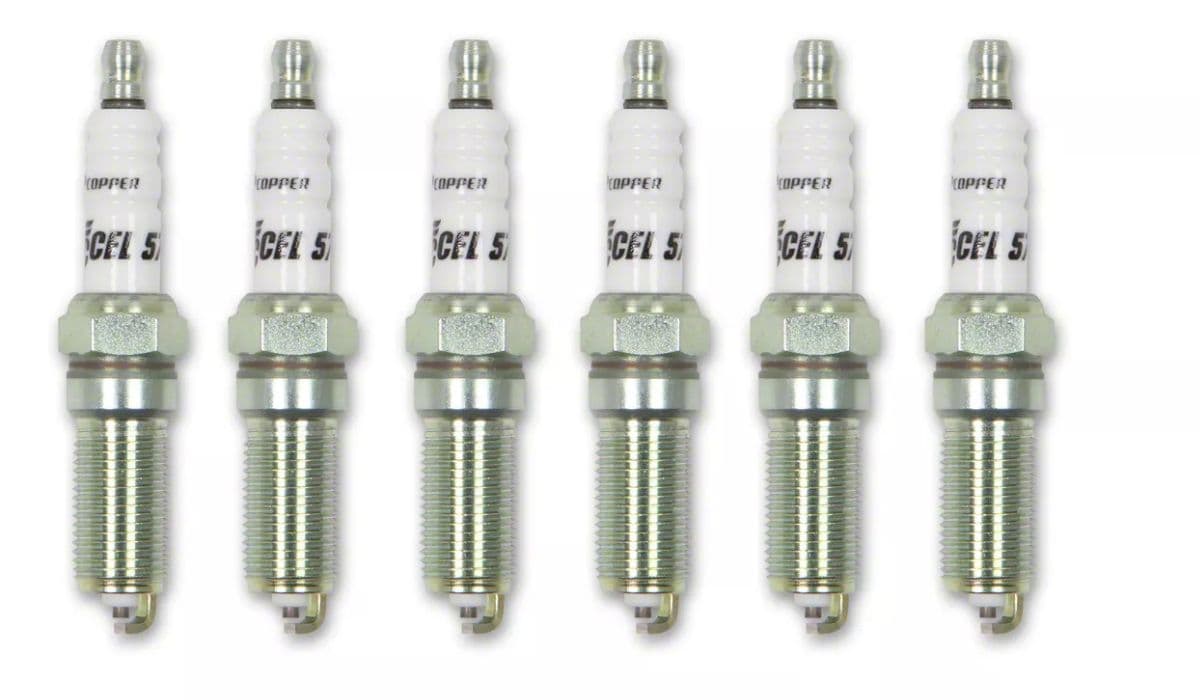
New one-piece plugs: Motorcraft SP-546 (HT2), Champion 7989, or NGK 95790
Dielectric grease
3/8" fuel line or vacuum hose (for turning plugs by hand)
Critical Preparation Steps Before Touching a Wrench
Start with a completely cold engine – overnight cold is best. Heat cycles make seizure worse.
Disconnect the battery.
Remove COP (coil-on-plug) coils – twist ¼ turn and pull straight up.
Blow out all wells with compressed air to remove debris.
Fill every spark plug well to the top with penetrating oil. Let it soak minimum 2 hours, ideally overnight or even 24–48 hours on high-mileage engines. Top off as it seeps down.
After soaking, blow out excess oil and vacuum the wells again.
The “Soak, Heat, Soak Again” Cycle That Works Best
Professional shops use this sequence with outstanding success:
Start the engine and bring it to full operating temperature (10–15 min drive).
Shut off immediately and let it cool for exactly 45–60 minutes – this is the “sweet spot” where the head is still warm but the plug shell has contracted slightly more than the aluminum.
While still warm, re-soak every well with penetrating oil again for another 30–60 minutes.
Repeat the heat-soak cycle 2–3 times if the truck has over 100k miles.
The Actual Removal Technique (The One That Rarely Breaks Plugs)
Use the 9/16" thin-wall socket with a 6-inch extension and universal joint.
Slide a 12-inch length of 3/8" fuel line or vacuum hose over the porcelain – this gives you incredible feel and prevents side load.
By hand, rock the plug back and forth very gently (⅛ turn loose, ¼ turn tight, repeat). You are trying to crack the carbon seal without applying real torque yet.
Once you feel it move freely in both directions, apply the ratchet and turn counterclockwise in very small increments – never more than 15–20 degrees at a time.
If it stops moving or feels like it’s tightening, stop immediately, add more penetrant, wait 10 minutes, and rock again.
As soon as threads are visible, back the plug out ½ turn, spray more penetrant directly on the threads, wait 5 minutes, then continue.
Remove slowly – the entire process for a stubborn plug can take 20–40 minutes each.
Torque Specifications and Installation of New Plugs
Never trust “hand tight + ¼ turn” on these engines.
New Motorcraft SP-546 (one-piece design): exactly 25 ft-lbs (300 in-lbs) on a clean, dry thread.
Apply a thin coat of nickel anti-seize only on the first 2–3 threads – never on the electrode or seat.
Apply dielectric grease inside the coil boot and on the ceramic of the new plug.
Torque coils to 25 in-lbs (not ft-lbs!).
What to Do If a Plug Does Break Anyway
Even with perfect technique, 2–5 % will still break on 150k+ mile engines.
Do not panic – the Lisle 65700 kit removes 90 %+ of broken plugs without pulling the head.
Use the porcelain removal tool first, then the self-tapping extractor.
Go slow, keep threads soaked, and use low RPM with a cordless drill.
Prevention for the Future
Change plugs every 60–80k miles maximum.
Always use the updated one-piece design (SP-546 / HT2).
Apply nickel anti-seize at every installation.
Consider installing thread inserts (Time-Sert 5554 or Cal-Van 39900) inserts on any cylinder that had a broken plug – it’s cheap insurance.
Following this exact procedure – long soak, heat cycles, hand rocking, and extreme patience – will get almost every 5.4 3V plug out in one piece and save thousands in repair costs.
More from Ford
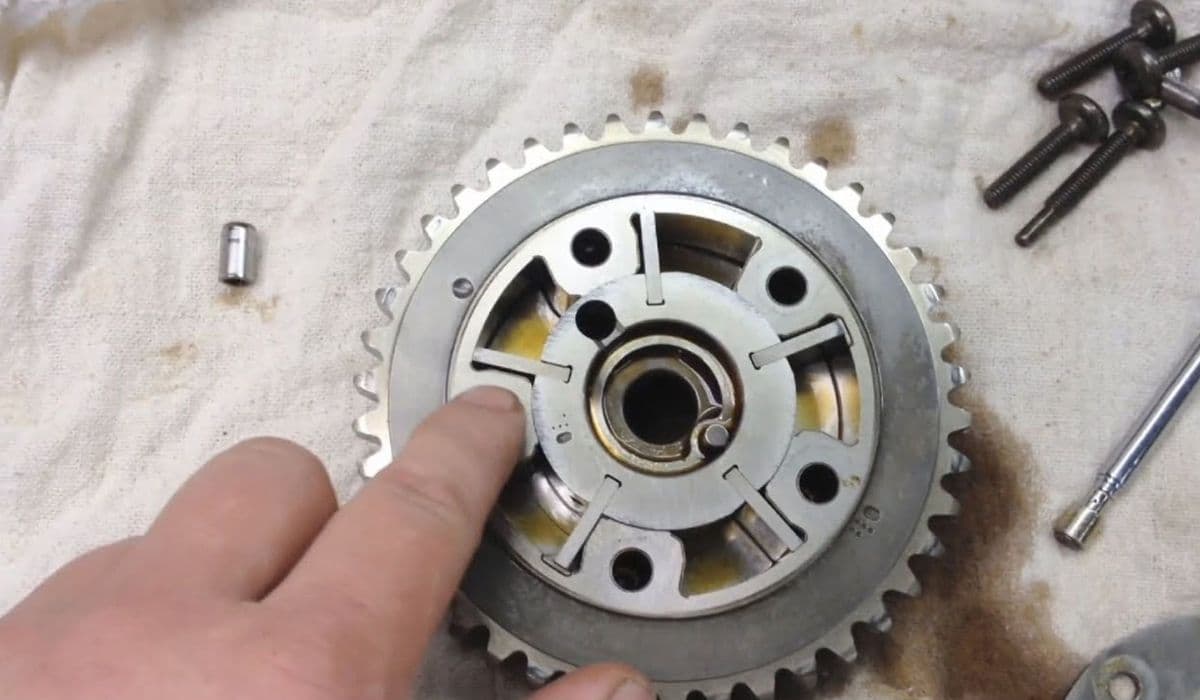
How to Permanently Fix F-150 Cam Phaser Rattle on 2017-2020 Models – Full DIY Guide
08.12.2025 08:53
Ford F-150 Complete Maintenance Schedule: 2000 – Present (All Generations, Engines & Powertrains)
30.11.2025 12:32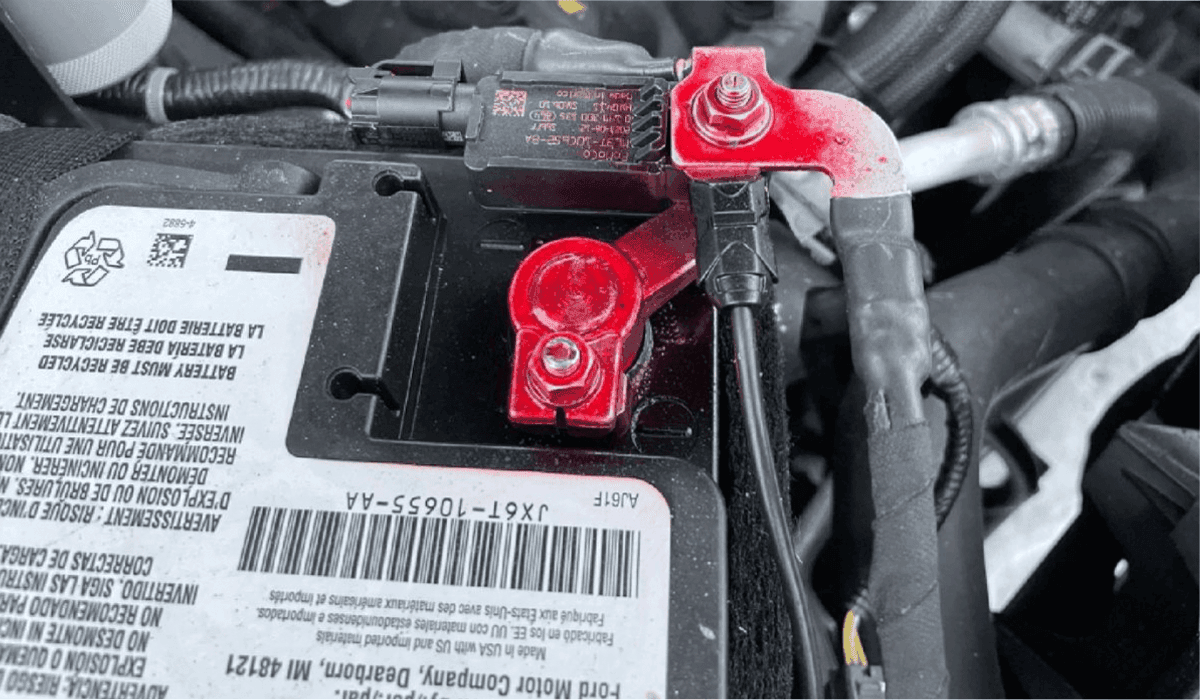
How to Replace the Battery in a Ford F-150 (Any Year & Engine)
30.11.2025 04:04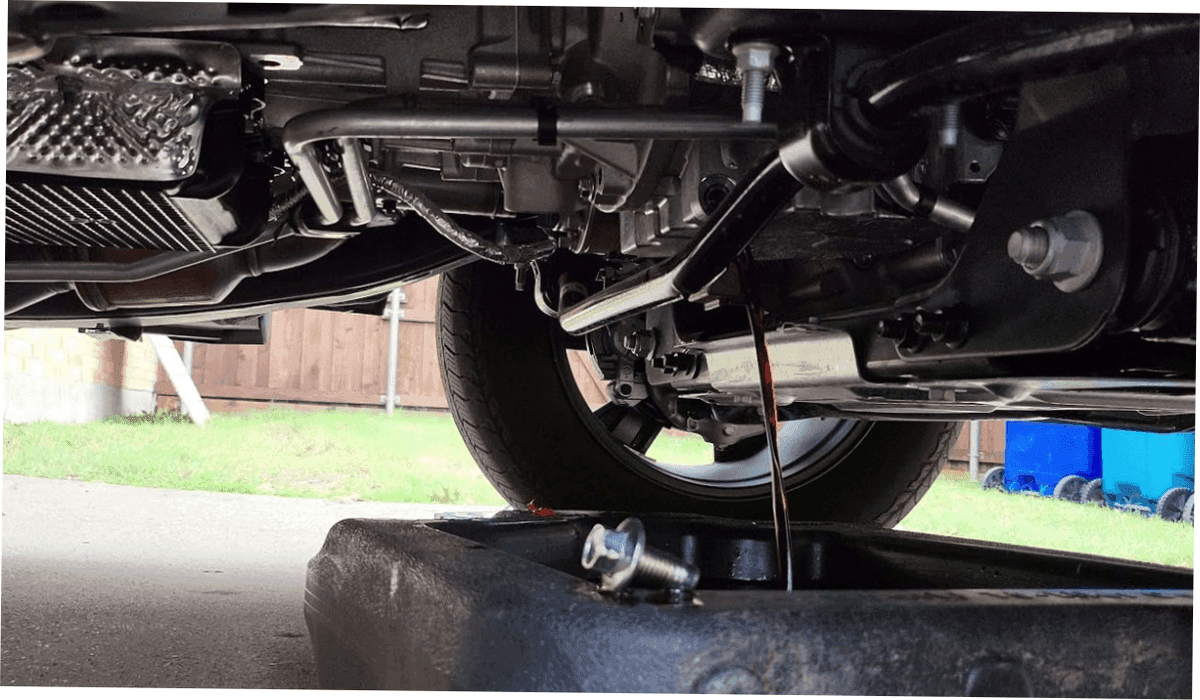
How to Change Oil and Oil Filter on Ford F-150 (1990s to Present)
24.11.2025 14:03