How to Remove and Store Your Ford Bronco Hardtop – Complete Step-by-Step Guide for 2021+ Models

The sixth-generation Ford Bronco hardtop is engineered for off-road life, but its modular design also makes it one of the easiest factory hardtops to remove and store. Whether you run a two-door or four-door, have the standard MIC (Molded-in-Color) gray top, the later black MIC 2.0, or the optional painted modular hardtop, the process and storage considerations are nearly identical. Here’s everything you need to know to do it safely, quickly, and without scratching your roof panels or your garage.
Tools You’ll Actually Need
Before you start, gather:
T50 Torx bit (long-reach preferred)
T40 Torx bit
13 mm deep socket and ratchet
10 mm socket (for sound deadening headliner, if installed)
Trim removal tools or plastic pry tools
Torque wrench (for reinstallation)
Moving blankets or dedicated Bronco hardtop storage pads
At least one strong friend (two for four-door models)
Ford also sells an official Hardtop Removal Tool (T-handle with T50 and T40 bits), but a worthwhile $79 investment if you plan to take the top off more than once.
Differences Between 2-Door and 4-Door Hardtop Removal
The 2-door Bronco has three main pieces: front row panels (two separate left/right) and one-piece rear cap.
The 4-door has four pieces: two front row panels + front shell + rear shell.
The front row panels are identical on both models and remove in exactly the same way. The rear section is the only real difference in weight and handling.
Step-by-Step Front Row Panel Removal (Both Models)
Open both front doors and lower all windows.
Remove the two rubber plugs on the freedom panel storage bag (inside rear cargo area) – this depressurizes the cabin.
From inside the vehicle, pull straight down on the two rear latches of each front panel (they are marked with white arrows).
Move to the outside. Using the T50 Torx, remove the six bolts around the perimeter of each panel (three per side). Apply steady upward pressure on the bit – these bolts are thread-locked from factory and can be stubborn the first time.
Lift the panel straight up about 2–3 inches, then tilt the rear edge upward and pull the panel forward to clear the rain gutter lip.
Immediately place the panel in the factory headliner bag or on moving blankets – the painted side is surprisingly easy to scratch.
Pro tip: If your Bronco is lifted or on tall tires, stand on a stable step stool. The panels weigh about 30 lbs each but feel heavier overhead.
Removing the Rear Section – 2-Door Bronco
Fold the rear seatbacks down.
Remove the four T40 bolts that secure the rear window wiper arm cover, then pop the cover off.
Disconnect the rear washer hose (quick-connect fitting – pull the gray tab) and the electrical connector for defroster/wiper.
Remove the six 13 mm bolts (three per side) that secure the hardtop to the body along the beltline.
With two or three people, lift straight up. The entire 2-door rear cap weighs roughly 90–100 lbs.
Removing the Rear Section – 4-Door Bronco
The 4-door splits into a front shell and rear shell, making it dramatically easier.
Front shell (over 2nd row):
Remove eight T50 bolts (four per side) along sport bar).
Disconnect rear washer hose and defroster plug at the passenger-side rear pillar.
Two people can lift it off (≈75 lbs).
Rear shell (cargo area):
Remove the rear wiper motor cover (four T40 bolts).
Disconnect washer hose and defroster harness.
Remove six 13 mm body bolts and four 13 mm bolts that connect the rear shell to the front shell.
Three people recommended (≈110–120 lbs).
Best Ways to Store Your Hardtop Long-Term
Never lean panels against a wall – the weight will eventually bow them. Here are the proven solutions:
Ford OEM Hardtop Storage Cart ($499) Powder-coated steel, carpeted cradles, heavy-duty casters. Holds all four pieces securely and rolls into a corner.
Tuffy Security Hardtop Cart Lockable, slightly taller cradles, excellent for garages with theft concerns.
Stehlen 733469528469 Universal Ceiling Hoist Four independent 4-point pulleys rated at 125 lbs each. Very popular among Bronco owners – keeps the top completely out of the way.
DIY Wall-Mounted Rack Use 2×6 lumber lagged into studs every 16", lined with carpet or horse stall mats. Add ratchet straps for security.
Factory In-Vehicle Storage (Front Panels Only) The two front freedom panels store perfectly in the rear cargo area using the supplied bags. Many owners leave the rear hardtop sections off all summer and keep only reinstall when winter hits.
Protecting the Top While in Storage
Always store painted-side up or vertical – never painted-side down.
Cover with breathable moving blankets (not plastic tarps – moisture gets trapped).
Keep at least 6" off concrete floors (use 2×4 risers) to prevent condensation wicking.
Spray exposed wiring connectors with Fluid Film or Boeshield T-9 to prevent corrosion.
If storing outside under a carport, use a California Car Cover “Stormweave” hardtop cover.
Reinstallation Tips to Avoid Leaks and Rattles
Clean the rubber gasket channel with isopropyl alcohol before reinstall.
Apply a very light coat of silicone grease or Krytox GPL205 to the rubber seals once a year.
Torque all T50 bolts to 18 ft-lbs and 13 mm body bolts to 35 ft-lbs (Ford spec).
Check torque again after 500 miles – they can loosen slightly the first few heat cycles.
Common Mistakes That Cause Damage
Forgetting to disconnect the rear washer hose before lifting – rips the line every time.
Over-tightening freedom panel bolts – strips the captive nuts in the roof.
Storing panels painted-side down on bare concrete – permanent swirl marks.
Lifting the 4-door rear shell without removing the front shell first – impossible geometry.
With practice, two people can have a 4-door Bronco completely topless in under 25 minutes and back together in about the same time. The system is genuinely one of the best factory modular hardtop designs ever put on a production vehicle – treat it well and it will last the life of the truck.
More from Ford
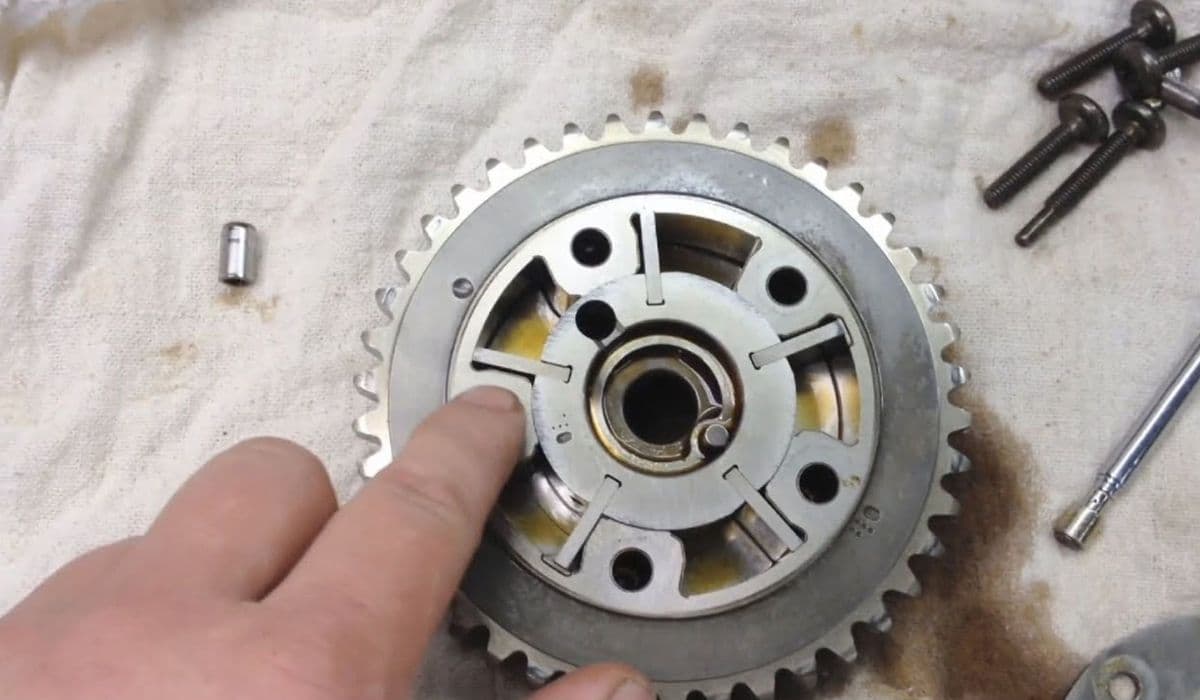
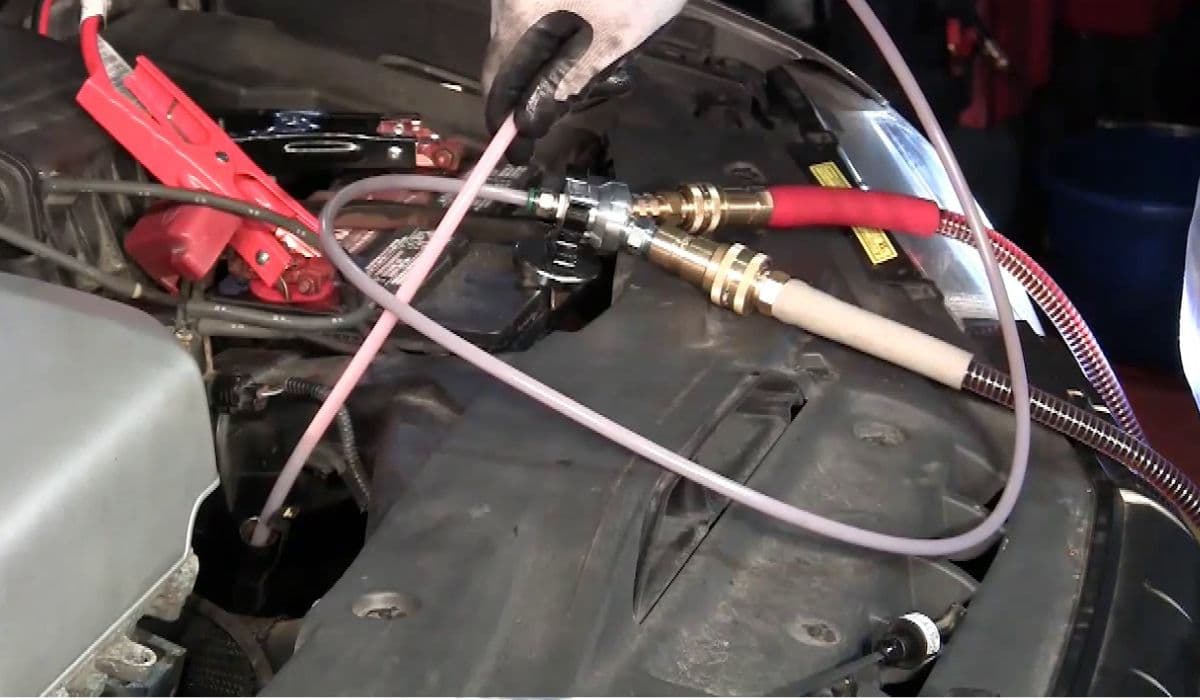
How to Permanently Fix F-150 Cam Phaser Rattle on 2017-2020 Models – Full DIY Guide
08.12.2025 08:53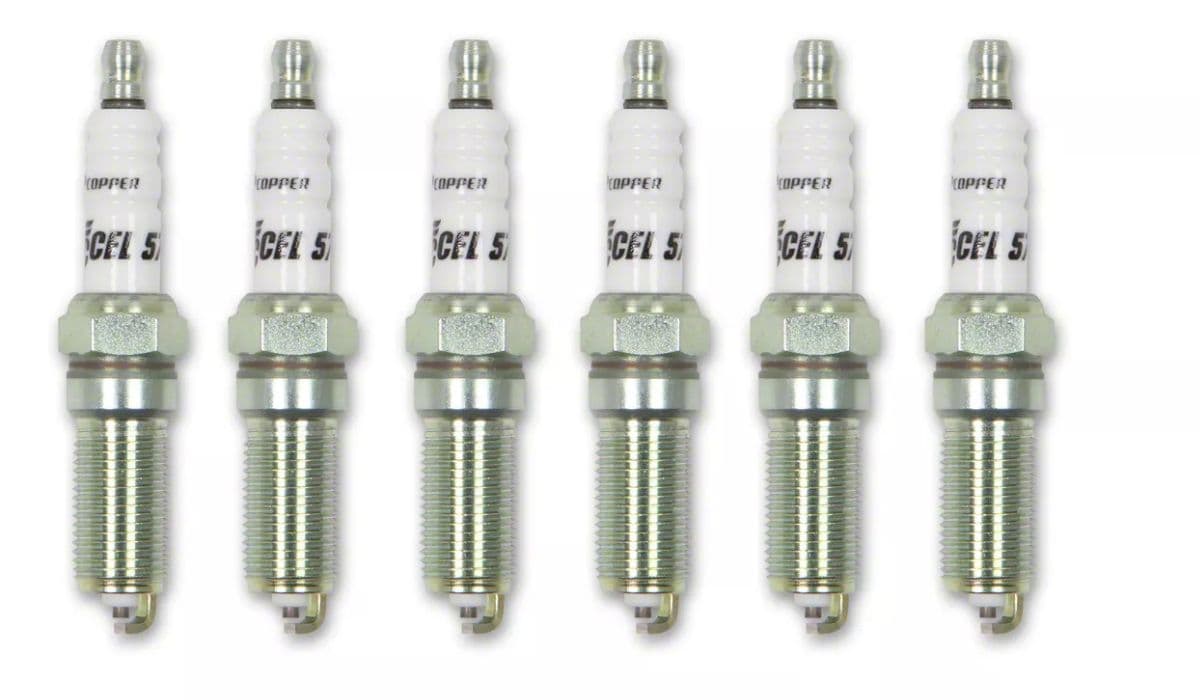
How to Remove Spark Plugs from a Ford 5.4L 3V Triton Without Breaking Them – Proven Step-by-Step Method
08.12.2025 08:58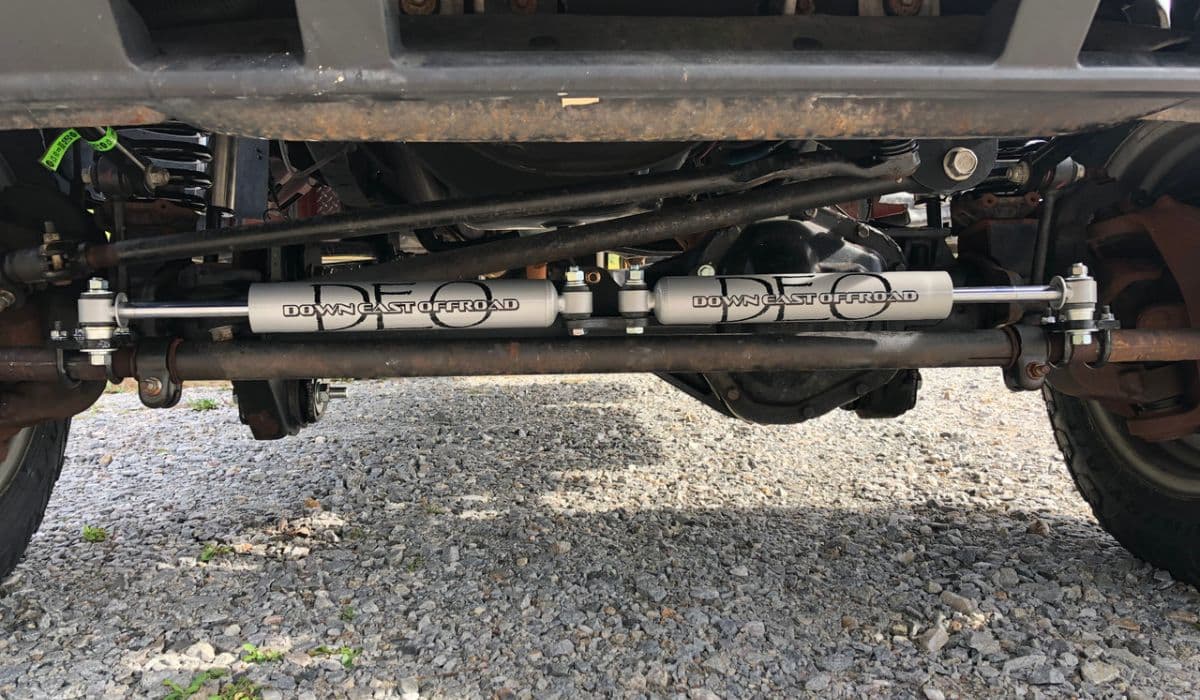
How to Fix Death Wobble on 2015-2023 Ford F-150 at Home – Real-World Permanent Solutions
08.12.2025 09:07
How to Delete Active Grill Shutters F-150
08.12.2025 09:13
Ford Explorer Police Interceptor Oil Pan Gasket Replacement: Complete Professional Guide
08.12.2025 06:21