Coolant Leak Inspection Tips Honda 1.5T Turbo
The Honda 1.5T Turbo engine, found in models like the Civic and CR-V, is a marvel of modern engineering, blending efficiency with spirited performance. At its core, the cooling system plays a pivotal role in maintaining optimal operating temperatures, preventing overheating that could lead to catastrophic failures. Coolant, a mixture of antifreeze and water, circulates through the engine, absorbing heat and dissipating it via the radiator. However, leaks in this system can disrupt this delicate balance, leading to reduced performance, increased emissions, or even engine damage. Imagine cruising down a winding road, only to notice steam billowing from under the hood— that's a scenario every Honda enthusiast dreads. Regular inspections aren't just maintenance; they're essential for preserving the turbocharger's longevity and the engine's overall health. By spotting leaks early, you ensure your vehicle remains reliable for those spontaneous road trips or daily commutes.
Recognizing Early Signs of Coolant Leaks
Detecting a coolant leak before it escalates can save you from roadside breakdowns. One of the first indicators is a sweet, pungent odor inside the cabin or around the engine bay, reminiscent of maple syrup— that's the ethylene glycol in the coolant evaporating. Another telltale sign is fluctuating temperature gauges; if the needle dances erratically, it might signal low coolant levels. Puddles under the car, especially greenish, pinkish, or orange fluid, are obvious clues, but don't overlook less visible symptoms like white smoke from the exhaust, which could mean coolant mixing with engine oil.
Overheating during idle or low-speed driving, where the turbo isn't fully engaged.
Reduced heater performance in colder months, as coolant flow diminishes.
Visible residue or crusty deposits around hoses and connections.
Dashboard warning lights, particularly the low coolant or check engine indicators.
These signs often appear subtly at first, so tuning into your vehicle's behavior is key. For instance, if your Honda feels sluggish under boost, it might be compensating for thermal stress caused by a leak.
Essential Tools for a Thorough Inspection
Before diving into the engine bay, gather the right tools to make the process efficient and safe. A basic toolkit can transform a daunting task into a straightforward one. Start with protective gear like gloves and safety glasses to shield against hot fluids. A flashlight or work light is indispensable for illuminating dark crevices under the hood.
Pressure tester kit to simulate operating conditions and reveal hidden leaks.
UV dye and blacklight for tracing elusive drips that evaporate quickly.
Mirror on a stick for inspecting hard-to-reach areas like the back of the engine block.
Clean rags and a drain pan to manage any spills during checks.
Multimeter for verifying electrical components if the leak affects sensors.
With these at hand, you're equipped to conduct a professional-level inspection without needing a mechanic's lift. Remember, the 1.5T's compact design means tools that extend your reach are particularly valuable.
Step-by-Step Guide to Inspecting for Leaks
Begin your inspection with the engine cool and parked on level ground. Pop the hood and visually scan the radiator, hoses, and water pump for any obvious drips or stains. The turbocharger's intercooler piping can be a hotspot due to the high pressures involved.
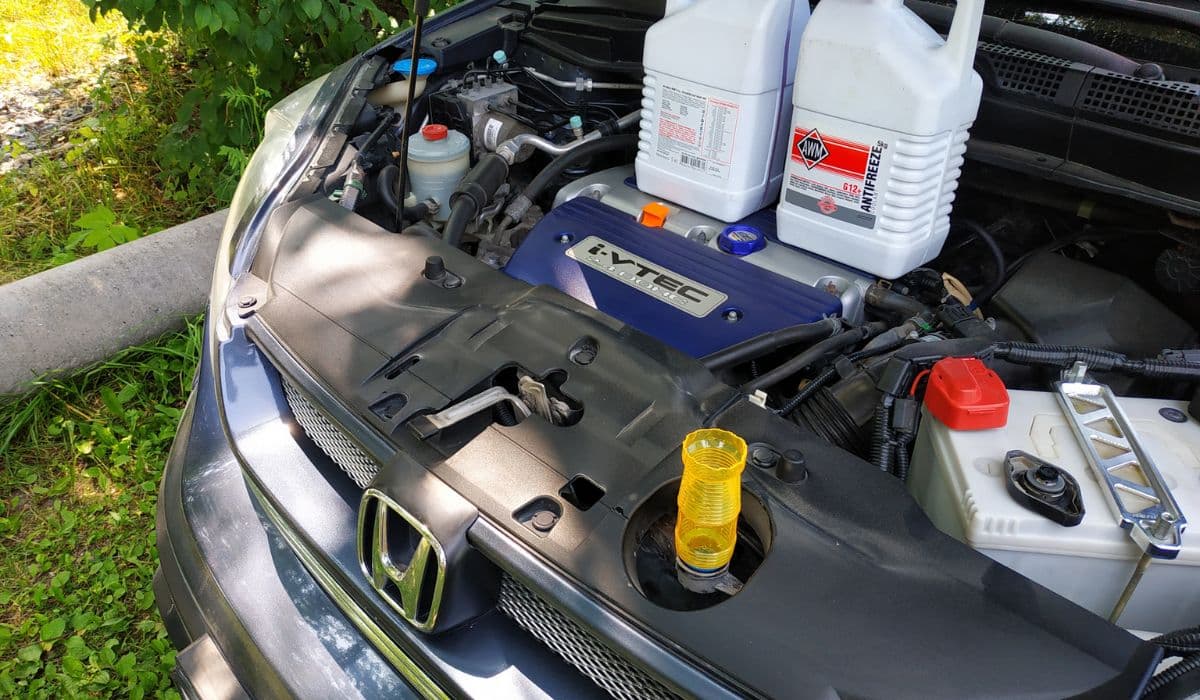
First, check the coolant reservoir level— it should be between the min and max marks when cold. If low, top it up and monitor for drops over time. Next, examine hoses for cracks, bulges, or soft spots by gently squeezing them; they should feel firm but pliable.
Inspect the radiator cap for wear; a faulty seal here is a common culprit.
Look at the thermostat housing and heater core connections for corrosion.
Use the pressure tester: attach it to the radiator, pump to 15-20 psi, and watch for pressure drops indicating leaks.
Add UV dye to the coolant, run the engine, then scan with the blacklight for glowing trails.
Don't forget the turbo oil lines, as they can sometimes weep coolant if seals fail.
This methodical approach ensures you cover all bases, from the front-mounted radiator to the rear engine seals. Patience here pays off, as rushing might miss intermittent leaks that only appear under heat.
Common Causes Specific to the 1.5T Turbo
In the Honda 1.5T, certain design elements make it prone to specific leak points. The turbo's integration adds complexity, with additional coolant lines feeding the bearing housing to manage heat from exhaust gases spinning at over 100,000 RPM. Degraded gaskets around the cylinder head are frequent offenders, especially if the engine has seen high-mileage without proper care.
Plastic components like the radiator end tanks can crack from thermal cycling.
Hose clamps loosening over time due to vibrations from the turbo spool-up.
Water pump seals wearing out prematurely in stop-and-go traffic.
Corrosion in aluminum parts exposed to poor-quality coolant mixtures.
Faulty expansion tank caps failing to hold pressure.
Understanding these vulnerabilities helps in targeted inspections. For example, the direct-injection setup increases heat loads, accelerating wear on seals if coolant isn't flushed regularly.
Preventive Measures to Avoid Future Leaks
Staying ahead of leaks involves proactive habits that extend your Honda's life. Flush and replace coolant every 30,000 miles or as per the manual, using Honda-specific Type 2 fluid to prevent corrosion. Regularly inspect belts and pulleys, as misalignment can stress the water pump.
Tighten connections during oil changes to catch early looseness.
Monitor turbo boost levels; excessive tuning can overheat the system.
Use high-quality aftermarket parts if replacing components.
Park in shaded areas to reduce thermal stress on plastics.
Keep an eye on driving conditions— aggressive driving heats things up faster.
Incorporating these into your routine turns maintenance into a rewarding ritual, ensuring your 1.5T Turbo delivers that exhilarating performance mile after mile.
More from Honda

How to Fix 11th Generation Honda Civic Screen Delamination (2022–2024 Models)
08.12.2025 12:32
How to Disable Honda Walk Away Auto Lock Forever
08.12.2025 12:44
Honda CR-V: Rear Differential Fluid Change for AWD Models
24.12.2025 06:39
Honda Civic Low Beam Headlight Bulb Replacement Trick That Saves Hours and Broken Clips
08.12.2025 09:38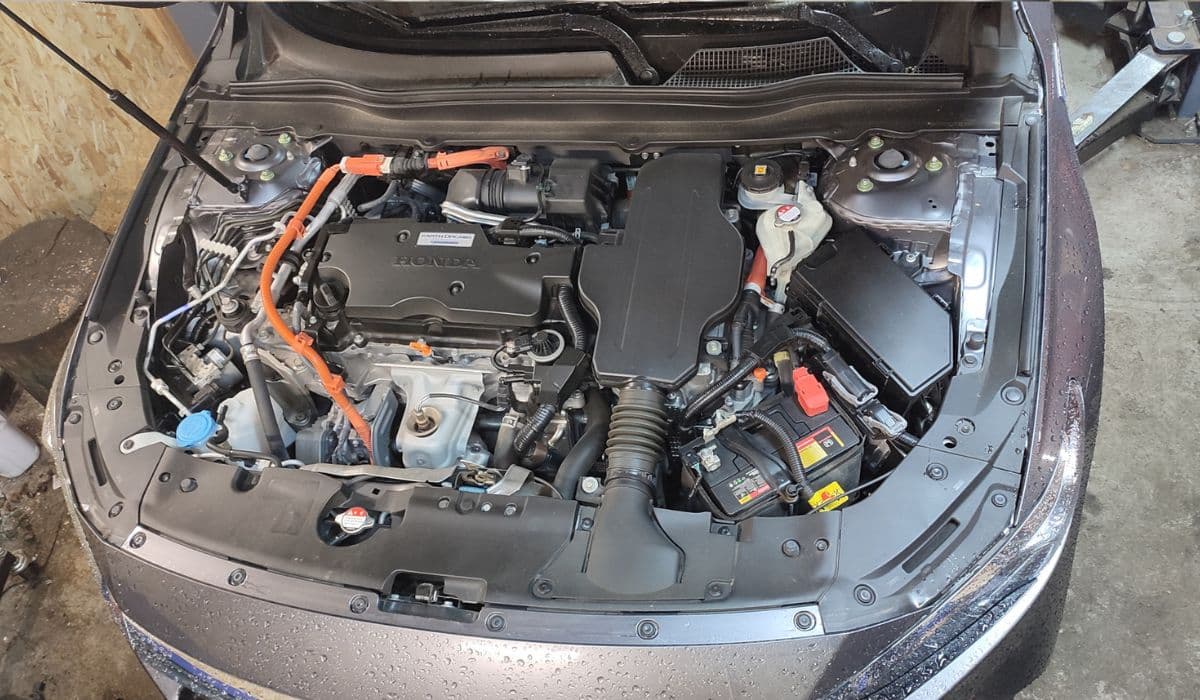
How to Clean the Honda Accord Hybrid Battery Fan Yourself – Full DIY Guide
08.12.2025 08:55