Honda Accord: Valve Adjustment Schedule and Tips
Valve adjustment is a critical maintenance task for any Honda Accord owner who wants to keep their engine running smoothly and efficiently. In the heart of your Accord's engine lies the valvetrain, a symphony of components that includes valves, rockers, and camshafts working in precise harmony. Over time, as the engine accumulates miles, these parts can wear down, leading to clearances that are either too tight or too loose. This imbalance doesn't just cause annoying noises; it can rob your car of power, increase fuel consumption, and even lead to more severe issues like burnt valves or reduced compression.
What makes the Honda Accord special in this regard is its reputation for reliability, but even legends need tune-ups. Unlike some modern engines with hydraulic lifters that self-adjust, many Accord models rely on manual adjustments using screw-and-locknut mechanisms. This hands-on approach allows for fine-tuning that can extend the life of your engine significantly. Imagine driving down a winding road, feeling the responsive throttle and hearing nothing but the hum of a well-maintained powerplant—that's the reward of proper valve care.
Recommended Valve Adjustment Schedule for Different Generations
The valve adjustment interval for your Honda Accord varies depending on the model year and engine type, reflecting Honda's evolving engineering. For earlier generations, like the 1998-2002 models with four-cylinder VTEC engines, enthusiasts often recommend checking and adjusting every 30,000 to 60,000 miles. This shorter interval accounts for the higher-revving nature of VTEC systems, which can accelerate wear if not monitored.
Moving to the mid-2000s, such as the 2003-2007 Accords, the schedule extends to around 90,000 to 105,000 miles, aligning with spark plug replacements for a comprehensive service. Newer models, from 2008 onward, including the eighth and ninth generations, typically follow a 100,000-mile interval, though Honda's Maintenance Minder system in vehicles from 2013 and later provides personalized alerts based on driving conditions. For V6 engines across various years, the recommendation holds steady at 100,000 miles, but always consult your owner's manual for specifics.
Factors influencing this schedule include:
Driving habits: Frequent short trips or aggressive acceleration can necessitate earlier adjustments.
Environmental conditions: Dusty or extreme temperature areas may cause faster wear.
Engine modifications: Aftermarket cams or headers might require more frequent checks.
By adhering to these timelines, you ensure optimal valve lash, which is the gap between the rocker arm and valve stem, maintaining engine health.
Signs That Your Honda Accord Needs Valve Adjustment
Ignoring valve adjustment can turn a minor tweak into a major headache, but your Accord will often give you clues before things escalate. One of the most noticeable symptoms is a ticking or tapping noise from the engine bay, especially when cold or at idle. This sound, often described as a sewing machine whir, indicates excessive clearance that's allowing parts to slap together.
Other red flags include reduced performance, such as sluggish acceleration or a rough idle that feels like the engine is hesitating. You might also notice increased exhaust smoke or a drop in fuel efficiency, as improper valve seating affects combustion. In severe cases, misfires or diagnostic trouble codes related to the valvetrain could appear on your dashboard.
To catch these early:
Listen during startup: Noises that fade as the engine warms might still warrant inspection.
Monitor power output: If hills feel steeper than usual, valves could be out of spec.
Check for vibrations: Unusual shakes at certain RPMs often point to imbalance.
Addressing these signs promptly can prevent costly repairs and keep your driving experience enjoyable.
Step-by-Step Guide to Valve Adjustment
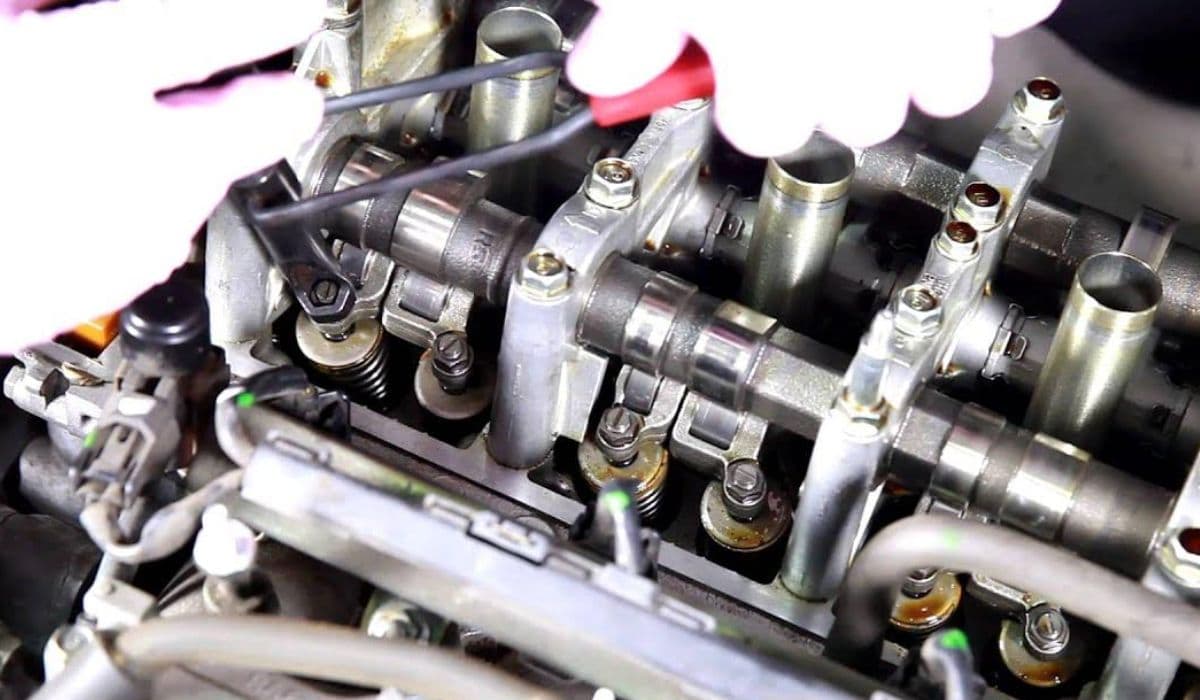
Performing a valve adjustment on your Honda Accord is a rewarding DIY project that requires patience and precision. Start with the engine cold—overnight cooling is ideal—to ensure accurate measurements. Remove the valve cover by loosening the bolts in a crisscross pattern to avoid warping, and clean any gasket residue for a good seal upon reassembly.
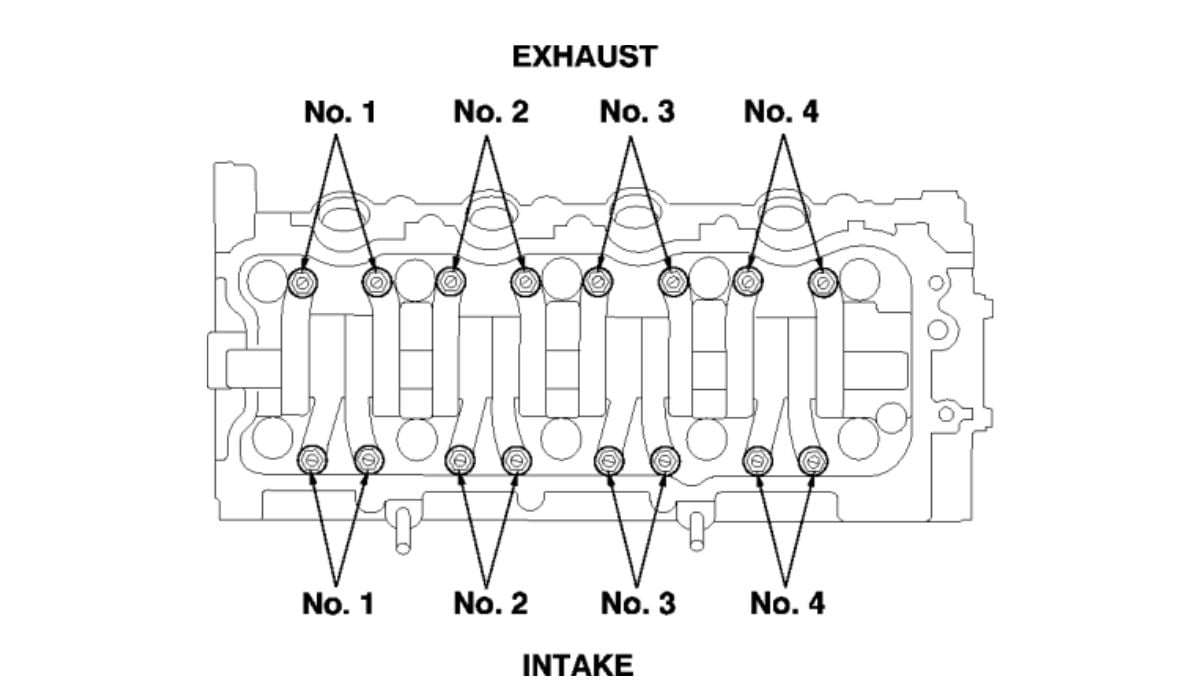
Next, rotate the crankshaft to top dead center (TDC) for the first cylinder using the pulley bolt, aligning marks as per your model's specs. Use feeler gauges to check the intake and exhaust valve clearances; for many four-cylinder Accords, intake is around 0.008-0.010 inches, exhaust 0.011-0.013 inches, while V6 models might differ slightly.
If adjustments are needed:
Loosen the locknut with a wrench while holding the adjuster screw.
Turn the screw to achieve the correct gap, feeling a slight drag on the gauge.
Tighten the locknut to about 14 ft-lbs for intake, 10 ft-lbs for exhaust, and recheck.
Repeat for each cylinder, rotating the engine 180 degrees each time for inline fours or following the firing order for V6s. Finally, reinstall the valve cover with a new gasket, torque to spec, and test drive to confirm smooth operation.
Essential Tools and Preparations
Gathering the right tools before diving into valve adjustment makes the process seamless and safe. A basic set includes feeler gauges in various thicknesses for precise measurements, a ratchet with extensions for accessing tight spots, and torque wrenches to ensure bolts are neither over- nor under-tightened.
Don't forget safety gear like gloves and eye protection, plus a shop manual tailored to your Accord's year for exact specs. Preparations involve parking on a level surface, disconnecting the battery to prevent accidental starts, and having rags handy for oil spills.
Additional tips for success:
Label components: Mark hoses and wires to avoid confusion during reassembly.
Work in good light: A headlamp or shop light reveals subtle details.
Have spares ready: Extra gaskets or seals can save a trip mid-project.
With these in hand, you'll approach the task with confidence, turning maintenance into a learning adventure.
Common Mistakes to Avoid
Even seasoned mechanics can slip up during valve adjustments, but awareness helps sidestep pitfalls. One frequent error is adjusting valves on a hot engine, which expands metal and leads to inaccurate clearances—always wait for full cooldown.
Another is over-tightening locknuts, which can strip threads or alter the gap post-adjustment. Rushing the rotation of the crankshaft without verifying TDC can result in checking the wrong cylinder, throwing off the entire process.
Avoid these blunders by:
Double-checking specs: Use model-specific values to prevent mismatches.
Not skipping rechecks: Measure twice after tightening to confirm.
Ignoring cleanliness: Debris under the cover can contaminate the engine.
By steering clear of these, your adjustment will be spot-on, enhancing longevity.
Benefits of Regular Valve Maintenance
Staying on top of valve adjustments unlocks a host of advantages for your Honda Accord, transforming routine care into performance gains. Properly set valves ensure efficient airflow, boosting horsepower and torque for a more spirited drive. This precision also improves fuel economy, as optimal combustion means less wasted energy.
Beyond mechanics, regular maintenance fosters a quieter cabin, free from distracting ticks, allowing you to enjoy the road's rhythm. It extends engine life, potentially adding tens of thousands of miles before major overhauls. Enthusiasts often report a renewed sense of connection to their vehicle, as the hands-on work deepens appreciation for Honda's engineering prowess.
In essence, this upkeep isn't just about prevention—it's about elevating every journey.
More from Honda

How to Fix 11th Generation Honda Civic Screen Delamination (2022–2024 Models)
08.12.2025 12:32
How to Disable Honda Walk Away Auto Lock Forever
08.12.2025 12:44
Honda Civic Low Beam Headlight Bulb Replacement Trick That Saves Hours and Broken Clips
08.12.2025 09:38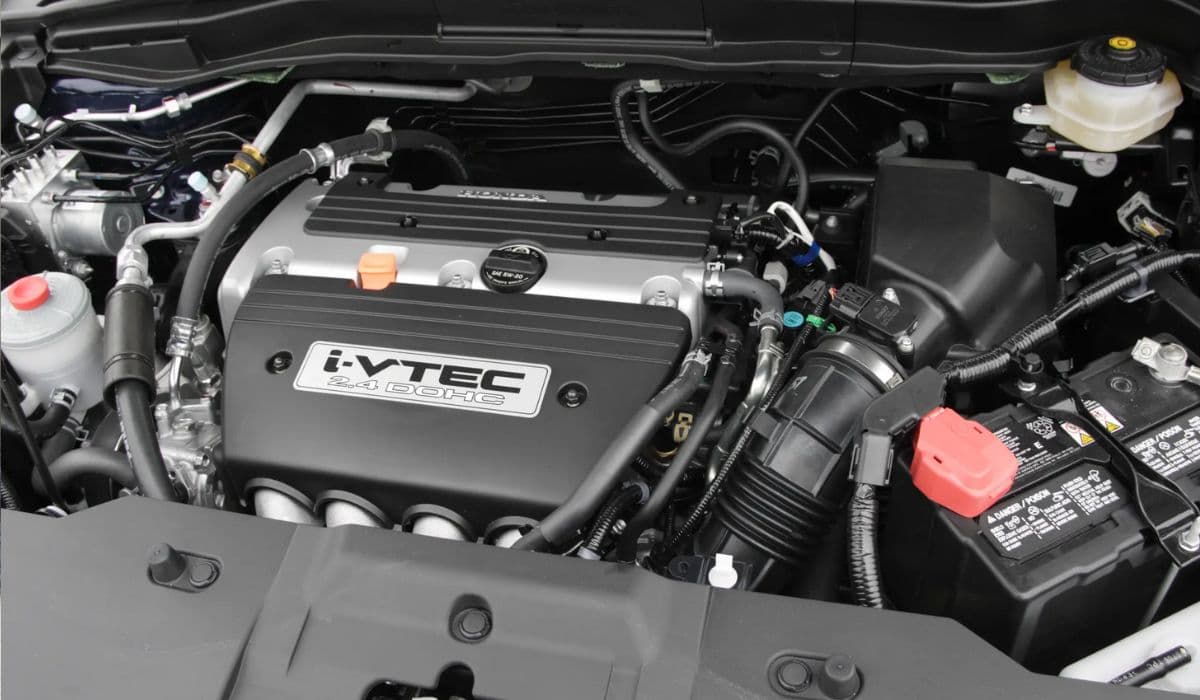
Honda CR-V Vibration at Idle: Why Engine Mount Replacement Is Often the Real Fix
08.12.2025 09:22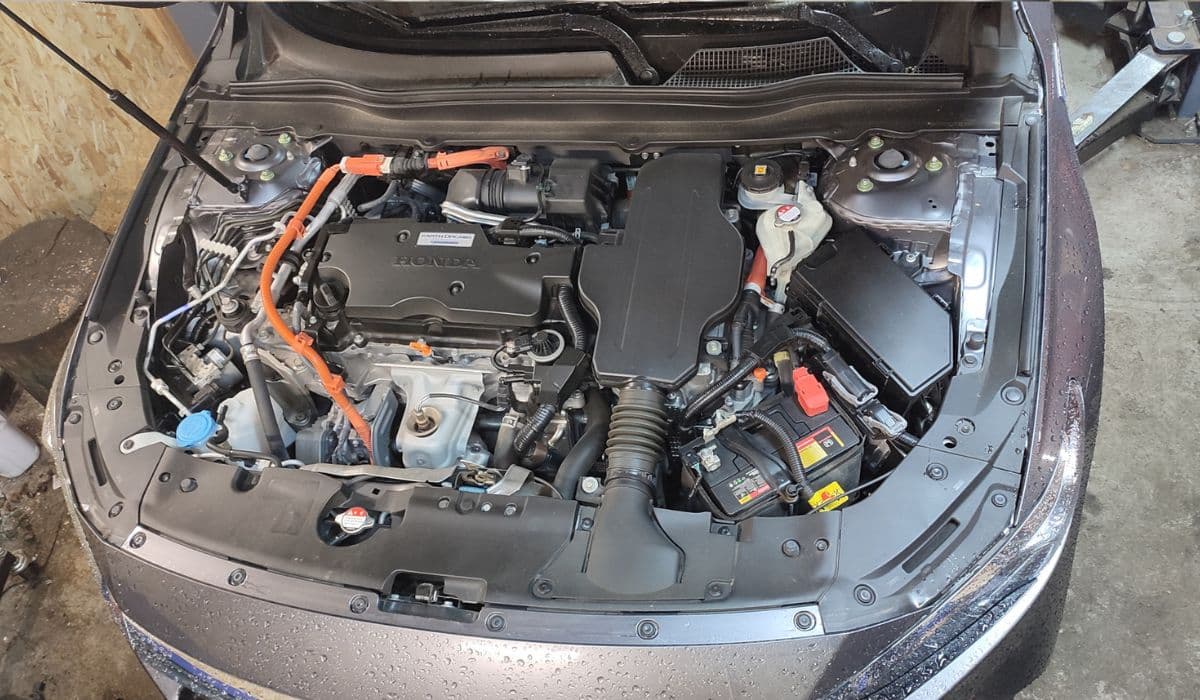
How to Clean the Honda Accord Hybrid Battery Fan Yourself – Full DIY Guide
08.12.2025 08:55