How to Fix 4Runner KDSS Lean at Home – Complete DIY Guide
Toyota 4Runner owners with the factory Kinetic Dynamic Suspension System (KDSS) often notice a frustrating issue: the vehicle develops a noticeable lean to one side (usually the driver’s side) when parked on a level surface. This “KDSS lean” can range from ½ inch to over 2 inches and tends to worsen over time. The good news is that in 95% of cases this is not a failed sway bar, leaking cylinder, or bad valve block — it is simply uneven hydraulic pressure trapped inside the KDSS system. The fix is a complete system bleed and re-center can be done in your driveway with basic tools and costs almost nothing.
What Actually Causes KDSS Lean on 5th Gen 4Runner
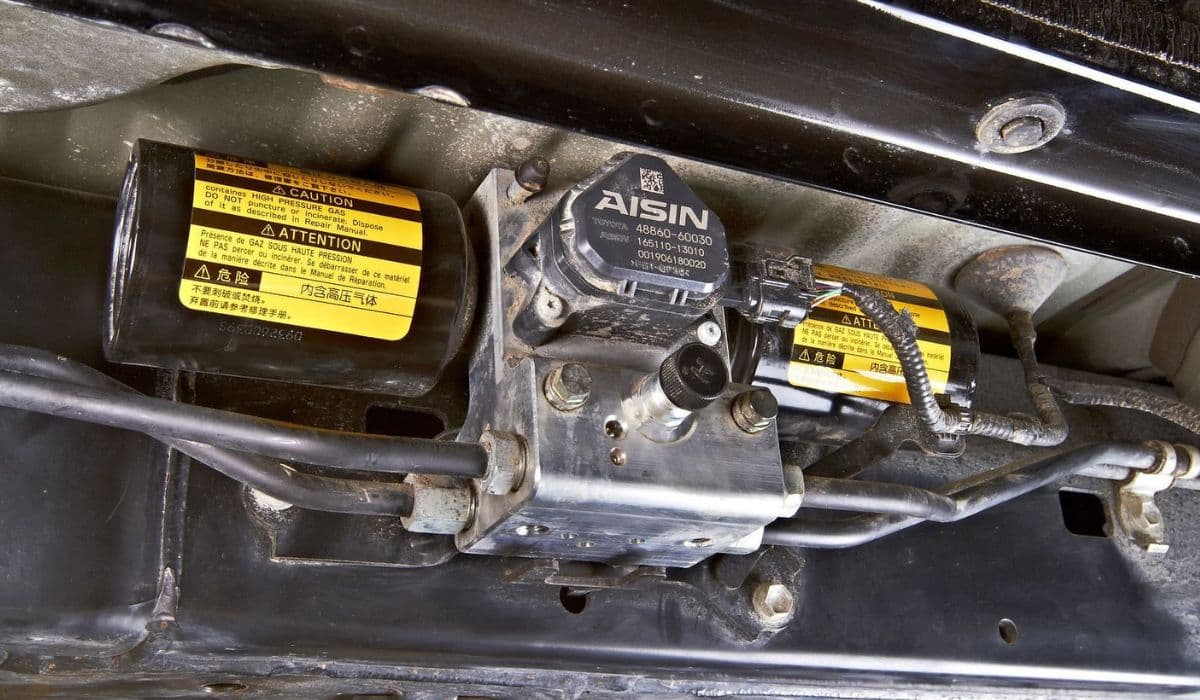
KDSS uses two hydraulic cylinders (front and rear) connected by steel lines to a central valve block. When the system is working normally, fluid moves freely between the cylinders during off-road articulation and locks solid for on-road stability.
Over time, tiny amounts of air enter the system or minor internal bypass occurs in the valves. Because the truck spends most of its life on flat pavement with the sway bars effectively “locked,” the fluid stops circulating. The side that carries more weight (driver + fuel tank on US models) slowly pushes a small amount of fluid to the opposite cylinder, creating permanent unequal pressure. Once the pressure difference exceeds about 150-200 psi, the truck leans and stays leaned even after you jack it up and let it back down.
Other less common causes:
Slightly bent sway bar (very rare)
Wrong or mixed hydraulic fluid from previous service
Stuck spool valve in the control block
Aftermarket lift that changed geometry
Most owners who measure find the lean is purely hydraulic.
Tools and Parts You Will Need
10 mm flare-nut wrench (critical – do not use open-end)
14 mm combination wrench
17 mm deep socket (for sway bar links if you remove them)
Jack and jack stands (or ramps)
Turkey baster or fluid extractor
Clear vinyl tubing 5/16" (8 mm) that fits tightly fits the bleeder nipples
Small catch bottle
Toyota KDSS hydraulic fluid (Toyota part 08886-81221) or Ravenol SSH-SAE 0W-20 (direct compatible substitute). About 300-400 ml total.
Assistant helps a lot but not mandatory
Torque wrench (optional but recommended)
Step-by-Step KDSS Bleed and Re-Center Procedure (Most Effective Method)
This is the method that consistently fixes even 2+ inch leans in one session.
1. Prepare the truck
Park on perfectly level concrete. Measure and record current lean at all four fenders (hub center to fender lip). Chock wheels.
2. Relieve all system pressure first
Open both front bleeder screws (located on top of the front KDSS cylinder and on the rear cylinder) ½ turn with the 10 mm flare wrench. You will hear a long hiss as 1000+ psi escapes. Leave open for 5 minutes until no more air or fluid comes out. Close gently (snug, do not overtighten – 7-8 ft-lb max).
3. Fully droop both sides to drain trapped fluid
Jack the frame until both front and rear tires on one side are 4-6 inches off the ground. Bounce the suspension several times. Lower. Repeat on the opposite side. This pushes almost all fluid out of the cylinders into the accumulator.
4. Suck old fluid from the reservoir
The KDSS reservoir is the black plastic tank on the driver’s side frame rail near the front cylinder. Remove the cap, suck out every drop with the turkey baster. Refill with fresh KDSS fluid to the FULL mark.
5. Driver-side bleed (low side first)
With truck on the ground, open the driver-side front bleeder. Have assistant very slowly turn steering wheel lock-to-lock 6-8 times. You will see bubbles and dirty fluid come out. Keep reservoir topped up. Close bleeder. Repeat on driver-side rear bleeder.
6. Passenger-side bleed
Repeat the exact same process on passenger side front and rear bleeders.
7. Final articulation bleed (this is the key step most guides miss)
Jack the truck by the frame until all four wheels are off the ground (use two jacks or lift).
Open all four bleeders at once.
Bounce and cycle suspension front and rear by pushing down on bumpers 20-30 times.
You will see a surprising amount of air and foam exit even after previous steps.
Close all bleeders.
8. Re-center the sway bars (critical for permanent fix)
With truck still fully lifted and all wheels hanging free:
Front: loosen both front sway bar end link nuts (17 mm), let the bar self-center, re-torque to 70 ft-lb.
Rear: the rear KDSS bar has no end links – it centers itself when pressure is equal.
Lower the truck slowly.
9. Top off and final lock-to-lock
Add fluid to reservoir if needed. Start engine, turn steering wheel lock-to-lock 10 times with truck in Park. Recheck reservoir.
10. Test and verify
Drive 5-10 miles including some turns. Park on the same level spot and re-measure. Lean should be reduced to ¼ inch or less (usually dead level). If still slightly off, repeat steps 7-8 once more.
Alternative Quick Method (If You Only Have 30 Minutes)
Many owners fix mild lean (<1 inch) simply by:
Opening both front bleeders for 10 minutes with truck on ground.
Driving aggressively in a parking lot (figure-8s, sharp turns, speed bumps).
Parking and rechecking.
This works because maneuvering forces fluid back through the spool valves.
Maintenance Tips to Prevent Lean from Returning
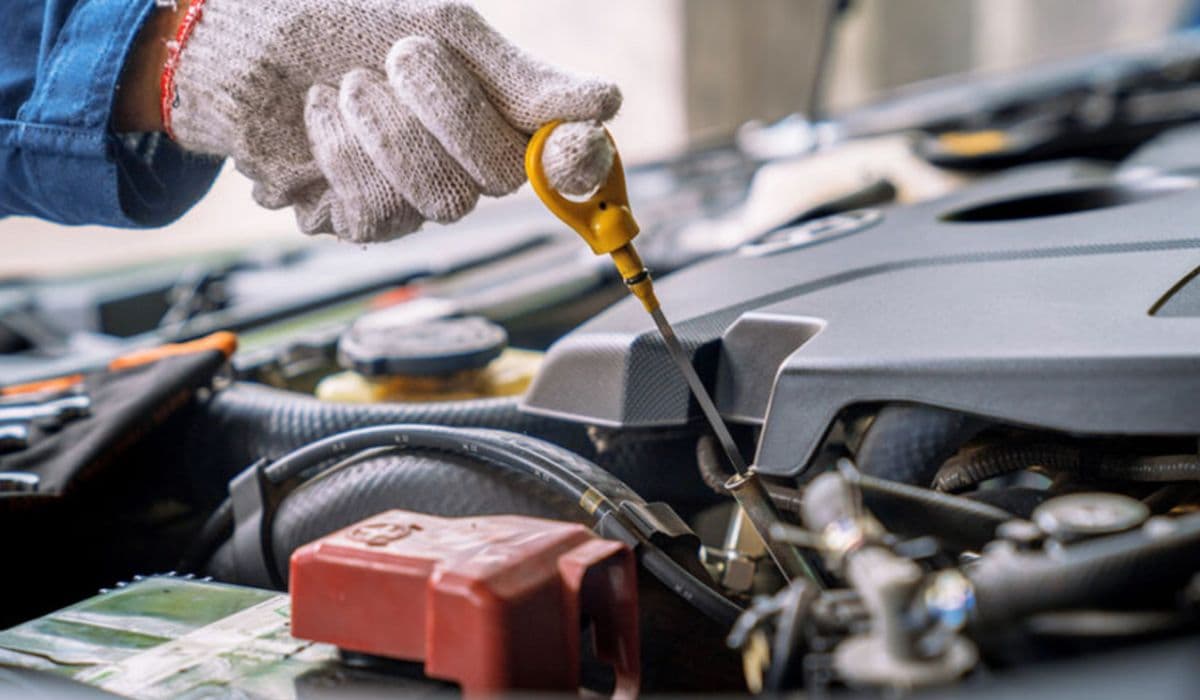
Every oil change, crack the front bleeders for 30 seconds to release any trapped pressure.
If you lift the truck off-road regularly, the system self-bleeds and rarely leans.
Never mix fluids – Toyota fluid is very low viscosity and special additives.
After any lift installation, perform the full bleed procedure the same day.
What If the Lean Comes Back in a Few Weeks?
99% of the time this means you still have air inside or the spool valves are sticky. Do the full hanging-bleed (step 7) two or three times in a row – each cycle removes more micro-bubbles. Persistent lean after three full bleeds usually indicates:
Wrong fluid was used previously (very common)
Internal leak in accumulator (rare, usually accompanied by clunking)
Aftermarket sway bar or relocated brackets interfering
In those cases many owners simply disconnect the KDSS sway bars permanently or install SPC adjustable end links to manually level the truck.
Most 5th Gen 4Runner owners who follow the full procedure above achieve a perfectly level stance that stays level for years with zero parts replacement.
More from Toyota
How to Choose the Right Oil and When to Change It in Toyota and Lexus Vehicles
01.12.2025 17:59
How to Make a 2GR-FE (3.5 V6) Engine Live Past 400,000 Miles – Real-World Experience from Cars That Actually Did It
02.12.2025 08:16
Toyota Tacoma Frame Rust Repair DIY: Complete Undercoating Guide
08.12.2025 13:56
How to Change Transmission Fluid in 3rd Gen Toyota Tacoma (Sealed Transmission) – Complete DIY Guide
08.12.2025 09:59
A25A-FKS 2.5 Dynamic Force Engine Long-Term Review: Real-World Durability and Ownership Experience
08.12.2025 09:12