How to fix oil filter housing gasket (OFHG) leak BMW
The oil filter housing gasket (OFHG) leak ranks among the most persistent and widespread issues BMW owners face. This small rubber seal sits between the oil filter housing and the engine block (or cylinder head, depending on the engine), keeping pressurized oil contained during operation. When it degrades, oil begins to seep out, creating a messy and potentially damaging situation under the hood.
What starts as a minor seep can quickly turn into a steady drip, coating nearby components like the serpentine belt, pulleys, alternator, and hoses. Left unchecked, the oil contaminates the belt, leading to slippage, squealing noises, or even complete belt failure — which can strand you or cause further engine damage. Many BMW enthusiasts describe this as a "classic" leak because it affects so many models across different engine families.
Understanding the root cause helps demystify why this repair feels inevitable for higher-mileage BMWs. Heat cycles, oil exposure, and material aging cause the gasket to harden, shrink, and crack. Once integrity is lost, no amount of cleaning or additives will provide a lasting fix — replacement becomes the only reliable solution.
Recognizing the Symptoms of an OFHG Leak
Spotting this leak early saves headaches and cleanup effort. Here are the most common indicators:
Visible oil residue around the oil filter housing area, often on the front of the engine near the alternator or power steering pump.
Oil drips accumulating on the ground beneath the front of the engine, sometimes mistaken for an oil pan or rear main seal issue.
Burning oil smell from the engine bay, especially after highway driving when hot oil contacts exhaust components.
Grimy buildup on belts, pulleys, or hoses below the housing — oil acts like a magnet for dirt.
Low oil level warnings or the need to add oil more frequently than usual between changes.
Serpentine belt squeal or glazing if oil reaches the belt surface.
Diagnosis tip: Clean the area thoroughly with brake cleaner and degreaser, then run the engine and monitor where fresh oil first appears. This pinpoint method separates OFHG leaks from valve cover or oil pan issues.
Why This Leak Happens So Frequently in BMW Engines
BMW engines run hot and under high pressure, accelerating gasket wear. The original gasket material, while effective initially, becomes brittle over time due to constant thermal expansion and contraction. Oil itself breaks down elastomers, and minor imperfections during factory installation compound the problem.
Certain engine families show higher incidence:
N52 and N54/N55 engines often require partial intake manifold lifting for access.
N20/N26 variants feature slightly different housing designs but share similar gasket vulnerabilities.
Older M-series or inline-six engines may involve more disassembly due to tighter packaging.
The repair's reputation for being labor-intensive stems from awkward bolt locations and surrounding components rather than complexity of the gasket swap itself.
Essential Tools and Preparation Steps
Success depends on preparation. Gather these tools beforehand to avoid mid-job frustration:
Socket set (metric, including 8mm, 10mm, 11mm, 13mm).
Torx bits/sockets (E10, E12 common; some engines use T30 or T45).
Ratcheting wrenches or swivel sockets for tight spaces.
Extensions and universal joints.
Torque wrench (essential for proper reassembly).
Oil filter wrench/cap tool.
Drain pan, rags, brake cleaner, and shop towels.
Hose pinch-off pliers (for coolant lines if applicable).
New gasket (OEM or upgraded equivalent recommended).
Preparation checklist:
Park on level surface and let the engine cool completely.
Disconnect the battery negative terminal for safety.
Have fresh engine oil, new filter, and coolant/antifreeze ready for top-offs.
Work in good lighting — a headlamp proves invaluable.
Step-by-Step Replacement Process
The exact sequence varies slightly by engine, but core principles remain consistent.
Drain fluids partially — Remove the oil filter and drain the oil pan if due for change. This reduces mess when the housing comes off.
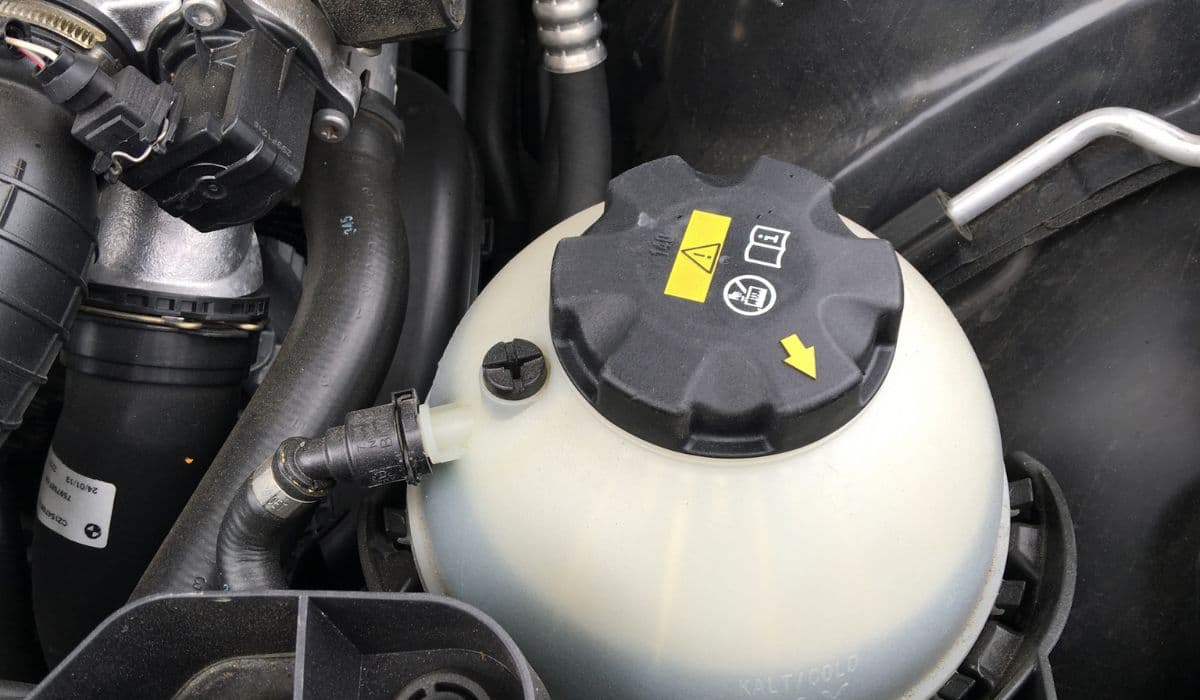
Remove obstructing components — Take off the engine cover, air intake box/snorkel, and any hoses or electrical connectors attached to the housing. Pinch coolant lines if present to minimize spillage.
Access the mounting bolts — Locate the three (sometimes more) bolts securing the housing. One often hides under the intake manifold — loosen manifold bolts/nuts just enough to lift it slightly without full removal.
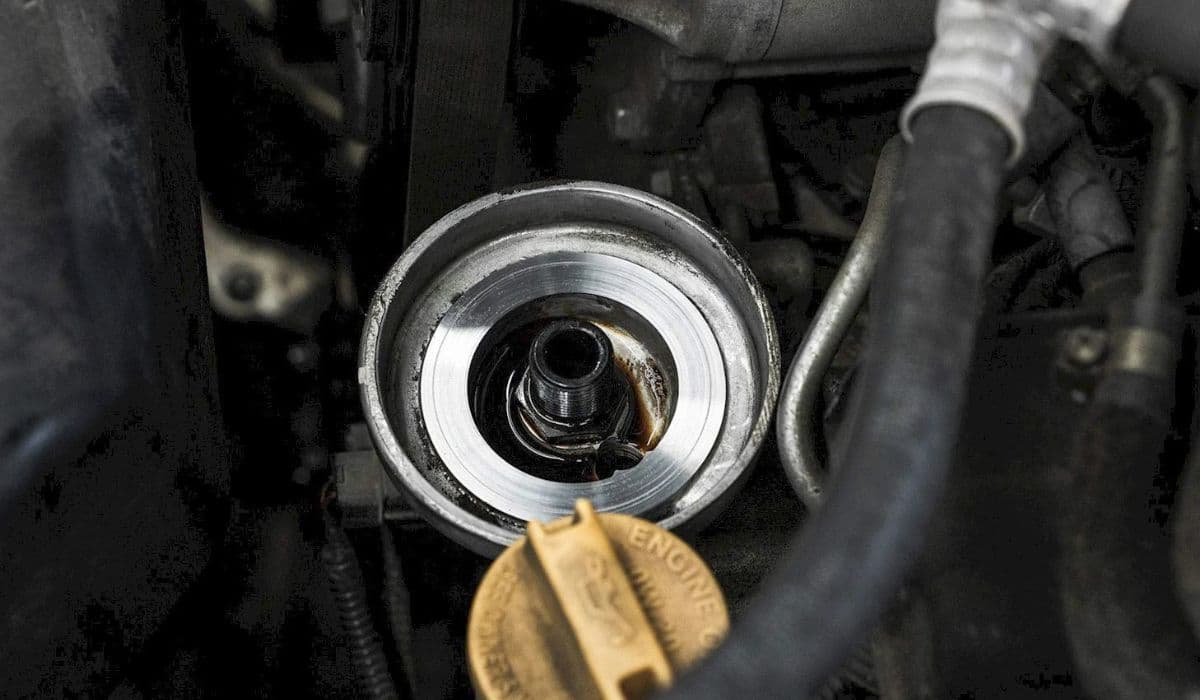
Remove the housing — Carefully loosen bolts in a crisscross pattern. Wiggle the housing free; residual oil will drip, so position a catch pan. Peel off the old gasket (it may stick to the block).
Clean mating surfaces — Use brake cleaner and lint-free rags to remove all oil residue, old gasket material, and debris. Surfaces must be spotless for a proper seal — any contamination invites repeat leaks.
Install the new gasket — Seat the fresh gasket into the housing grooves (no sealant needed on most designs). Align carefully and hand-start bolts.
Reassemble — Torque bolts to manufacturer specs (typically 20-25 Nm; check exact value for your engine). Reconnect hoses, electrical plugs, and accessories in reverse order.
Refill and bleed — Top off oil and coolant. Start the engine, check for leaks, and bleed cooling system if air entered.
Pro tips for smoother execution:
Use magnetic sockets or picks to avoid dropping bolts into tight spaces.
Label or photograph connections before disassembly.
Replace related O-rings (oil cooler lines if equipped) while in the area.
Inspect the water pump, thermostat, and belts — extra labor now prevents future downtime.
Common Challenges and How to Overcome Them
Tight access frustrates many DIYers. The hidden rear bolt demands patience — a stubby ratcheting wrench or custom-cut bit often solves the issue. Coolant and oil spillage seems inevitable; hose clamps and absorbent pads help manage it.
Avoid over-torquing bolts — this warps the housing or strips threads. Under-torquing leads to leaks. Always use a calibrated torque wrench on final assembly.
If the gasket sticks stubbornly to the block, a plastic scraper prevents surface scratches.
Preventing Future Leaks and Maintaining Longevity
After replacement, monitor oil levels closely for the first few thousand miles. Change oil regularly with high-quality synthetic that matches BMW specifications — it reduces stress on seals.
Consider upgraded aftermarket gaskets if available for your engine; some feature improved compounds for better heat resistance. Keeping the engine bay clean makes future inspections easier and catches small issues before they escalate.
This repair, though involved, restores confidence in your BMW's reliability. With attention to detail, the fix proves rewarding — transforming a frustrating drip into a dry, quiet engine bay once again.
More from BMW
How to fix BMW coolant leaks from expansion tank (B58/N55 engines)
13.12.2025 06:48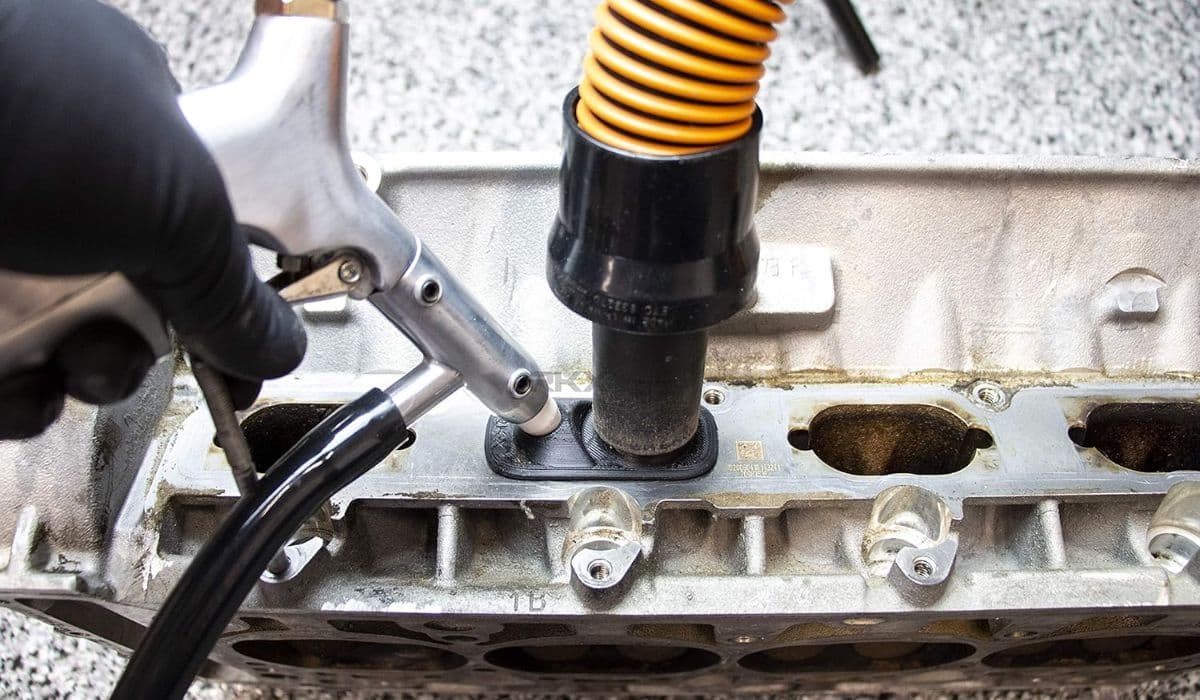
How to walnut blast intake valves for carbon buildup BMW
13.12.2025 06:07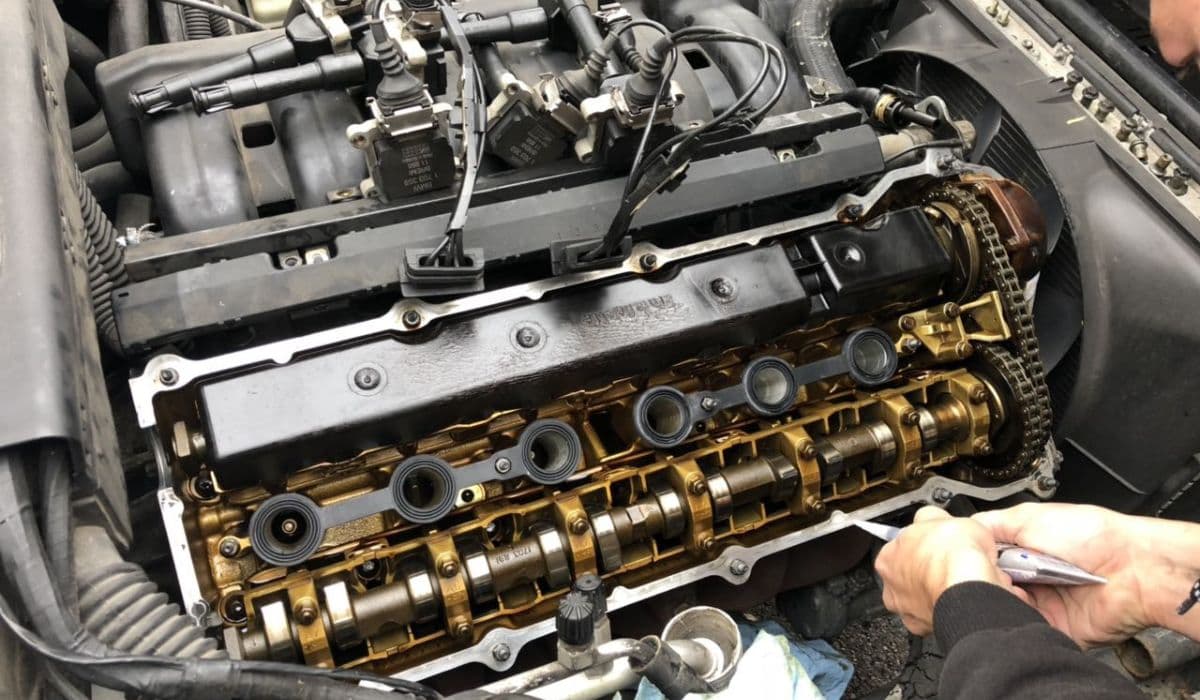
How to replace valve cover gasket oil leak BMW (common on N20/N55)
13.12.2025 05:40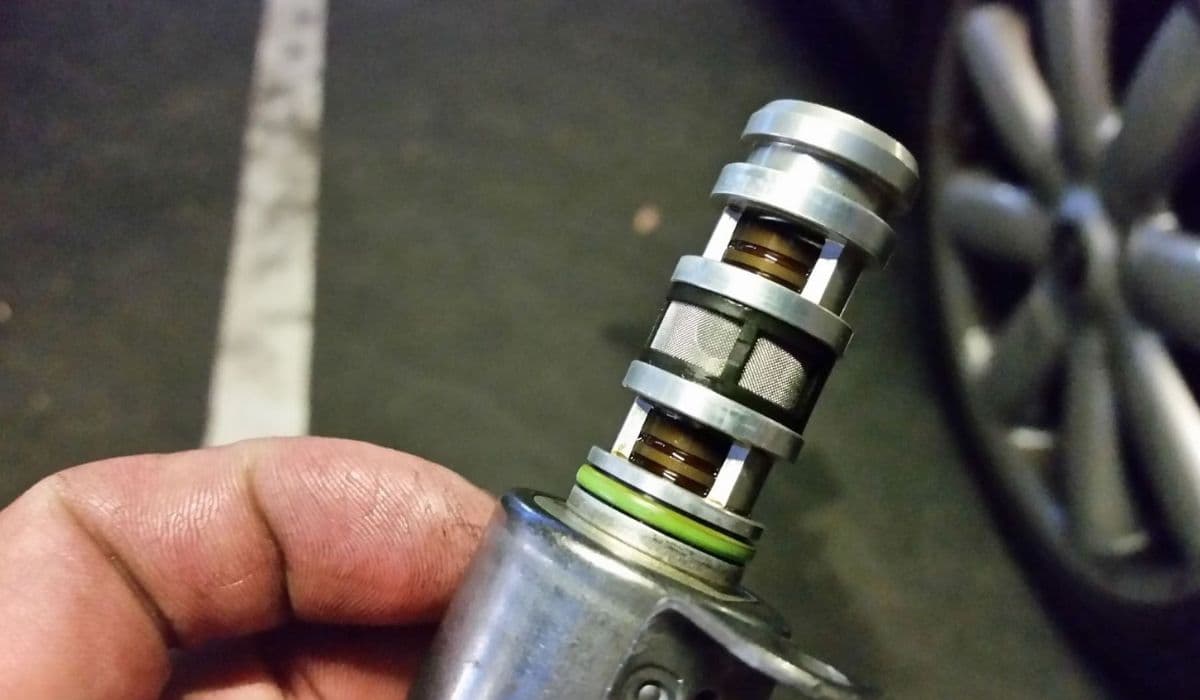
How to fix VANOS solenoid rattle and codes BMW
13.12.2025 05:32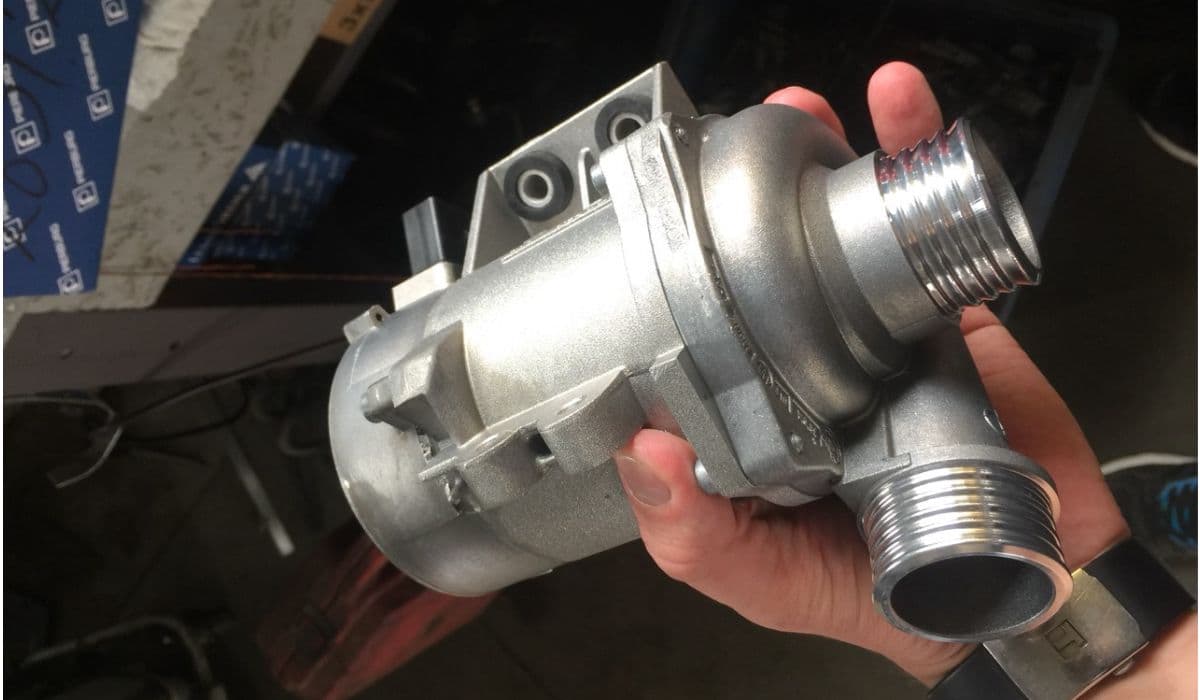
How to replace electric water pump on BMW F30/F32 models
12.12.2025 23:53