F-150 3.5 EcoBoost Spark Plug & Coil Replacement DIY: Complete Step-by-Step Guide
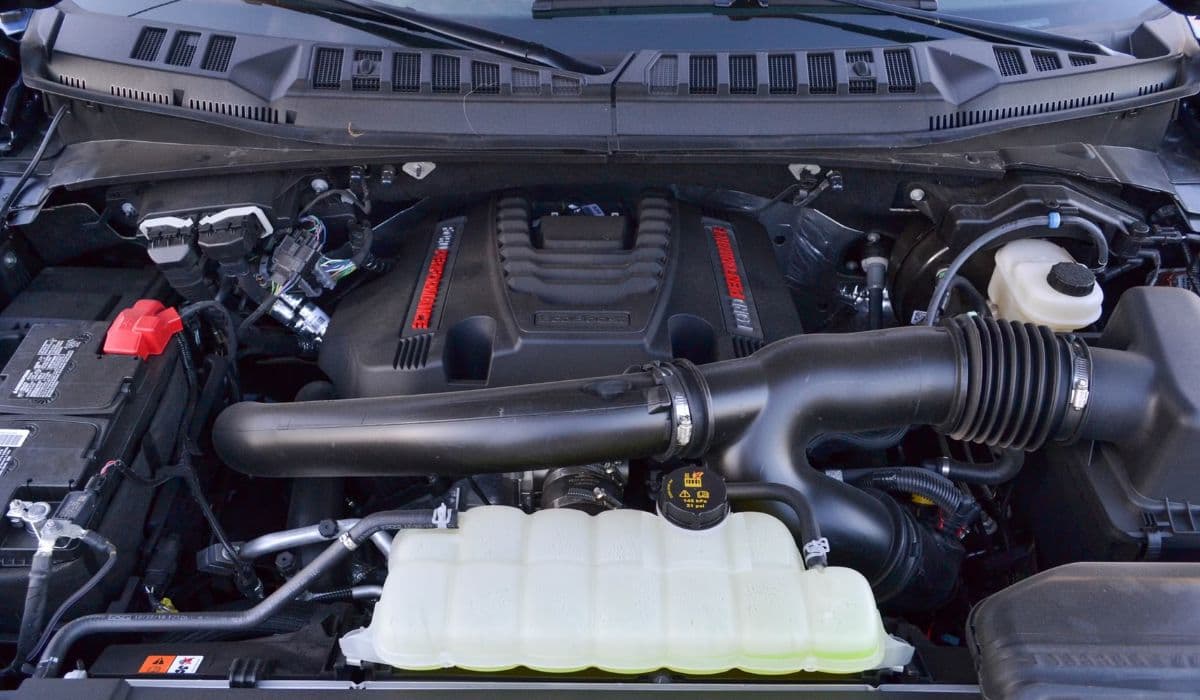
The 3.5L EcoBoost V6 in Ford F-150 trucks is renowned for strong torque and efficiency, but its coil-on-plug ignition system and notoriously tight spark plugs can make DIY maintenance challenging. Replacing spark plugs and ignition coils is one of the most common (and sometimes dreaded) jobs on these engines, especially when plugs seize in the cylinder head or coils fail and cause misfires. This detailed guide covers everything you need to know to do the job correctly the first time on any F-150 with the twin-turbo 3.5 EcoBoost.
Why Spark Plugs and Coils Fail on the 3.5 EcoBoost
The 3.5L EcoBoost runs extremely high combustion chamber temperatures and boost pressure. Original equipment two-piece spark plugs (Motorcraft SP-534 / SP-589) are known to break during removal after 60,000–100,000 miles because the ground electrode shield swells and locks into the aluminum head. Newer one-piece revised plugs (Motorcraft SP-578 / SP-594) solve this problem and are strongly recommended during replacement.
Ignition coils fail most often from heat cycling, oil intrusion through faulty valve cover gaskets, or water ingress on early models. Common symptoms include rough idle, misfire codes (P0300–P0306), flashing check engine light under boost, and reduced power.
Tools and Parts You’ll Actually Need
3/8" ratchet, extensions (6" and 12"), universal joint
9/16" thin-wall spark plug socket (must be thin-wall; regular sockets won’t fit)
8 mm, 10 mm, 13 mm deep and shallow sockets
Torque wrench (inch-pounds and ft-lbs)
1/4" ratchet for coil bolts
Dielectric grease
Anti-seize compound (nickel-based preferred)
Blow gun or compressed air
Shop vacuum
Lisle 65600 broken plug remover kit (highly recommended as insurance)
Magnetic pickup tool
6 new Motorcraft SP-578 (or SP-594 copper core for modified/high-heat builds)
6 new Motorcraft DG-549 or equivalent coils (do not use cheap aftermarket)
New coil boots if not included
New valve cover gaskets if oil is present in plug wells
Safety and Preparation Tips
Park on level ground, let the engine cool completely (at least 4–6 hours, preferably overnight). Aluminum heads expand and contract significantly, and pulling plugs on a warm engine dramatically increases breakage risk.
Disconnect the battery negative terminal. Remove the engine cover (pull straight up) and set aside. Have a fire extinguisher nearby — fuel lines will be disconnected on the driver side.
Passenger Side (Right Bank) – Usually the Easiest
Start here to build confidence.
Remove the air intake tube from throttle body to airbox.
Unplug the MAF sensor.
Remove the two 8 mm bolts holding the coil harness bracket near the firewall.
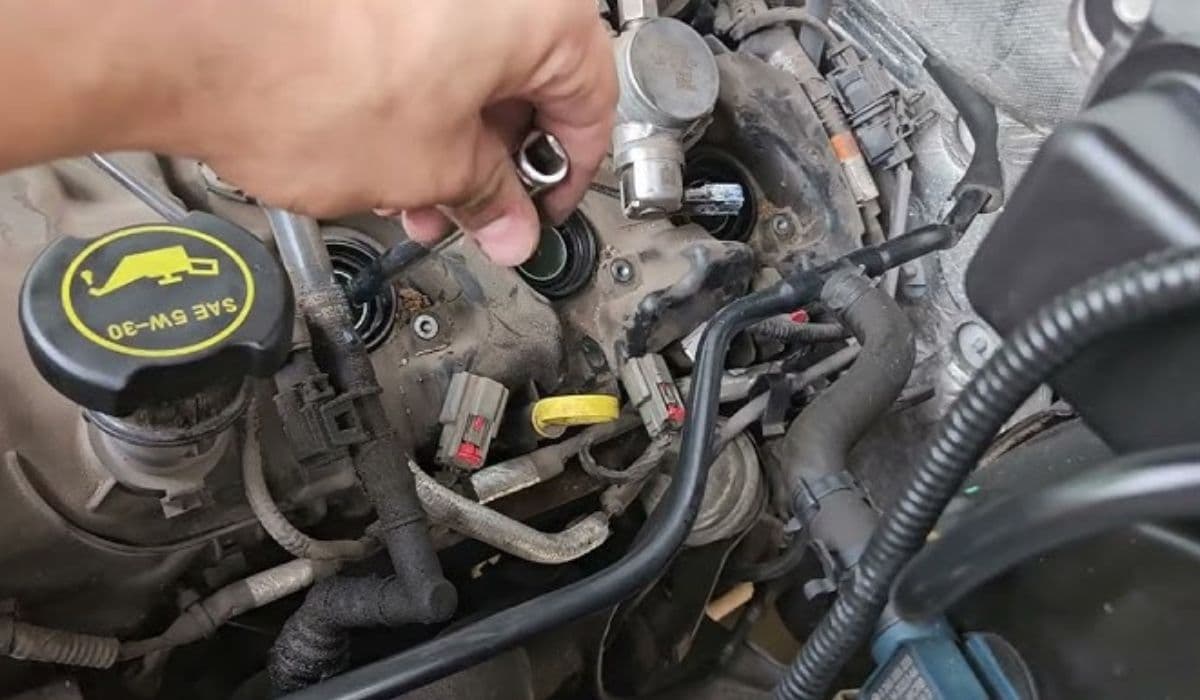
Each coil is held by a single 8 mm bolt. Remove the bolt, twist the coil gently, and pull straight up.
Blow out the spark plug well with compressed air to prevent debris from falling in.
Use the 9/16" thin-wall socket and a 6–8" extension with universal joint. Apply steady, moderate pressure. If the plug feels tight, stop and apply penetrating oil around the threads, wait 30 minutes, repeat.
Once removed, inspect the plug. Severe carbon tracking or oil fouling indicates other issues.
Apply a thin coat of nickel anti-seize to the new plug threads (avoid the electrode).
Hand-thread the new SP-578 until finger tight, then torque to exactly 13 ft-lbs (156 in-lbs). Over-torquing is just as bad as under-torquing.
Apply dielectric grease inside the coil boot, push the coil down firmly, install 8 mm bolt (hand tight + 1/4 turn).
Driver Side (Left Bank) – The Real Challenge
The driver side is tight due to the firewall, brake booster, and fuel lines.
Remove the brake master cylinder brace (two 13 mm nuts) and swing it aside — do not disconnect lines.
Remove the PCV hose from the driver valve cover (pinch and pull).
Disconnect fuel line safety clip at the rear of the driver fuel rail (use 3/8" fuel line disconnect tool). Expect a small fuel spill — have rags ready.
Unbolt the metal fuel line bracket (10 mm) from the cowl to gain room.
Cylinders 4, 5, and 6 are extremely difficult to see. Use a mirror and flashlight constantly.
Coil removal is the same: 8 mm bolt, twist, pull.
Plug wells are deeper and more prone to debris. Blow them out thoroughly.
For cylinder 4 (rearmost), you’ll need a 12–16" extension + universal joint + thin-wall socket. Patience is mandatory.
If a plug breaks (you’ll hear a loud pop), do not panic. Use the Lisle 65600 tool — it works extremely well on EcoBoost heads.
Common Mistakes That Destroy Engines
Using a standard-thickness spark plug socket (it will crack the porcelain).
Not using anti-seize or using copper anti-seize on aluminum heads (causes galvanic corrosion).
Over-torquing new plugs (strips threads or cracks porcelain).
Reusing old coils when one fails — replace all six; they’re heat-matched.
Ignoring oil in plug wells (leaking valve cover gasket will kill new coils quickly).
Torque Specifications You Must Follow
Spark plugs: 156 in-lbs (13 ft-lbs)
Coil bolts: 71 in-lbs (8 Nm)
Fuel line bracket: 89 in-lbs
Master cylinder brace: 18 ft-lbs
Break-In Procedure for New Plugs and Coils
After reassembly, start the truck and let it idle for 5 minutes. Clear any stored misfire codes with a scan tool. Perform 3–4 moderate throttle pulls to 4000 RPM in a safe area. This seats the new plugs properly and burns off any anti-seize residue. Recheck for codes after 50 miles.
How Often Should You Replace Them?
Ford revised the maintenance schedule calls for spark plugs every 100,000 miles, but real-world experience shows 60,000–75,000 miles is safer, especially if running E85, towing, or tuned. Coils typically last 120,000+ miles unless exposed to oil or water.
Doing this job yourself saves $600–$1200 compared to a dealership, and you’ll have the satisfaction of knowing it was done right. With the correct tools and patience, even the driver-side nightmare is completely manageable at home.
More from Ford
How to Permanently Fix F-150 EcoBoost Gurgling Noise with the Condensation Drain Mod
08.12.2025 09:31
How to Change Rear Differential Fluid on 2020-2024 Ford Explorer (6th Generation) – Complete Step-by-Step Guide
08.12.2025 09:38
Mustang GT 2018-2023 Oil Pump Gear Failure: DIY Inspection Guide
08.12.2025 06:34
Ford Explorer Police Interceptor Oil Pan Gasket Replacement: Complete Professional Guide
08.12.2025 06:21
H10R80 Transmission Fluid and Filter Change DIY – Complete Step-by-Step Guide for Ford 10-Speed Owners
08.12.2025 06:18