Ford Transfer Case: Fluid Change Guide for 4WD Models
The transfer case is a vital component in Ford's 4WD systems, acting as the bridge between the transmission and the axles. In models like the F-150, Explorer, and Ranger, it distributes power to both front and rear wheels, enabling seamless shifts between two-wheel and four-wheel drive modes. This clever engineering allows drivers to tackle rugged terrains, from muddy trails to snowy roads, with confidence.
What makes Ford's transfer cases stand out is their evolution over the years. Early designs were mechanical, relying on chains or gears, while modern electronic shift-on-the-fly systems use sensors for instant engagement. Inside, you'll find a chain-driven or gear-driven mechanism submerged in specialized fluid that lubricates moving parts, dissipates heat, and prevents wear. Over time, this fluid degrades due to contaminants like metal shavings or moisture, which is why maintenance is key to longevity.
Why Regular Fluid Changes Matter
Neglecting transfer case fluid can lead to costly issues, but regular changes keep your Ford performing at its peak. The fluid acts as a protector, reducing friction between gears and bearings, which is crucial during high-torque situations like off-roading. As miles accumulate, old fluid loses viscosity, leading to overheating and potential failures.
In Ford 4WD models, manufacturers recommend intervals based on driving conditions—shorter for severe use like towing or frequent off-road adventures. Fresh fluid ensures smooth power transfer, improving fuel efficiency and handling. Interestingly, many enthusiasts report noticeable improvements in drivetrain noise and responsiveness after a change, turning a routine task into a rewarding upgrade for vehicle feel.
Tools and Materials Needed
Gathering the right tools beforehand streamlines the process and minimizes frustration. Start with a drain pan to catch old fluid, ensuring it's large enough for the volume—typically around two to three quarts in most Ford models.
Essential items include:
A socket set with extensions for accessing fill and drain plugs.
Torque wrench for precise tightening to spec.
Funnel or fluid pump for refilling without spills.
Rags or shop towels for cleanup.
Safety gear like gloves and eye protection.
For the fluid itself, consult your model's specifications—often Mercon LV or equivalent synthetic blends designed for high shear stability. Avoid mixing types, as incompatibility can cause foaming or reduced lubrication.
Step-by-Step Guide to Changing the Fluid
Begin by parking on a level surface and engaging the parking brake for safety. Warm up the engine briefly to make the fluid flow easier, but let it cool slightly to avoid burns.
Locate the transfer case under the vehicle, usually behind the transmission. Identify the drain and fill plugs—typically hex or square-headed.
Follow these steps:
Remove the fill plug first to vent the case and confirm you can refill later.
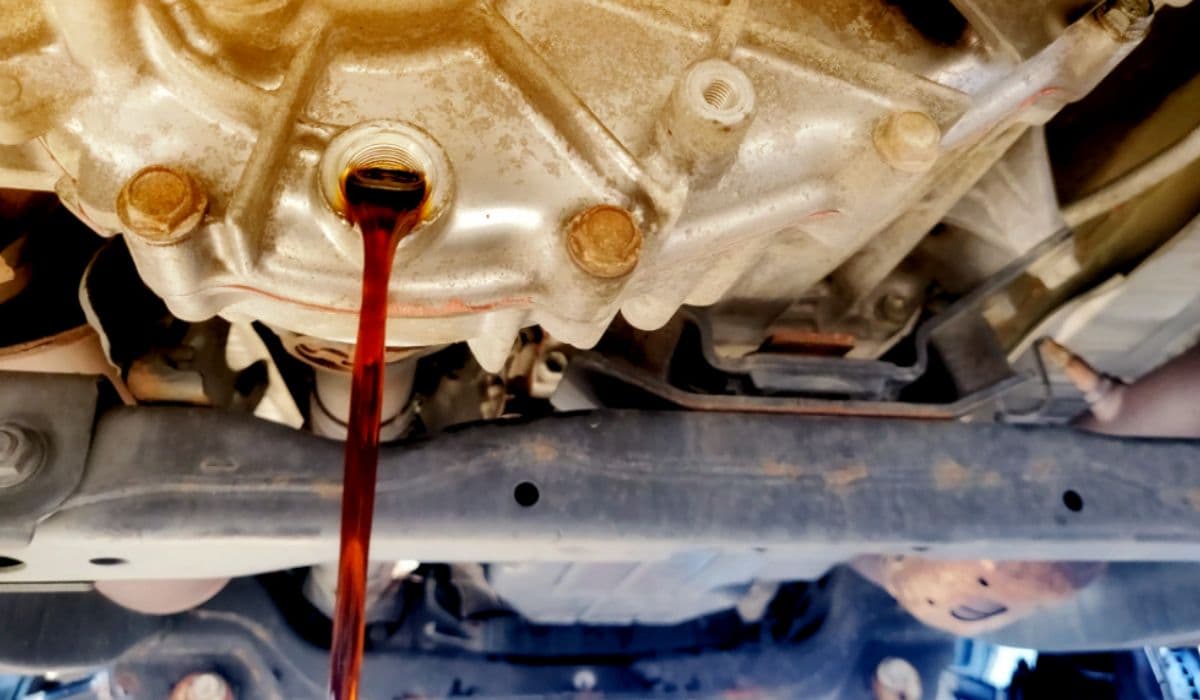
Place the drain pan underneath and loosen the drain plug, allowing old fluid to empty completely—tilt the vehicle if needed for full drainage.
Inspect the drained fluid for metal particles or burnt smell, which could indicate internal wear.
Clean the drain plug magnet if present, removing debris.
Reinstall the drain plug and torque it properly.
Using a pump or funnel, add new fluid through the fill hole until it starts to drip out, signaling full capacity.
Wipe excess and reinstall the fill plug.
Test drive afterward to check for leaks and ensure smooth operation. This process usually takes under an hour for experienced DIYers.
Common Mistakes to Avoid
Even seasoned mechanics slip up, so awareness helps. One frequent error is overfilling, which causes foaming and pressure buildup, potentially damaging seals.
Other pitfalls include:
Skipping the warm-up, leading to incomplete drainage.
Using incorrect fluid type, risking viscosity mismatch and poor performance.
Neglecting torque specs, which can strip plugs or cause leaks.
Ignoring safety—always use jack stands if lifting the vehicle.
By double-checking each step, you prevent these issues and extend the transfer case's life.
Signs That Your Transfer Case Needs Attention
Listen to your Ford—it often signals problems before they escalate. Grinding noises during shifts suggest low or contaminated fluid, while vibrations at speed might point to imbalanced power distribution.
Watch for:
Difficulty engaging 4WD modes, indicating sticky actuators or fluid issues.
Leaks around seals, often from degraded gaskets.
Dashboard warning lights related to the drivetrain.
Unusual whining under load, hinting at bearing wear.
Addressing these early through fluid checks can save extensive repairs, keeping your adventures uninterrupted.
Tips for Maintaining Your Ford's 4WD System
Beyond fluid changes, holistic care enhances durability. Regularly inspect driveshafts and U-joints for play, as they interconnect with the transfer case.
Incorporate these habits:
Use 4WD periodically to circulate fluid and prevent seals from drying.
Avoid abrupt shifts on dry pavement to minimize stress.
During off-road trips, check for debris buildup that could affect cooling.
Pair fluid changes with transmission services for comprehensive drivetrain health.
With consistent attention, your Ford's 4WD system remains reliable, ready for whatever path you choose.
More from Ford

Ford F-150: Active Grille Shutter Maintenance and Cleaning Guide
28.12.2025 11:29
Ford Maverick Hybrid: Battery Cooling Fan Cleaning Tips
28.12.2025 08:22
Ford EcoBoost: Preventing Cam Phaser Rattle with Regular Oil Changes
28.12.2025 05:53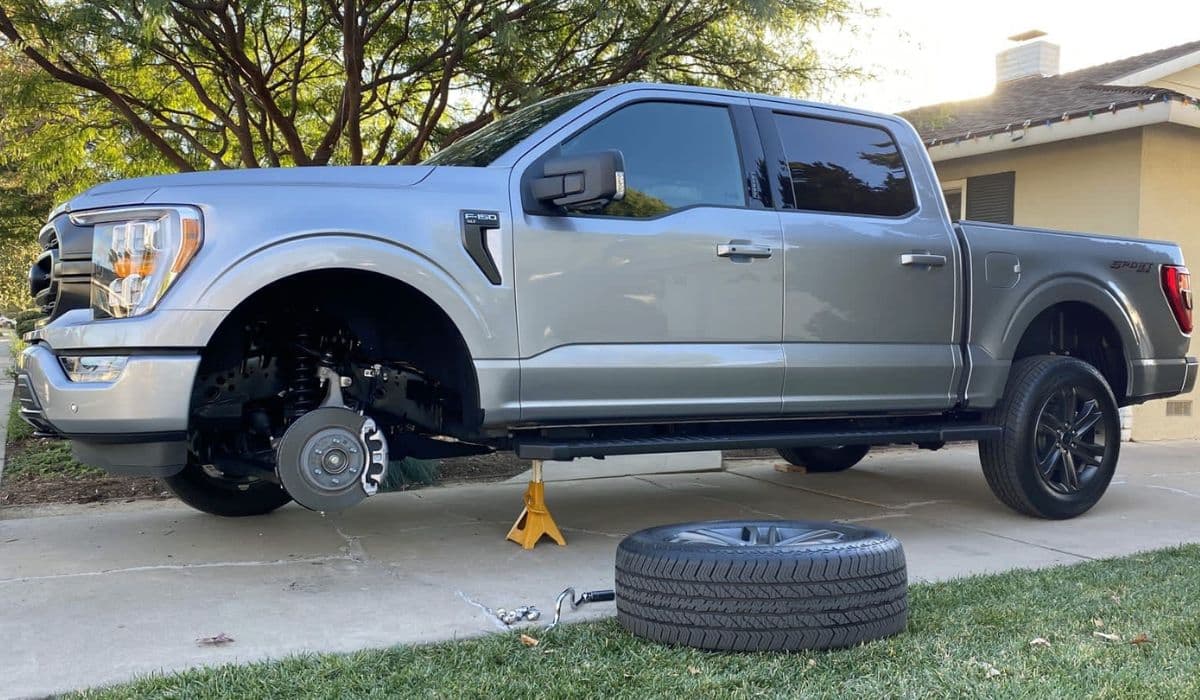
Ford F-150: How to Perform Tire Rotation and Balance Every 5,000 Miles
27.12.2025 14:45
Ford F-150 Aluminum Body: Corrosion Protection Tips
25.12.2025 14:18