Honda CR-V 1.5T Turbo Coolant Leak – Complete DIY Repair Guide
The 2017–2022 Honda CR-V with the L15BE 1.5L direct-injected turbo engine is known for a very specific and frustrating coolant loss issue. Owners typically notice sweet-smelling white smoke at startup, low coolant warning lights, coolant smell inside the cabin, or visible wet spots under the engine. The most common culprit is a manufacturing defect in the cylinder head casting that creates micro-cracks or porous areas around the exhaust-side coolant passages. Coolant slowly seeps into cylinders #2 and #3, gets burned, and exits as white smoke. The second most common leak point is the turbocharger coolant return line O-ring. This guide covers both failures in extreme detail so you can diagnose and fix the problem yourself.
How to Confirm You Have the 1.5T Coolant Migration Problem
Before tearing anything apart, verify the issue:
Check the coolant level cold – if it drops 200–400 ml every 1,000–2,000 miles with no external leaks, it’s almost certainly internal migration.
Perform a block test (combustion leak test) on the overflow tank using a blue liquid kit. If the fluid turns yellow/green within 2–3 minutes of a hot engine idling, you have exhaust gases in the coolant → head porosity.
Pull spark plugs. Cylinders 2 and 3 will usually be steam-cleaned white while 1 and 4 remain tan/gray.
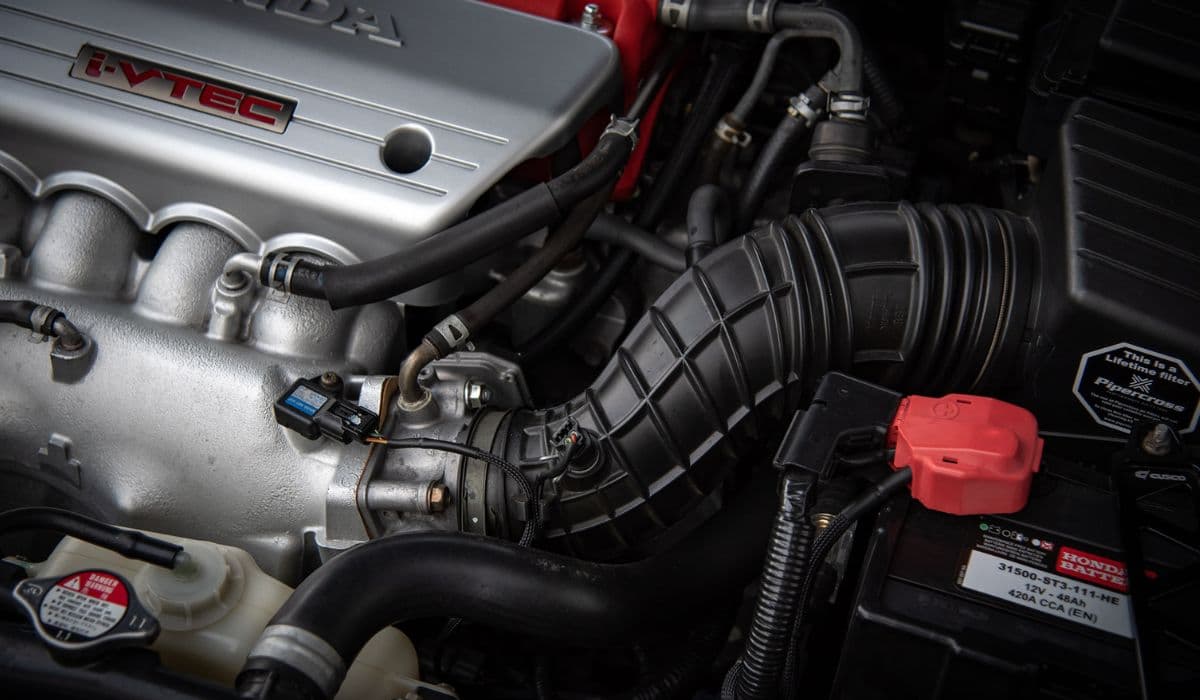
Look inside the throttle body – excessive white crust or coolant residue is a giveaway.
Use a borescope through the spark-plug holes. You will often see coolant staining on the piston crowns of #2 and #3.
Tools and Parts You Will Actually Need
New cylinder head assembly (genuine Honda part 10002-5PA-A11 or later revision with improved casting)
Full head gasket kit (Honda 06110-5PA-000)
Head bolt set (Honda 90005-PAA-A01 ×10)
Exhaust manifold gasket, intake manifold gaskets, throttle body gasket, turbo gaskets
Turbo coolant return line O-ring kit (Honda 91319-PAA-A01)
New thermostat housing assembly (common to leak at the plastic/aluminum joint)
Coolant pipe O-rings under intake manifold (very common leak point)
10 mm, 12 mm, 14 mm, 17 mm, 19 mm wrenches and ratchets
3/8" torque wrench (10–150 ft-lb range) and 1/2" for head bolts
T30, T40 Torx bits
8 mm Allen socket for turbo oil feed banjo
Honda Bond HT silicone (grey) or ThreeBond 1217H
Genuine Honda Type 2 blue coolant (pre-mixed 50/50)
Draining the Cooling System Properly
Park on level ground, engine cold.
Remove radiator cap.
Open radiator petcock (bottom driver side) and remove the white plastic drain plug on the block (behind exhaust manifold, near oil filter). Expect ~6.5 liters total.
Removing the Turbocharger and Ancillaries
Disconnect battery negative terminal.
Remove engine cover, air intake duct, intercooler outlet pipe.
Drain engine oil (coolant often contaminates it).
Remove charge pipes, wastegate actuator rod clip, turbo heat shields.
Disconnect coolant feed and return lines at turbo (14 mm banjo bolts – replace copper washers).
Unbolt turbo from exhaust manifold (four 14 mm nuts) and from downpipe bracket.
Lift turbo straight up and out. Inspect coolant return O-ring – 90 % of the time it is melted or extruded.
Intake Manifold and Fuel Rail Removal
Depressurize fuel system (pull fuel pump fuse, crank until it dies).
Disconnect injectors, high-pressure pump, purge line, brake booster hose, MAP sensor, throttle body.
Remove eight 12 mm intake manifold bolts in reverse torque sequence.
Carefully pry manifold rearward – it will be stuck with old gasket material.
Stuff clean rags in intake ports immediately.
Exhaust Manifold and Cylinder Head Preparation
Remove O2 sensors, heat shields, EGR tube.
Remove ten 14 mm exhaust manifold nuts – soak with penetrating oil for days beforehand.
Remove the two 17 mm bolts holding the downpipe to the turbo bracket.
Unbolt the thermostat housing (three 10 mm bolts) and coolant crossover pipe under the intake manifold area.
Cylinder Head Removal – Step by Step
Set engine to TDC cylinder #1 (mark on crank pulley aligns with pointer).
Remove timing chain tensioner (14 mm bolt – push pin in first).
Remove cam chain guide, tensioner rail.
Remove both camshaft holding tool (Honda 07AAB-RWCA120 or DIY bar).
Remove camshaft caps in sequence (outer → inner).
Lift camshafts and chain as an assembly – keep chain taut.
Remove ten 14 mm head bolts in reverse sequence (start outside, spiral in) using three passes.
Lift head straight up – it weighs ~45 lb. Have a helper.
Inspecting the Old Head – What You’ll See
Almost every failed 1.5T head shows porosity holes or hairline cracks between the exhaust valve seats and nearby coolant jacket on cylinders 2 and 3. Some heads have actual pinholes you can see light through. Honda quietly revised the casting in 2020 – newer part numbers end in A11 or higher.
Cleaning the Block Deck
Use only plastic scrapers and 3M Roloc bristle discs. Do NOT use sandpaper or metal blades – aluminum galls instantly. Clean every bolt hole with M8x1.25 tap or compressed air. Chase every thread.
Installing the New Cylinder Head
Lay down new MLS head gasket (arrows facing up, “TOP” mark visible).
Lower new head carefully – align with dowel pins.
Lightly oil head bolt threads and washers.
Install new head bolts and torque in Honda sequence:
Step 1: 22 ft-lb (29 Nm) all bolts
Step 2: 63 ft-lb (85 Nm) all bolts
Step 3: Additional 90° turn
Step 4: Additional 90° turn (total 180° plastic region)
Timing Chain and Camshaft Installation
Verify TDC #1 again.
Lay chain on new head, route around cams exactly as removed.
Install camshafts with lobes of #1 pointing away from each other.
Torque cam caps to 10 mm bolts → 7.2 ft-lb, 12 mm bolts → 16 ft-lb in three stages.
Release timing chain tensioner pin.
Reinstalling Everything in Reverse Order
New thermostat housing with fresh O-ring.
New turbo coolant return O-ring (lightly grease with coolant)
New exhaust manifold gasket + turbo gasket
Torque exhaust manifold nuts to 23 ft-lb in crisscross pattern
Turbo-to-manifold nuts 33 ft-lb
Intake manifold bolts 16 ft-lb in crisscross
Refill with exactly 5.7 liters Honda Type 2 coolant, burp system via the bleeder on thermostat housing
Final Checks and Break-In
Fill crankcase with 0W-20 synthetic (4.4 quarts with filter)
Disable fuel injectors (pull relay) and crank for 15 seconds ×3 to build oil pressure before first start
Start engine, immediately bring to 2500 rpm for 10 seconds, then idle
Watch for leaks, listen for abnormal noises
Change oil and filter again at 500 miles – residual coolant will still be present
Following this procedure has saved owners $4,000–$7,000 compared to dealer replacement. The job is 100 % doable in a home garage over a long weekend with basic-to-intermediate skills.
More from Honda
How to Fix VTC Actuator Rattle Honda Civic 2016-2021
08.12.2025 11:54
How to Fix Honda Civic 10th Generation Infotainment System Random Rebooting
08.12.2025 12:01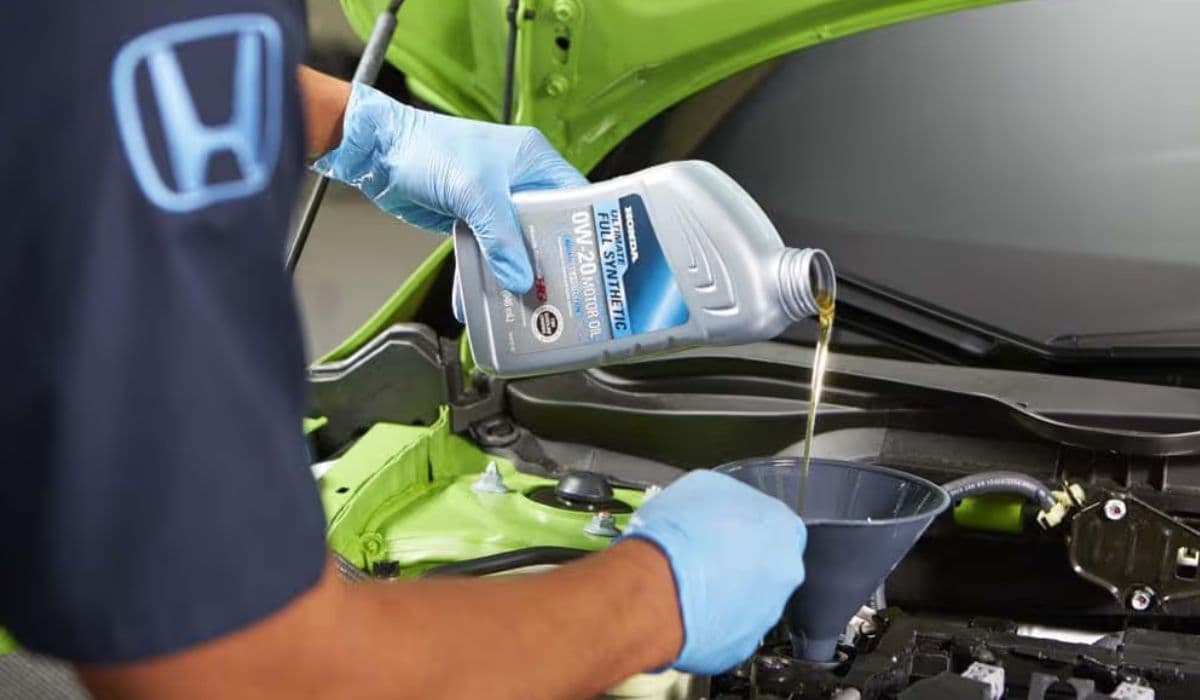
How to Choose the Right Engine Oil for Honda and When to Change It
02.12.2025 11:50
VTEC Not Working? 5 Reasons and How to Fix It Yourself
02.12.2025 13:01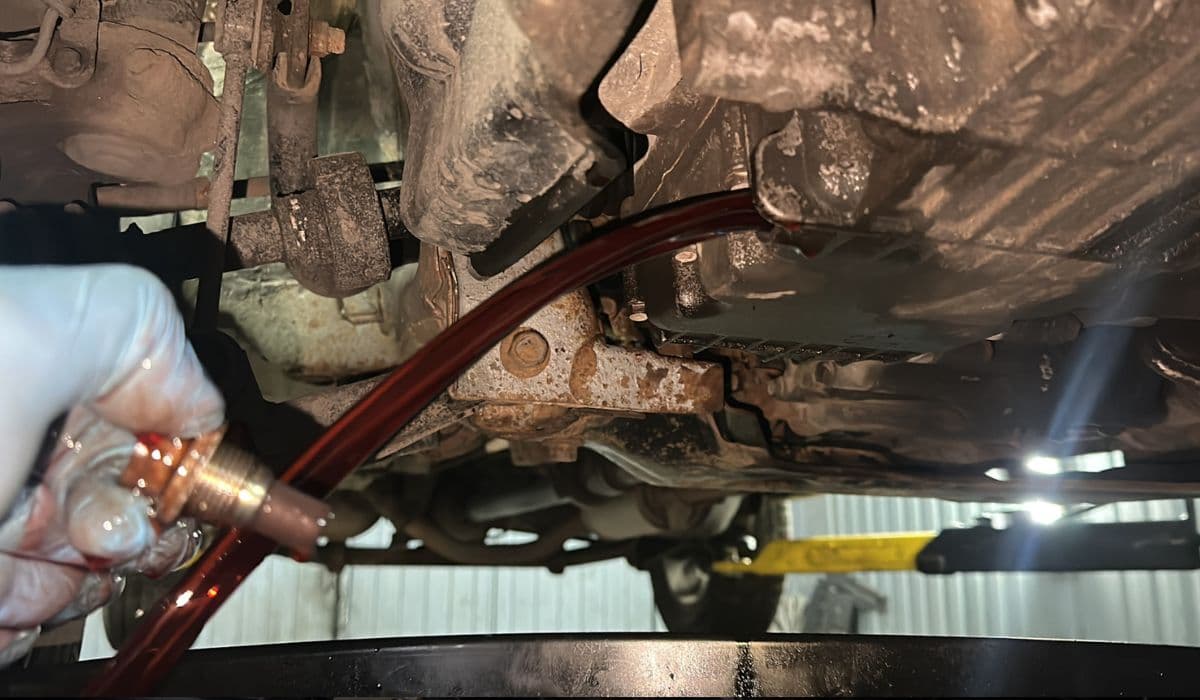
Permanent Fix for Oil Dilution on 1.5T Honda Civic (10th Gen) – DIY Guide
08.12.2025 08:57