How to Permanently Fix 5th Gen 4Runner Front Brake Vibration by Rotor Resurfacing (and When You Shouldn’t)
The 5th generation Toyota 4Runner is built for adventure, but few things ruin a smooth trail return or highway cruise like front brake vibration. That familiar shudder through the steering wheel or pulsing pedal often appears during moderate braking from higher speeds. Many owners blame "warped rotors," but the reality is more nuanced — and more fixable.
True rotor warping from heat is less common than believed. In most cases, the culprit is uneven thickness variation (DTV) caused by pad material deposits, corrosion, or inconsistent pad contact. Resurfacing (also called turning or machining) the rotors can restore a flat, parallel braking surface and eliminate the vibration for good — when done correctly and under the right conditions.
Understanding the Root Cause of Brake Vibration
Brake pulsation feels like a heartbeat in the pedal or a wobble in the wheel because the rotor's friction surface isn't uniform. As the pad presses against high and low spots, braking force fluctuates rapidly.
Common triggers in the 5th gen 4Runner include:
Uneven pad deposits — Hard stops or light riding of the brakes bake transfer material unevenly onto the rotor, creating raised patches.
Corrosion buildup — Especially after sitting or in wet/salty conditions, rust forms rings or spots that the pads can't fully clean.
Improper lug nut torque — Overtightening or uneven torquing during wheel service distorts the rotor hat, leading to runout.
Caliper issues — Sticking sliders or pistons cause one side of the pad to drag, accelerating uneven wear.
Pad glazing — Overheated pads harden and stop bedding in properly.
While severe overheating from repeated panic stops can truly warp a rotor (creating permanent coning or dishing), most 4Runner owners experience thickness variation rather than outright warpage.
Diagnosing Whether Resurfacing Will Solve Your Issue
Before touching tools or heading to a shop, confirm the problem points to the front rotors.
Test at different speeds: Vibration starting around 40–60 mph and worsening with harder braking usually indicates front rotors.
Isolate front vs. rear: If the steering wheel shakes, it's almost always front brakes. Pedal-only pulsation can sometimes involve rears, but front issues dominate 5th gen complaints.
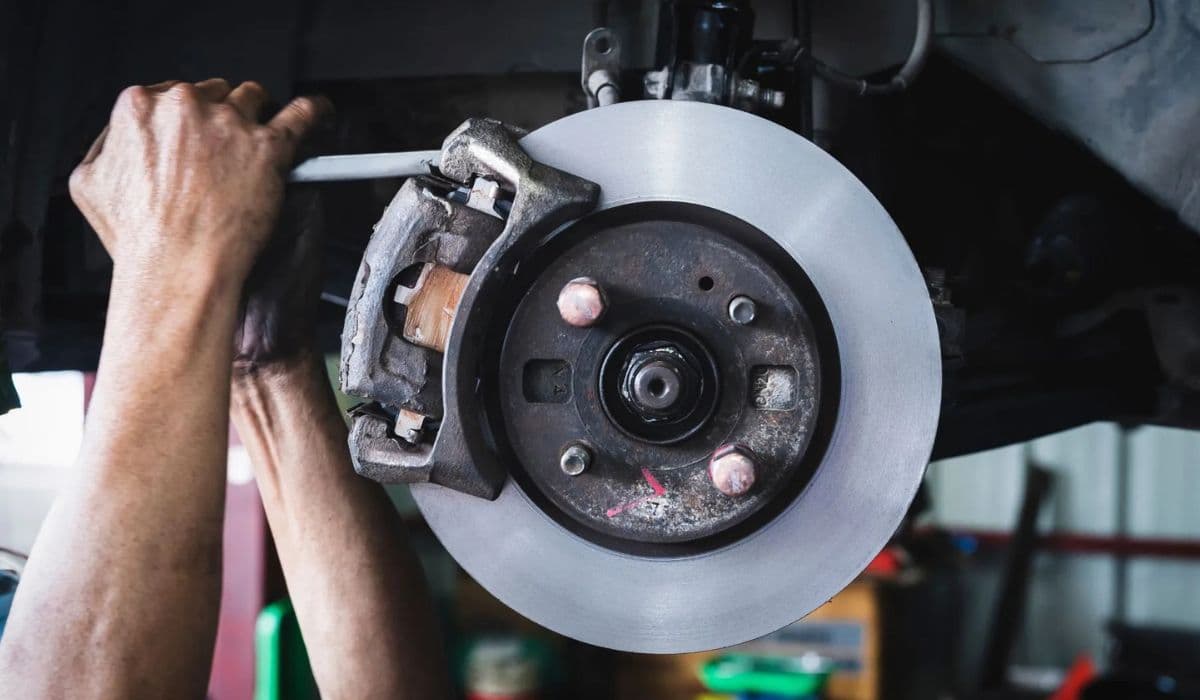
Visual inspection: Look for deep grooves, blue discoloration (overheating), or visible high/low shine patterns on the rotor surface.
Measure runout and thickness: Use a dial indicator for lateral runout (should be under 0.002–0.004 inches) and a micrometer for parallelism (variation under 0.001 inches per side is ideal).
If measurements show excessive runout but minimal thickness variation, the hub mating surface or bearing play might contribute — address those first.
Step-by-Step Guide to Effective Rotor Resurfacing
Resurfacing removes a thin layer of metal to create a fresh, even surface. Modern on-car lathes deliver the best results because they machine the rotor in its actual mounted position, accounting for hub imperfections.
Key steps for a lasting fix:
Replace pads simultaneously — Old pads carry embedded deposits and can quickly ruin a freshly turned surface. Choose quality semi-metallic or ceramic pads suited to mixed on-road/off-road use.
Clean everything thoroughly — Wire-brush the hub flange to remove rust scale. Any buildup here transfers runout to the rotor.
Inspect calipers and hardware — Lubricate slider pins with high-temp brake grease, replace stuck boots, and ensure pistons move freely.
Proper machining — Remove the minimum material needed (often 0.002–0.010 inches per side). Avoid over-cutting, which thins the rotor below safe limits.
Bed-in procedure — After installation, perform controlled heat cycles: 8–10 moderate stops from 40 mph to 10 mph without full stop, then a few harder ones from higher speed. Let cool completely between sessions. This transfers an even layer of pad material.
A properly resurfaced rotor paired with fresh pads and good bedding often eliminates vibration permanently, especially if caught before severe grooving develops.
When Resurfacing Won’t Provide a Permanent Solution (and What to Do Instead)
Resurfacing isn't always the answer. Skip it or opt for replacement in these scenarios:
Rotor thickness is already at or below minimum spec — Machining removes material; if you're too close to the discard limit stamped on the rotor edge, you'll compromise heat dissipation and safety.
Deep scoring or cracking — Grooves deeper than 0.015–0.020 inches or visible heat cracks mean the rotor can't be saved.
Severe overheating damage — Blue spots across the entire surface or measurable coning indicate true warpage that machining can't fully correct.
Corrosion on both braking surfaces and hat — Heavy rust pitting creates ongoing DTV even after turning.
Recurring vibration shortly after previous resurfacing — This signals underlying caliper drag, poor bedding habits, or cheap aftermarket rotors prone to distortion.
In these cases, installing new rotors (ideally OEM or high-quality aftermarket with proper metallurgy) combined with premium pads yields far better longevity.
Additional factors that make resurfacing less effective:
Persistent caliper piston sticking
Worn hub bearings introducing excessive play
Uneven torque on lug nuts during reassembly
Addressing these root issues first prevents the same pulsation from returning.
Maximizing Longevity After the Fix
Prevent future vibration with smart habits tailored to the 4Runner's heavy build and off-road capability:
Torque lug nuts accurately (typically 85–90 ft-lbs for most wheels) using a star pattern and calibrated torque wrench.
Avoid riding the brakes downhill — use low gear instead.
Bed in new or resurfaced setups properly every time.
Inspect brakes during tire rotations; catch uneven wear early.
Clean rotors with brake cleaner if corrosion starts appearing after wet trails.
With proactive care, many 5th gen owners enjoy tens of thousands of miles without brake shake returning.
Mastering this common 4Runner quirk through targeted resurfacing — and knowing precisely when to skip it — keeps your rig confident and composed on every descent and highway merge.
More from Toyota
Tundra 5.7 Oil Consumption Fix (Piston Rings?)
08.12.2025 14:48
How to Fix 12.3-Inch Screen Lag on Toyota RAV4 (2023+) – Complete Reset Guide
08.12.2025 10:58
3rd Gen Tacoma Secondary Air Injection Bypass: Complete Guide for 2016-2023 Toyota Tacoma Owners
08.12.2025 10:52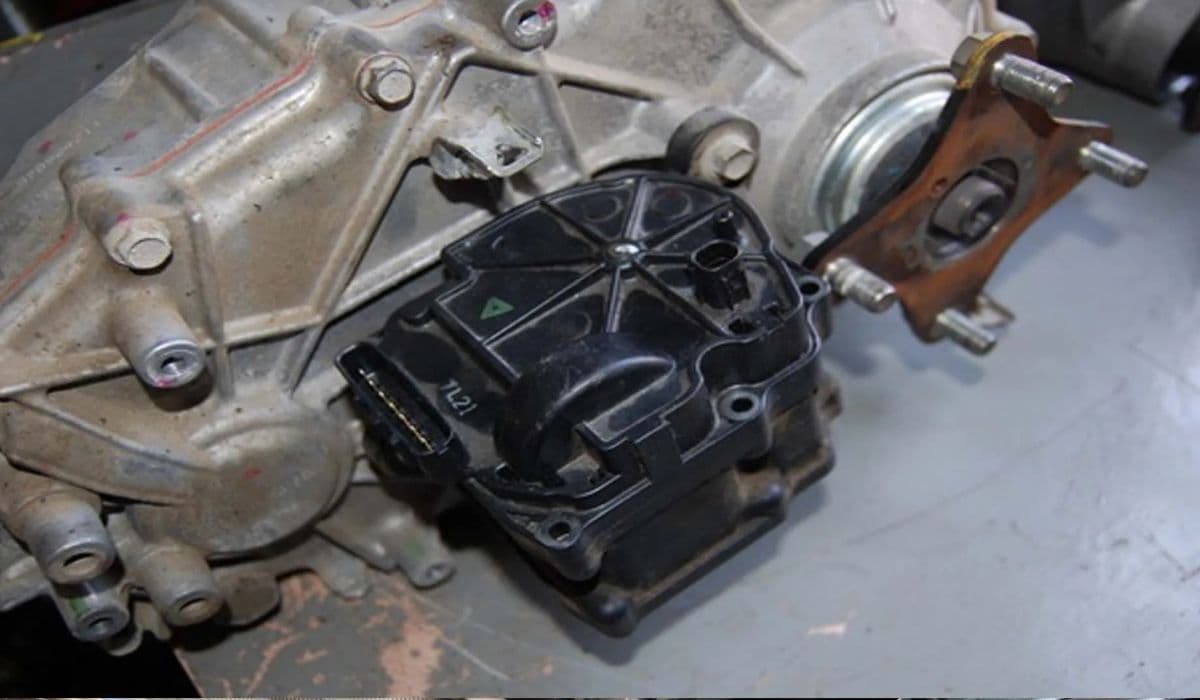
How to Diagnose and Perform 4Runner Transfer Case Actuator Bypass When 4WD Won't Engage
08.12.2025 10:44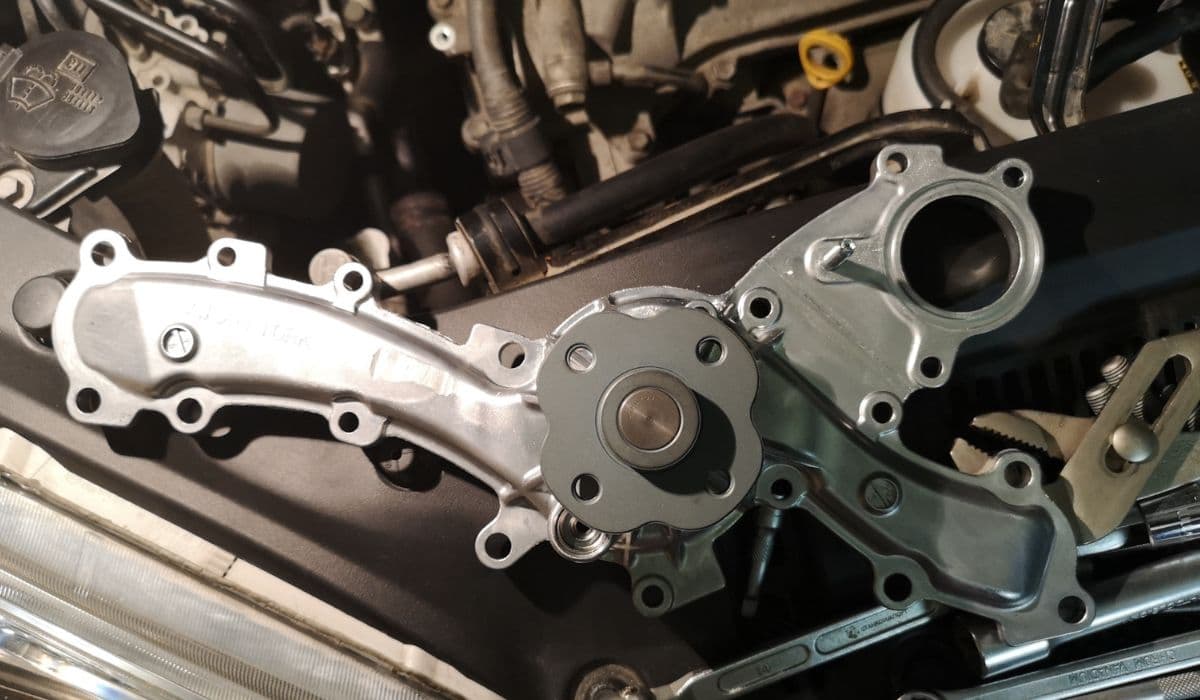
Camry 2GR-FE V6 Water Pump Replacement DIY – Full Step-by-Step Guide
08.12.2025 10:39