BMW How to replace air suspension bags and compressor
BMW has long been renowned for engineering vehicles that blend luxury with dynamic performance, and the air suspension system plays a key role in delivering that signature smooth yet controlled ride. Found in popular models like the X5, 7 Series, and certain 5 Series variants, this setup uses inflatable air bags (also called air springs or bellows) instead of traditional coil springs, particularly at the rear axle, with some configurations extending to all four corners.
The system maintains consistent ride height regardless of load, absorbs road imperfections effortlessly, and allows for adjustable settings that enhance both comfort on long highways and stability during spirited driving. At its core is a compressor that pumps air into the bags via lines and valves, controlled by sensors that monitor height and adjust automatically. This adaptive technology ensures the vehicle stays level, even when carrying passengers or cargo, preventing the sagging common in conventional suspensions.
However, over time, exposure to elements, road debris, and constant flexing can lead to wear. Understanding how it works empowers owners to spot issues early and tackle repairs confidently, restoring that effortless glide BMW is famous for.
Common Signs of Failing Air Suspension Components
Ignoring subtle warnings can turn a manageable fix into a major headache, as one failing part often stresses others. Here are the telltale indicators that your BMW's air suspension needs attention:
The vehicle sags in one or more corners, especially overnight or after parking, with the rear often dropping first.
A harsh, bouncy ride over bumps, as deflated bags fail to cushion impacts properly.
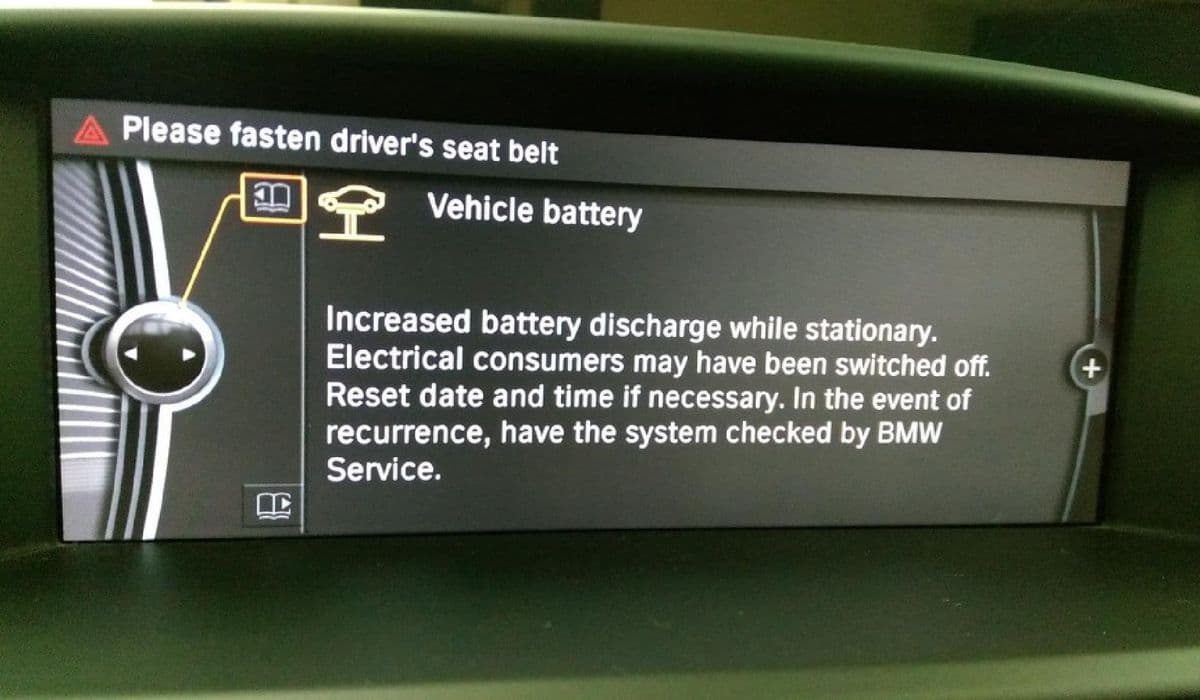
Dashboard warnings like "Chassis Stabilization" or "Suspension Fault" illuminating.
Unusual noises from the compressor area, such as excessive running, whining, or grinding, signaling it's overworking to compensate for leaks.
Uneven stance or headlights misaligned due to varying ride height.
Hissing sounds near the wheels or under the vehicle, pointing to air escaping from lines or bags.
These symptoms typically stem from cracked rubber in the air bags due to age and flexing, or compressor fatigue from constant operation. Catching them early prevents secondary damage, like burned-out compressors from trying to fill leaking bags.
Tools and Preparation for the Job
Replacing air suspension bags and the compressor is a rewarding DIY project for enthusiasts with basic mechanical skills, often taking a weekend in a home garage. Preparation is crucial for safety and efficiency.
Essential tools include:
Floor jack and sturdy jack stands for secure lifting.
Socket set, wrenches, and torque wrench for precise fastening.
Trim removal tools to access interior panels without damage.
Soapy water spray bottle for leak detection.
Basic hand tools like pliers, screwdrivers, and a hammer for stubborn parts.
Always work on a level surface, chock the wheels, and disconnect the battery to prevent accidental compressor activation. Pull relevant fuses to deactivate the system, avoiding unexpected height changes. Scan for fault codes beforehand if possible, and clear them after completion. Wearing gloves and eye protection is advisable, as dirt and pressurized air can be unpredictable.
Step-by-Step Guide to Replacing Air Suspension Bags
Air bags are the most common failure point, and replacing them restores level height and comfort. The process varies slightly by model but follows similar principles, often focusing on the rear.
Start by safely raising the vehicle and supporting it on stands. Remove the wheels for better access.
Deflate the system by disconnecting air lines or pulling fuses, allowing the bags to collapse.
Access the top mounts by removing interior trim panels in the trunk or rear quarters—many models have pre-cut insulation for the three upper nuts.
Disconnect the air line at the top of the bag, carefully releasing any residual pressure.
Unbolt the lower mounting points and any retaining clips or brackets.
Twist and maneuver the old bag out, noting its orientation for the new one.
Clean the mounting surfaces thoroughly to ensure a proper seal.
Install the new bag, aligning it precisely and twisting into place if it has a bayonet-style mount.
Reconnect the air line securely, often with a push-fit or threaded fitting.
Reassemble bolts, torquing to specifications, and reinstall wheels.
It's wise to replace bags in pairs, as the untouched side is likely worn similarly. After lowering the vehicle, reconnect power—the compressor should inflate the system automatically. Test for leaks with soapy water on connections.
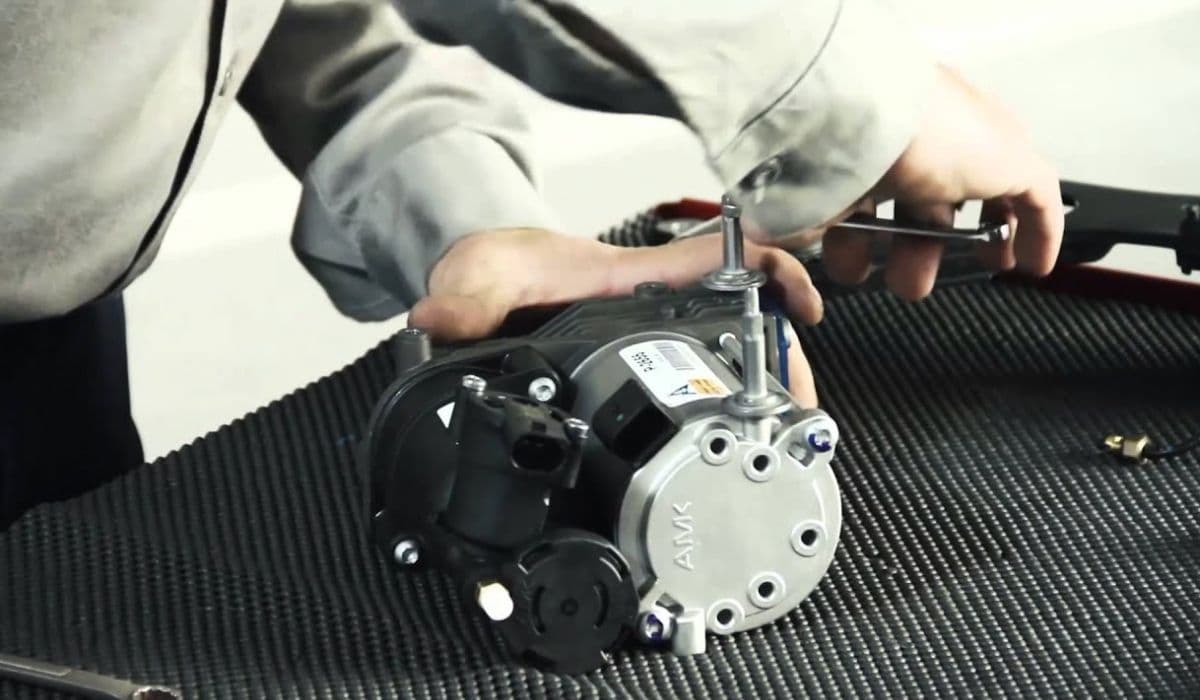
Replacing the Air Suspension Compressor
When the compressor fails, the entire system grinds to a halt, leaving the vehicle low and unresponsive. Replacement revives the setup efficiently.
The compressor is typically located under the spare tire well, near the rear axle, or behind a side panel.
Remove the spare tire and protective cover, often secured by plastic nuts or screws.
Disconnect the electrical connector and air lines, labeling them for reassembly.
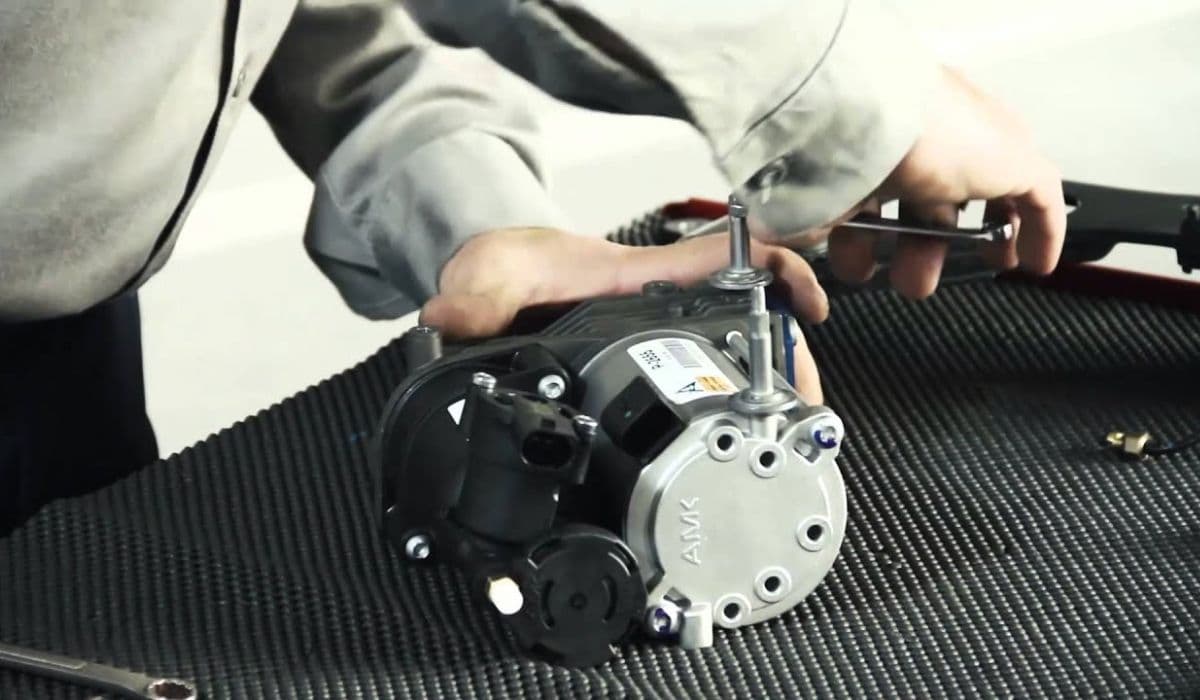
Unbolt the mounting bracket, carefully maneuvering the unit out.
Inspect the relay and valve block while accessible—stuck valves can mimic compressor failure.
Transfer any reusable parts like brackets to the new compressor if needed.
Install the replacement in reverse order, ensuring tight connections.
Reattach lines and power, then test by starting the engine—the system should pressurize and level.
A new compressor often runs quieter and more efficiently, transforming the ride back to factory freshness. Check for underlying leaks post-installation, as they can quickly wear out the fresh unit.
Testing and Troubleshooting After Replacement
With new components in place, thorough testing ensures everything functions harmoniously.
Drive the vehicle and observe for even height adjustment, smooth operation over varied roads, and no warning lights. Listen for the compressor cycling normally—briefly on startup or load changes, not constantly.
If issues persist:
Spray soapy water on all connections to bubble-test for leaks.
Verify sensor operation and wiring integrity.
Monitor for sagging after prolonged parking.
Properly executed, these repairs deliver years of reliable, luxurious performance, keeping your BMW poised and comfortable on any journey.
Maintenance Tips for Long-Lasting Air Suspension
Preventive care extends the life of your system significantly.
Regularly inspect bags and lines for cracks or abrasions.
Avoid overloading the vehicle beyond recommended limits.
Park in covered areas to shield from extreme weather.
Address minor leaks promptly to spare the compressor strain.
Keep the area around the compressor clean to prevent debris ingress.
With attentive ownership, BMW air suspension continues to provide that unparalleled blend of refinement and control.
More from BMW
How to fix high-voltage battery shutdown (BMW i4/iX recall)
14.12.2025 14:38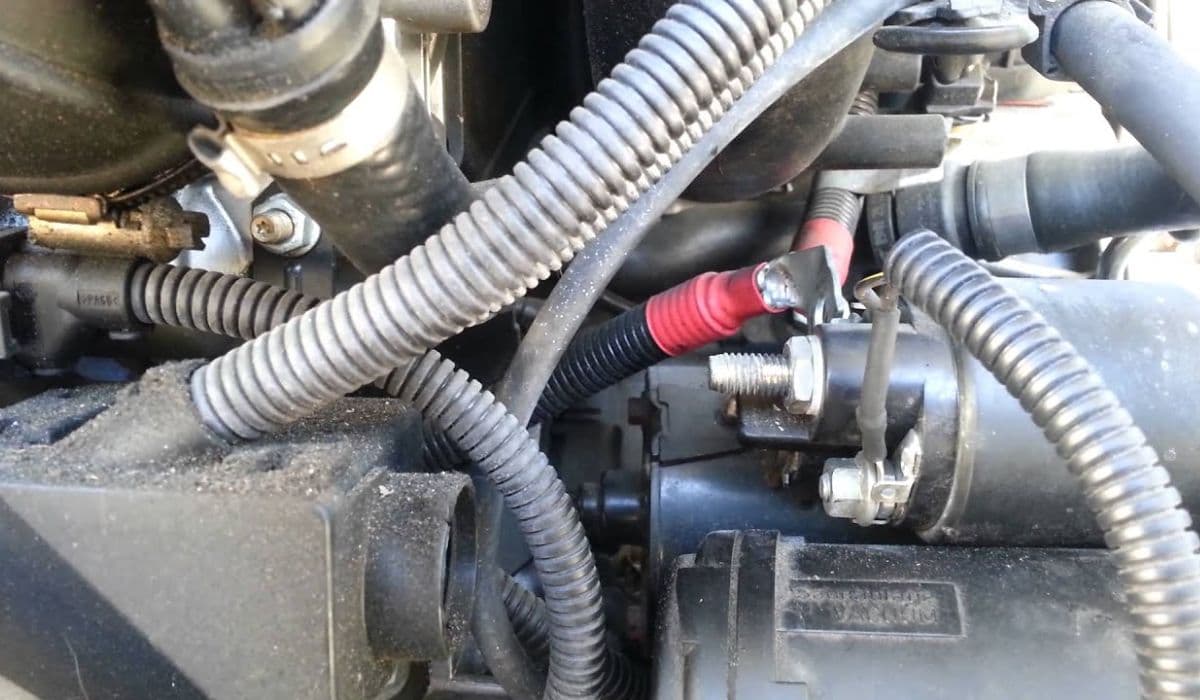
How to replace starter-generator connection BMW
14.12.2025 11:51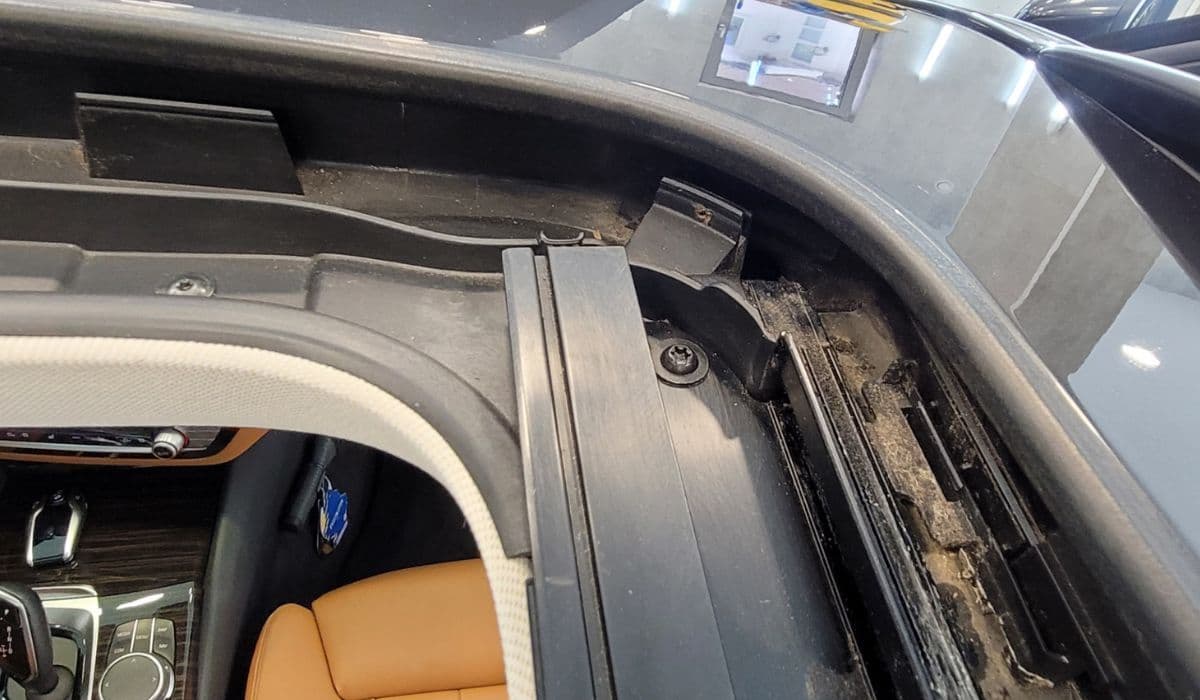
How to fix panoramic roof noise or leaks BMW
14.12.2025 07:56
How to fix brake booster vacuum issues BMW
14.12.2025 06:06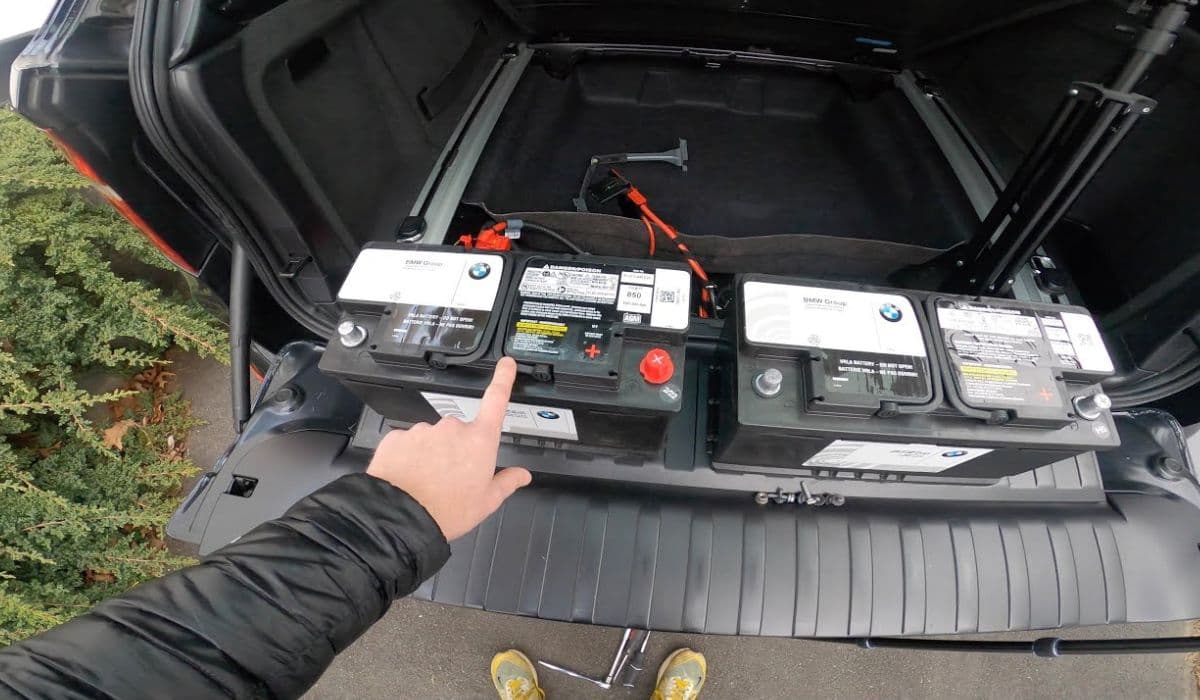
How to replace 12V battery and register it (2025 BMW X5/iX issues)
14.12.2025 03:36