How to replace starter-generator connection BMW
Modern BMW models equipped with mild-hybrid technology feature an integrated starter-generator (often called a 48V starter-generator or belt-driven starter-alternator). This compact unit combines starting the engine with generating power for the vehicle's electrical systems and battery charging. Over time, the electrical connection between the positive battery cable and the starter-generator can develop increased resistance, leading to poor performance, no-start conditions, or even localized overheating.
Replacing or properly servicing this critical connection requires attention to detail, proper tools, and strict safety practices. This guide walks you through the complete process step by step.
Understanding the Starter-Generator System in BMW
The starter-generator in many current BMWs is a belt-driven ISG (Integrated Starter Generator) that performs dual functions:
Delivers high-torque cranking power during engine start (including quick start-stop operation)
Generates electricity efficiently during driving, often supporting 48V mild-hybrid functions
The main electrical interface is typically a heavy-gauge positive cable that connects directly to a large stud or terminal on the starter-generator housing. A secure, low-resistance connection here is essential for reliable operation and safety.
Common symptoms that indicate connection problems include:
Intermittent no-start conditions
Clicking sounds without cranking
Burning smell near the engine bay
Warning lights related to battery or charging system
Reduced performance of start-stop system
Essential Safety Precautions Before Starting Work
Working on the starter-generator involves high-current connections and potentially 48V systems. Follow these safety rules religiously:
Park the vehicle on a level surface with the parking brake engaged
Allow the engine to cool completely
Disconnect the negative battery terminal first, then the positive
Wait at least 10–15 minutes for any residual voltage in capacitors to dissipate
Use insulated tools when working near live connections
Wear safety glasses and protective gloves
Never work alone — have someone nearby in case of emergency
Tools and Materials Needed
Gather these items before beginning:
Socket set (metric, including deep sockets)
Torque wrench (essential for proper tightening)
Combination wrenches
Trim removal tools
Battery terminal puller (optional but helpful)
Electrical contact cleaner
Dielectric grease
Wire brush or small sandpaper for cleaning terminals
New positive cable if damaged (recommended for best results)
Anti-corrosion compound for terminals
Step-by-Step Removal of the Old Connection
Accessing the starter-generator connection usually requires partial disassembly in the engine bay:
Remove the engine cover and any plastic trim pieces obstructing access
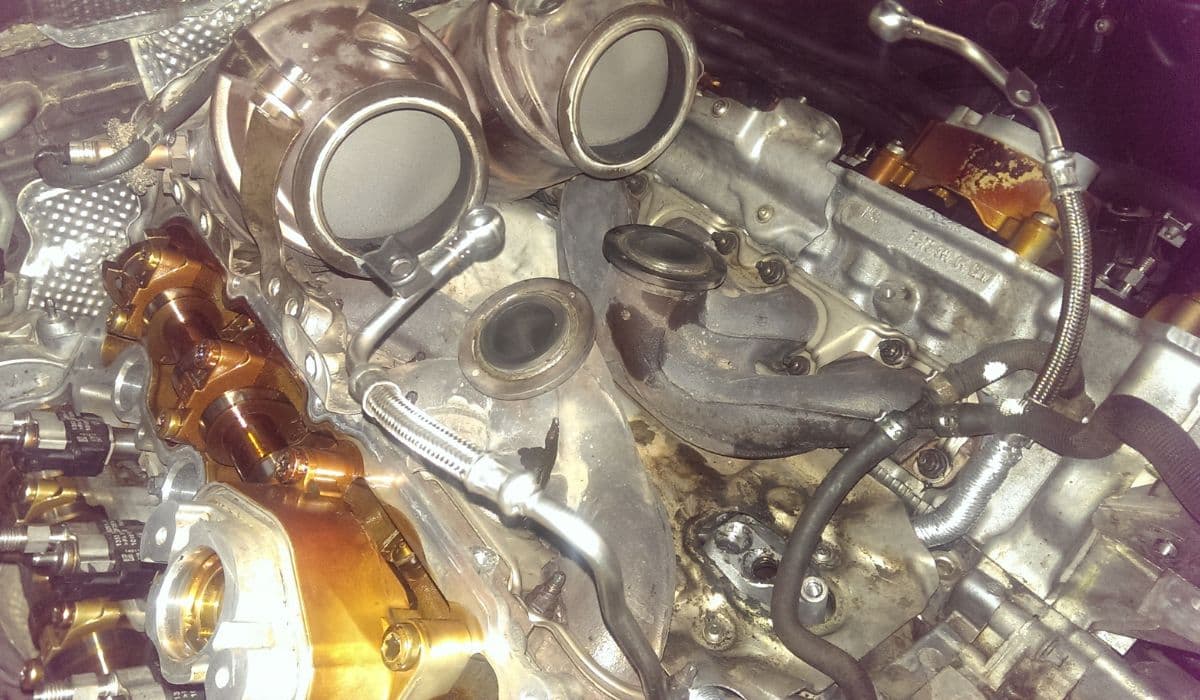
Locate the starter-generator — most commonly mounted on the front of the engine block, driven by the accessory belt
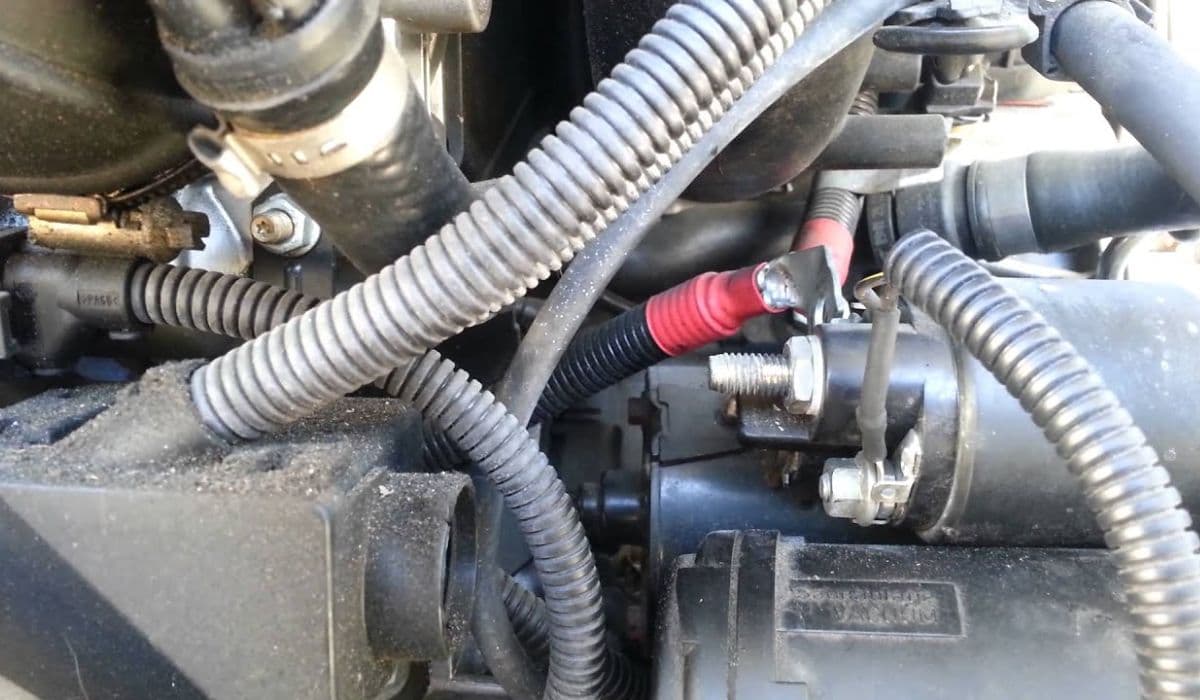
Identify the large positive power cable (usually red or covered in red protective sheath) attached to the starter-generator terminal
Carefully remove any protective covers or heat shields around the connection point
Loosen and remove the main nut securing the positive cable to the starter-generator stud (note the exact position of any washers or spacers)
Gently disconnect the cable — avoid bending or stressing the cable excessively
Inspect the terminal lug for signs of overheating (discoloration, melting, or corrosion)
Examine the stud on the starter-generator itself for thread damage or carbon buildup
Clean both mating surfaces thoroughly using electrical contact cleaner and a wire brush
Careful inspection at this stage often reveals the root cause — poor contact due to oxidation, loose fit, or heat damage.
Preparing the New Connection
Whether you're reusing the existing cable (after cleaning) or installing a new one, preparation is crucial:
If reusing the cable, clean the lug terminal until shiny metal is visible
Check cable integrity along its entire length for cracks or brittle insulation
Apply a thin layer of dielectric grease to the contact surfaces after cleaning (this prevents future oxidation)
Ensure all washers and spacers are in their original positions — they help distribute pressure evenly
Verify that the connection point on the starter-generator is clean and undamaged
Proper preparation here directly affects the longevity of the repair.
Installation and Proper Torque Procedure
Reconnecting everything correctly prevents repeat failures:
Position the positive cable lug onto the starter-generator stud
Install washers and spacers exactly as they were originally
Thread the securing nut on by hand first to avoid cross-threading
Using a torque wrench, tighten the main connection nut to the manufacturer-specified value (this is extremely important — under-tightening causes resistance, while over-tightening can damage threads or crack components)
Double-check that no tools were left in the engine bay
Reconnect the battery — positive terminal first, then negative
Secure all removed trim pieces and engine covers
Post-Installation Checks and Verification
After completing the work, perform these final tests:
Start the engine and listen for normal cranking behavior
Observe the instrument cluster for any warning lights
Cycle the start-stop system several times to confirm proper operation
Check for smooth charging voltage at idle (typically around 14–15 volts)
Inspect the connection after a short drive for any signs of heat or looseness
Clear any stored fault codes using suitable diagnostic equipment if necessary
These checks confirm the repair was successful and the system operates as designed.
Common Mistakes to Avoid
Even experienced technicians can make these errors:
Forgetting to disconnect the battery before starting work
Using incorrect torque values (too loose or too tight)
Reusing a damaged positive cable without replacement
Not cleaning contact surfaces adequately
Cross-threading the main nut during reinstallation
Ignoring small washers or spacers during reassembly
Avoiding these pitfalls saves time and prevents comebacks.
Replacing the starter-generator connection on a BMW is a precise job that rewards careful attention. With proper technique, your vehicle's starting and charging systems will regain their reliable performance, ensuring smooth daily driving and efficient mild-hybrid operation.
More from BMW
How to fix DSC/ABS wheel speed sensor faults BMW
13.12.2025 13:46
How to replace run-flat tires and reset TPMS BMW
13.12.2025 13:40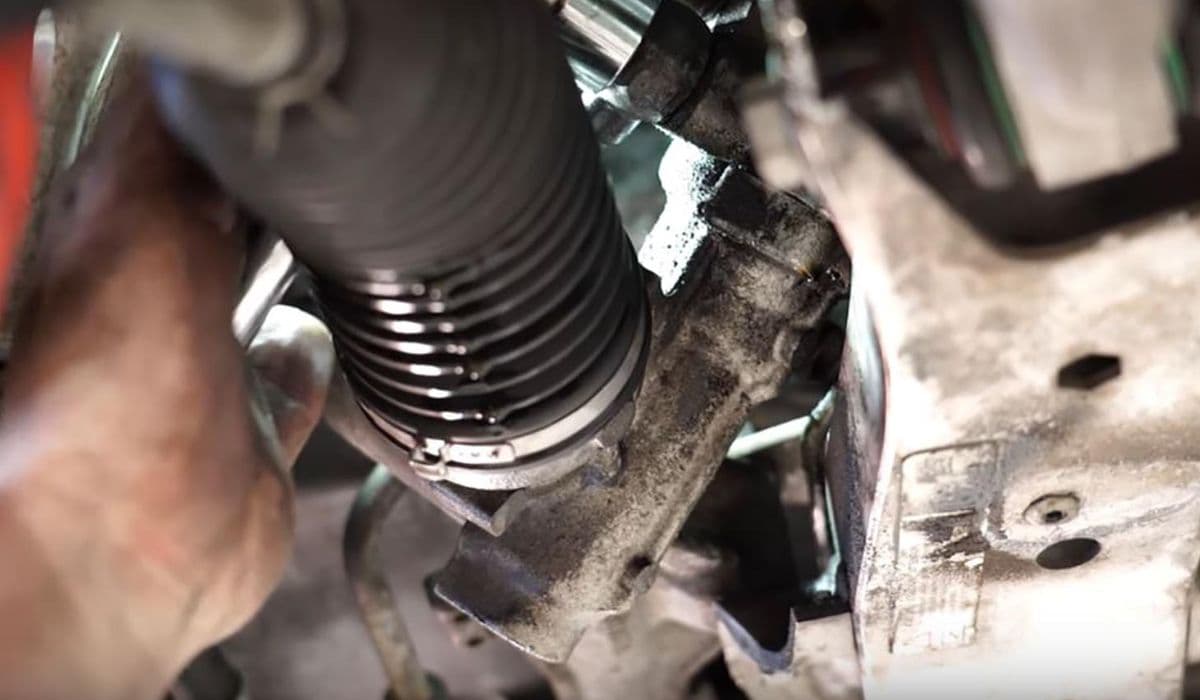
How to fix electronic steering rack clunk BMW
13.12.2025 13:35
How to fix crankcase ventilation (PCV) valve heater BMW
13.12.2025 13:13
How to replace IBS battery sensor false errors BMW
13.12.2025 13:06