How to replace air suspension compressor BMW
Replacing the air suspension compressor on a BMW ranks among the most rewarding yet challenging DIY repairs. When the pump fails, you typically face sagging corners, the infamous "Chassis Function Restricted" warning, or a compressor that runs endlessly without building pressure. This guide provides detailed, real-world steps that go beyond basic instructions.
Why BMW Air Suspension Compressors Fail (and How to Spot It Early)
BMW air suspension systems rely on a small but powerful electric pump to maintain ride height. The most common death scenarios include:
Internal piston seizure from overheating
Burnt armature due to constant short-cycling
Moisture-damaged windings after repeated cold starts in wet conditions
Oil contamination from dying air springs entering the system
Early warning signs that almost always indicate the pump (not just a leak):
Compressor becomes scorching hot after 30–60 seconds of running
Distinctive acrid electrical burning smell near the rear
Compressor buzzes loudly instead of smooth humming
Rapid on-off cycling every few seconds
System raises very slowly even after long running time
Fuse blows repeatedly or relay makes chattering noise
Essential Tools and Small Parts You Should Prepare
You will need more than just sockets. The following list separates must-have items from strongly recommended ones:
Must-have tools:
Full metric socket set (8–17 mm)
Torx bits T25–T45
Long ratchet extensions (150–300 mm)
Plastic trim removal tools
Torque wrench (5–50 Nm range)
Jack stands + proper floor jack
Strongly recommended extras:
Small inspection mirror
Air line disconnection tool
Shop vacuum
Dielectric grease
Medium-strength threadlocker
New rubber mounting grommets (almost always included with quality reman units)
Model-Specific Access Locations
BMW engineers placed the compressor in different locations depending on generation:
E39 5-Series – under the left rear seat (easiest access)
E60/E61 5-Series – left side under rear seat or trunk floor
E65/E66 7-Series – under spare wheel well in trunk
E70 X5 – behind left rear wheel arch liner or under spare wheel
F01/F02 7-Series – right side of trunk behind trim panel
F15/F16 X5/X6 – left rear wheel arch liner (tight space)
G30 5-Series / G31 Touring – under rear seat cushion
Pro tip: on most sedans, removing the rear seat bottom cushion takes under 60 seconds and gives dramatically better working space.
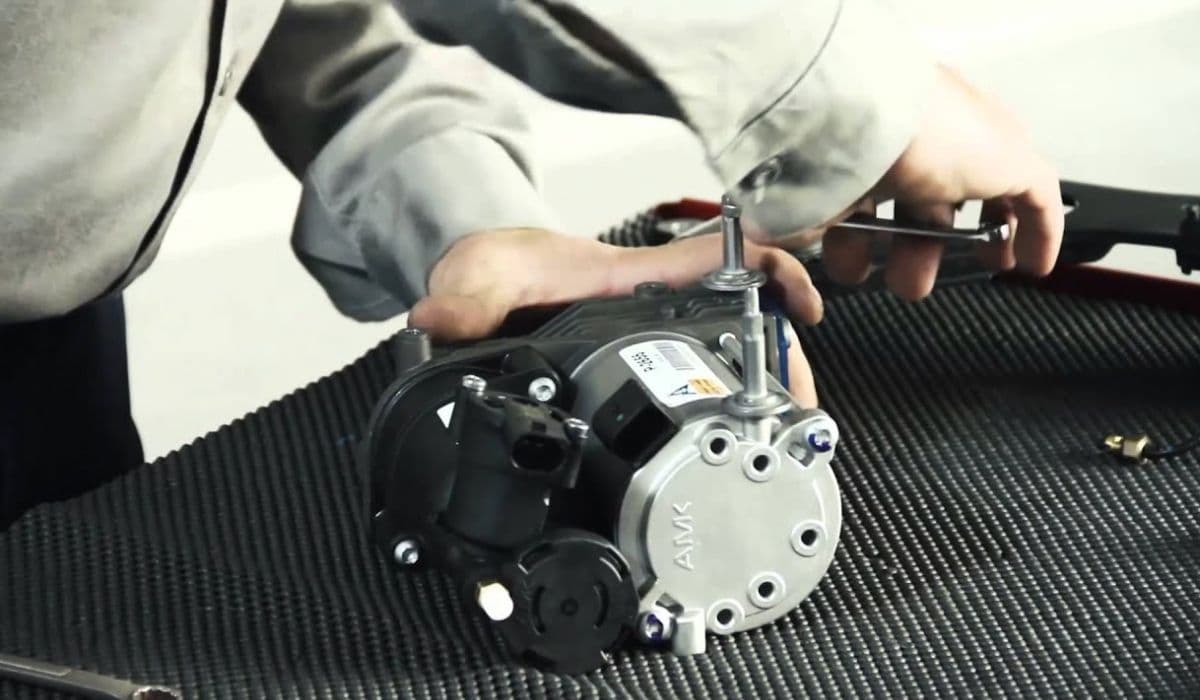
Step-by-Step Removal Process
Follow these steps in order for smooth disassembly:
Park on level concrete surface and let the car sit for at least 6–8 hours (fully depressurized system)
Disconnect negative battery terminal and wait 10 minutes
Mark ride height sensor arm positions with permanent marker or paint (extremely important!)
Remove necessary trim panels using plastic tools
Unplug electrical connector (note the locking tab direction)
Release air lines – one is supply, others go to valve block/reservoir (mark them!)
Support compressor body, remove three mounting bolts
Carefully maneuver the unit out – watch for pinched wiring harnesses
Critical Inspection Points Before Installing New Unit
While everything is apart, perform these quick checks:
Condition of air dryer (replace if dark brown or oily)
Airline condition – look for micro-cracks and brittleness
Valve block fittings – check for internal scoring
Relay socket – burnt contacts mean replace relay + socket
Main ground point – corrosion here kills many new compressors
Installation – The Right Way
The installation phase determines whether your new compressor will last 3 months or 10+ years:
Install fresh rubber mounts/grommets first (old ones always collapse)
Position unit, start all bolts by hand
Reconnect air lines in correct order (hand-tight only at this stage)
Apply thin layer of dielectric grease to electrical connector
Torque mounting bolts to factory specification (usually 10–22 Nm)
Secure wiring harness away from exhaust heat shields
Double-check all air connections before closing panels
Post-Installation Procedure and Initialization
Skipping this phase is the #1 reason for premature second failure:
Reconnect battery
Start engine (do NOT touch suspension controls yet)
Using compatible scanner, perform "Air Suspension Initialization" or "Ride Height Calibration"
Cycle suspension through 3–5 complete up/down movements
Monitor compressor current draw and temperature (live data)
Clear all fault codes and re-check after 50–100 km of driving
Most Common Post-Replacement Issues (and Fixes)
Even experienced owners encounter these situations:
Compressor runs but car stays low → reversed air lines or faulty valve block
Very slow raising → small leak (check corner air springs first)
"Air suspension deactivated" message persists → ride height sensors need full re-calibration
New compressor noisy → overtightened bolts or missing rubber mount
Runs 2–4 seconds then shuts off → major leak (usually torn air spring)
Longevity Tips for Your Freshly Installed Compressor
Want the replacement to outlive the car? Follow these practical habits:
Fix even tiny leaks immediately – one leaking corner kills compressors fast
Replace air dryer every 80–120k miles or every pump change
Keep wheel arch liners and underbody relatively clean
Never allow system to run bone-dry – this introduces massive contamination
Consider external pressure relief valve modification on high-mileage vehicles
A successful BMW air suspension compressor replacement combines mechanical skill with diagnostic understanding. When done properly, it restores factory ride quality and often becomes one of the most satisfying repairs you'll ever complete.
More from BMW
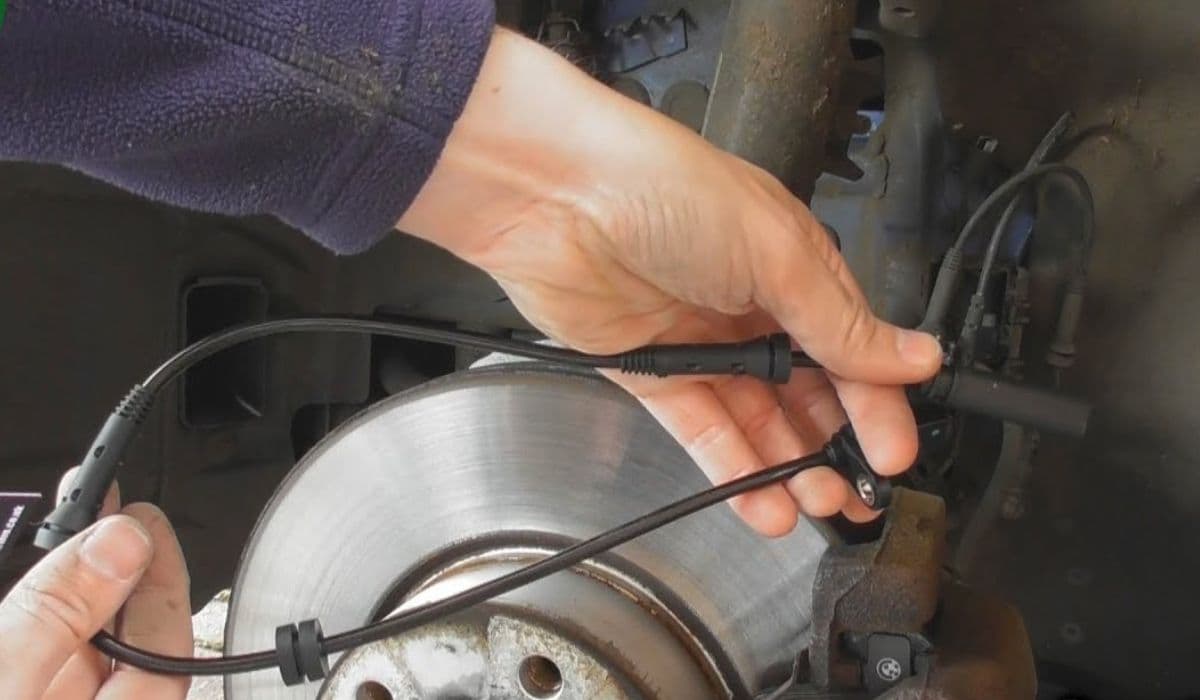
How to fix DSC/ABS wheel speed sensor faults BMW
13.12.2025 13:46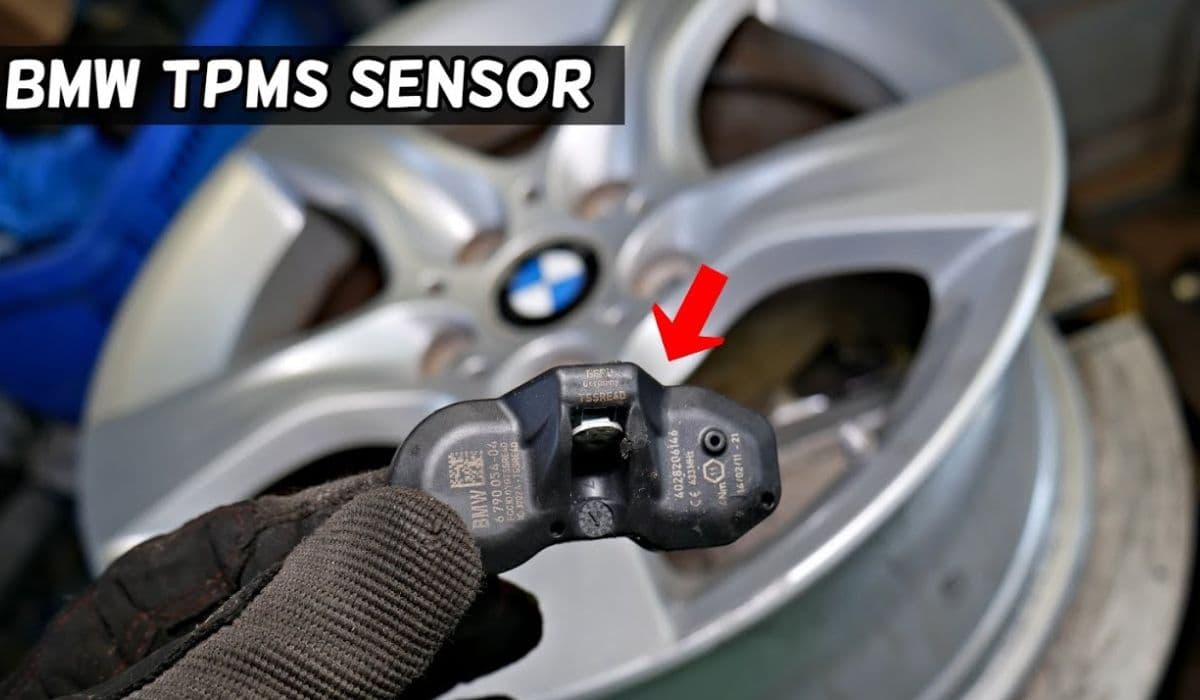
How to replace run-flat tires and reset TPMS BMW
13.12.2025 13:40
How to fix electronic steering rack clunk BMW
13.12.2025 13:35
How to fix crankcase ventilation (PCV) valve heater BMW
13.12.2025 13:13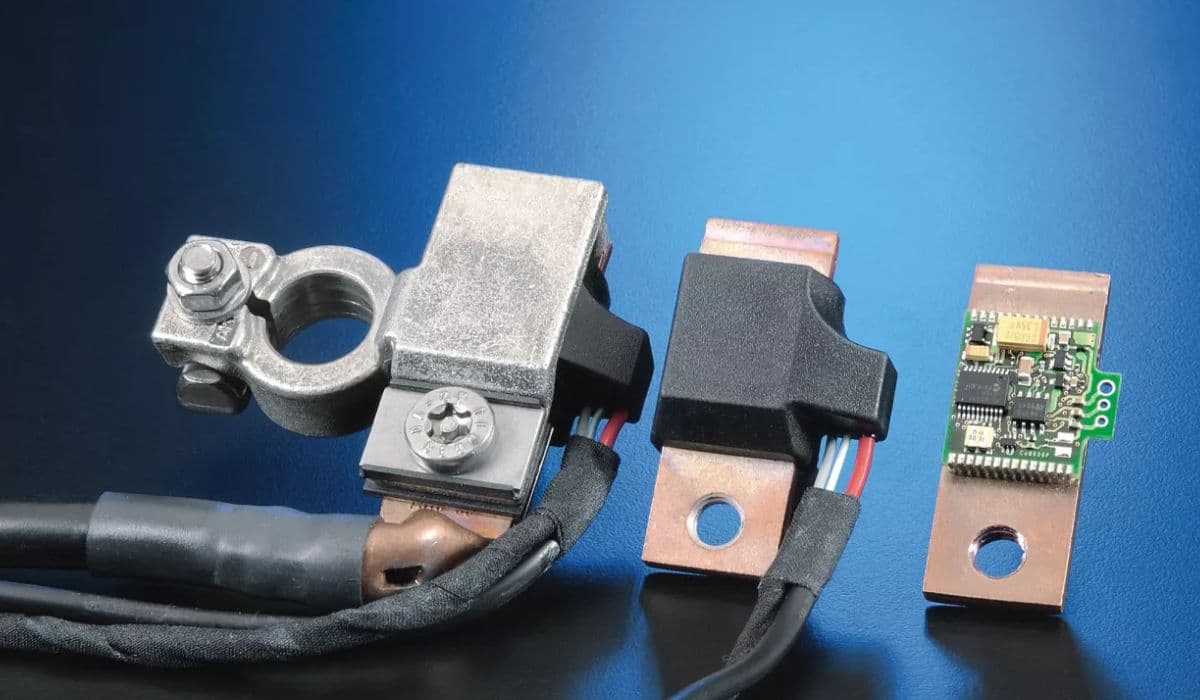
How to replace IBS battery sensor false errors BMW
13.12.2025 13:06