BMW: How to replace coolant hoses and expansion tank
Maintaining the cooling system in your BMW is essential for preventing overheating and ensuring long-term engine health. The expansion tank and its connected hoses play a critical role in managing coolant pressure and circulation. Over time, heat cycles cause plastic components to become brittle, leading to cracks, leaks, or sudden failures that can leave you stranded with steam billowing from under the hood.
Many BMW owners encounter issues with the expansion tank cracking at seams or hose connections, especially in models with inline-six engines. Hoses can swell, harden, or develop tiny splits that start as minor drips but escalate quickly. Addressing these proactively during routine maintenance can save significant hassle and protect your engine from damage.
Why Replace These Components Together
The expansion tank and coolant hoses work as an integrated system. When one fails, it often stresses the others. For instance, a cracked tank can cause pressure imbalances that accelerate hose degradation. Replacing them simultaneously allows for a thorough inspection of the entire setup, including clamps and sensors.
Common signs that replacement is needed include:
Visible cracks or white residue around the tank seams
Coolant stains under the vehicle or on engine components
Frequent low coolant warnings despite topping off
Sweet-smelling odors from evaporating coolant
Swollen or soft hoses when squeezed (with the engine cool)
Ignoring these can lead to rapid coolant loss during drives, triggering overheating and potential head gasket issues.
Tools and Materials You'll Need
Gather these items before starting to make the process smoother:
Flathead and Phillips screwdrivers
Pliers for hose clamps
Drain pan for catching coolant
Genuine BMW coolant (blue formula) mixed 50/50 with distilled water
New OEM or high-quality replacement expansion tank
Fresh coolant hoses (upper, lower, and any vent or recirculation lines specific to your model)
New hose clamps and O-rings where applicable
Rags, gloves, and safety glasses
Always work on a completely cool engine to avoid burns from pressurized hot coolant.
Preparing the Vehicle
Park on a level surface and let the engine cool for several hours. Place a large drain pan underneath the radiator and expansion tank area.
Begin by draining the system to minimize spills:
Open the bleed screw on the tank or radiator if present
Remove the lower radiator hose or use the radiator drain plug
Disconnect the tank's lower hose to empty it fully
Catch and dispose of old coolant responsibly—it's toxic to animals and the environment. Inspect the drained fluid for contamination, which might indicate deeper issues like oil mixing.
Removing the Old Expansion Tank
Access varies slightly by model, but the process is similar across many BMWs.
Start at the top:
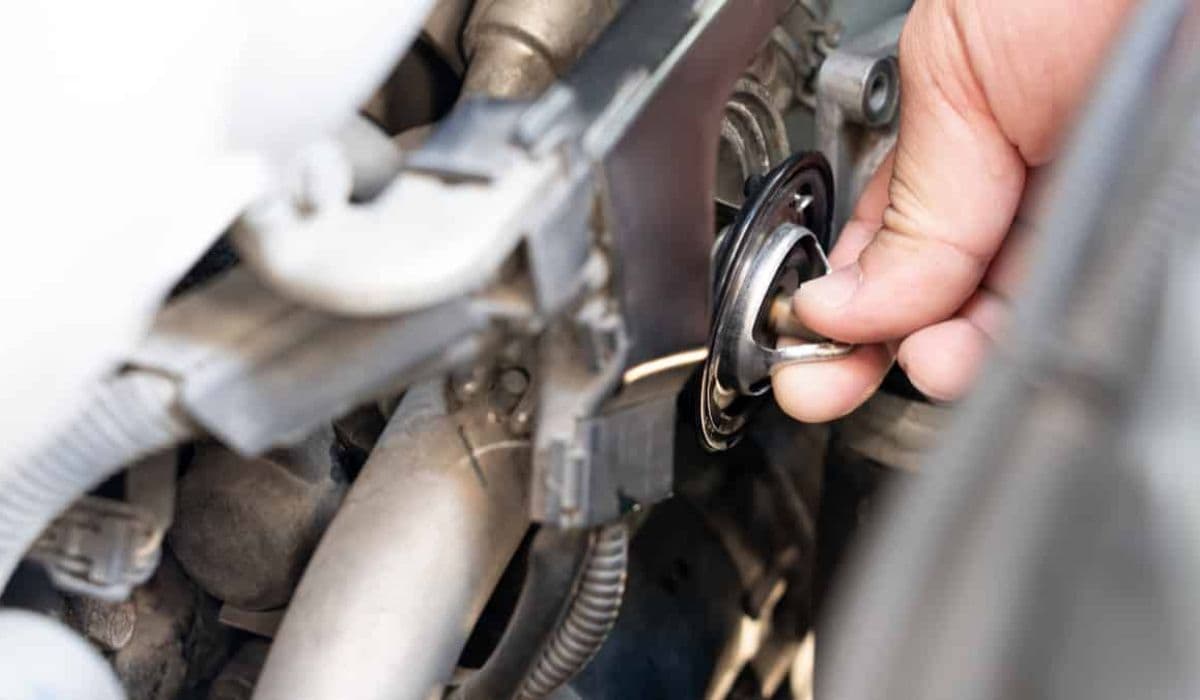
Pry up the quick-release clips on the upper hoses with a flathead screwdriver
Gently twist and pull hoses off the fittings—avoid forcing brittle plastic
Move to the bottom:
Disconnect the level sensor electrical connector by pressing the tab
Release any retaining clips or tabs holding the tank to its bracket
Lift the tank upward and out, tilting to drain residual fluid
Examine the old tank for cracks, especially around the neck and bottom seam. Note how hoses route for easier reassembly.
Replacing Coolant Hoses
With the tank removed, it's the perfect time to swap hoses.
Focus on common problem areas:
Upper and lower radiator hoses—release spring or screw clamps and pull off
Vent hose from radiator to tank—often a small line prone to cracking
Recirculation or return lines that clip into place
Tips for removal:
Use pliers to slide clamps back
Wiggle stuck hoses side-to-side rather than yanking
Clean fittings thoroughly to remove old residue
Inspect connections for corrosion. Lubricate new hose ends with a bit of fresh coolant for easier installation.
Installing the New Expansion Tank and Hoses
Work in reverse order for assembly.
First, seat new hoses:
Push firmly until they click or seat fully on barbs
Position clamps correctly, away from ends
Ensure vent lines are clipped securely along their paths
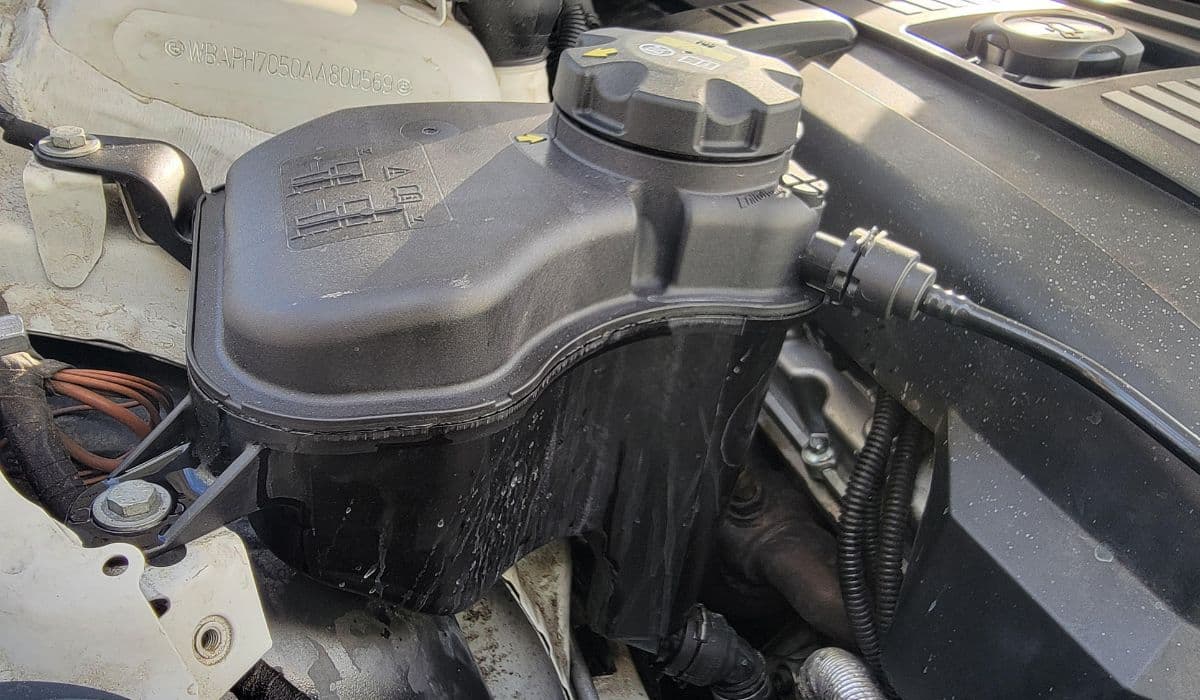
Mount the new tank:
Align with bracket and snap into place
Reconnect the level sensor plug
Attach all hoses, double-checking for twists
Transfer any reusable parts like the level sensor if your new tank doesn't include one. Use fresh O-rings on connections to prevent leaks.
Refilling and Bleeding the System
Refilling properly is key to avoiding air pockets that cause hot spots.
Fill the tank slowly to the max mark with the proper 50/50 mix
Run the engine with the heater on max and bleed screw open if equipped
Watch for bubbles and top off as level drops
Squeeze upper hoses gently to help dislodge air
Monitor temperature gauge and add coolant as needed
Some models benefit from elevating the front or running specific bleed cycles. Drive gently afterward, checking for leaks and re-topping once fully cool.
Regular checks post-replacement ensure everything seals correctly. A properly refreshed system runs cooler and more efficiently, giving peace of mind on long drives.
This maintenance task, while involving some mess, rewards with reliable performance and highlights why BMW engines thrive with attentive care.
More from BMW
How to fix rod knock in tuned BMW S55 engines
20.12.2025 11:41
How to replace high-pressure fuel pump BMW(HPFP)
20.12.2025 11:38
How to fix ADAS camera BMW calibration after windshield
20.12.2025 11:02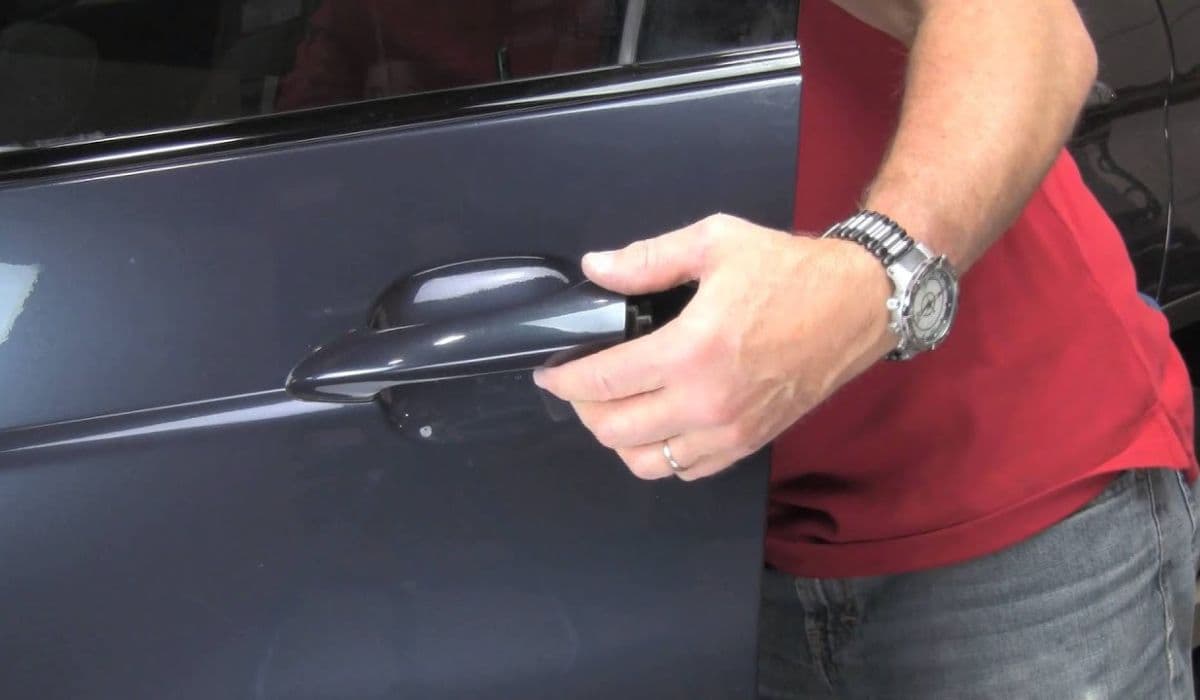
BMW: How to replace door handle carrier (interior melt)
20.12.2025 09:55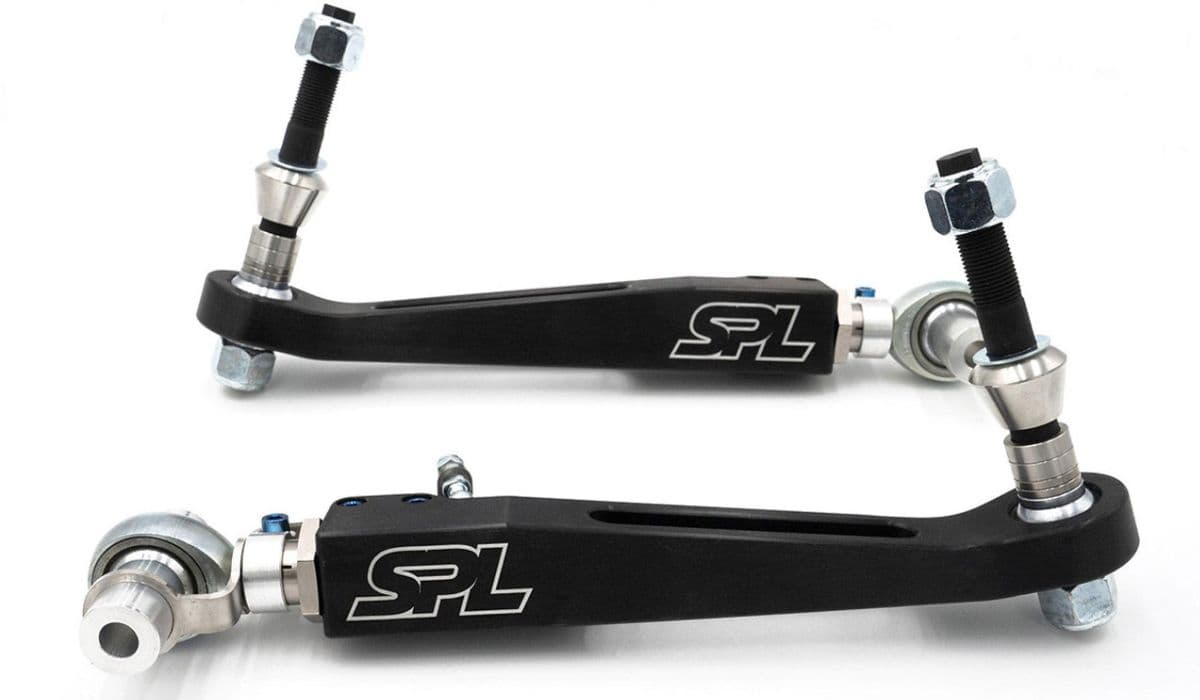
BMW: How to replace front lower control arms
20.12.2025 09:48