BMW: How to replace door handle carrier (interior melt)
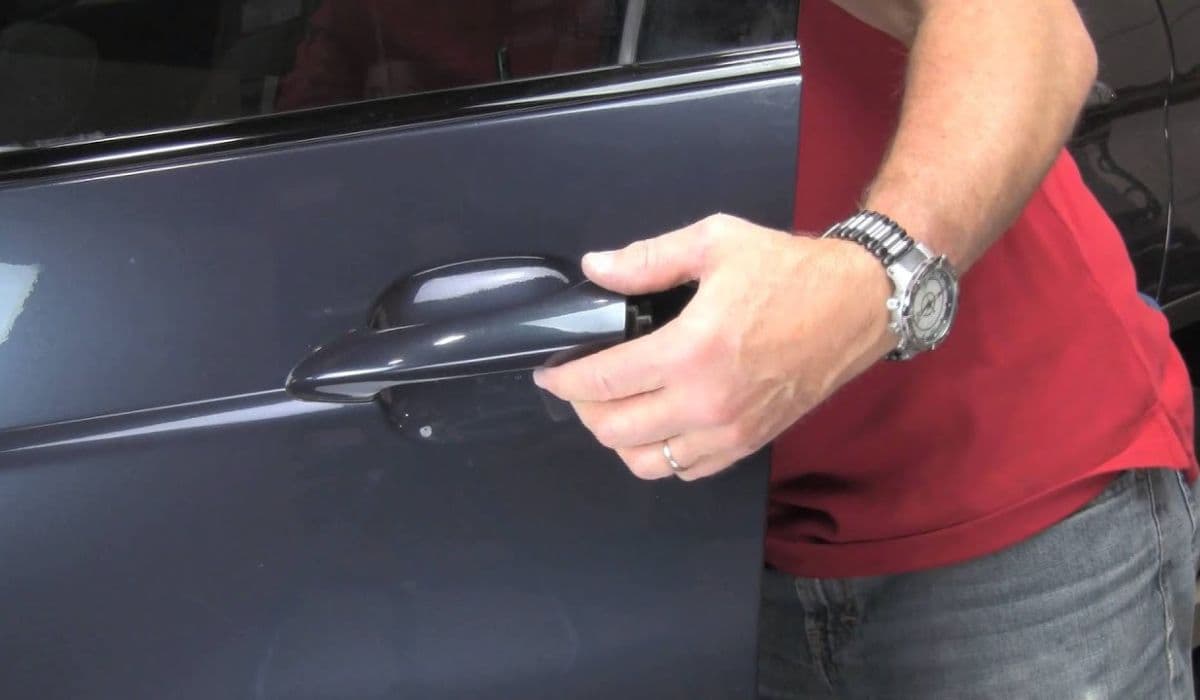
Many BMW owners encounter a frustrating issue where the interior door handle, particularly the pull section used to close the door, begins to feel sticky or appears to "melt." This degradation affects the soft-touch coating on the handle, turning it into a gooey residue that transfers to your hands. It's a widespread problem across various BMW models, often exacerbated by heat buildup inside the cabin or chemical interactions from everyday use.
The root cause lies in the material used for that premium soft feel—over time, it breaks down, leading to an unpleasant tactile experience. Fortunately, replacing the door handle carrier or the affected handle assembly is a manageable DIY project that restores the interior's clean, crisp feel. This guide walks you through the process in detail, helping you tackle it with confidence.
Understanding the Interior Door Handle Issue
The interior door handle in BMWs isn't just a simple grip; it's integrated into a carrier assembly that connects to the door's mechanisms. The "melt" phenomenon primarily affects the recessed pull handle, where fingers naturally rest to shut the door.
Common symptoms include:
A tacky or sticky surface that worsens in warm weather
Black residue wiping off onto skin or cloths
Progressive deterioration, sometimes leading to chunks peeling away
This isn't due to poor maintenance but rather the factory-applied coating reacting over time. It's especially noticeable on driver-side doors from frequent use. Addressing it early prevents further mess and keeps your BMW's cabin looking sharp.
Tools and Preparation
Before diving in, gather the right tools to make the job smoother and avoid damaging trim pieces. Working methodically is key—BMW interiors use delicate clips that can break if forced.
Essential tools:
Plastic trim removal tools (to pry without scratching)
Torx drivers (T20 and T25 commonly needed)
Phillips and flathead screwdrivers
Trim clip pliers (optional but helpful)
Flashlight or work light for visibility inside the door
Start by parking in a well-lit, shaded area. Disconnect the battery negative terminal if you're concerned about airbags or electronics, though it's often unnecessary for this task. Have a clean workspace to lay out removed parts in order—this prevents losing small screws or clips.
Removing the Door Panel
Accessing the handle carrier requires removing the interior door panel carefully. BMW panels are held by a combination of screws and push-in clips.
Step-by-step panel removal:
Pry off the trim cover behind the interior handle (use a plastic tool to avoid marks)
Unscrew any visible Torx or Phillips screws underneath
Remove the door pull pocket screw if present
Gently pry the panel starting from the bottom edge, working upward
Lift the panel upward to release it from the window channel
Disconnect electrical harnesses (window switches, speakers, etc.) by pressing release tabs
Once off, peel back the vapor barrier cautiously—it's adhesive and protects against moisture. Set it aside without tearing. Now you have clear access to the handle assembly.
Diagnosing and Removing the Faulty Handle Carrier
With the panel removed, inspect the interior handle mechanism. The carrier is the structural part that houses the pull handle and connects cables or linkages.
Key inspection points:
Check for sticky residue on the pull area
Test the handle action for smoothness
Look for cracked plastic or detached components
To remove:
Disconnect any Bowden cables by releasing clips (note their routing for reinstallation)
Unscrew mounting bolts or Torx fasteners holding the carrier
Maneuver the assembly out through the door cavity—patience is crucial here
In some cases, lower the window or detach regulator arms for extra space
The old carrier often shows clear signs of coating failure. Clean any residue from surrounding areas with isopropyl alcohol on a microfiber cloth for a fresh start.
Installing the New Door Handle Carrier
Replacement carriers are available in matching interior colors. Opt for quality parts that resist future degradation—many aftermarket options use more durable materials.
Installation tips:
Transfer any reusable components (like cables) to the new carrier
Route cables exactly as original to ensure proper function
Secure with original fasteners, tightening evenly
Test the handle operation multiple times before full assembly
Reattach the vapor barrier, ensuring seals are intact. Plug in all electrical connectors firmly.
Reassembling the Door Panel
Putting everything back is the reverse of removal, but take extra care with alignment.
Reassembly steps:
Hang the panel on the window channel first
Press firmly around edges to seat clips (listen for pops)
Reinstall all screws and trim pieces
Test windows, locks, and handles thoroughly
If clips broke during removal, replace them—they're inexpensive and prevent rattles later.
Tips for Longevity and Prevention
After replacement, your interior will feel brand new. To extend the life of the new parts:
Avoid harsh chemical cleaners on handles
Park in shade when possible to minimize heat exposure
Use microfiber cloths for regular dusting
Consider protective covers if the issue recurs frequently
This repair not only fixes the annoyance but enhances the driving experience in your BMW. With practice, it becomes a straightforward task that saves time and keeps your vehicle in top condition.
More from BMW
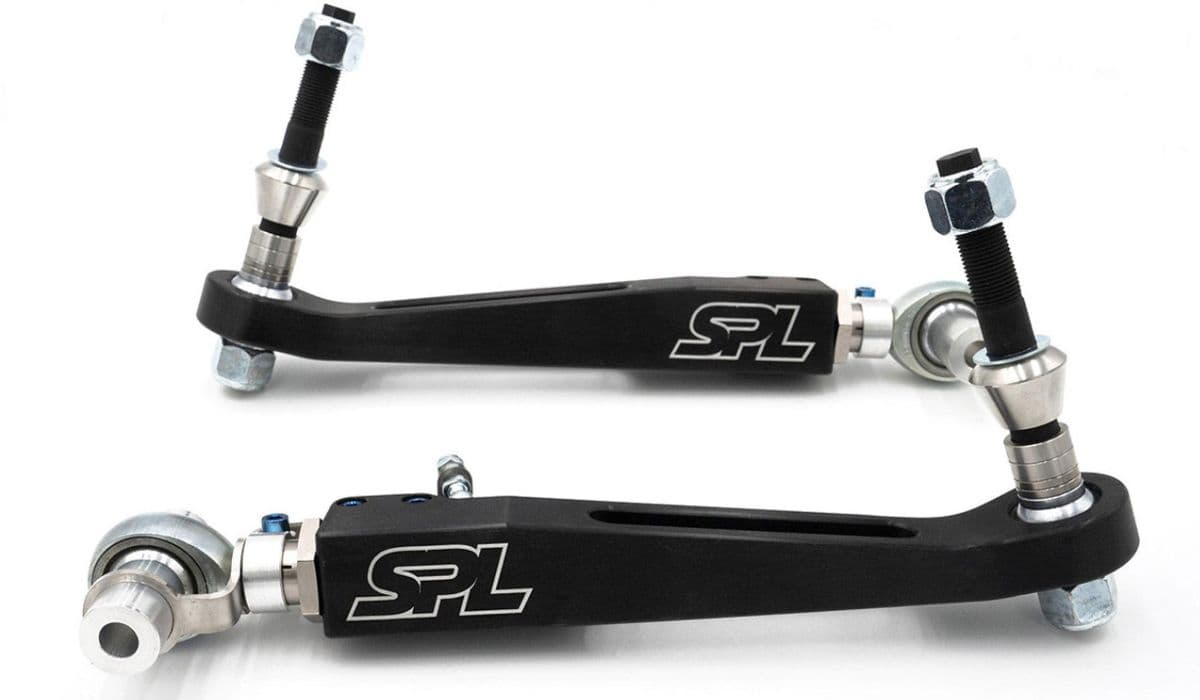
BMW: How to replace front lower control arms
20.12.2025 09:48
How to fix infotainment curved display glitches BMW
20.12.2025 09:44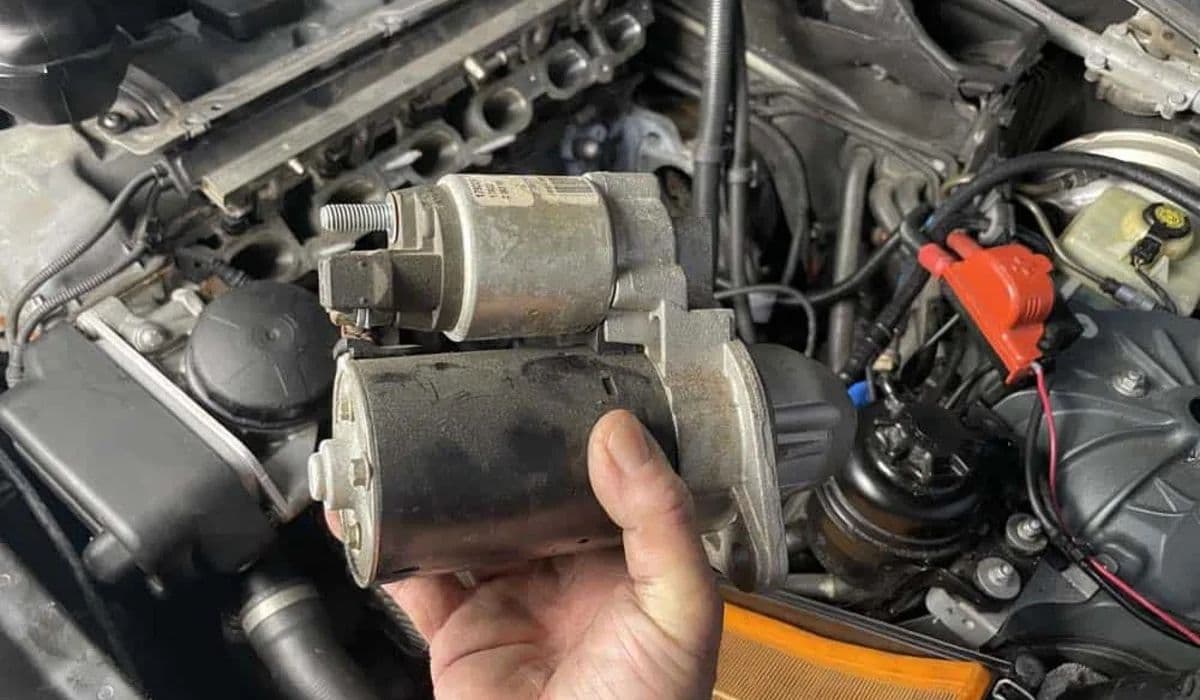
BMW: How to replace starter motor (fire risk recall)
20.12.2025 09:41
How to fix transfer case failure (BMW X5 common 9K repair)
20.12.2025 09:38
How to fix overheating from faulty thermostat housing BMW
20.12.2025 06:51