BMW: How to replace front lower control arms
The front lower control arms play a crucial role in your BMW's suspension system, connecting the wheel hub to the chassis while managing forces during acceleration, braking, and cornering. These components endure significant stress over time, leading to wear in the integrated ball joints and bushings. Replacing them can dramatically restore precise handling, eliminate annoying vibrations, and bring back that signature BMW driving feel—sharp, responsive, and planted on the road.
Whether you're tackling potholes in the city or carving through winding roads, worn control arms diminish the experience, making the car feel vague or unsteady. A DIY replacement is a rewarding project for enthusiasts, allowing you to refresh the front end and rediscover the joy of driving.
Signs of Worn Front Lower Control Arms
Identifying issues early can prevent further damage to tires or other suspension parts. Common indicators include:
Vibrations felt through the steering wheel, especially during braking or at higher speeds.
Clunking or knocking noises when going over bumps or uneven surfaces.
Uneven tire wear, often on the inner or outer edges.
Loose or wandering steering, where the car doesn't track straight.
A pulling sensation to one side when applying brakes.
Creaking sounds during low-speed turns, like parking maneuvers.
If you notice these, inspect the arms visually for cracked bushings, leaking fluid (in hydraulic types), or excessive play in the ball joints. Jack up the front end safely and check for movement by shaking the wheel side-to-side.
Tools and Preparation
This job requires basic to intermediate mechanical skills and a safe workspace. Always prioritize safety—work on a level surface and use proper supports.
Essential tools include:
Floor jack and jack stands (never rely on the jack alone).
Socket set with extensions, including 18mm, 21mm, and 22mm sizes.
Torque wrench for precise tightening.
Ball joint separator tool (pickle fork or dedicated puller).
Hammer and pry bar for stubborn components.
Wire brush and penetrating oil for rusted fasteners.
Allen keys or Torx bits, depending on your model.
Preparation tips:
Park on flat ground and chock the rear wheels.
Loosen lug nuts before lifting.
Spray bolts with penetrating oil a day ahead if rust is present.
Work on one side at a time for reference.
Replace both sides simultaneously for balanced handling.
Step-by-Step Removal Process
Begin by safely raising the front of the vehicle and removing the wheels for full access.
Support the vehicle securely on jack stands at reinforced points.
Remove the front wheels to expose the suspension.
Locate the lower control arm: it's the wishbone-shaped component linking the steering knuckle to the subframe.
Disconnect the sway bar end link if it interferes (usually a 16mm or 18mm nut).
Loosen the outer ball joint nut at the steering knuckle (typically 22mm)—do not remove fully yet.
Use the ball joint separator to pop the joint free; a few sharp hammer taps may help if stuck.
Fully remove the ball joint nut once separated.
Support the knuckle with a jack or bungee to avoid straining brake lines.
Remove the inner bushing bolts attaching the arm to the subframe (often two large bolts).
Maneuver the arm out—patience is key, as it may require twisting or prying gently.
Clean mounting points with a wire brush while the arm is out.
Installation of New Control Arms
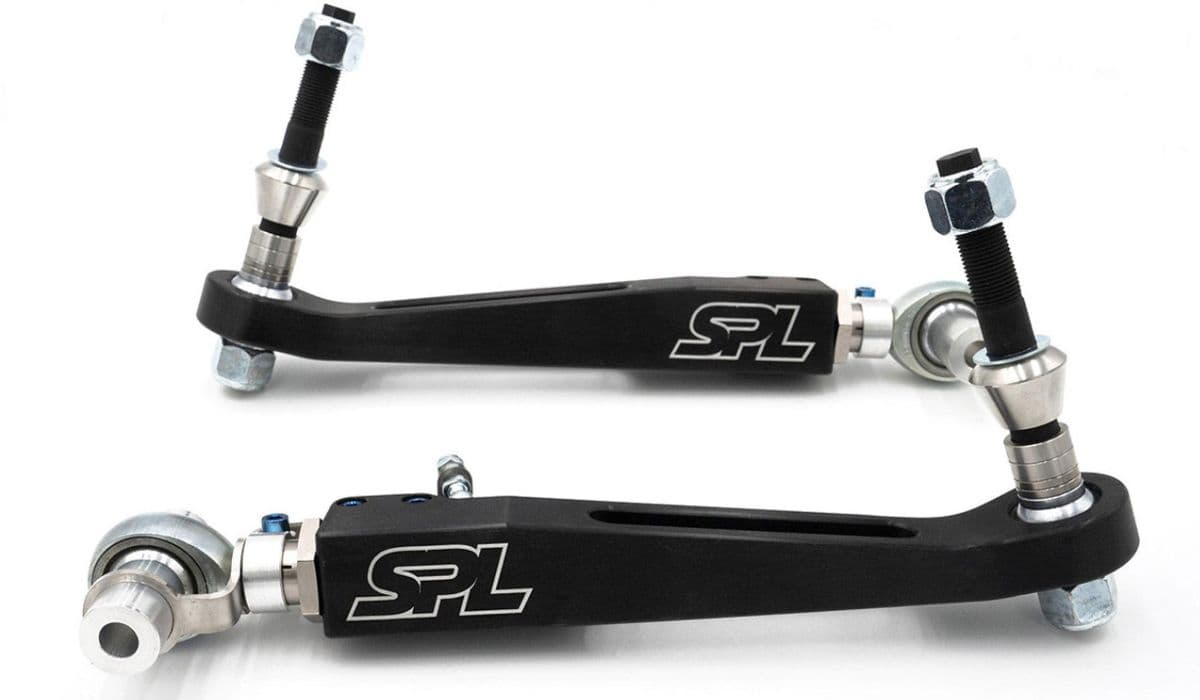
Opt for quality replacement arms with pre-installed bushings and ball joints for simplicity.
Position the new arm, aligning the inner bushing with subframe mounts.
Hand-thread the inner bolts to hold it in place.
Insert the outer ball joint into the steering knuckle.
Install and finger-tighten the ball joint nut.
Reconnect any sway bar links.
Torque specifications vary by model, so consult reliable sources—generally, ball joint nuts require high torque, often with an additional turn angle.
Crucial step: Final torque the inner bushing bolts with the suspension loaded (wheels on the ground or simulated ride height) to prevent premature bushing wear.
Reinstall wheels and lower the vehicle carefully.
Post-Replacement Essentials
After reinstalling everything:
Roll the car back and forth to settle the suspension.
A professional wheel alignment is mandatory—new arms alter geometry, affecting tire life and handling.
Test drive at low speeds first, checking for noises or pulls.
Monitor for the first few hundred miles as components bed in.
This refresh not only fixes issues but enhances overall dynamics, making every drive more engaging. With proper care, new arms can deliver years of reliable performance.
More from BMW

How to fix infotainment curved display glitches BMW
20.12.2025 09:44
BMW: How to replace starter motor (fire risk recall)
20.12.2025 09:41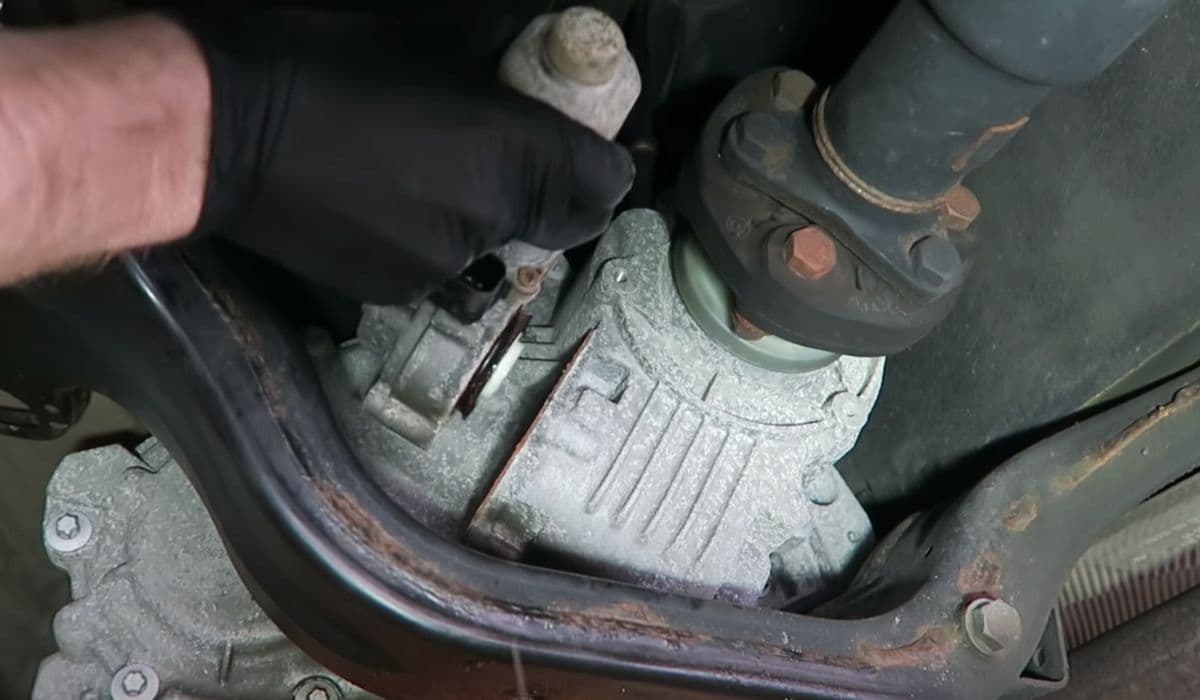
How to fix transfer case failure (BMW X5 common 9K repair)
20.12.2025 09:38
How to replace brittle plastic radiator sensor BMW
20.12.2025 09:10
How to fix dash delamination from weak glue BMW
20.12.2025 09:09