How to replace brittle plastic radiator sensor BMW
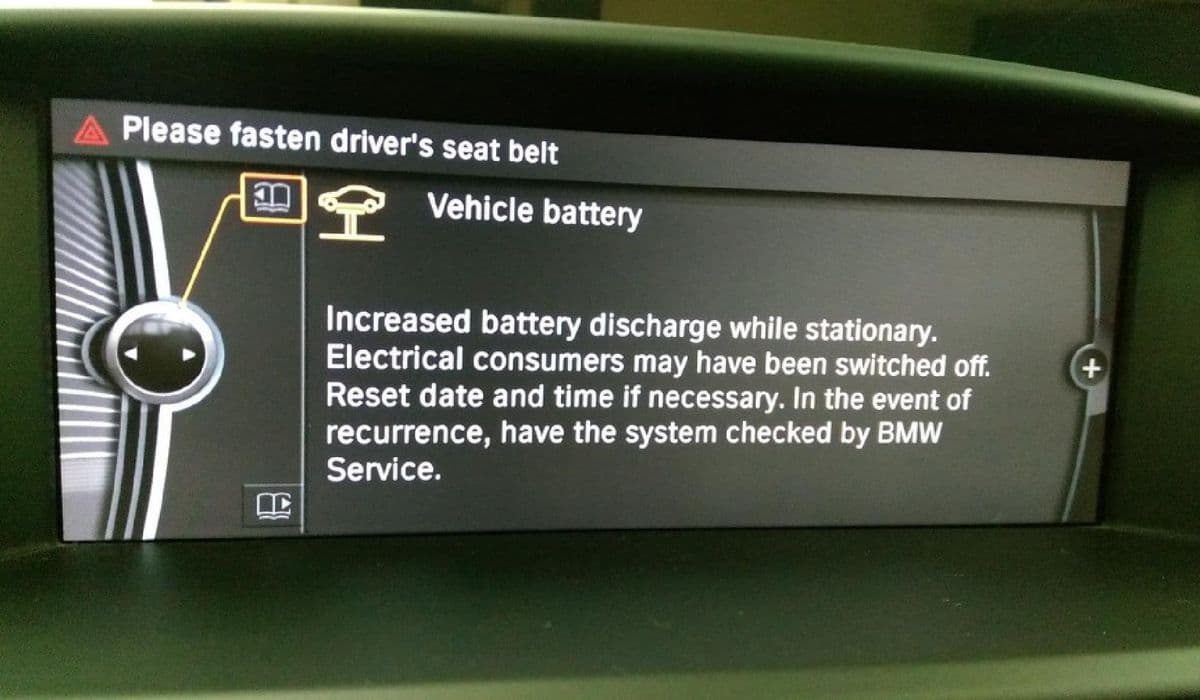
BMW owners often encounter issues with the cooling system, particularly the plastic components that monitor coolant levels and temperatures. One common culprit is the brittle plastic sensor associated with the radiator or expansion tank. Over time, heat cycles and exposure to coolant cause these plastic parts to degrade, becoming fragile and prone to cracking. This can trigger persistent low coolant warnings on the dashboard, even when levels are adequate, or lead to minor leaks that are hard to trace. Addressing a failing sensor promptly prevents bigger problems like overheating or unexpected coolant loss during drives.
The sensor in question is typically the coolant level sensor mounted at the bottom of the expansion tank, or in some models, a temperature sensor integrated into the lower radiator hose. Both are made of plastic that hardens and brittles with age, making removal tricky without breakage. Ignoring these warnings risks engine damage, as the system relies on accurate readings to manage fan operation and alert drivers to potential issues.
Understanding the Common Failures
Plastic degradation in BMW cooling systems is a widespread concern across various models. The expansion tank's coolant level sensor uses a magnetic reed switch activated by a floating magnet inside the tank. When coolant drops, the magnet moves away, triggering the warning light. However, as the plastic housing ages, it can crack around the sensor mounting point, or the sensor itself fails to read properly due to internal wear.
Similarly, the radiator outlet temperature sensor, often plugged into the lower radiator hose, monitors coolant exiting the radiator to control the electric fan. Its O-ring seal dries out, and the plastic tabs become brittle, leading to leaks or faulty signals. Drivers might notice intermittent dashboard alerts, slight coolant drips under the vehicle, or the cooling fan behaving erratically.
These issues stem from the material's limitations—engine bay heat accelerates brittleness, causing hairline fractures that worsen over time. Early detection involves checking for dampness around the expansion tank base or hose connections during routine maintenance.
Tools and Preparation Tips
Replacing these sensors is a straightforward DIY task for most BMW enthusiasts, requiring minimal tools and no full system drain in many cases. Always work on a cold engine to avoid burns or pressure-related spills.
Essential items include:
Flathead and Phillips screwdrivers for clips and shrouds
Pliers for gentle hose manipulation
A drain pan to catch any dripping coolant
Clean rags and gloves for handling fluids
A new genuine or high-quality replacement sensor with intact O-ring
Park on a level surface, open the expansion tank cap to release pressure (only when cold), and disconnect the battery negative terminal for safety if working near electrical components. Inspect surrounding plastics carefully—brittle parts nearby might need preventive replacement to avoid future headaches.
Step-by-Step Removal Process
Begin by accessing the sensor location. For the coolant level sensor in the expansion tank:
Locate the electrical connector at the tank's bottom and gently press the release tab to unplug it.
The sensor twists into place with a bayonet-style mount. Surprisingly, it often unlocks by rotating clockwise (quarter turn) rather than the usual counterclockwise—test gently to confirm direction.
Once unlocked, pull straight down. Have a rag ready, as minimal coolant may drip since the sensor sits in a dry compartment separated from the main fluid.
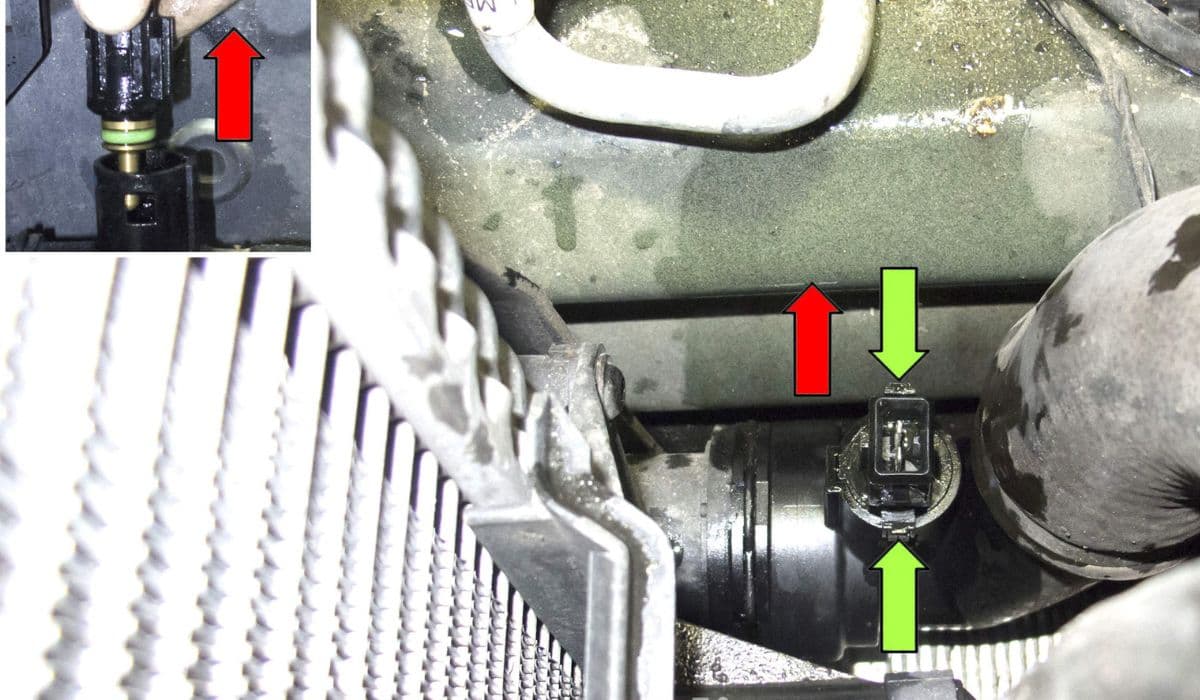
For the radiator outlet temperature sensor in the lower hose:
Remove any obstructing panels, like the fan shroud or air intake duct, using basic fasteners.
Unplug the electrical connector by sliding or pressing the locking clip.
Squeeze the plastic locking tabs on either side of the sensor body—these are notoriously brittle, so apply even pressure to avoid snapping them.
Pull the sensor upward or outward from the hose fitting. Expect some coolant flow here, as it's directly in the system path—act quickly with the new part.
In both cases, if tabs or mounts break due to brittleness, it's common; the new sensor will secure properly regardless.
Installation of the New Sensor
Preparation is key for a leak-free fit. Lubricate the new sensor's O-ring generously with fresh coolant—this eases insertion and ensures a proper seal without damage.
For the level sensor:
Align the new unit with the tank's mounting slot.
Push in firmly, then twist counterclockwise (or opposite the removal direction) until it locks with a click.
For the temperature sensor:
Insert into the hose bung until the locking tabs fully engage—listen for the audible snap.
Reconnect the electrical plug securely.
Reattach any removed components, like shrouds or ducts. Top up coolant if needed, using the recommended BMW-spec mixture.
Bleeding the System and Testing
After installation, proper bleeding removes trapped air that could cause hot spots or false readings.
Fill the expansion tank to the marked level.
With the engine off but ignition on, set the heater to maximum and fan to low—this activates the electric pump in many models.
Some procedures involve pressing the accelerator briefly to initiate a bleed cycle.
Run the engine to operating temperature, monitoring for leaks and ensuring the warning light stays off.
Drive gently and recheck levels after cooling. The new sensor should provide reliable readings, eliminating erratic warnings.
This replacement restores peace of mind, allowing focus on enjoyable drives rather than dashboard alerts. Handling brittle plastics with care during the process often reveals other aging components worth addressing proactively.
More from BMW
How to fix high-voltage battery shutdown (BMW i4/iX recall)
14.12.2025 14:38
How to replace starter-generator connection BMW
14.12.2025 11:51
How to fix panoramic roof noise or leaks BMW
14.12.2025 07:56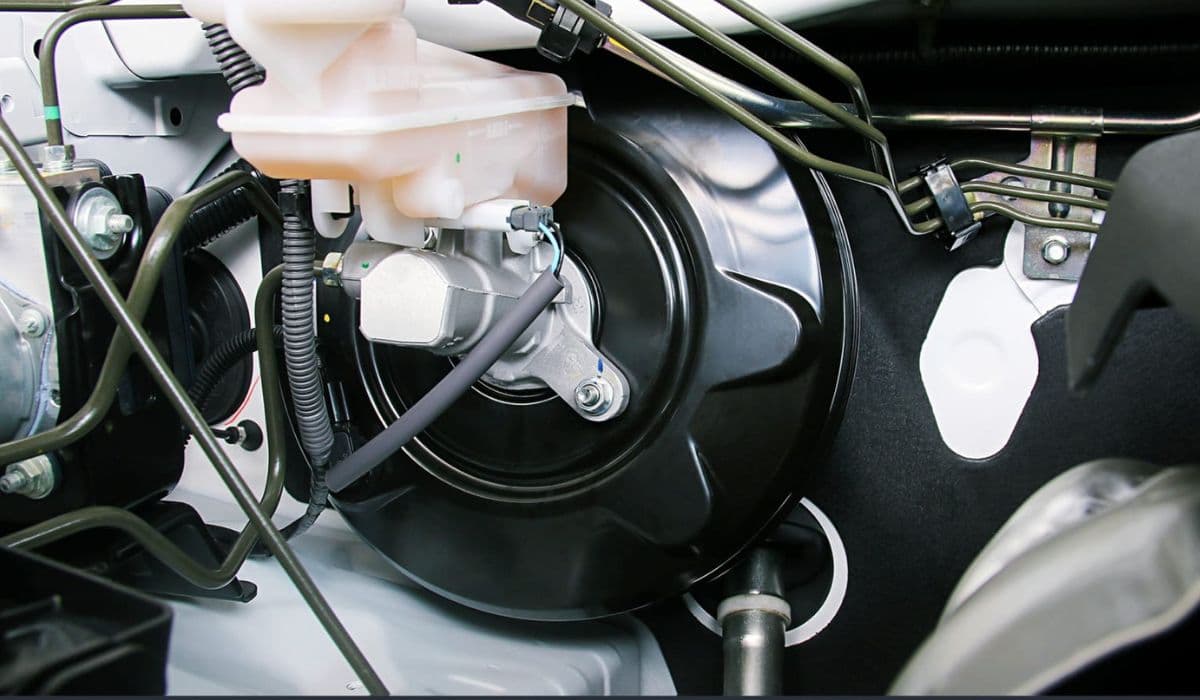
How to fix brake booster vacuum issues BMW
14.12.2025 06:06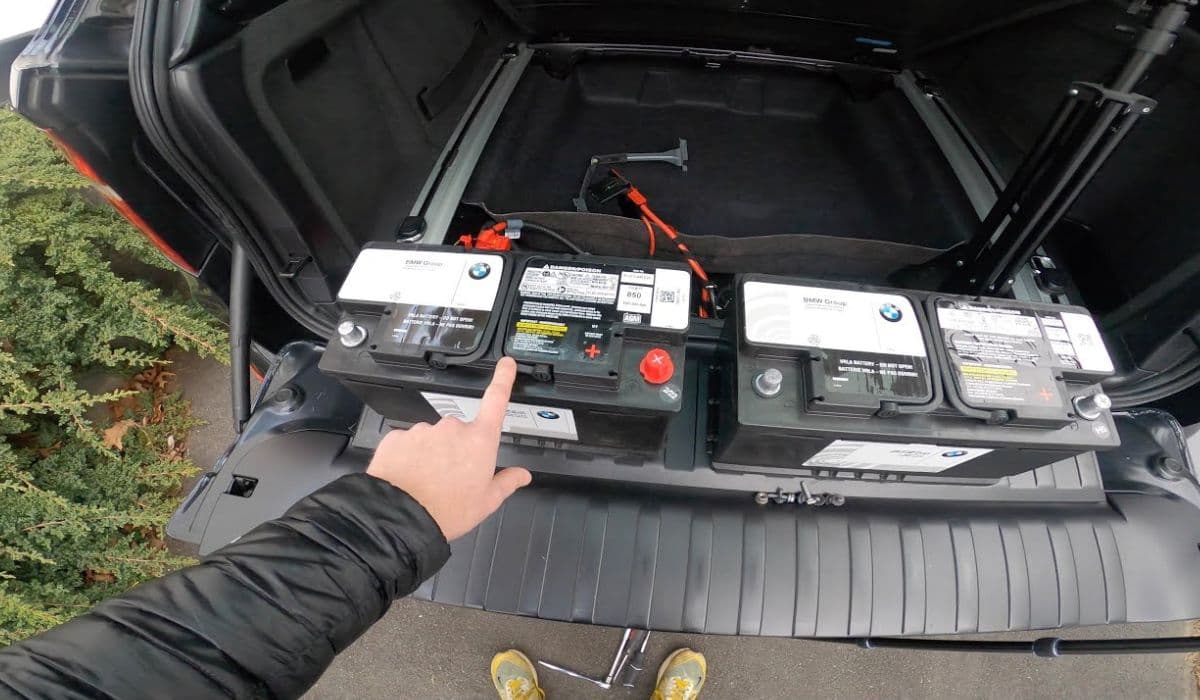
How to replace 12V battery and register it (2025 BMW X5/iX issues)
14.12.2025 03:36