BMW How to replace valve stem seals without head removal
Valve stem seals play a critical role in BMW engines, controlling the precise amount of oil that lubricates the valve guides while preventing excess oil from entering the combustion chamber. Over time, these seals harden and crack, leading to common issues like blue smoke on startup or during deceleration. This problem is particularly prevalent in BMW's inline-six and V8 engines, where worn seals cause noticeable oil consumption without affecting compression readings.
The traditional repair involves removing the cylinder head, a labor-intensive process. However, experienced mechanics and DIY enthusiasts have refined techniques to replace these seals with the head still on the engine. This approach requires precision, the right tools, and careful execution to avoid complications. When done correctly, it restores engine efficiency and eliminates smoke, making it a rewarding project for those comfortable with advanced engine work.
Understanding Valve Stem Seal Failure in BMW Engines
BMW engines, known for their smooth performance and high-revving nature, rely on durable valve stem seals to maintain proper oil flow. These small components sit atop the valve guides, allowing a thin film of oil to lubricate the stems while blocking surplus oil from seeping into the cylinders.
Symptoms of failing seals often appear gradually:
Blue smoke puffing from the exhaust on cold starts, as oil pooled overnight burns off.
Smoke during overrun or engine braking, when vacuum pulls oil past the seals.
Increased oil usage, sometimes a quart every few thousand miles, despite no external leaks.
Fouled spark plugs with oily deposits, particularly on certain cylinders.
Unlike worn piston rings, which cause constant smoke and low compression, bad valve stem seals typically preserve strong compression and leakdown test results. This makes on-car replacement viable, as the engine's core integrity remains intact.
Advantages and Potential Challenges
Performing this repair without head removal offers several benefits for BMW owners. It avoids disturbing the head gasket, timing chain, and other components that could introduce new issues. The process also allows inspection of related parts like hydraulic lifters or camshafts while access is open.
That said, it's not a beginner-friendly task. Key challenges include:
Maintaining valve position to prevent them from dropping into the cylinder.
Working in tight spaces around the valvetrain.
Ensuring precise reassembly to avoid damaging keepers or springs.
If valve guides are excessively worn—detectable by lateral valve movement when springs are compressed—the new seals may fail prematurely. In such cases, a full head rebuild becomes necessary. Always diagnose thoroughly first.
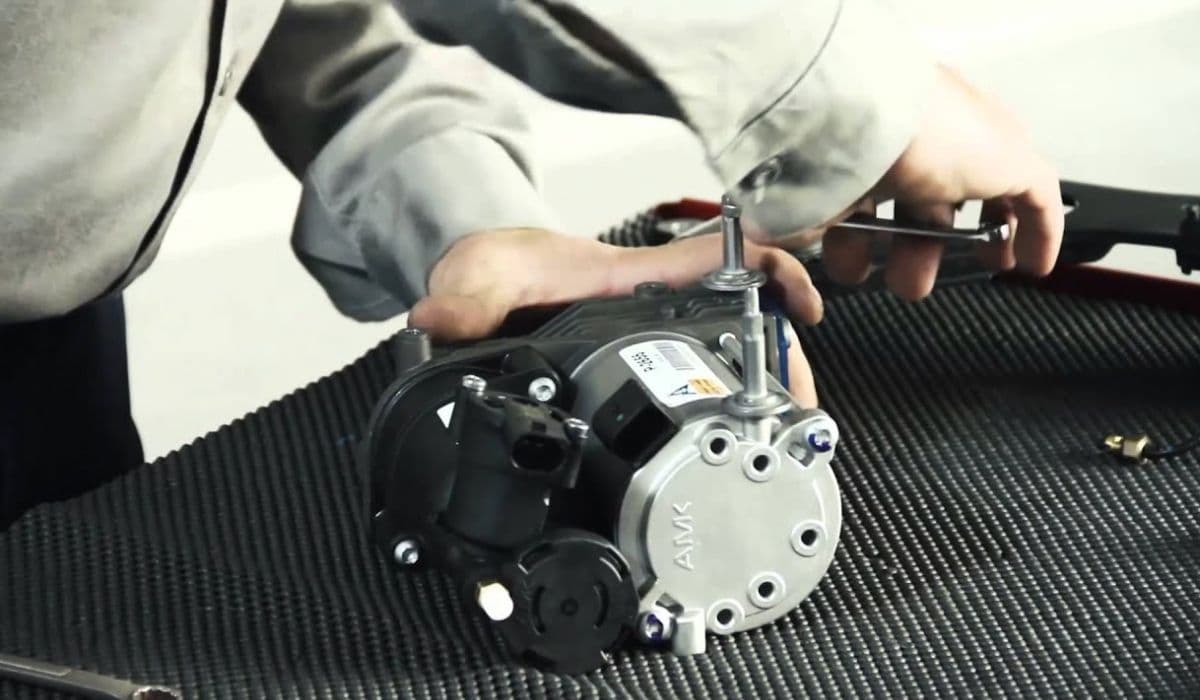
Essential Tools for the Job
Success hinges on having specialized tools tailored for overhead cam BMW engines. Generic kits may not fit properly.
Recommended tools include:
A valve spring compressor designed for on-head use, often lever-style or overhead models compatible with BMW layouts.
Compressed air adapter for spark plug holes (preferred method) or soft nylon rope as an alternative.
Magnetic keeper removal tool and long-reach magnet for retrieving small parts.
Valve stem seal pliers for gentle removal and installation.
Torque wrench, cam locking tools, and basic sockets for valvetrain disassembly.
Plastic sleeves to protect new seals during installation.
Quality OEM or aftermarket seals, like Viton variants for better heat resistance, ensure longevity.
Preparation Steps
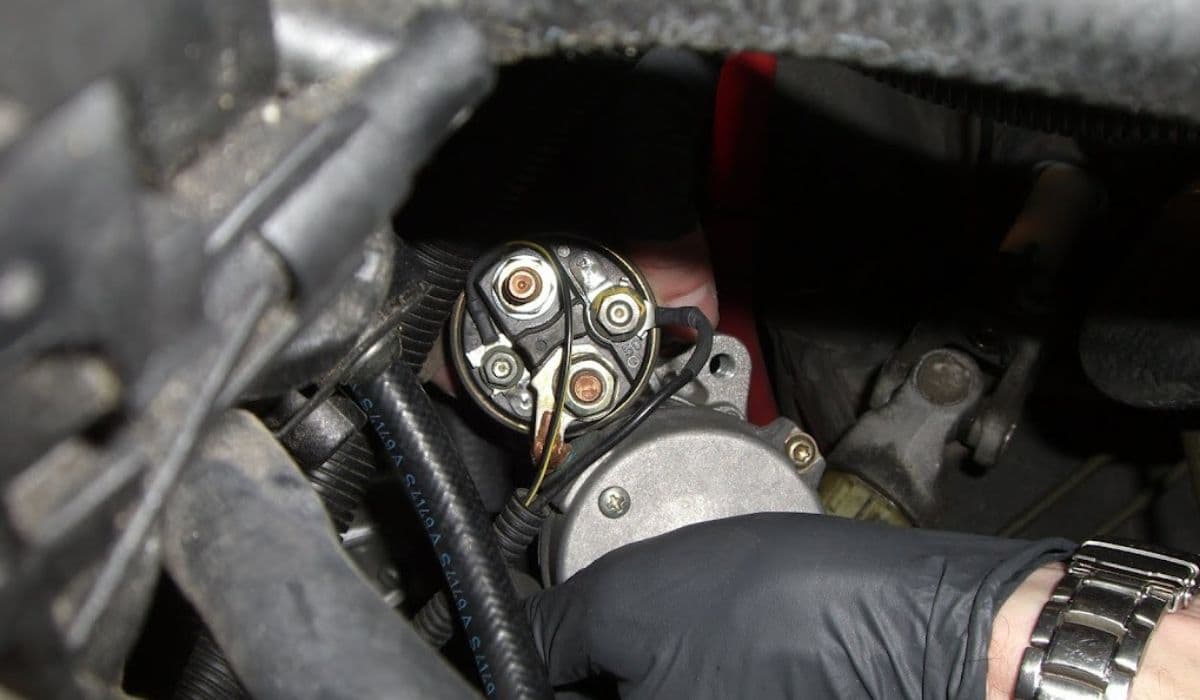
Start with the engine cold and the vehicle safely supported. Disconnect the battery and remove ignition coils, spark plugs, and the valve cover. Carefully disconnect VANOS solenoids and wiring harnesses on applicable models.
For inline-six engines like the M54 or N52:
Lock the crankshaft at TDC using timing pins.
Remove camshafts after marking their positions and releasing chain tension.
Extract hydraulic bucket lifters, labeling them for reinstallation.
V8 models follow similar steps but require more access on both banks. Clean the area meticulously to prevent debris from entering open valves.
Holding the Valves in Place
The critical step is preventing valves from falling into the cylinder once springs are compressed.
Two reliable methods:
Compressed air method: Thread an adapter into the spark plug hole and supply regulated air (around 100 psi) to pressurize the cylinder with the piston at TDC. This holds both valves firmly seated.
Rope method: Rotate the piston to bottom dead center, feed soft rope through the spark plug hole, then turn the crank to compress the rope against the piston top. Leave a tail for easy removal.
The air method is cleaner and more consistent, especially for multiple cylinders.
Removing and Installing the Seals
With the cylinder secured and lifter removed:
Compress the valve spring using the specialized tool.
Carefully extract the keepers with a magnetic picker—work slowly to avoid launching them.
Release the compressor, remove the retainer and spring.
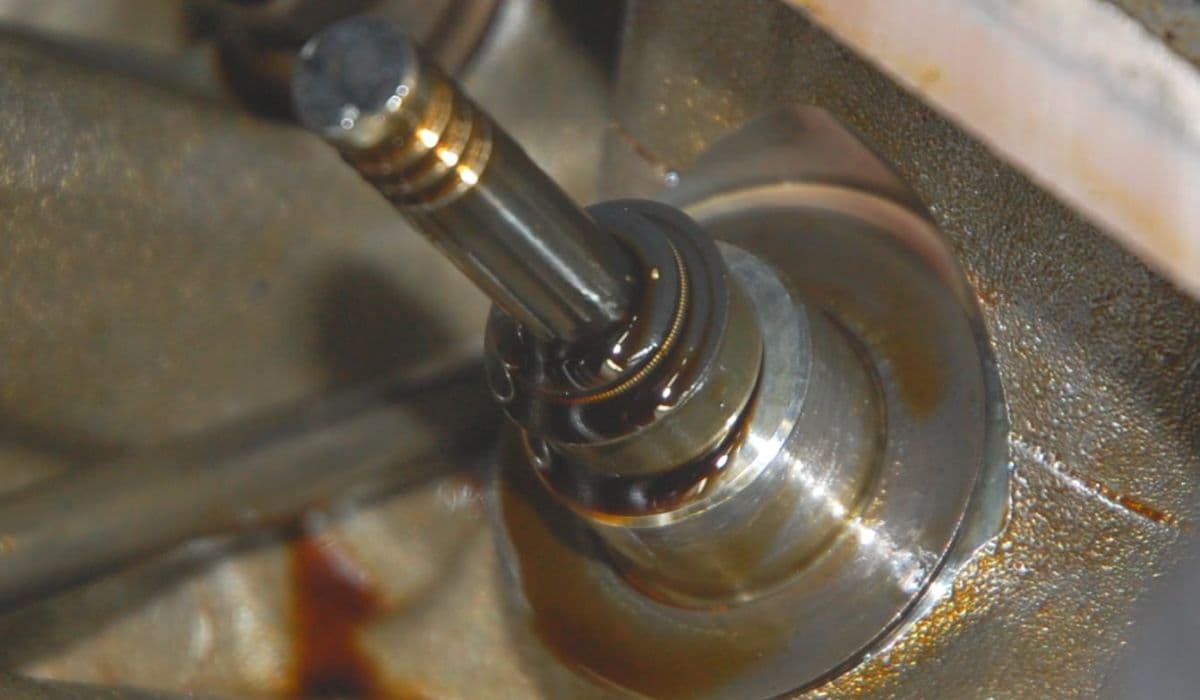
Grip the old seal with pliers and twist/pull it off without scratching the guide or stem.
For installation:
Slide a protective sleeve over the valve tip.
Lubricate the new seal lightly with oil.
Push it firmly onto the guide until seated—use a deep socket if needed for even pressure.
Reassemble the spring, retainer, and keepers, ensuring they lock securely.
Repeat for each valve, rotating the engine to bring cylinders to TDC one by one.
Reassembly and Testing
Once all seals are replaced:
Reinstall lifters, camshafts, and timing components with precise torque specs.
Replace the valve cover gasket and reassemble accessories.
Add fresh oil, reconnect the battery, and start the engine.
Monitor for smoke over the next few drives. Initial light smoke may occur as residual oil burns off, but it should clear quickly. Check for proper operation and any unusual noises.
This on-car method demands patience and attention to detail, but it effectively addresses one of the most common BMW engine ailments. Mastering it keeps your Ultimate Driving Machine running cleanly for miles to come.
More from BMW
How to fix starter-generator loose connection BMW
19.12.2025 16:00
How to fix high-voltage battery shutdown (BMW i4/iX recall)
14.12.2025 14:38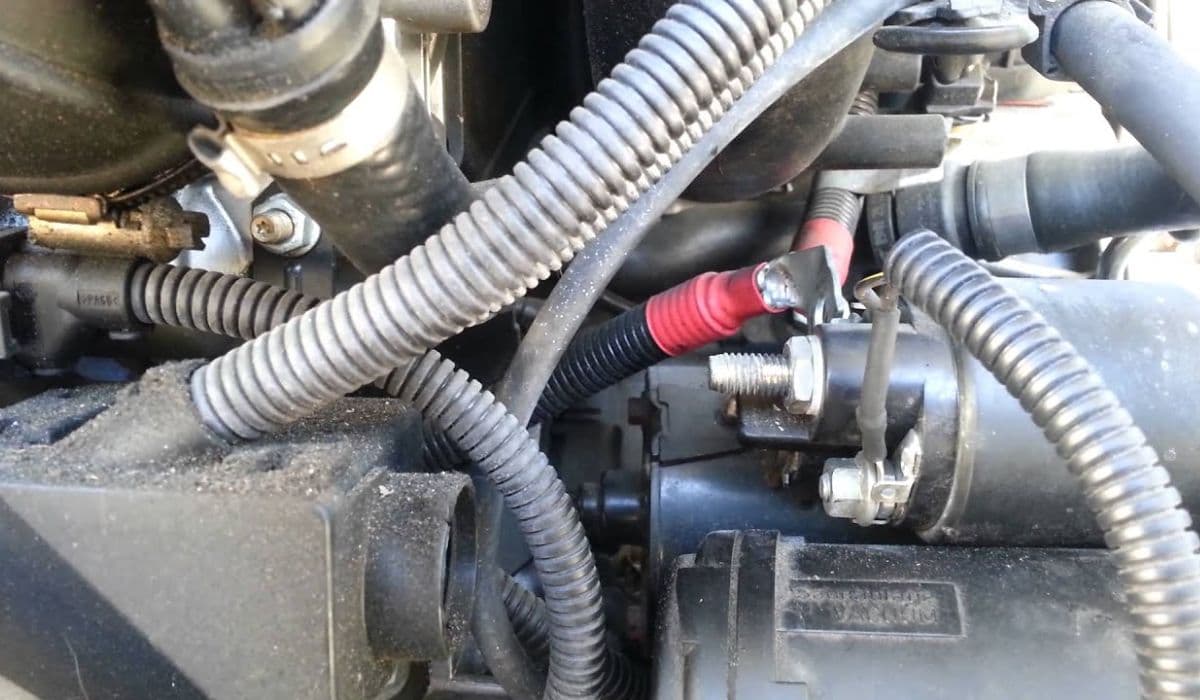
How to replace starter-generator connection BMW
14.12.2025 11:51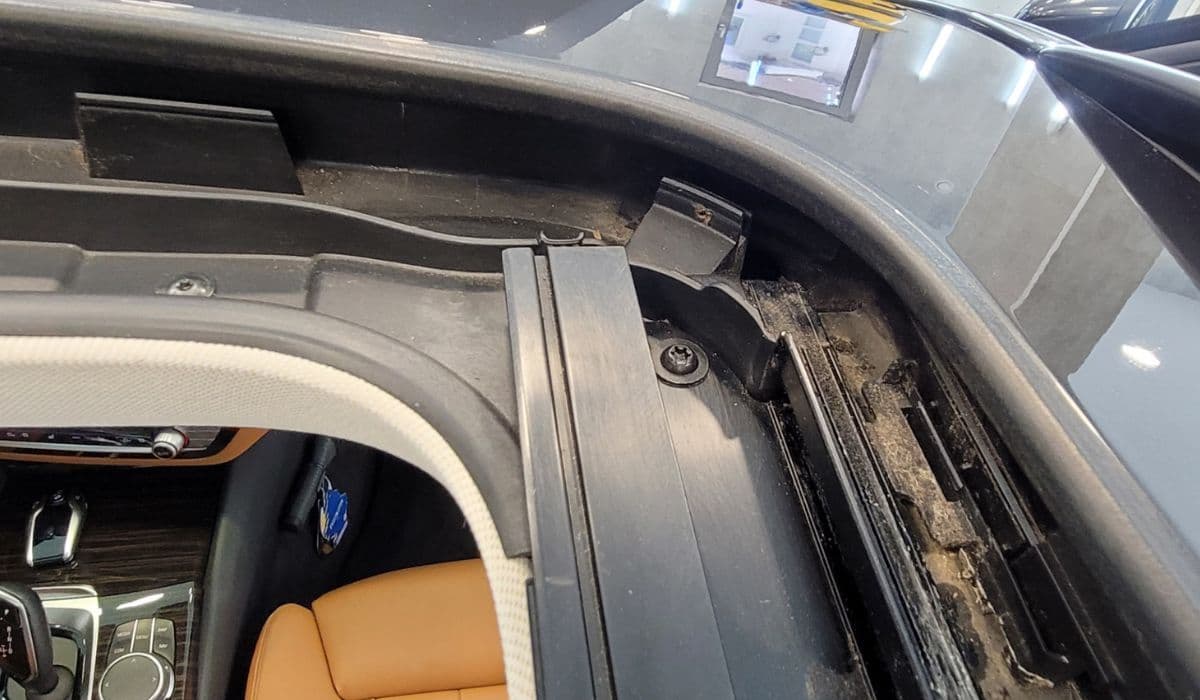
How to fix panoramic roof noise or leaks BMW
14.12.2025 07:56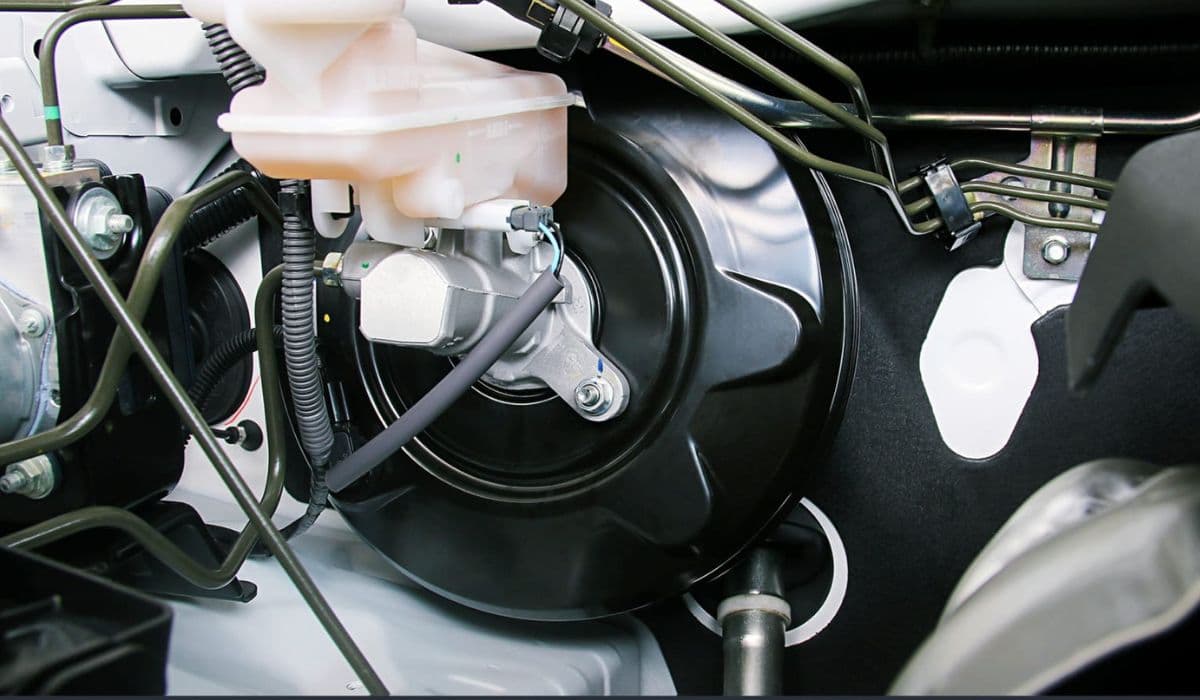
How to fix brake booster vacuum issues BMW
14.12.2025 06:06