How to fix charge pipe failure on tuned BMW M3/M4
The BMW S55 engine, powering the F80 M3 and F82 M4, delivers thrilling performance straight from the factory. When tuned—whether through a simple ECU remap or more aggressive modifications—these cars unlock serious power. However, this extra boost often exposes a notorious weak link: the factory charge pipes. Made primarily of plastic, they handle repeated heat cycles, pressure spikes, and vibrations poorly once boost levels climb. Cracks, splits, or complete disconnections become common, leading to frustrating drivability issues and potential safety concerns on spirited drives.
Addressing charge pipe failure promptly prevents bigger problems downstream, like stressing turbos or triggering limp mode during key moments. This guide walks through diagnosis, root causes, step-by-step repair approaches, and smart preventive strategies to keep your tuned M3 or M4 reliable and responsive.
Understanding Charge Pipe Failure on the S55
The S55 uses a twin-turbo setup with charge pipes routing compressed air from the turbos through the top-mount intercooler and into the intake manifold. The factory design relies heavily on plastic components, particularly on the hot side (post-turbo to intercooler) and cold side (intercooler to throttle body).
Under stock conditions, these pipes cope adequately. Introduce tuning that raises boost by several psi, and the story changes. Repeated expansion-contraction from heat, combined with higher internal pressure, causes micro-cracks that grow rapidly. Mounting brackets and connection points often fail first.
Common failure modes include:
Hairline cracks near turbo outlets or intercooler connections
Complete shattering of plastic sections under full load
Pipes detaching from clamps due to excessive movement
Silicone adapters degrading and losing seal integrity
Tuned examples see this issue far more frequently because every additional pound of boost amplifies stress exponentially.
Key Symptoms of Charge Pipe Failure
Spotting the problem early saves time and avoids being stranded. Listen and feel for these classic signs during drives:
Sudden loss of power above certain RPMs, often feeling like the engine hits a wall
Hissing or whooshing sounds from the engine bay under acceleration (boost escaping)
Limp mode activation with dashboard warnings related to overboost, underboost, or charge pressure
Check engine light illuminating, frequently with codes like P0299 (underboost) or P0171/P0174 (lean condition)
Boost gauge fluctuations — erratic readings or failure to build expected pressure
Poor throttle response and noticeable turbo lag increase
Visible damage upon inspection — cracked plastic, loose clamps, or disconnected sections
Many owners first notice the issue during hard pulls on highways or track sessions, where boost demand peaks.
Diagnosing the Problem Accurately
Before tearing into the engine bay, confirm the charge pipes are truly at fault.
Start with a visual inspection under bright light:
Remove engine covers for better access
Check both hot-side and cold-side pipes for cracks, especially around bends and brackets
Look for oil residue (indicating prior leaks) or coolant traces if intercooler issues overlap
Perform a boost leak test:
Use a pressure tester connected to the intake system
Pressurize to factory peak boost levels (or slightly above for tuned cars)
Listen for leaks and spray soapy water on connections to spot bubbles
Scan for fault codes using an OBD-II tool capable of reading BMW-specific parameters. Monitor live data for charge pressure actual vs. target values—large discrepancies point directly to leaks.
Smoke testing the intake system provides the most visual proof, revealing even tiny escapes of pressure.
Step-by-Step Fix: Replacing Charge Pipes
Once diagnosed, replacement becomes the reliable solution. Upgrading to aftermarket options eliminates the plastic weakness permanently.
Preparation tips:
Work on a cool engine to avoid burns
Have new clamps, gaskets, and torque specs ready
Disconnect the battery to prevent electrical surprises
Basic replacement process:
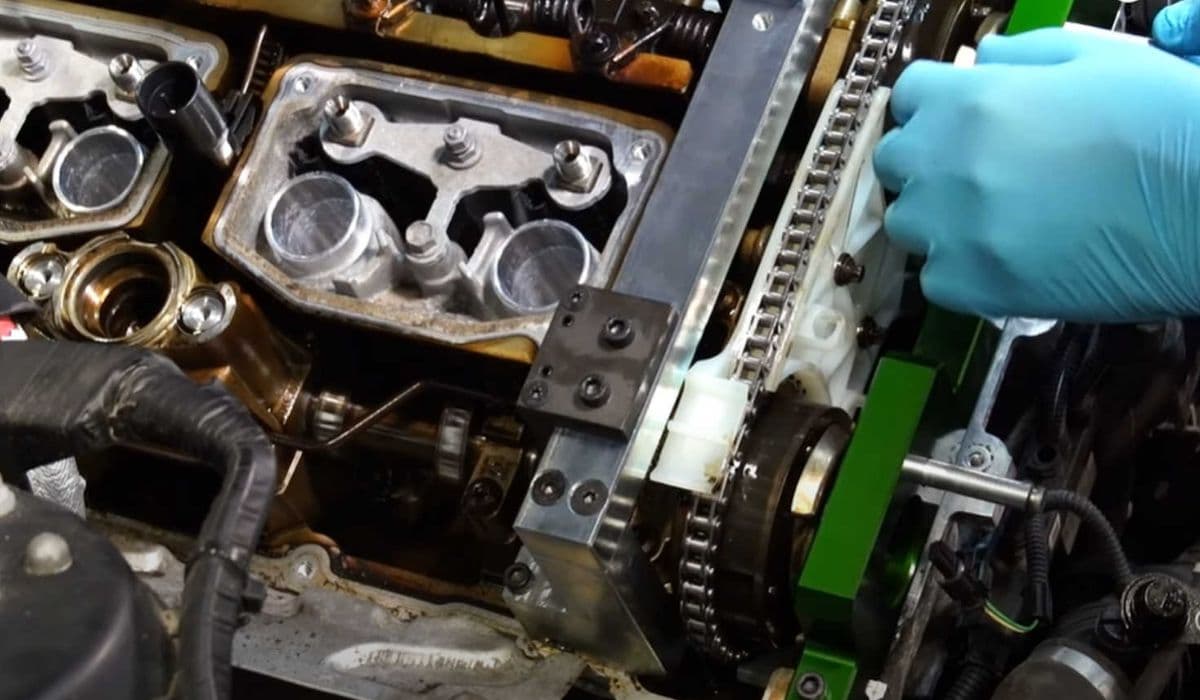
Remove engine bay plastic trim and heat shields for clearance
Loosen and remove intake ducting connected to the throttle body
Disconnect sensors (MAP, temperature) carefully to avoid damage
Support the charge cooler if needed, then unclamp and remove failing pipes section by section
Clean all mating surfaces thoroughly to ensure a perfect seal
Install upgraded pipes, aligning precisely and torquing clamps evenly
Reconnect sensors, ducting, and trim pieces
Clear any stored codes and perform an adaptation reset if required
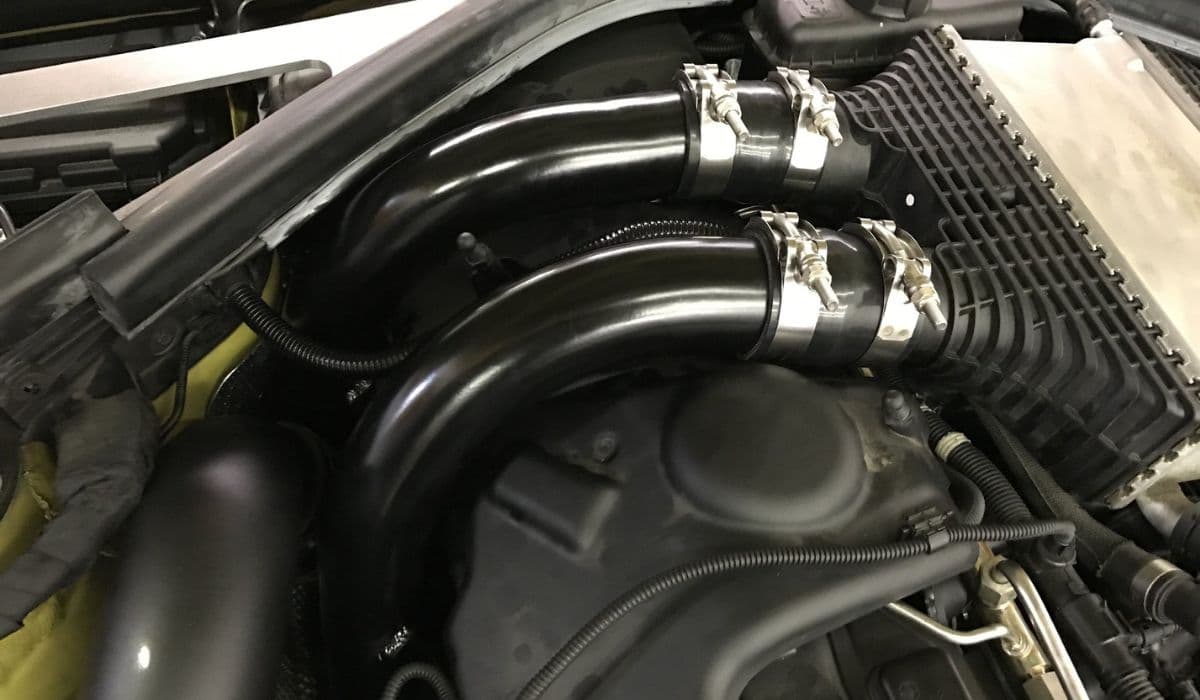
Many upgraded kits feature mandrel-bent aluminum or reinforced silicone designs that resist cracking and handle extreme boost without flexing excessively. Some incorporate reinforced mounting points and smoother internal flows for minor efficiency gains.
The job typically takes 2–4 hours for someone with moderate mechanical experience, though access around the turbos can test patience.
Choosing the Right Upgrade for Your Setup
Not all replacements suit every build. Consider your power goals:
Mild tunes (Stage 1) benefit from durable silicone kits that absorb vibration and resist heat soak
Higher-boost applications (Stage 2+) favor full aluminum sets with welded reinforcements and precise fitment
Track-focused cars gain from lightweight carbon options that combine strength with reduced thermal transfer
Prioritize kits offering:
Reinforced connection points to handle higher clamping forces
Smooth internal diameters to minimize turbulence
Compatibility with stock or upgraded intercoolers
Lifetime warranties against defects
A well-chosen upgrade not only fixes the immediate failure but often improves throttle response and consistency under load.
Installation Tips and Common Pitfalls
Avoid headaches with these practical pointers:
Double-check clamp orientation — some designs require specific positioning
Torque clamps in stages to prevent uneven pressure
Apply a thin layer of silicone lubricant on connections for easier future service
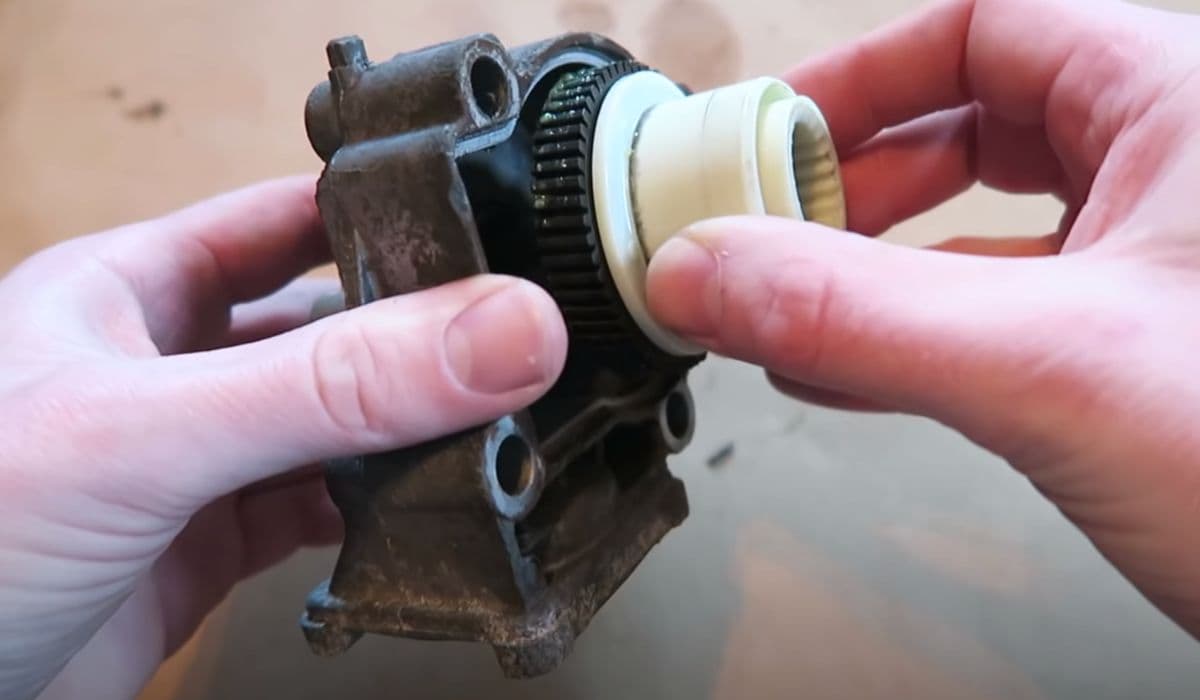
Inspect the J-pipe (Y-connection under the charge cooler) simultaneously — it often fails alongside charge pipes
Avoid over-tightening plastic-adjacent fittings if retaining any OEM sections
Test drive gently at first, monitoring for leaks or new noises
Many installers overlook sensor harness routing, leading to chafing or codes later.
Long-Term Prevention Strategies
Keep charge pipe issues at bay after repair:
Monitor boost logs regularly via tuning software
Perform visual inspections every oil change interval
Consider wrapping heat-sensitive sections with thermal protection
Maintain proper intercooler function, as overheating exacerbates pipe stress
Use high-quality clamps and periodically check torque
Avoid abrupt throttle changes when cold — let oil and coolant circulate
Proactive owners who upgrade early rarely revisit this headache, even at elevated power levels.
With the right approach, charge pipe failure transforms from a dreaded weak point into a simple maintenance item. Your tuned M3 or M4 can then deliver consistent, exhilarating performance without unexpected interruptions.
More from BMW
How to replace transfer case actuator BMW (xDrive grinding noise)
13.12.2025 08:45
How to fix FRM footwell module lighting issues BMW
13.12.2025 08:40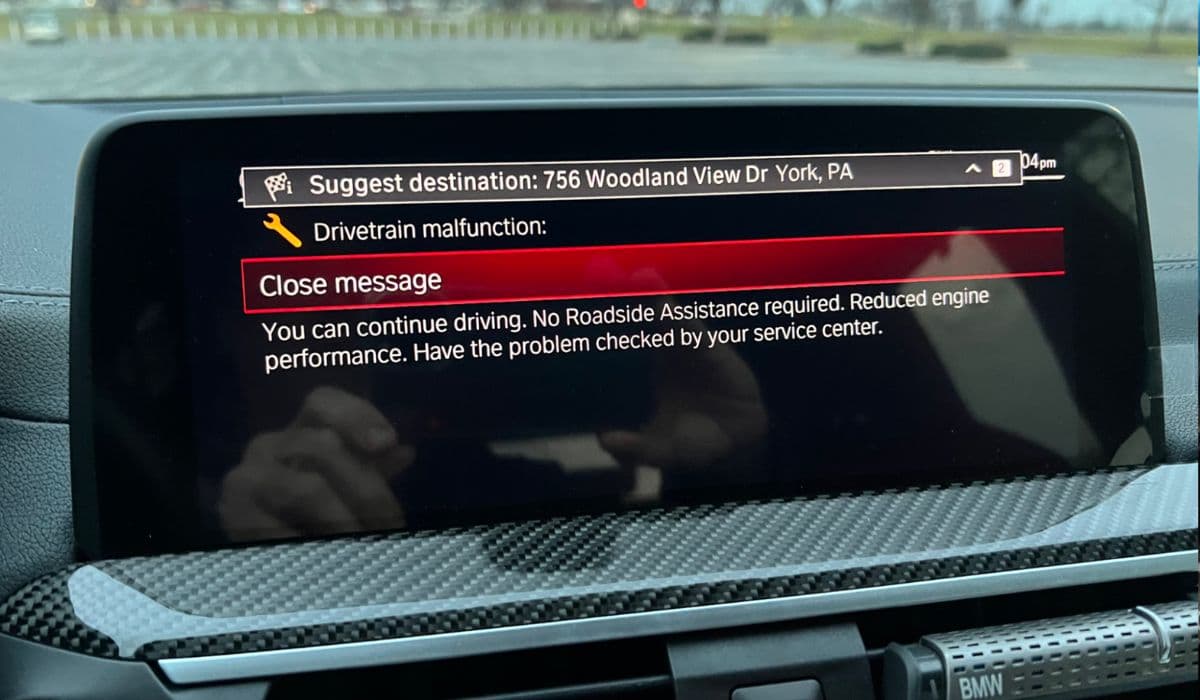
How to fix drivetrain malfunction error BMW (2025 models)
13.12.2025 06:24
How to fix oil filter housing gasket (OFHG) leak BMW
13.12.2025 06:13
How to replace thermostat and coolant flange BMW
13.12.2025 05:34