How to replace thermostat and coolant flange BMW

Modern BMW inline-six engines, particularly the popular N52, N54, and N55 series, feature sophisticated cooling systems with an electric thermostat and a notorious plastic coolant inlet flange (often called the "Mickey Mouse flange" due to its distinctive shape). These components work together to regulate coolant flow and direct heated coolant from the cylinder head back into the system. Over time, heat cycles, age, and material fatigue turn the plastic flange into a ticking time bomb, while the integrated electric thermostat can fail electronically or mechanically, leading to erratic temperature behavior.
Replacing both parts is a smart preventive maintenance step or a necessary fix when leaks appear. The job involves tight engine bay access, coolant handling, and precise reassembly to avoid air pockets that cause overheating. With patience and the right approach, you can restore reliable cooling performance and avoid costly roadside breakdowns.
Understanding Common Failure Symptoms
Spotting issues early saves your engine from severe damage like warped heads or cracked blocks.
Sudden coolant loss without visible puddles under the car – often from the flange cracking and dripping onto hot exhaust parts.
Sweet antifreeze smell in the cabin or engine bay after drives.
Overheating during stop-and-go traffic or highway cruising.
Temperature gauge fluctuations – swinging between cold and hot, or staying too low (stuck open) or too high (stuck closed).
Low coolant warnings on the dashboard, sometimes intermittent.
White smoke from the exhaust in extreme cases of air ingestion or severe leaks.
The plastic coolant flange commonly cracks at the connection points or ears, while the thermostat's internal heater element or seal degrades, triggering check engine lights with codes related to cooling performance.
Essential Tools and Preparation
Gather everything beforehand to minimize frustration in the cramped engine bay.
Socket set (metric: 8mm, 10mm, 13mm) with extensions and universal joints
Torx bits (T20, T25, T30)
Flexible hose clamp driver or pliers for awkward angles
Flathead and Phillips screwdrivers
Drain pan and rags for coolant spills
Coolant catch container
Torque wrench for accurate bolt tightening
Optional: engine support bar if removing major components for access
Park on a level surface, let the engine cool completely (hot coolant under pressure is dangerous), and disconnect the battery negative terminal for safety when working near electrical connectors.
Step-by-Step Thermostat Replacement
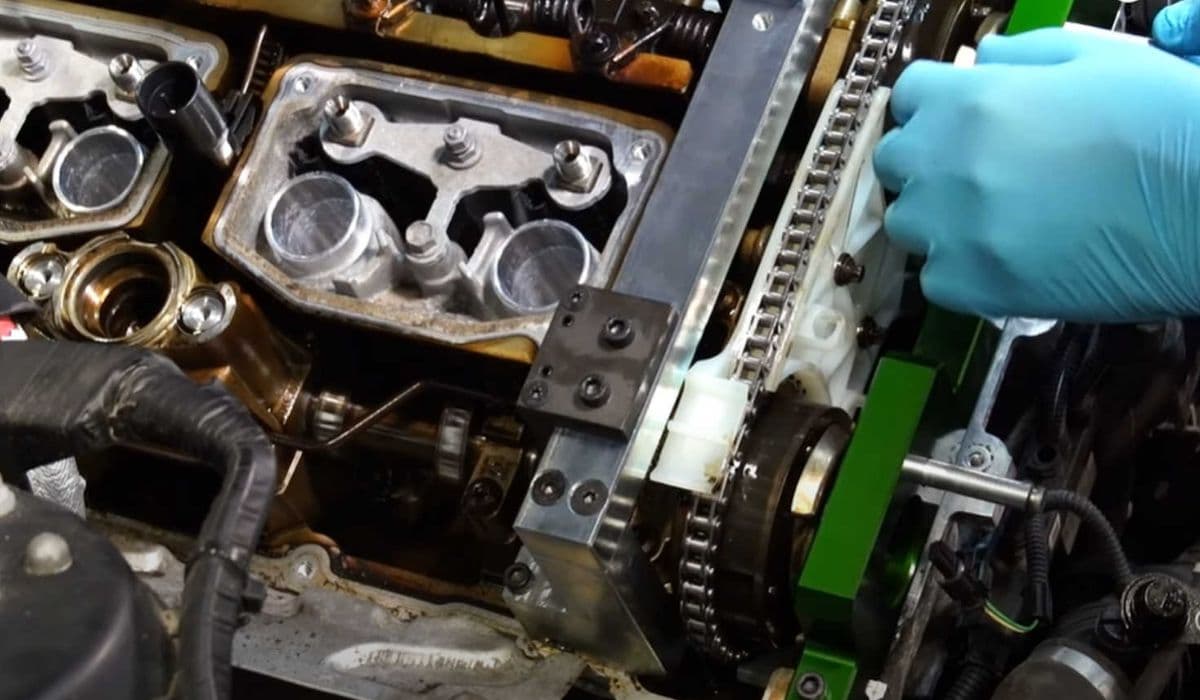
The electric thermostat sits at the front of the engine, often integrated near or with the water pump on many N-series engines.
Drain partial coolant – Locate the radiator drain plug (usually at the bottom passenger side) or remove the lower hose to release pressure and fluid. Catch everything in a pan; you won't need to empty the entire system.
Remove obstructing components – Take off the engine cover, air intake ducting, and any plastic shrouds blocking access. On some models, loosen the electric fan shroud or remove the passenger-side wheel well liner for better under-car reach.
Disconnect hoses and electrical – Carefully unclip or loosen clamps on the hoses attached to the thermostat housing (upper radiator hose, heater hoses, and crossover pipes). Note their positions. Unplug the electrical connector – it's a simple push-tab release.
Unbolt the housing – Remove the mounting bolts (typically 3-4 Torx or hex bolts). Support the assembly as you pull it free; residual coolant will spill.
Inspect and clean – Examine the old thermostat for cracks, warped sealing surfaces, or failed O-rings. Clean the mating surfaces on the engine block thoroughly with a plastic scraper to remove old gasket material or debris – never use metal tools that could gouge aluminum.
Install the new unit – Position the replacement thermostat (ensure correct orientation – many have alignment tabs). Use new seals or gaskets if not included. Hand-tighten bolts first, then torque to manufacturer specs (usually around 8-10 Nm; check your specific model).
Reconnect everything – Reattach hoses with fresh clamps if originals are worn, plug in the connector, and double-check for secure fits.
Replacing the Coolant Inlet Flange (Mickey Mouse Flange)
This small but critical plastic piece connects the hose from the cylinder head to the thermostat or water pump inlet. Its failure sprays coolant everywhere under pressure.
Locate the flange – It's typically at the rear of the cylinder head, where a hose meets a plastic fitting bolted to the head.
Relieve pressure – Ensure the system is cool and partially drained from the previous steps.
Remove the old flange – Crush or cut the factory crimp clamp with pliers or side cutters (be careful not to damage the hose). Slide off the broken flange. Unbolt the flange from the head if it's a bolted type (some are push-fit with O-rings).
Clean the area – Remove any plastic shards or debris from the hose and head port – shards can circulate and damage the new water pump or thermostat.
Install the upgraded part – Many owners upgrade to a metal (aluminum) version for longevity. Slide the new flange into the hose (use silicone spray for ease), then bolt or secure it to the head. Use new O-rings or seals. Tighten bolts evenly without over-torquing.
Secure the connection – Install a strong constant-tension or worm-drive clamp over the hose-to-flange joint for leak-free performance.
Reassembly and Coolant Refill Tips
Reverse the disassembly steps carefully.
Reinstall removed panels, intake pieces, and any disconnected sensors.
Refill with BMW-approved coolant mixed 50/50 with distilled water.
Bleed the system properly – Use the built-in bleed screw (often near the thermostat) or run the engine with the heater on max while topping off the reservoir. Many BMWs have self-bleeding electric pumps – connect a charger, run the ignition to activate the pump, and monitor for bubbles. Repeat cycles until no air escapes and the temperature stabilizes.
Check for leaks after a test drive – run the engine to operating temperature, then inspect all connections under pressure.
Final Checks and Pro Tips
After everything is buttoned up, monitor the temperature gauge during several drives. Clear any stored codes if you have access to a scanner. Consider replacing related items like the water pump (electric units often fail around the same time) or hoses for a complete refresh.
This repair demands attention to detail in a confined space, but mastering it builds confidence for future BMW projects. The satisfaction of eliminating a weak link in the cooling system—and preventing an expensive tow—makes the effort worthwhile.
More from BMW
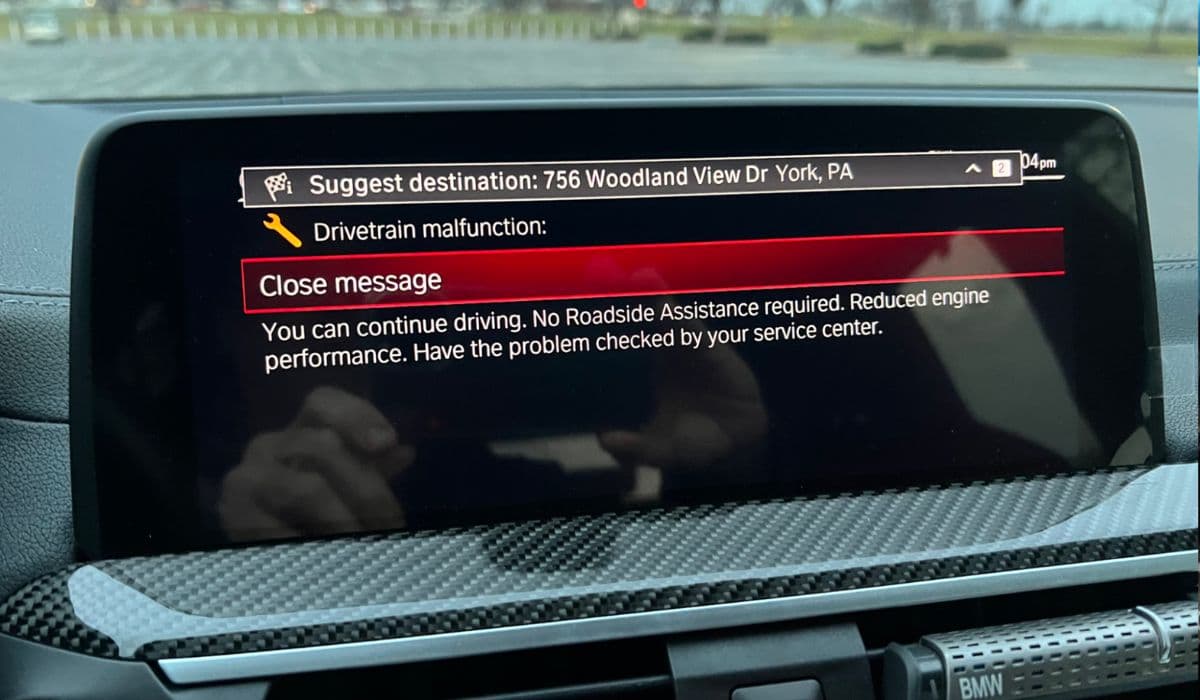
How to fix drivetrain malfunction error BMW (2025 models)
13.12.2025 06:24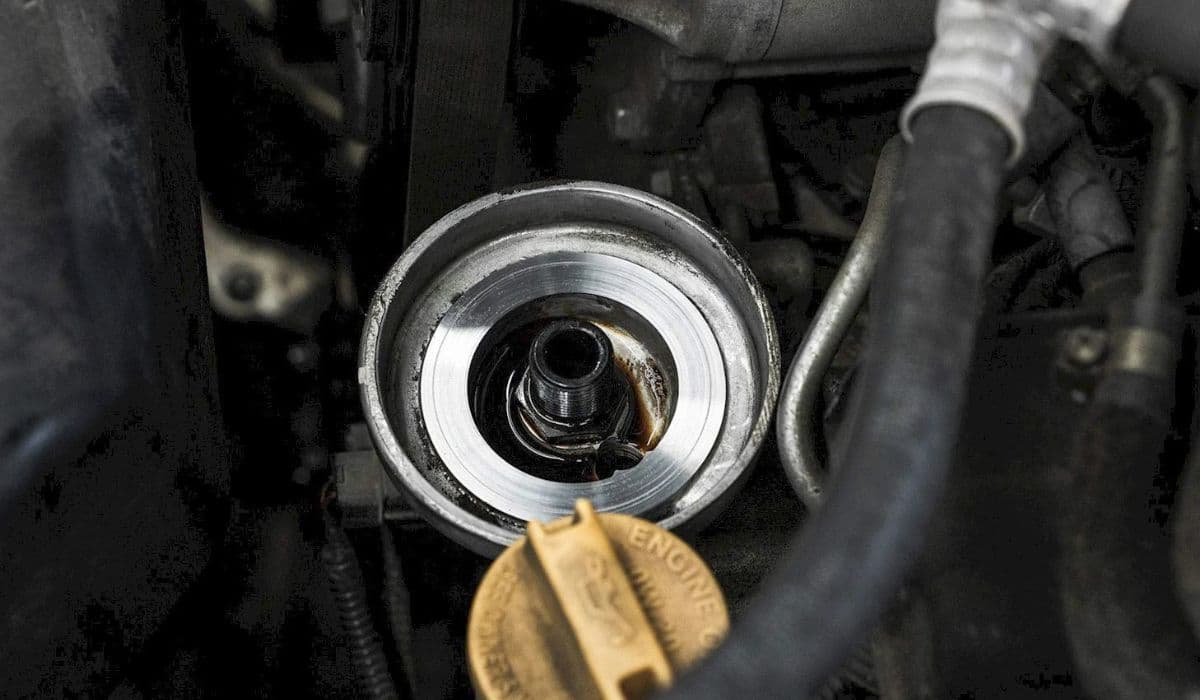
How to fix oil filter housing gasket (OFHG) leak BMW
13.12.2025 06:13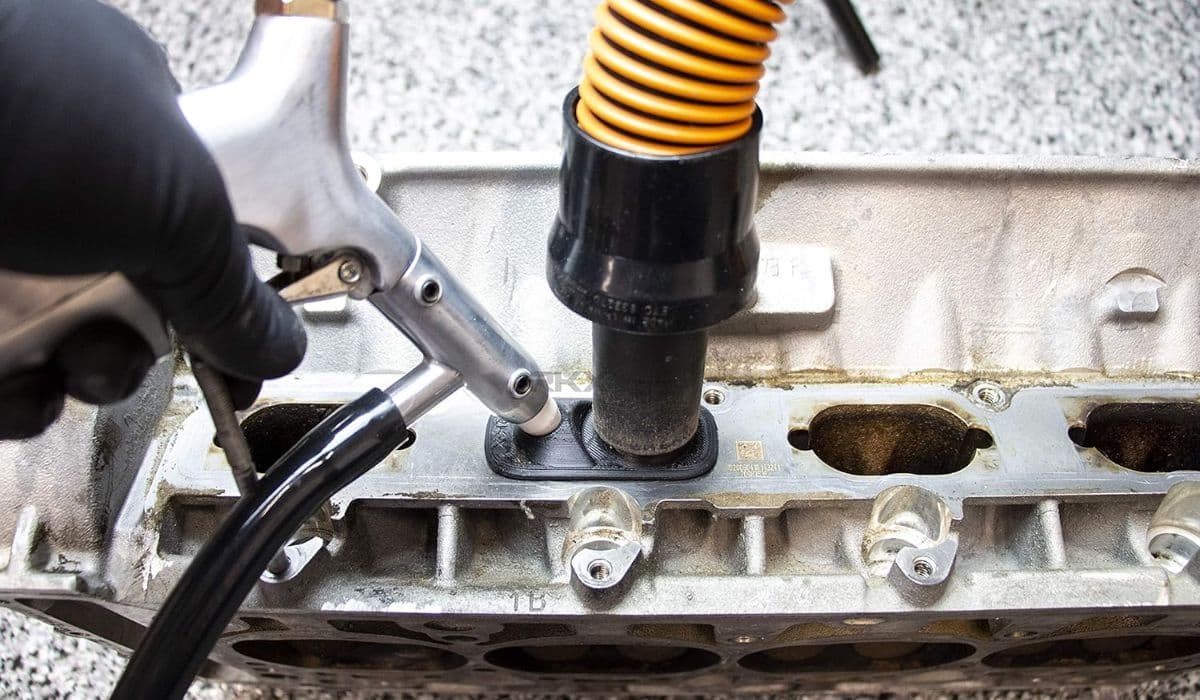
How to walnut blast intake valves for carbon buildup BMW
13.12.2025 06:07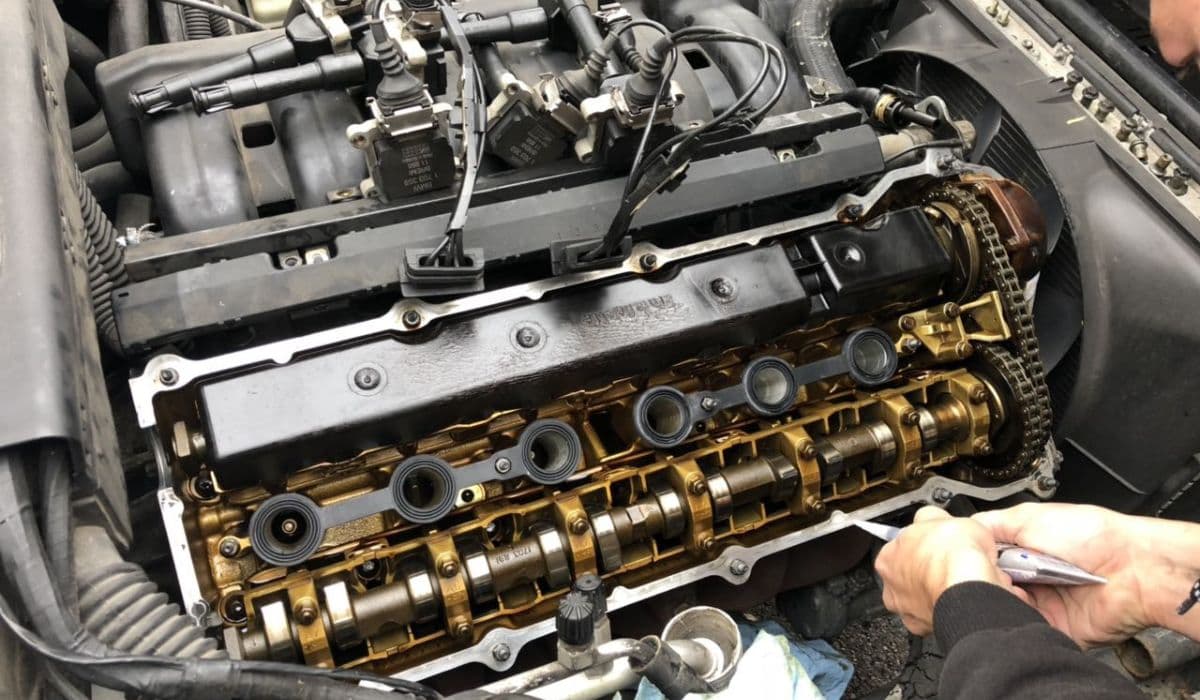
How to replace valve cover gasket oil leak BMW (common on N20/N55)
13.12.2025 05:40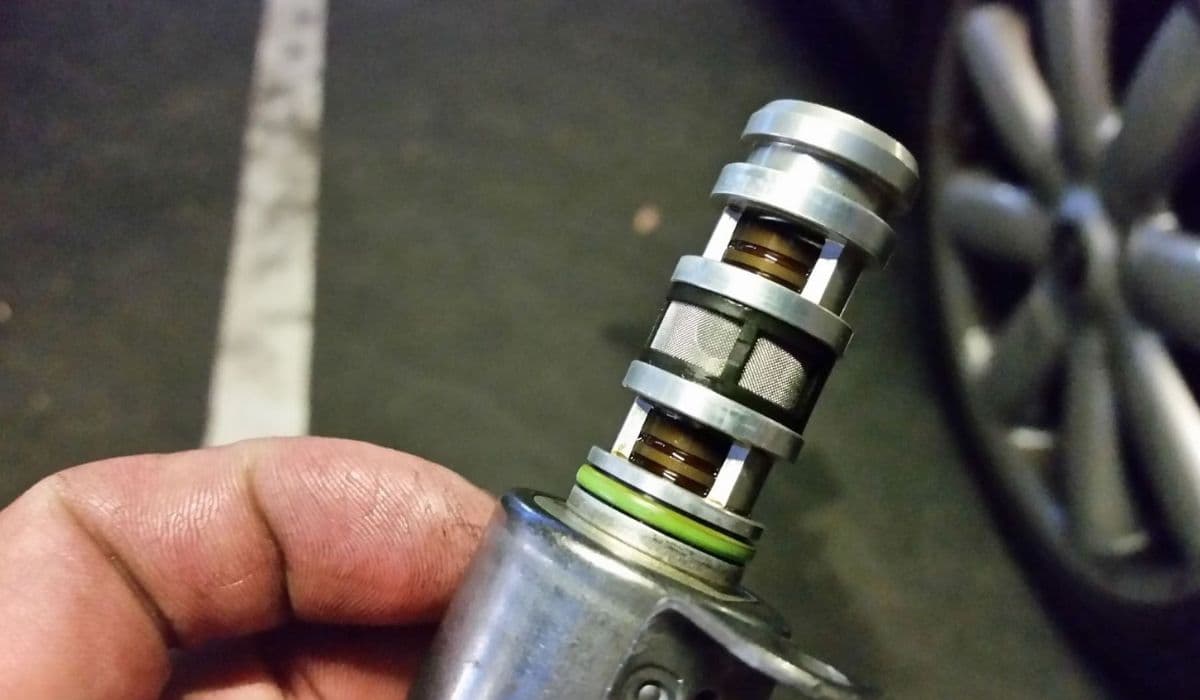
How to fix VANOS solenoid rattle and codes BMW
13.12.2025 05:32