How to replace transfer case actuator BMW (xDrive grinding noise)
The characteristic grinding, rattling or chain-like noise coming from the center of your BMW xDrive is one of the most frequently discussed issues among owners of all-wheel-drive BMWs. In the vast majority of cases, this sound originates from a failing transfer case actuator motor — a relatively small but extremely important component.
Timely replacement of the actuator often prevents expensive transfer case repairs and restores smooth, predictable torque distribution between axles. Below you’ll find a detailed, practical guide through diagnosis, replacement procedure and post-installation behavior.
Why the Transfer Case Actuator Fails and Produces Grinding Noise
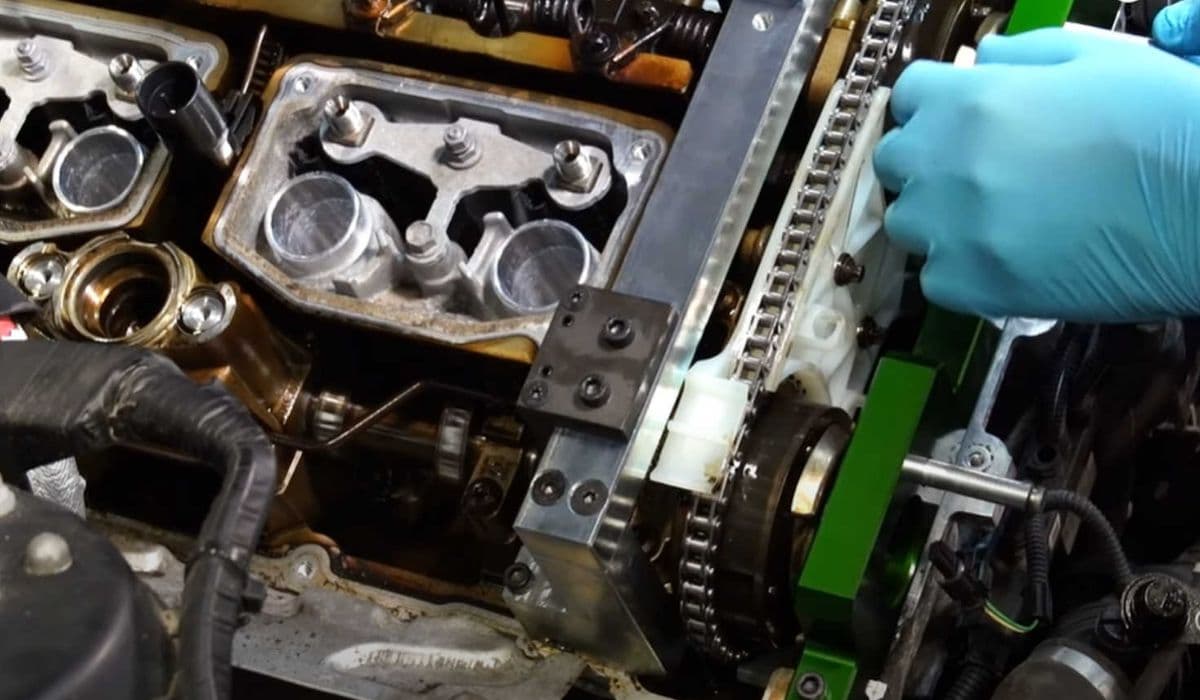
The xDrive transfer case uses an electronically controlled wet multi-plate clutch instead of a classic center differential. The actuator motor rotates a cam mechanism that precisely controls clutch pack clamping force, allowing torque distribution from 0:100 to 100:0 in milliseconds.
Inside the actuator you’ll typically find:
Small electric DC motor
Plastic gear train (very prone to wear)
Position sensor (Hall or potentiometer)
Output shaft with splines
After 120,000–220,000 km the plastic gears commonly strip or develop excessive backlash. This leads to:
Inaccurate clutch positioning
Micro-slipping under load
Metallic rattling/grinding as the clutch pack chatters
Binding or jerking during tight turns
Interesting fact: many vehicles continue driving normally for months despite the noise because the system still maintains basic AWD capability — until the stripped gears cause complete loss of control over the clutch pack.
Early Warning Signs You Should Never Ignore
Catching the problem early can save thousands. Watch for these symptoms:
Metallic grinding/rattling from the transmission tunnel area, most noticeable at 10–45 km/h
Noise intensity changes dramatically during acceleration ↔ coasting transitions
Sound becomes quieter or disappears completely when lifting off the throttle
Slight vibration felt through the floor during low-speed maneuvers
Occasional “judder” or binding sensation in tight turns on dry pavement
Dashboard warning “xDrive malfunction” or “4x4 system restricted” (appears later)
Faster wear on front tires compared to rear
Pro tip: if you briefly select 2WD mode (when available) and the grinding disappears — this is almost 100% confirmation of actuator-related issue.
Tools & Preparation Checklist
Before starting, gather these items:
Full set of Torx bits (T25–T55, especially T40, T45, T50)
Ratchet 3/8″ drive + long extensions (30–50 cm)
Sockets 10 mm, 13 mm
Torque wrench 10–60 Nm
17 mm combination wrench or offset ring spanner
Plastic pry tools & small flat screwdriver
Medium strength threadlocker
New actuator + new O-ring (always replace the O-ring)
Clean rags & small brush
Optional: diagnostic tool capable of resetting xDrive adaptations
Vehicle preparation:
Park on level surface
Engage parking brake
Disconnect negative battery terminal (wait ≥15 minutes)
Best access — vehicle on a lift; jack stands possible but much less comfortable
Step-by-Step Actuator Replacement Procedure
Step 1 — Gaining Access
Remove the large underbody splash shield (plastic clips + 8–13 mm screws). On some models you’ll also need to remove small heat shields near the center exhaust section.
Step 2 — Locating the Actuator
Look at the right side of the transfer case (passenger side in LHD cars). The actuator is the black cylindrical unit with electrical connector on top, mounted slightly rearward from the propshaft flange. It’s secured with three Torx bolts of different lengths.
Step 3 — Removal
Disconnect the electrical connector (press the tab firmly — it can be tight). Loosen and remove all three Torx bolts. Important: mark or photograph bolt locations — they are not interchangeable! Gently rock the actuator while pulling it straight out. If it resists strongly — double-check that all bolts are removed and the splines are not seized. Do not pry forcefully against the transfer case housing.
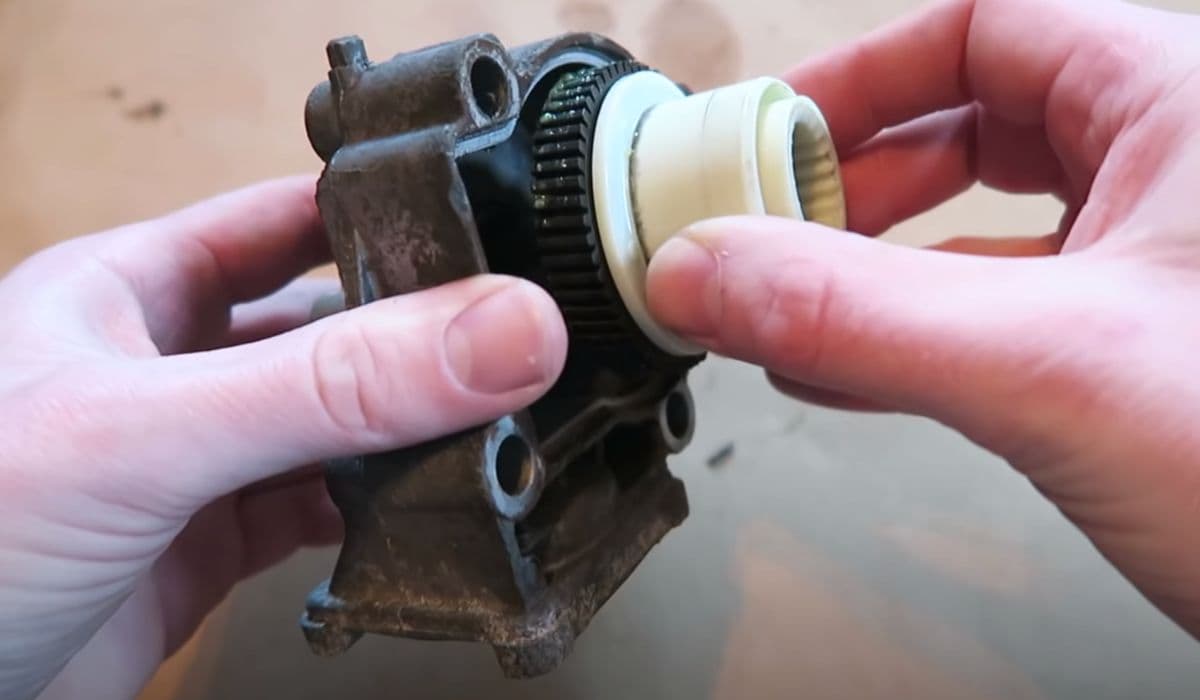
Step 4 — Inspection & Preparation
Open the old actuator (if curious) — you’ll almost certainly see stripped/melted plastic gears. Compare gear position on old vs new unit. New actuators usually ship in neutral/middle position — in most cases you do not need to manually match the position.
Step 5 — Installing the New Actuator
Lightly lubricate the new O-ring with fresh transfer case fluid (very thin layer). Align the output shaft splines with the receiving splines in the transfer case. You may need to slightly rotate the output flange by hand (grab it carefully). Push the actuator straight in until it seats flush against the housing. Install all three bolts by hand first, then tighten in criss-cross pattern to 22–25 Nm (use exact specification for your model).
Step 6 — Final Assembly
Reconnect the electrical connector (must click firmly). Reinstall all underbody shields. Reconnect the battery.
Critical Post-Installation Adaptation Drive
The control unit must relearn clutch engagement characteristics. Skip this step — and you may experience jerking, vibrations or persistent error codes.
Recommended adaptation procedure:
Start engine, idle 2–3 minutes without touching pedals
With foot on brake, shift between D ↔ R 5–8 times
Drive normally for at least 15–25 km including:
Smooth acceleration from standstill
Gentle deceleration/coasting
Slow right/left turns at parking speeds
Several figure-8 patterns
Full stop → start maneuvers
During the first 50–100 km some minor noises/vibrations are normal while the system learns.
Troubleshooting After Replacement
Problem | Most likely cause | What to do |
|---|---|---|
Grinding remained unchanged | Actuator not fully seated / gears not meshed | Remove & reinstall carefully, check splines alignment |
Strong vibrations during turns | Adaptation not performed | Complete full adaptation drive cycle |
Error codes persist after 100 km | Rare case of defective new part / damaged clutch pack | Read codes, perform actuator basic settings |
Intermittent binding on tight turns | Transfer case chain/guide rail wear already started | Consider professional transfer case inspection |
When the Problem Is Already Beyond the Actuator
If after proper actuator replacement you still experience strong binding, loud whining under load or dashboard warnings that won’t clear — the damage has likely progressed to the multi-plate clutch pack or chain. In such cases professional diagnosis with an endoscope or transfer case removal becomes necessary.
Replacing the actuator at the first appearance of grinding noise remains one of the most reasonable and cost-effective preventive repairs in the xDrive system. Many owners who ignored the sound eventually faced complete transfer case replacement bills that were 5–10× higher.
Drive gently during the adaptation period, and enjoy your properly functioning xDrive for many more kilometers.
More from BMW
How to fix FRM footwell module lighting issues BMW
13.12.2025 08:40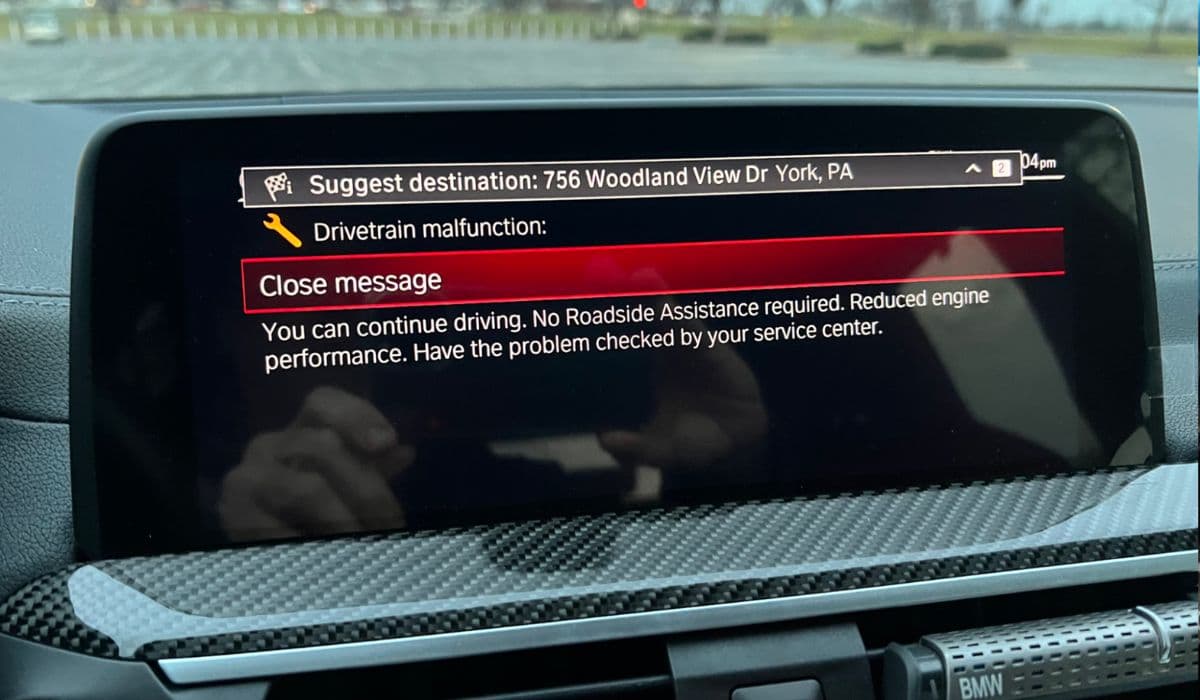
How to fix drivetrain malfunction error BMW (2025 models)
13.12.2025 06:24
How to fix oil filter housing gasket (OFHG) leak BMW
13.12.2025 06:13
How to walnut blast intake valves for carbon buildup BMW
13.12.2025 06:07
How to replace thermostat and coolant flange BMW
13.12.2025 05:34