How to replace timing chain guides BMW (N20/N55 preventive)
The BMW N20 (4-cylinder turbo) and N55 (6-cylinder turbo) engines power many iconic models with impressive performance and efficiency. However, both share a vulnerability in their timing systems: the plastic timing chain guides. Over time, heat, oil quality, and mechanical stress can cause these guides to wear, crack, or fragment, leading to chain slack, noise, misalignment, and—in worst cases—catastrophic valve-to-piston contact.
While the N20 is notorious for early guide failures (often linked to material issues in pre-update versions), the N55 experiences similar wear patterns, especially under spirited driving or extended oil intervals. Proactive replacement of the guides, along with related components, stands as one of the smartest preventive steps an owner can take to preserve engine longevity and avoid major rebuilds.
Understanding the Role of Timing Chain Guides
Timing chain guides maintain proper chain path and tension as the chain rotates between the crankshaft and camshafts. Made primarily of durable plastic composites, they endure constant friction and high temperatures inside the engine.
N20 specifics: The engine features a primary timing chain plus a separate oil pump chain, both relying on multiple plastic guides. Early designs proved particularly susceptible to degradation, sometimes releasing debris into the oil system.
N55 specifics: The single-row chain setup uses several guides and a hydraulic tensioner. While generally more robust than the N20, guides still wear from heat cycling, and fragments can appear during deep maintenance like rod bearing jobs.
When guides fail, the chain develops excessive play, leading to accelerated stretch, rattling, or skipped timing. Preventive replacement upgrades to revised, harder-wearing components that address original design weaknesses.
Common Symptoms of Worn Timing Chain Guides
Catching issues early can prevent disaster. Listen and observe for these telltale signs during routine checks:
A distinctive whining or droning noise from the front of the engine, especially noticeable between 3000–4000 rpm or during cold starts
Rattling or slapping sounds when removing the oil fill cap (indicating chain slack)
Rough idle, hesitation, or reduced throttle response as timing drifts
Check engine lights with camshaft/crankshaft correlation codes (e.g., 2A99, 2A87 on N20)
Visible plastic debris in the oil filter or during oil changes
Unusual vibrations or metallic ticking that changes with engine load
If any appear, stop driving aggressively and plan inspection. Even without obvious symptoms, many owners opt for preventive service around higher mileage to sidestep sudden failure.
Why Preventive Replacement Makes Sense
Unlike reactive repairs after chain jump or guide breakage (which often require full engine teardown), preventive work lets you replace components systematically with the engine still in a controlled state.
Benefits include:
Avoiding bent valves or piston damage from timing loss
Upgrading to BMW's later-design guides and tensioners with improved materials and geometry
Refreshing the entire timing system (chain, tensioner, sprockets) for maximum durability
Peace of mind during spirited drives or long-distance trips
This job demands precision, specialized tools, and mechanical confidence—but rewards owners with renewed engine health.
Essential Tools and Preparation
Gather these items before starting:
BMW-specific timing tools (crankshaft locking pin, camshaft alignment plates/gauges)
Torque wrench (multiple ranges, including very low for plastic components)
Socket set, Torx bits, and extensions
Engine support bar or hoist (intake manifold removal required on both engines)
New timing chain kit (includes guides, tensioner, chain, and hardware—choose updated versions)
Fresh oil, filter, gaskets, and seals (valve cover, VANOS solenoids if disturbed)
Clean workspace and organizational trays for bolts
Drain coolant if needed, disconnect the battery, and label all connections. Work in a well-lit area with plenty of time—rushing leads to alignment errors.
Step-by-Step Preventive Replacement Process
Step 1: Initial Disassembly
Remove engine covers, air intake, and accessories blocking access. Support the engine, then remove the valve cover (N20) or VANOS solenoid area (N55) for initial inspection. Check for existing slack or debris.
Step 2: Set Engine to Timing Position
Rotate the crankshaft to top dead center (TDC) on cylinder 1 using the correct locking tools. Lock the crankshaft and align camshafts with factory gauges or plates. Double-check markings—misalignment here ruins the job.
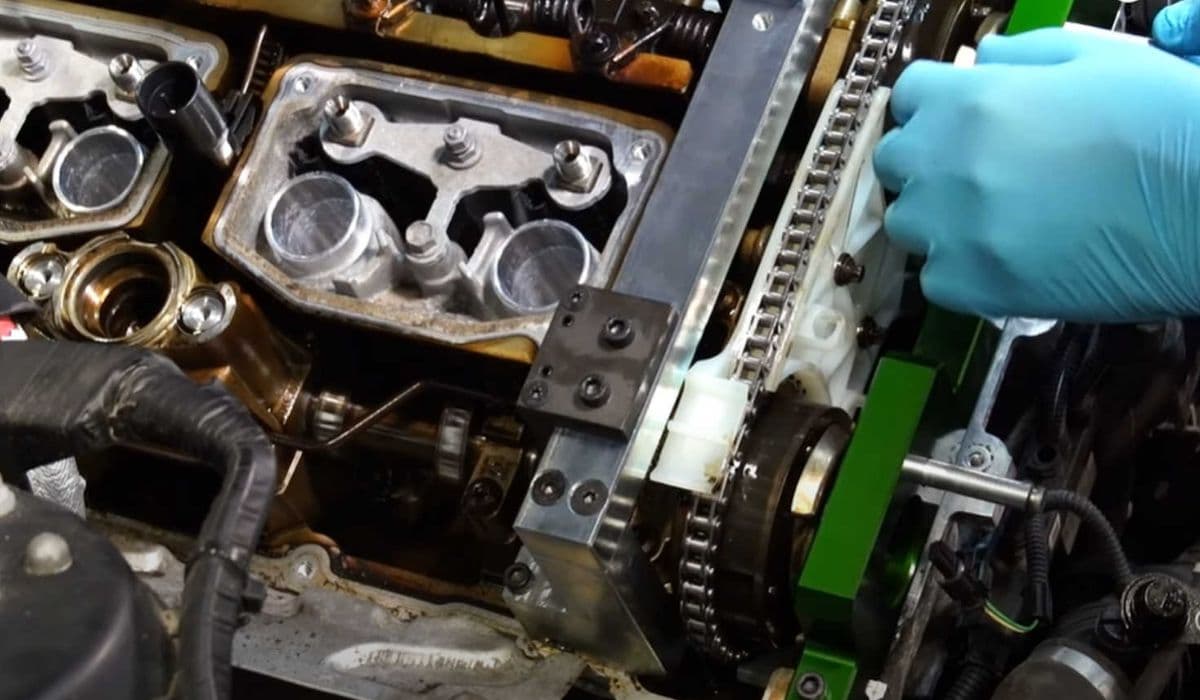
Step 3: Remove Old Components
Release the hydraulic tensioner (compress and pin it). Carefully unbolt and extract worn plastic guides—note their positions and orientations. Inspect the chain for stretch (measure links if possible) and sprockets for wear. Remove the old tensioner and any related hardware.
Step 4: Install Updated Guides and Chain
Fit new guides exactly as removed, torquing bolts to spec (plastic parts are delicate—overtightening cracks them). Install the fresh chain, ensuring it seats properly on sprockets. Reinstall or replace the tensioner (updated units apply consistent pressure). Verify every alignment mark matches perfectly.
Step 5: Re-tension and Verify
Release the tensioner pin slowly, allowing it to take up slack. Rotate the engine manually two full turns and re-check timing marks. Listen for abnormal noises and confirm smooth rotation.
Step 6: Reassemble and Test
Reinstall all removed parts with new gaskets. Refill fluids, clear any codes, and perform a gentle break-in drive. Monitor for leaks, noises, or warning lights during the first few heat cycles.
Post-Replacement Maintenance Tips
To maximize the life of your refreshed timing system:
Switch to shorter oil change intervals using high-quality synthetic oil meeting BMW LL-01 specs
Inspect the oil filter regularly for unusual particles
Avoid prolonged idling or lugging the engine in high gears
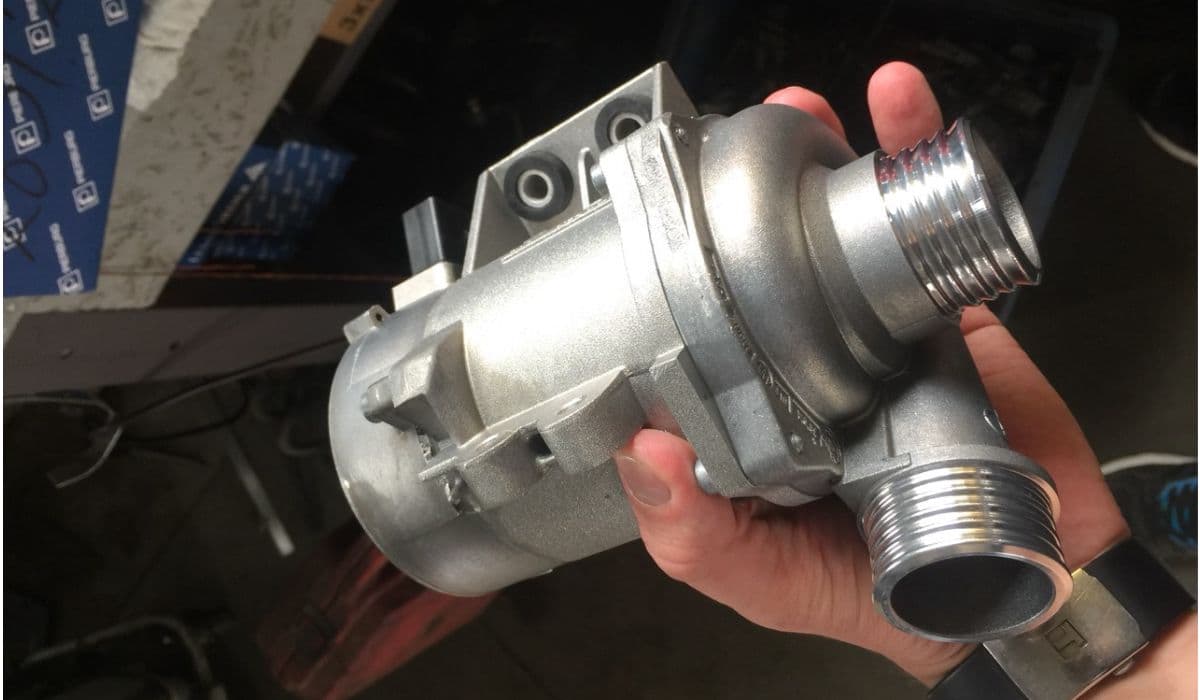
Consider auxiliary inspections during other major services (e.g., water pump or VANOS work)
More from BMW
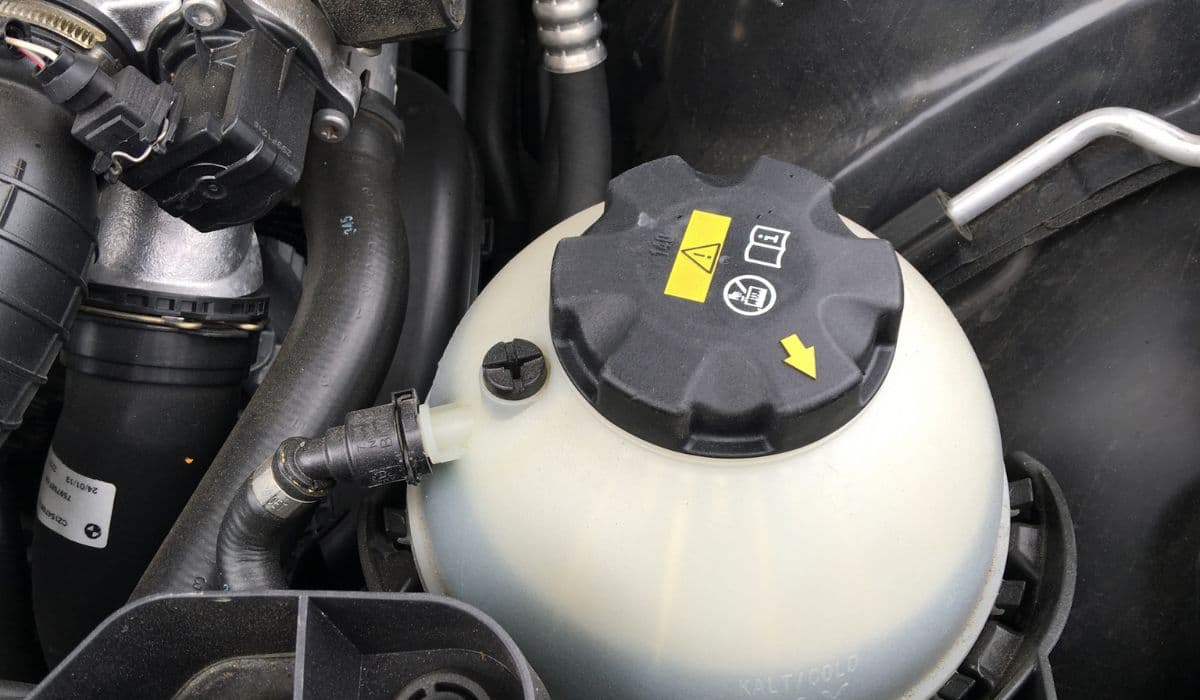
How to fix BMW coolant leaks from expansion tank (B58/N55 engines)
13.12.2025 06:48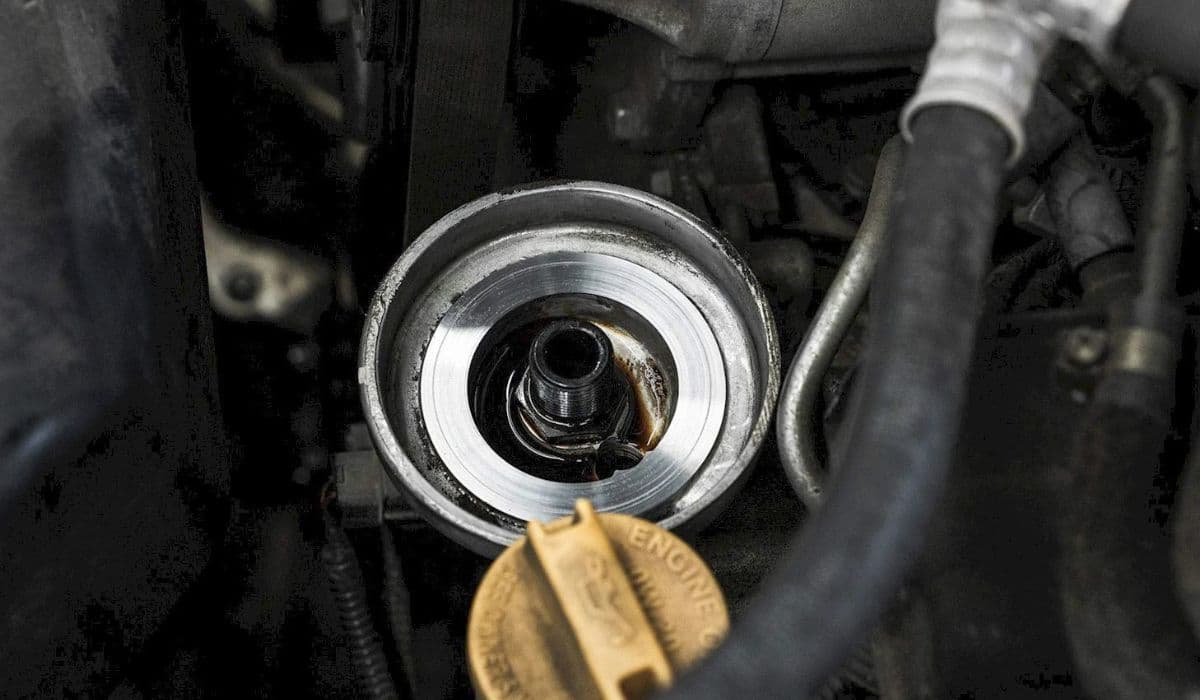
How to fix oil filter housing gasket (OFHG) leak BMW
13.12.2025 06:13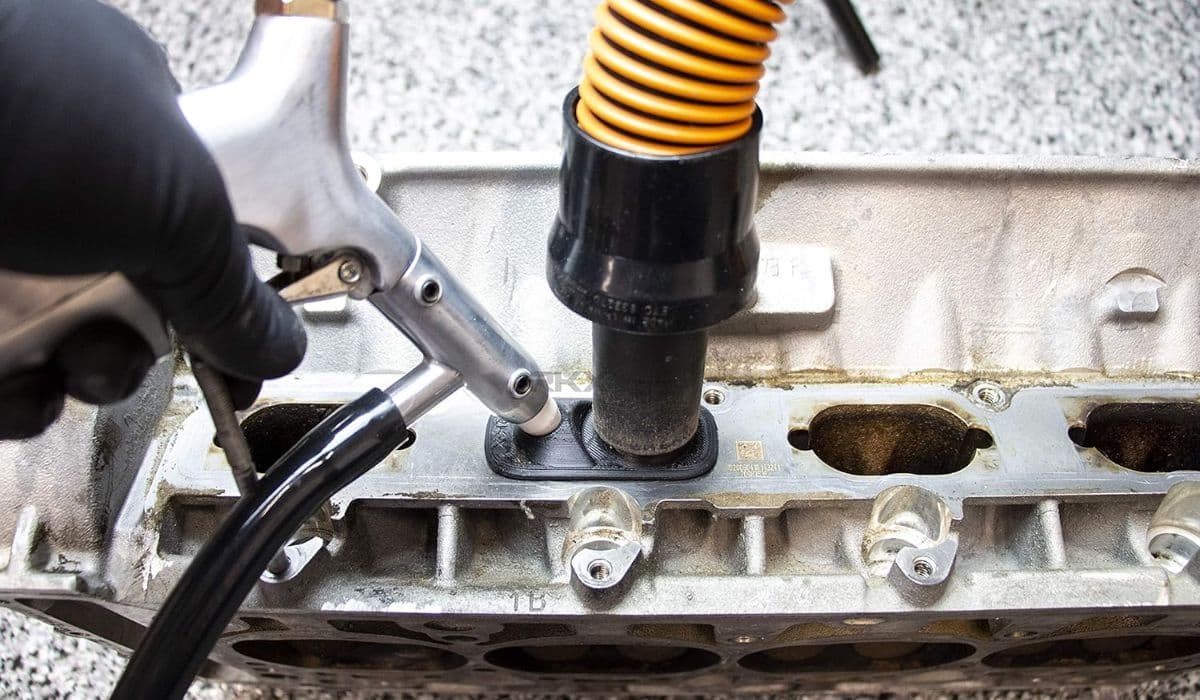
How to walnut blast intake valves for carbon buildup BMW
13.12.2025 06:07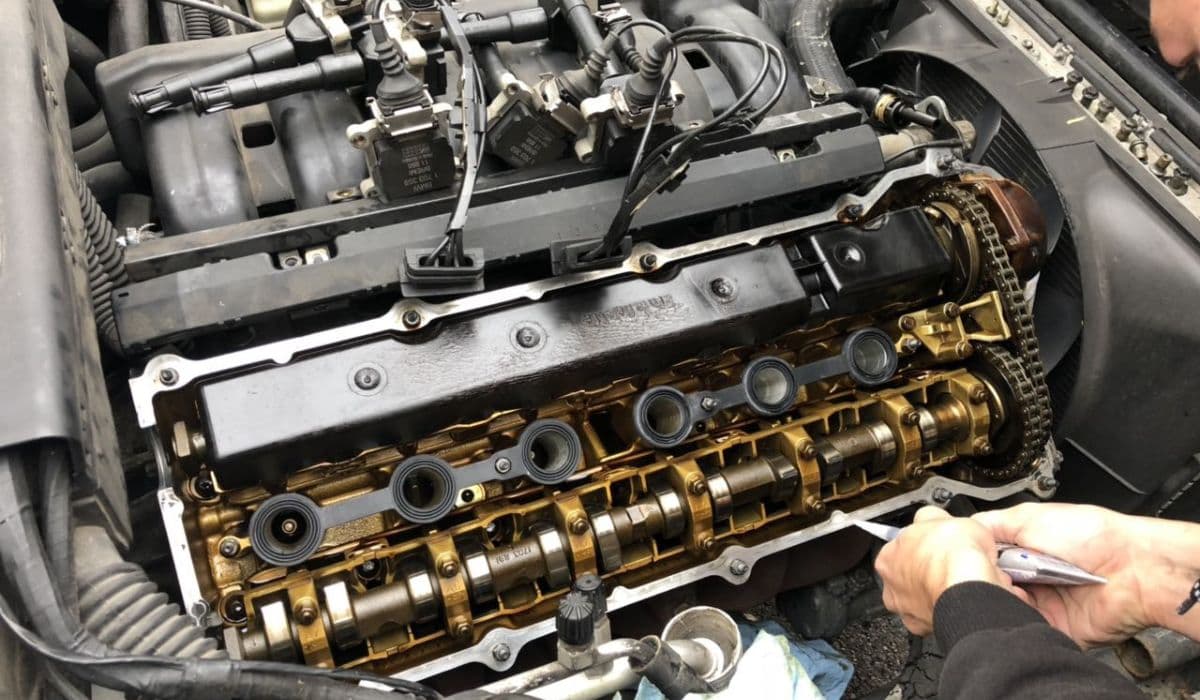
How to replace valve cover gasket oil leak BMW (common on N20/N55)
13.12.2025 05:40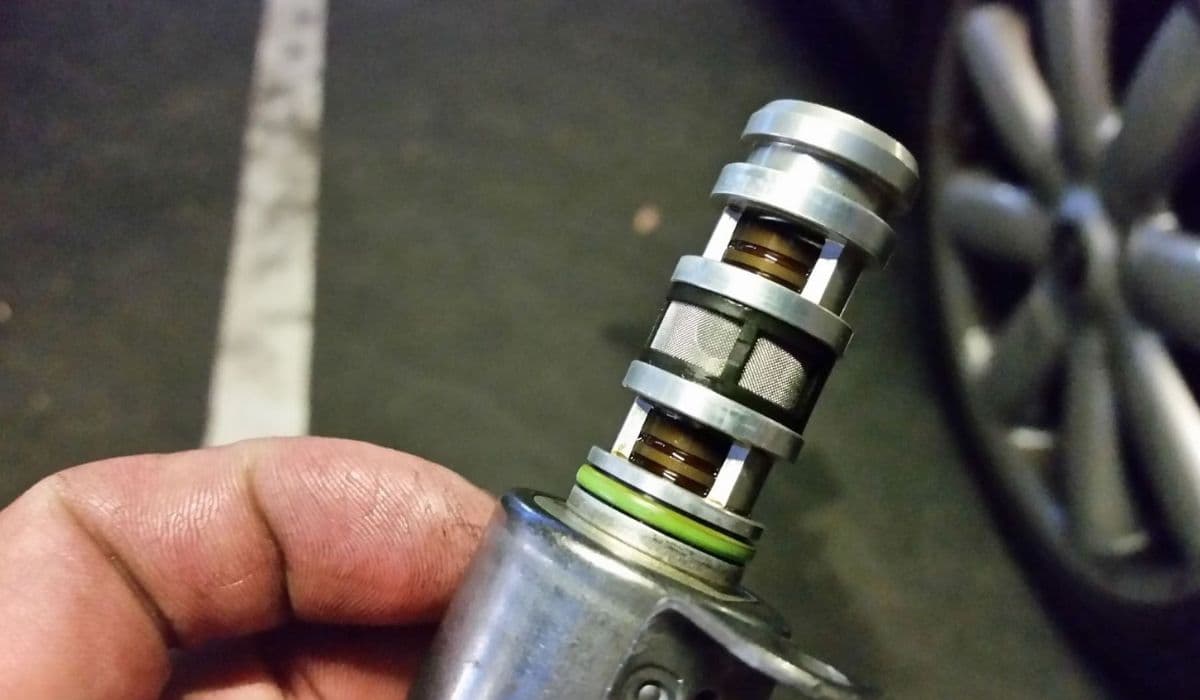
How to fix VANOS solenoid rattle and codes BMW
13.12.2025 05:32