How to replace IBS battery sensor false errors BMW
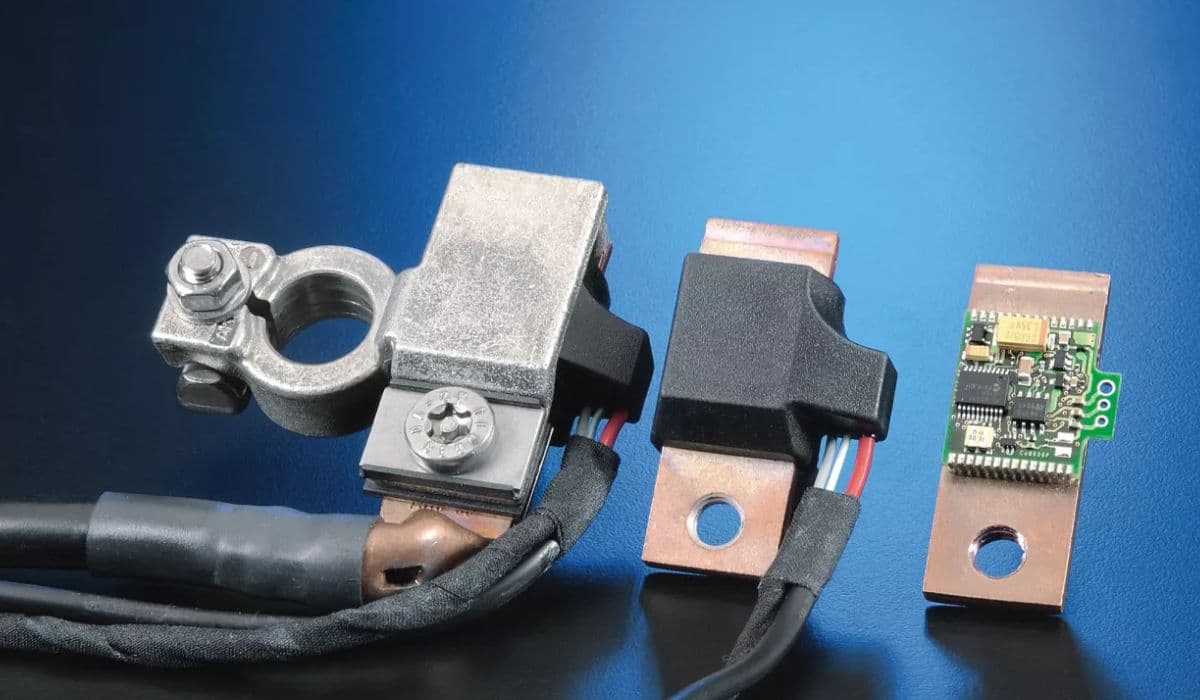
The Intelligent Battery Sensor (IBS) in BMW vehicles is a small but critical component mounted on the negative battery terminal. It continuously monitors battery voltage, current flow, and temperature, sending real-time data to the vehicle's power management system. This allows the alternator to adjust charging dynamically, optimizing battery life and electrical stability.
When the IBS malfunctions, it often triggers false errors — warnings that appear unrelated to the battery itself. Owners frequently report persistent "increased battery discharge" messages, no-start conditions, fluctuating voltage readings, or even drivetrain malfunctions, even after installing a fresh battery. These false positives stem from communication glitches, internal sensor failure, or wiring issues rather than actual battery degradation.
Understanding and addressing IBS-related false errors can save time, prevent unnecessary part replacements, and restore reliable performance.
Common Symptoms of IBS-Related False Errors
A failing IBS rarely announces itself clearly. Instead, it produces misleading symptoms that mimic other electrical problems:
Repeated "increased battery discharge" or "battery discharged while driving" warnings despite a healthy battery.
Intermittent no-crank or no-start situations, especially after short parking periods.
Erratic voltage behavior: dashboard readings swinging between low (around 12V) and normal (13.8–14.4V) even with the engine running.
Multiple seemingly unrelated fault codes in modules like DME, CAS, or junction box.
Flickering interior lights, inconsistent climate control, or reduced accessory performance.
Battery appears to drain overnight, yet tests show it holds charge properly.
These issues often persist after battery swaps because the root cause lies in inaccurate data from the IBS, confusing the car's smart charging system.
Why False Errors Occur with the IBS
The IBS uses a sophisticated Hall-effect sensor and microprocessor to measure precise current draw and supply. Over time, several factors degrade its performance:
Internal corrosion or micro-cracks in the sensor housing from temperature cycling.
Wiring harness fatigue: the small LIN-bus connector (usually a blue plug) can develop poor contact or broken pins.
Overvoltage events from a failing alternator damaging the sensor electronics.
Mechanical stress during battery removal/installation shifting calibration points.
Software glitches where the DME misinterprets IBS signals as faults.
Unlike simple voltage sensors, the IBS actively participates in battery registration and energy diagnosis. When it sends corrupted data, the system logs errors even if everything else functions correctly.
Diagnostic Steps Before Replacement
Before rushing to replace the IBS, perform basic checks to confirm it's the culprit:
Scan the vehicle with a capable diagnostic tool (ISTA, INPA, or equivalent) and look specifically for IBS-related codes like communication faults, missing sensor, or measurement implausible.
Measure battery voltage at rest (should be 12.4–12.8V) and while running (13.8–14.4V stable).
Perform a parasitic draw test: disconnect the negative cable and measure current draw (should settle below 50 mA after modules sleep).
Temporarily disconnect the IBS plug (small connector on the sensor) and observe behavior — some owners note stabilized charging, but this is not a long-term fix and may trigger new codes.
Inspect the negative terminal area for corrosion, loose connections, or damaged wiring.
If codes point directly to the IBS and other components test fine, replacement becomes the logical next step.
Tools and Preparation for IBS Replacement
Gather these items for a smooth procedure:
Socket set (10mm and 13mm common for battery clamps).
Torque wrench for precise tightening.
Small flathead screwdriver or trim tool for connector release.
Anti-corrosion grease or battery terminal protector.
Diagnostic tool for post-installation registration (highly recommended).
Gloves and eye protection.
Safety first: always disconnect the negative terminal first to avoid shorts. Work in a well-ventilated area and ensure the vehicle is off with keys removed.
Step-by-Step IBS Sensor Replacement Guide
Follow these detailed steps carefully:
Open the hood (or trunk, depending on model — many E-series have battery in rear).
Disconnect the negative battery cable using a 10mm socket. Set it aside safely.
Locate the IBS: it's a small black rectangular unit clamped directly onto the negative battery post, with a wiring pigtail (usually blue connector).
Gently release the locking tab on the electrical connector and pull it free. Avoid yanking wires.
Loosen the clamp bolt holding the IBS to the battery post (typically 10mm or 13mm). Remove the old sensor.
Clean the battery post thoroughly with a wire brush to remove any oxidation.
Install the new IBS onto the negative post, ensuring proper alignment. Tighten the clamp bolt to manufacturer spec (usually 5–8 Nm — check your model).
Reconnect the electrical plug firmly until it clicks.
Reattach the main negative cable to the battery post (over the IBS if designed that way) and torque appropriately.
Start the vehicle and allow it to idle for several minutes to let modules wake up.
Post-Replacement Procedures and Registration
Replacement alone may not clear all false errors. The power management system needs to recognize the new sensor:
Use diagnostic software to register the battery (even if unchanged) and reset IBS adaptations.
Clear all stored fault codes.
Perform an energy diagnosis or forced sleep cycle if available.
Drive the vehicle normally for 20–30 minutes to allow relearning.
Without proper registration, charging logic remains suboptimal, potentially leading to under- or over-charging over time.
Preventing Future IBS False Errors
To extend the life of your new IBS and minimize recurrences:
Regularly inspect battery terminals for corrosion and clean as needed.
Avoid frequent short trips that prevent full charging cycles.
Monitor voltage occasionally with an OBD reader.
Address alternator issues promptly to prevent overvoltage damage.
Handle the sensor gently during any battery service — it's sensitive to impact.
More from BMW
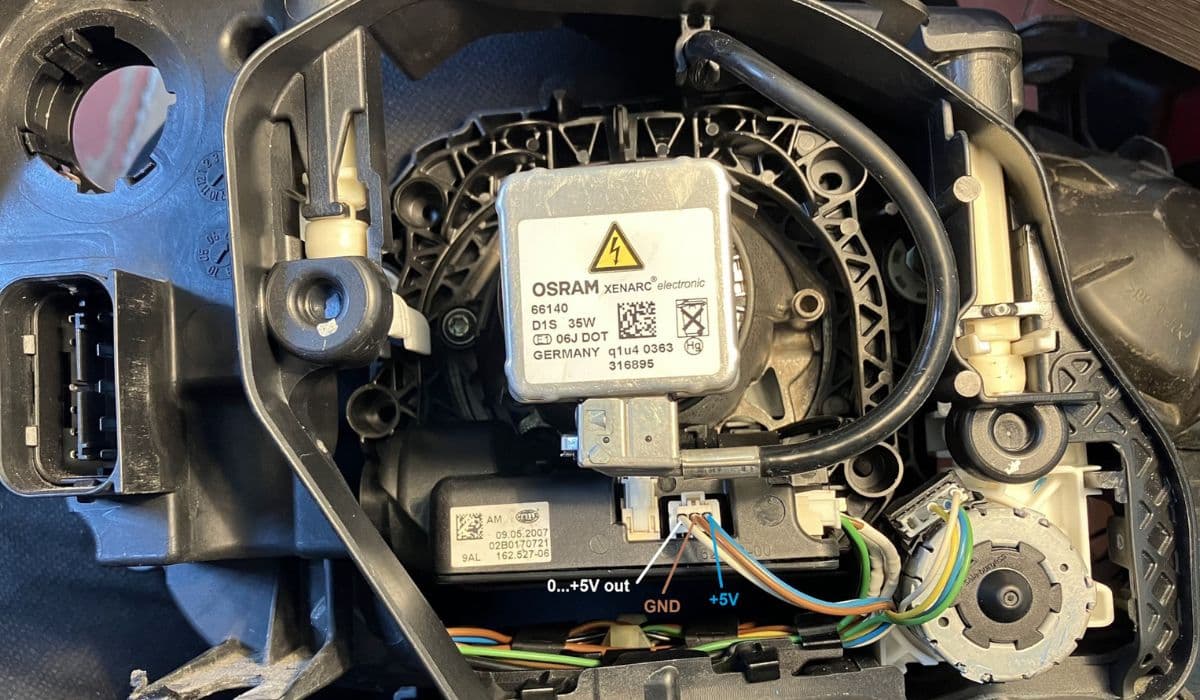
How to fix adaptive headlight malfunction (AHL errors) BMW
13.12.2025 13:00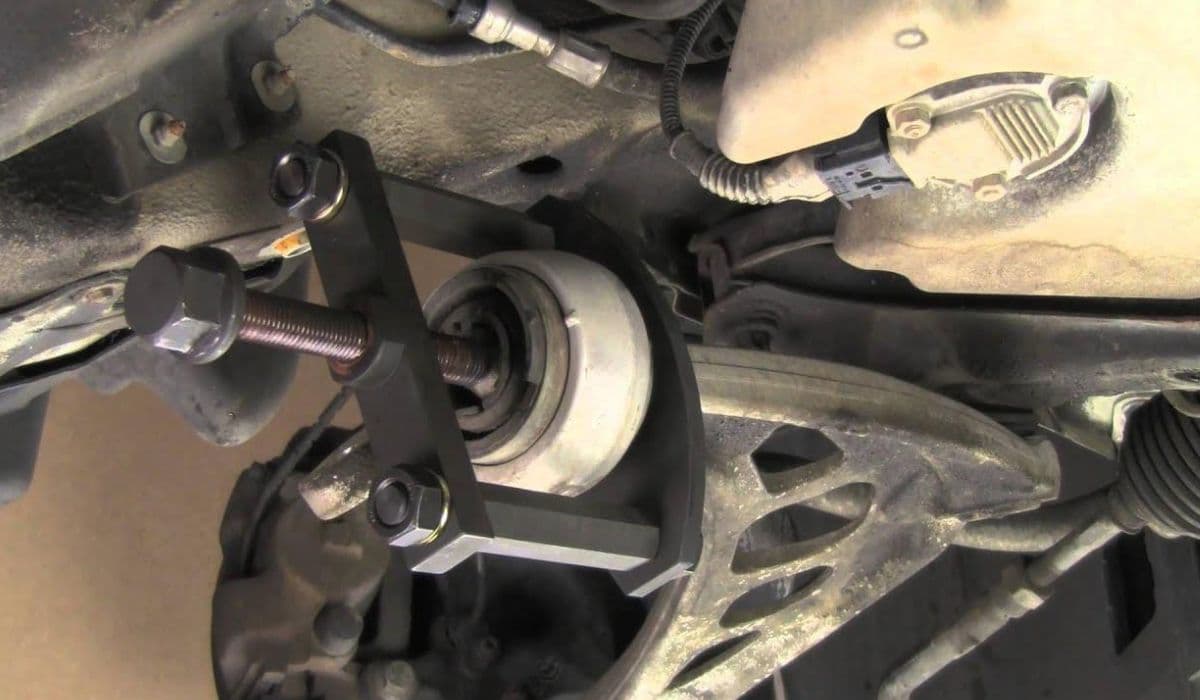
How to replace control arm bushings (front thrust arms) BMW
13.12.2025 12:55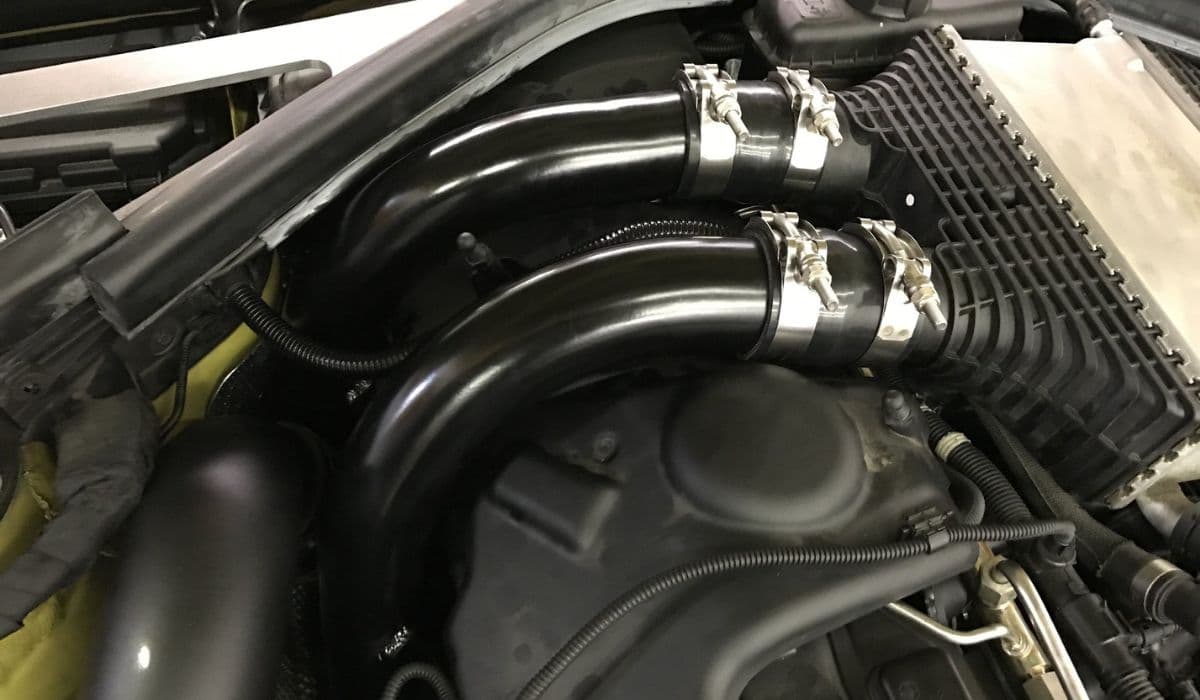
How to fix charge pipe failure on tuned BMW M3/M4
13.12.2025 12:49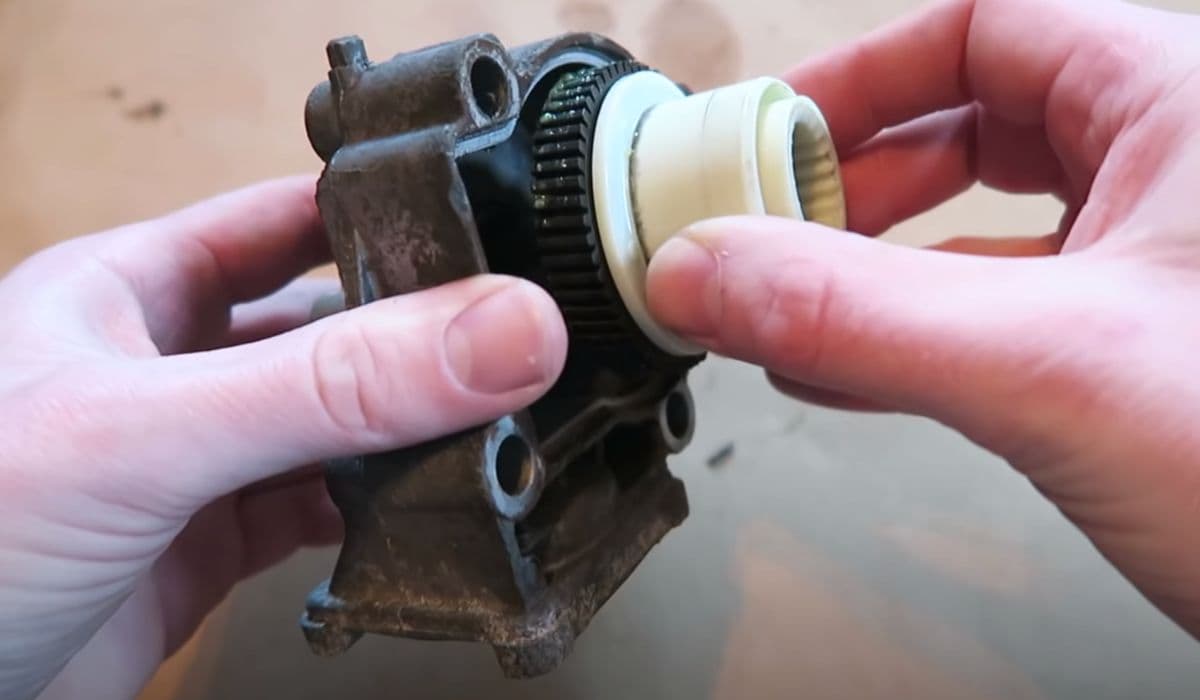
How to replace transfer case actuator BMW (xDrive grinding noise)
13.12.2025 08:45
How to fix FRM footwell module lighting issues BMW
13.12.2025 08:40