How to replace control arm bushings (front thrust arms) BMW
Front thrust arms, often called tension struts or thrust rods in BMW terminology, play a critical role in the front suspension geometry of many models. These longitudinal arms connect the steering knuckle to the subframe and primarily manage fore-aft forces during braking, acceleration, and road impacts. Their bushings absorb vibrations and allow controlled movement, but over time they degrade, leading to noticeable changes in driving dynamics.
Replacing the bushings in these thrust arms can restore precise steering feel, eliminate unwanted noises, and prevent accelerated wear on tires and other suspension components. While many owners opt to replace the entire thrust arm assembly (with pre-installed bushings), pressing out and installing new bushings alone is a viable and cost-effective option for those equipped with the right tools and patience.
This detailed guide walks through the process step by step, focusing on a thorough DIY approach suitable for models where thrust arms feature replaceable bushings.
Understanding Thrust Arm Bushings and Why They Fail
Thrust arm bushings endure constant torsional and compressive loads. The large hydraulic-style bushing at the subframe end often features a voided rubber design to dampen vibrations while maintaining alignment.
Common failure symptoms include:
Steering wheel shimmy or shudder, especially under light braking or at specific speeds
Clunking or clicking noises from the front end during acceleration, deceleration, or direction changes
Loose or vague steering response with delayed turn-in
Uneven tire wear, particularly cupping on inner edges of front tires
Visible cracks, fluid leakage (from hydraulic-filled bushings), or collapsed rubber in the bushing
Early detection prevents secondary damage like ball joint wear or subframe stress. Inspect bushings visually for tears or separation, and test by prying the arm while the vehicle is safely elevated—excessive play signals replacement time.
Tools and Materials Needed
Gather quality tools before starting to avoid interruptions:
Floor jack and sturdy jack stands (or lift for easier access)
Wheel chocks
Socket set (including 18mm, 21mm, 22mm sockets and wrenches)
Torque wrench (essential for final tightening)
Breaker bar for stubborn bolts
Hydraulic press (12-20 ton recommended) with appropriate adapters/cups for bushing removal and installation
Pry bar or large screwdriver
Penetrating oil (for rusted fasteners)
New bushings (OEM-style or upgraded polyurethane for better longevity)
New self-locking nuts where applicable (some bolts are torque-to-yield)
Nitrile gloves and safety glasses
A bushing press kit designed for BMW applications simplifies the job significantly, as generic tools may damage the arm bore.
Safety Precautions and Vehicle Preparation
Safety comes first when working under a vehicle:
Park on a flat, level surface and engage the parking brake
Chock rear wheels
Disconnect the battery if working near airbags or electronics (optional but recommended)
Never rely solely on a jack—always use rated jack stands
Wear eye protection and gloves to handle grease and sharp edges
Raise the front of the vehicle and remove both front wheels for full access. Support the hub/knuckle assembly with a jack to prevent straining brake lines or CV joints during arm removal.
Step-by-Step Removal of Thrust Arms
Accessing the thrust arms usually requires partial disassembly:
Spray penetrating oil on all bolts (subframe mount and knuckle ball joint) and let it soak
Remove the nut securing the thrust arm ball joint to the steering knuckle (often 21mm or 22mm)—use a breaker bar if seized
If the ball joint stud spins, employ a hex key in the end or separate it with a pickle fork or ball joint separator tool
Support the knuckle/hub to avoid stressing the strut or brake line
Remove the large bolt/nut at the subframe end (typically 18-22mm)—this bolt passes through the bushing sleeve
Carefully maneuver the thrust arm out; on some models with xDrive, slight axle repositioning may help gain clearance
Inspect the removed arm for ball joint play—if excessive, consider full arm replacement instead of just bushings.
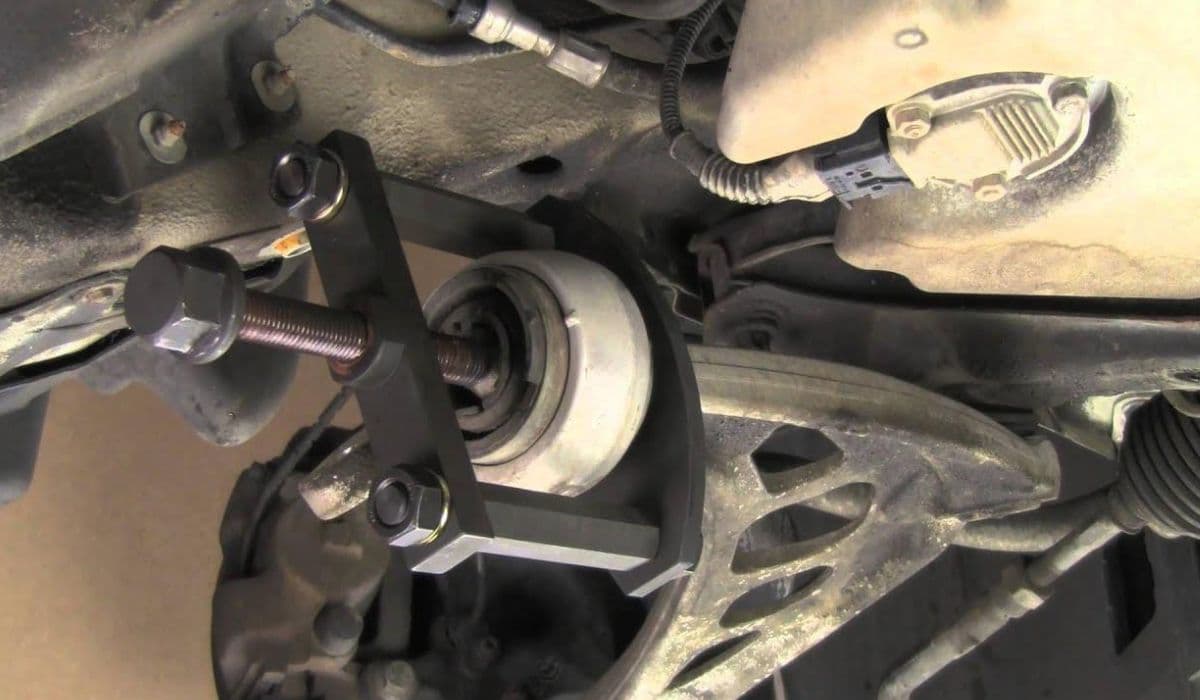
Pressing Out the Old Bushings
With the arm secured in a vise or on a workbench:
Identify orientation: most BMW thrust arm bushings have a specific “clocking” (alignment) with voids or markings facing a particular direction
Position the arm in the hydraulic press with a receiver cup that supports the arm bore without deforming it
Use a driver/adapter slightly smaller than the outer bushing diameter to press the old bushing out smoothly
Apply steady pressure—never hammer, as it risks cracking the aluminum arm
Clean the bore thoroughly after removal, removing old rubber residue and corrosion with a wire brush or emery cloth
Note: BMW thrust arm bores are typically designed for one-time bushing replacement; repeated pressing enlarges the hole and compromises fit.
Installing New Bushings Correctly
Proper installation is crucial for performance and longevity:
Apply a thin layer of silicone-based grease (not petroleum-based, to avoid rubber degradation) to the outer surface of the new bushing
Align the new bushing precisely according to factory markings or voids—incorrect clocking causes binding, noise, or uneven wear
Use the press with an installation cup that matches the bushing flange diameter
Press slowly and evenly until fully seated—listen for the “pop” as it seats
Double-check alignment after pressing; the bushing should sit flush without twisting
Polyurethane upgrades offer sharper response and longer life but transmit more road feedback—choose based on your driving style.
Reinstallation and Torque Specifications
Reverse the removal process with attention to detail:
Position the thrust arm back into the subframe first, starting the large bolt by hand
Reconnect the ball joint end to the knuckle and install a new self-locking nut finger-tight
Lower the vehicle to the ground so suspension is at normal ride height
With wheels installed and vehicle loaded (or use a floor jack under the knuckle to simulate ride height), torque all fasteners to factory specs—typically the subframe bolt requires high torque (often 100-150+ Nm range, plus angle) and the ball joint nut around 60-100 Nm
Re-check all connections after a short test drive
Tightening bushings under load prevents premature tearing from pre-loaded torsion.
Post-Installation Tips and Final Checks
After completing both sides:
Perform a gentle test drive, listening for new noises and feeling for improved steering precision
Check wheel alignment—worn bushings often cause misalignment, and replacement warrants a fresh four-wheel alignment
Re-inspect after 50-100 miles for any settling or loosening
Consider complementary maintenance like refreshing related bushings (lower control arms, sway bar links) while access is easy
Mastering this procedure transforms the front-end feel of your BMW, delivering tighter handling and confidence-inspiring stability that makes every drive more engaging. With careful execution, the results rival professional shop quality while deepening your understanding of the chassis dynamics that define BMW driving character.
More from BMW
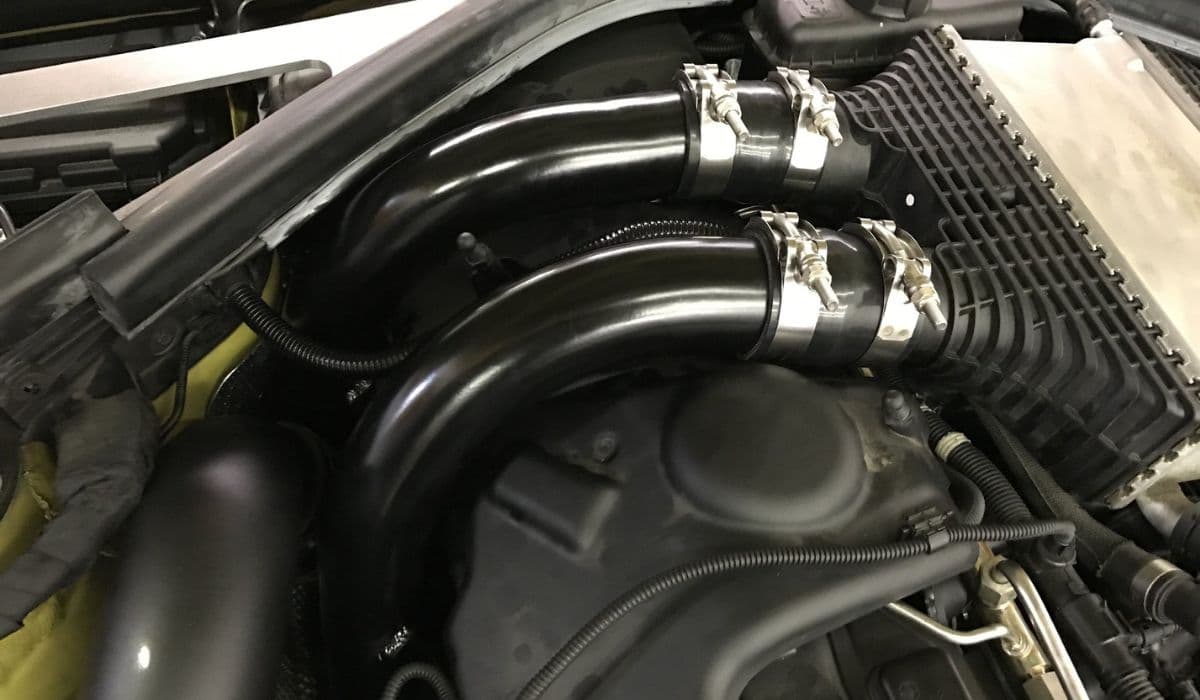
How to fix charge pipe failure on tuned BMW M3/M4
13.12.2025 12:49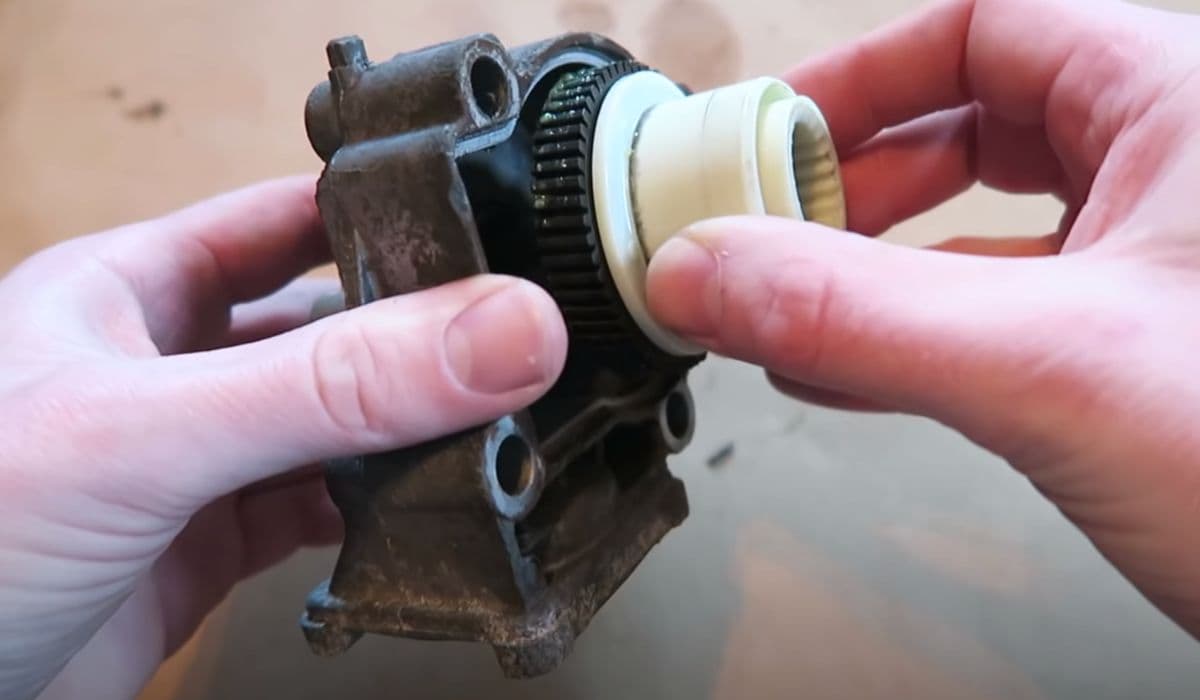
How to replace transfer case actuator BMW (xDrive grinding noise)
13.12.2025 08:45
How to fix FRM footwell module lighting issues BMW
13.12.2025 08:40
How to fix drivetrain malfunction error BMW (2025 models)
13.12.2025 06:24
How to replace thermostat and coolant flange BMW
13.12.2025 05:34