How to replace fuel injectors (BMW N20/N55 turbo)
The BMW N20 and N55 turbocharged engines represent a leap in performance and efficiency, thanks to their direct injection systems. These engines deliver impressive power while maintaining tight control over fuel delivery, but the high-pressure environment takes a toll on the fuel injectors over time. Replacing them can restore smooth operation, eliminate misfires, and bring back that signature BMW responsiveness. This guide covers the process for both the four-cylinder N20 and inline-six N55, highlighting key similarities and subtle differences.
Understanding the Direct Injection System in N20 and N55 Engines
Direct injection in these engines means fuel is sprayed straight into the combustion chamber under extreme pressure, often exceeding 2000 psi. This setup improves atomization and combustion efficiency but exposes injectors to intense heat, carbon buildup, and mechanical stress.
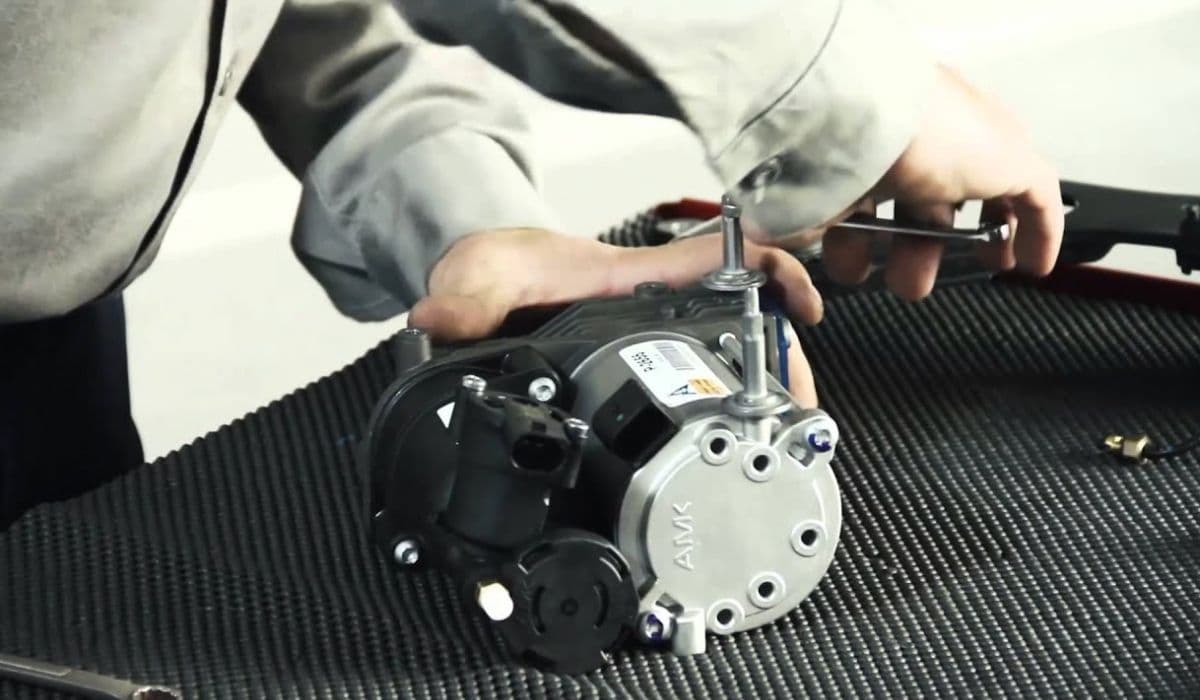
The N20, a 2.0-liter twin-scroll turbo four-cylinder, and the N55, a 3.0-liter single-turbo inline-six, share many components, including piezoelectric injectors that open and close with precision. However, the N55 has six injectors versus the N20's four, and access varies slightly due to engine layout. Both rely on a high-pressure fuel pump driven by the camshaft, feeding a rail that distributes fuel to the injectors mounted directly in the cylinder head.
Common failure modes include clogging from poor fuel quality, leaking seals causing hydraulic lock, or electrical issues leading to inconsistent spray patterns. Addressing these early prevents secondary damage to catalysts or pistons.
Signs That Your Fuel Injectors Need Replacement
Spotting injector problems early can save significant hassle. Direct-injected turbo engines like the N20 and N55 are particularly sensitive to fuel delivery issues.
Rough idling or vibrations, especially when cold or under light load
Misfires, often accompanied by check engine lights and specific cylinder codes
Hesitation during acceleration or loss of power in boost
Increased fuel consumption without obvious leaks
Hard starting, particularly after sitting overnight
Unusual exhaust smells or smoke from incomplete combustion
These symptoms often worsen with mileage, as carbon deposits accumulate on injector tips or internal components wear.
Essential Tools and Preparation
This job requires precision to avoid damaging the cylinder head or introducing debris into the engine. Work on a cool engine in a clean environment.
Key tools include:
Torque wrench for accurate fastener tightening
Special injector removal/installation tool (essential for safe extraction without stretching seals)
Socket set, extensions, and Torx bits
OBD scanner capable of injector coding
Compressed air for cleaning bores
Shop rags, brake cleaner, and assembly lube
Preparation steps:
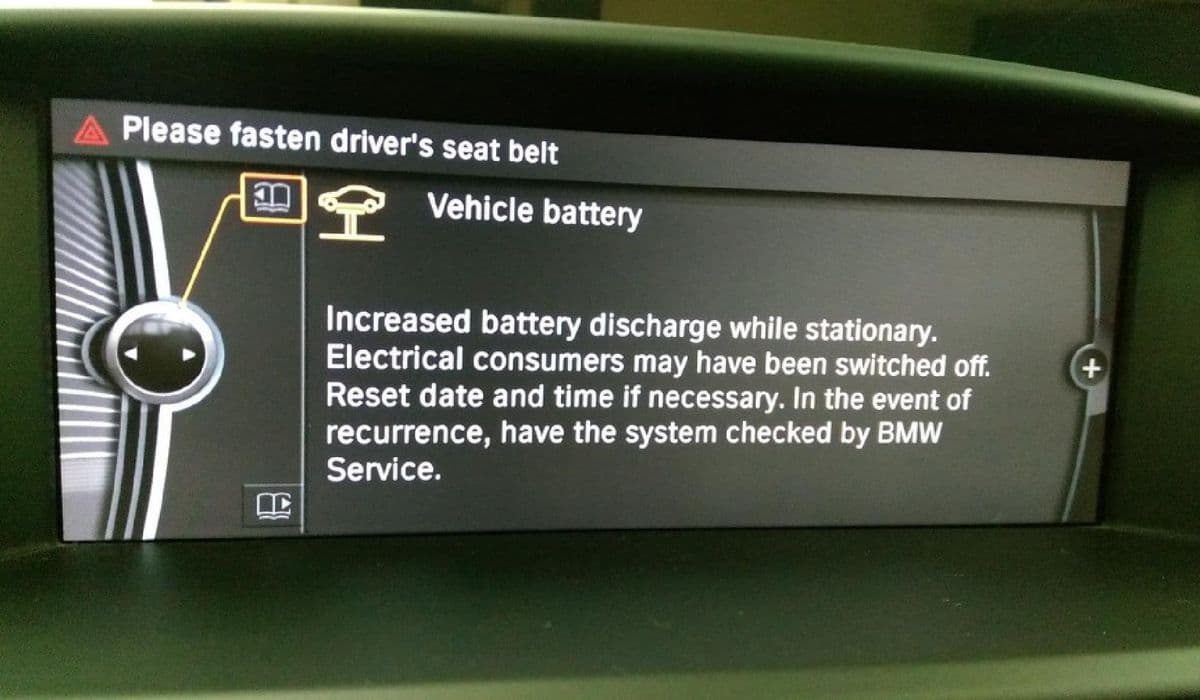
Disconnect the battery negative terminal
Relieve fuel system pressure by removing the fuel pump fuse and cranking the engine
Cover open areas to prevent contamination
Note calibration codes on old injectors before removal
Always replace decoupler elements (isolators) and Teflon seals with new ones—they're one-time use.
Step-by-Step Removal Process
The process is broadly similar for N20 and N55, with the main difference being component count and minor access variations.
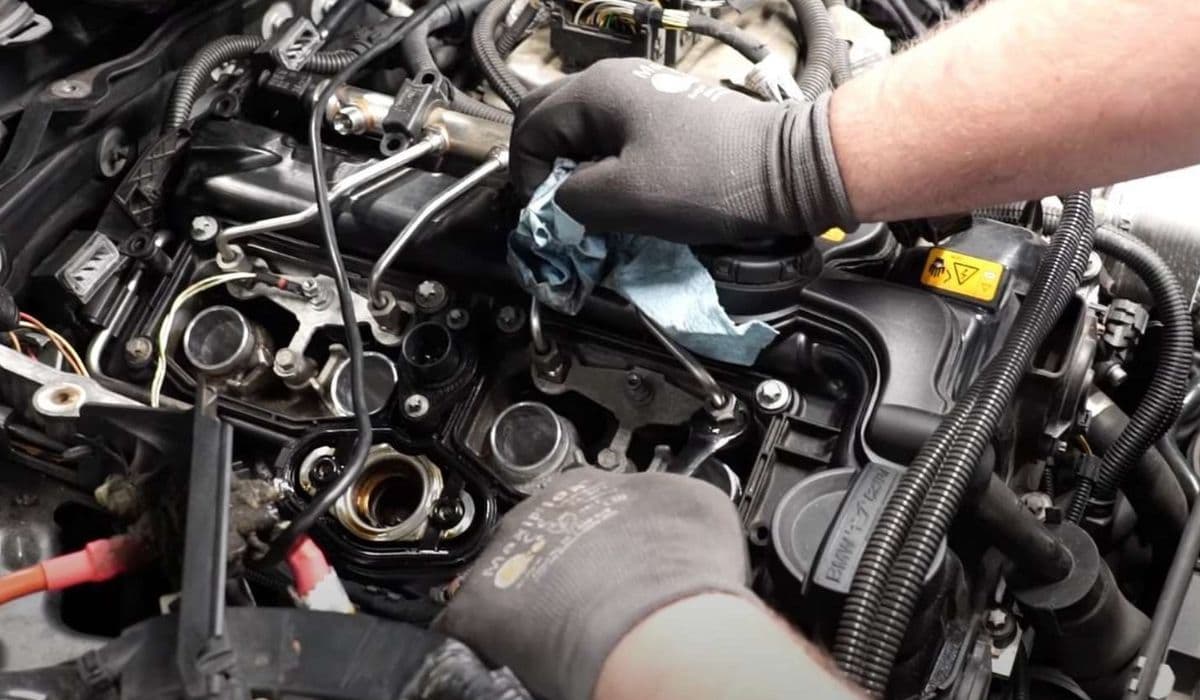
Start by removing the engine cover and ignition coils to expose the injectors. Disconnect electrical harnesses carefully.
Remove the high-pressure fuel lines using line wrenches to avoid rounding fittings
Unbolt the injector hold-down clamps (torque specs around 10 Nm on reinstall)
Blow out debris from injector bores with compressed air
Attach the special removal tool evenly to the injector body
Apply controlled torque to "unscrew" the injector—excessive force indicates it should be replaced
Gently extract the injector, inspecting for damage or carbon buildup
For the N20, the high-pressure pump is more prominently on the head; for the N55, additional vacuum lines may need disconnection. Work methodically cylinder by cylinder to avoid mixing parts.
Installing New Injectors
Fresh injectors transform engine behavior, delivering crisp throttle response.
Lubricate new Teflon seals lightly with clean engine oil
Insert injectors by hand, ensuring proper alignment
Use the installation tool to seat them evenly without hammering
Reinstall hold-down clamps and torque precisely
Connect high-pressure lines with new seals if needed
Reattach wiring harnesses securely
The N55 may require slightly more clearance for the longer engine, but the technique remains consistent. Double-check for any pinched wires.
Coding and Adaptation
Modern BMW injectors have individual calibration values etched on the body. The ECU uses these to adjust pulse widths for perfect fueling.
Connect a compatible scan tool
Enter the new injector codes manually for each cylinder
Perform adaptations for smooth running and stratified charge modes
Clear any stored faults and test drive
Skipping this step leads to rough running or persistent codes, even with perfect mechanical installation.
Testing and Final Checks
After reassembly:
Prime the fuel system by cycling the key without starting
Start the engine and monitor for leaks or unusual noises
Check live data for proper fuel pressure and trim values
Road test under various loads to confirm smooth operation
A successful replacement often reveals how degraded the old injectors were—expect sharper response and quieter idle.
More from BMW
How to fix high-voltage battery shutdown (BMW i4/iX recall)
14.12.2025 14:38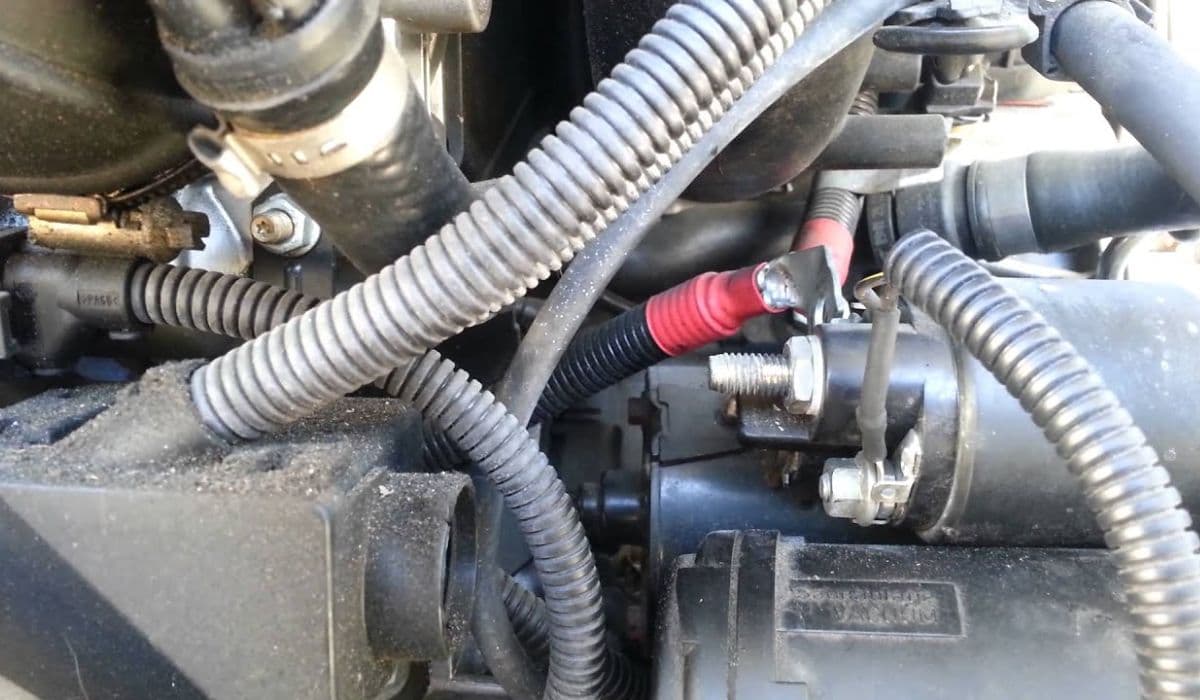
How to replace starter-generator connection BMW
14.12.2025 11:51
How to fix panoramic roof noise or leaks BMW
14.12.2025 07:56
How to fix brake booster vacuum issues BMW
14.12.2025 06:06
How to replace 12V battery and register it (2025 BMW X5/iX issues)
14.12.2025 03:36