How to replace harmonic balancer pulley on BMW
The harmonic balancer pulley, also known as the crankshaft vibration damper, plays a crucial role in BMW engines. It absorbs torsional vibrations from the crankshaft, preventing excessive stress on engine components and ensuring smooth operation. Over time, the rubber insulator inside the balancer can deteriorate due to heat, age, and exposure to engine fluids, leading to separation between the inner hub and outer ring. This component is especially important in BMW's high-revving inline-six engines, where unbalanced vibrations can accelerate wear on bearings, timing chains, and even the oil pump.
Replacing the harmonic balancer is a proactive maintenance task that can prevent costly engine damage. Many BMW owners tackle this job themselves, as it provides access to the front crankshaft seal and allows inspection of drive belts. While the process varies slightly between engine families like the M54, N52, or diesel M57, the core steps remain consistent. This guide focuses on a general procedure applicable to most modern BMW models, emphasizing safety and precision.
Understanding the Harmonic Balancer in BMW Engines
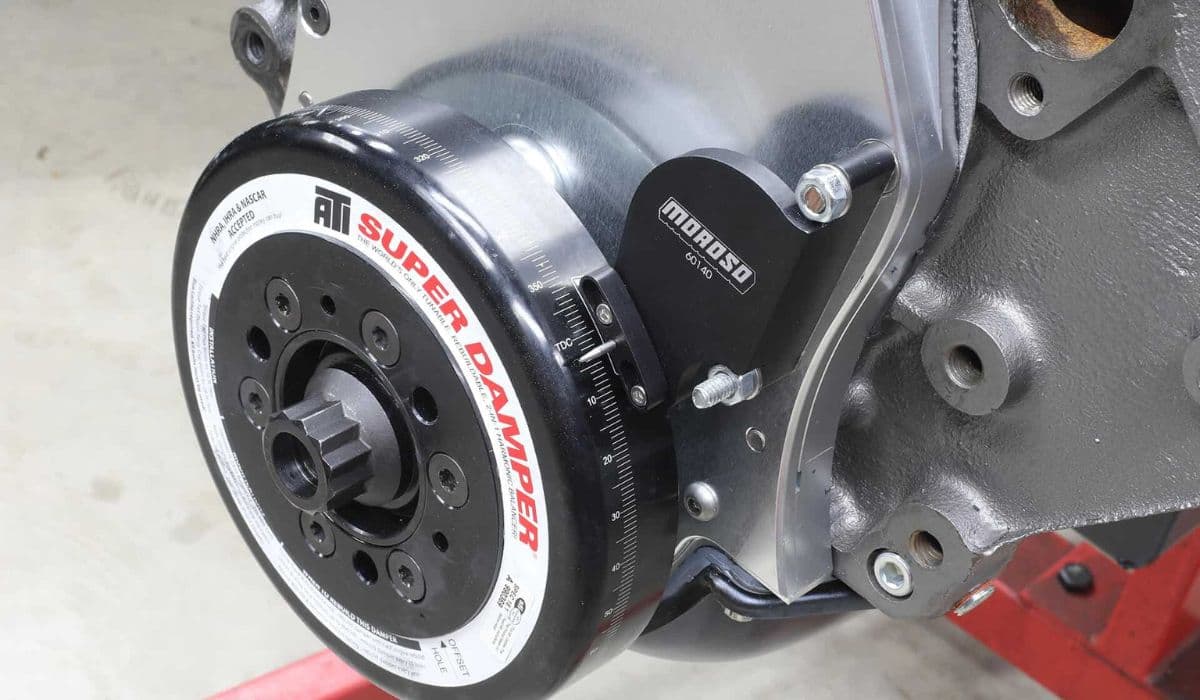
In BMW vehicles, the harmonic balancer is integrated with the crankshaft pulley that drives accessory belts for the alternator, power steering, and air conditioning compressor. Unlike simpler pulleys, it features a heavy outer ring bonded to the hub via a rubber layer that dampens vibrations.
Common signs of failure include visible wobbling when the engine is running, separation of the outer ring (often noticeable as the pulley shifting forward), unusual engine vibrations at idle or specific RPM ranges, rattling noises from the front of the engine, or serpentine belt misalignment leading to squealing. In severe cases, a failing balancer can throw off timing marks or cause accessory drive issues.
Ignoring these symptoms risks crankshaft damage or belt failure. Regular inspection during belt replacements can catch issues early.
Tools and Materials Needed
Performing this replacement requires specific tools to avoid damaging the crankshaft or timing components. Preparation is key to a smooth job.
Socket set including a large torque wrench capable of high values
Breaker bar and cheater pipe for leverage
Crankshaft pulley holding tool (essential for counter-holding the central bolt)
Harmonic balancer puller and installer kit
Flywheel locking pin (for some models to prevent crankshaft rotation)
Torque angle gauge if required for final tightening
New harmonic balancer (OEM or quality aftermarket with proper damping)
New central bolt (always replace, as it's torque-to-yield)
Thread locker if specified
Basic hand tools: wrenches, pry bars, and a soft-faced hammer
Safety gear like gloves and eye protection is mandatory, along with jack stands if raising the vehicle.
Safety Precautions Before Starting
Work on a cool engine to avoid burns. Disconnect the battery negative terminal to prevent accidental starting. Support the vehicle securely on jack stands if accessing from below. Never rely solely on a jack.
Remove any obstructing components like undertrays or fan shrouds carefully. Note that turning the crankshaft only in the engine's normal direction (clockwise from the front) prevents timing chain slack or damage.
Step-by-Step Removal Process
Begin by relieving tension on the serpentine belt using the tensioner pulley. Route the belt off the crankshaft pulley and remove it entirely for better access.
Position the crankshaft holding tool onto the pulley spokes or bolts to secure it.
Use a long breaker bar to loosen the central crankshaft bolt (typically counterclockwise). This bolt is extremely tight, so leverage is crucial—expect significant resistance.
Once loose, remove the bolt completely. Inspect for stretching or damage.
If the model has a separate accessory pulley, unbolt it from the balancer hub (often six smaller bolts).
Attach a harmonic balancer puller. Use bolts threaded into the balancer's holes for even pulling force. Apply steady pressure to separate the balancer from the crankshaft snout. It may require gentle taps if seized, but avoid prying directly on the crankshaft.
Clean the crankshaft end thoroughly, removing any old sealant or debris. Check the woodruff key for damage—it's critical for alignment.
Inspecting Related Components
With the balancer off, this is an ideal time to examine surrounding parts.
Check the front crankshaft seal for leaks and replace if oily residue is present.
Inspect drive belt tensioners and idler pulleys for bearing noise or play.
Verify belt routing and condition.
Look for oil contamination that may have accelerated rubber degradation in the old balancer.
Addressing these now saves future labor.
Installation of the New Harmonic Balancer
Align the new balancer carefully.
Ensure the woodruff key is seated in the crankshaft slot.
Slide the balancer onto the snout, aligning the keyway. It should seat fully by hand or with light taps from a soft hammer—never force it.
Install the new central bolt hand-tight.
Reattach any separate pulley if applicable, torquing its bolts evenly.
Use the holding tool again to counter-hold while torquing the central bolt in stages: initial torque, followed by angle tightening as per engine specs.
Reinstall the serpentine belt, ensuring proper routing over all pulleys.
Double-check alignment visually—the belt grooves must match perfectly.
Final Checks and Testing
Reconnect the battery and start the engine. Listen for smooth operation and watch for vibrations. Rev gently through the RPM range to confirm damping effectiveness.
Road test the vehicle, monitoring for unusual noises or belt tracking issues. Recheck torque on accessible bolts after a short drive, as settling can occur.
This replacement restores engine harmony, reducing stress on internals and improving drivability. With proper tools and patience, it's a rewarding DIY that enhances BMW longevity.
More from BMW
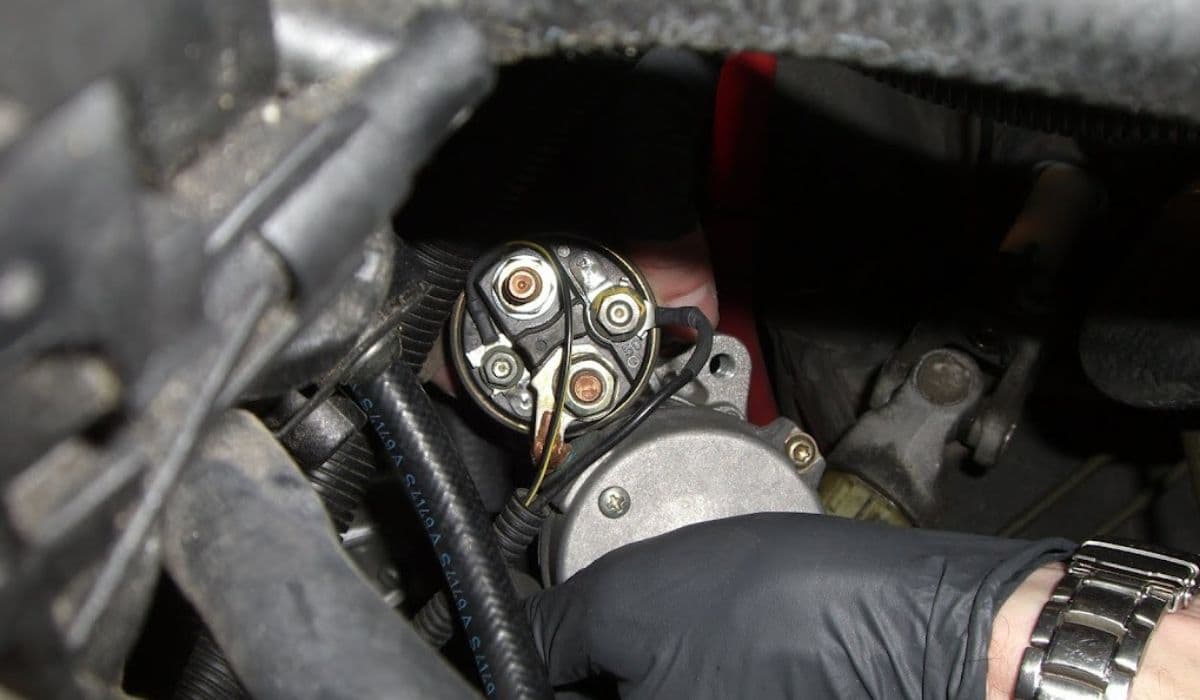
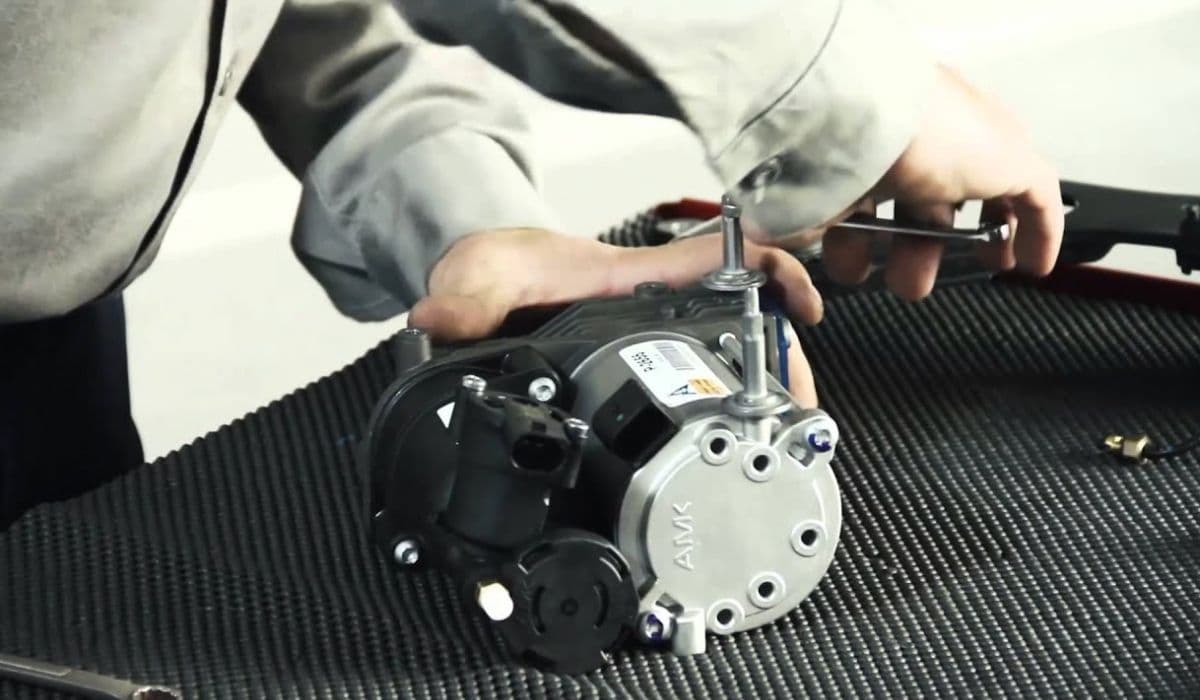
How to fix starter-generator loose connection BMW
19.12.2025 16:00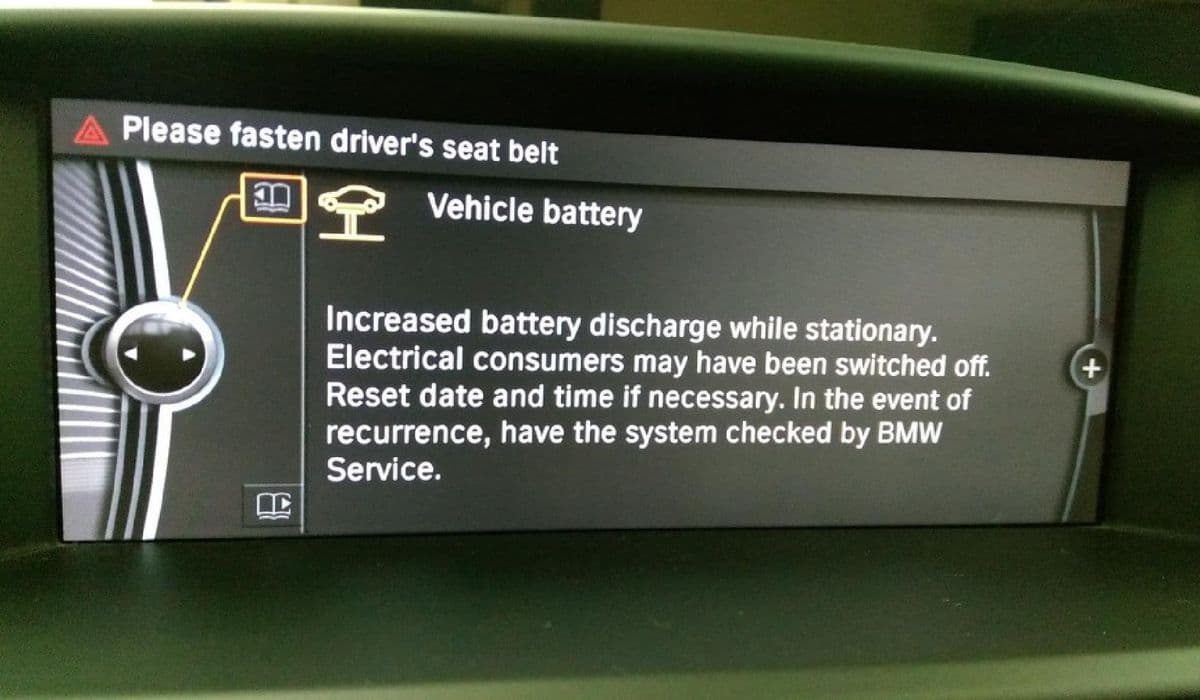
How to fix high-voltage battery shutdown (BMW i4/iX recall)
14.12.2025 14:38
How to replace starter-generator connection BMW
14.12.2025 11:51
How to fix panoramic roof noise or leaks BMW
14.12.2025 07:56
How to fix brake booster vacuum issues BMW
14.12.2025 06:06