How to replace integrated PCV valve in valve cover BMW
The integrated PCV (Positive Crankcase Ventilation) valve in BMW valve covers is a clever but sometimes troublesome design. Found on popular engines like N52, N55, N20, and others, this system combines the oil separator, diaphragm, and valve into the valve cover itself. While it keeps emissions low and the engine breathing properly, the plastic diaphragm and components can crack, tear, or lose elasticity over time due to heat cycles, oil contamination, and age. Replacing it restores smooth idling, eliminates excessive oil consumption, and prevents potential damage to turbochargers or catalytic converters. This guide walks you through the process step by step, with practical tips to make the job smoother and avoid common pitfalls.
Why the Integrated PCV Valve Fails and Why It Matters
BMW's integrated design saves space but relies on a thin rubber diaphragm that flexes thousands of times. Heat from the engine hardens the material, while oil vapors leave sticky deposits that restrict movement. When it fails, crankcase pressure builds up or drops dramatically, pulling oil into the intake or allowing unburned gases to escape.
Common warning signs include:
Rough or unstable idle, especially when cold
Excessive oil consumption between changes
Whistling or hissing sounds from the engine bay
Blue or white smoke from the exhaust
Check engine light with codes related to crankcase ventilation
Oil residue inside the intake manifold or throttle body
Ignoring these issues can lead to fouled spark plugs, carbon buildup, or even turbo failure in boosted models. Addressing it early keeps your BMW running efficiently and protects expensive components.
Tools and Materials You’ll Need
Gather these items before starting to avoid mid-job interruptions:
Socket set (including Torx bits T30, T40, and E-torx for some models)
Extensions and universal joints for tight access
Torque wrench
Flathead screwdriver and plastic pry tools
New valve cover (with integrated PCV) or repair kit (membrane + cap)
Fresh valve cover gasket
High-quality RTV sealant (if required for certain models)
Shop rags and brake cleaner
Optional: heat gun or hair dryer for stubborn plastic parts
Step-by-Step Replacement Process
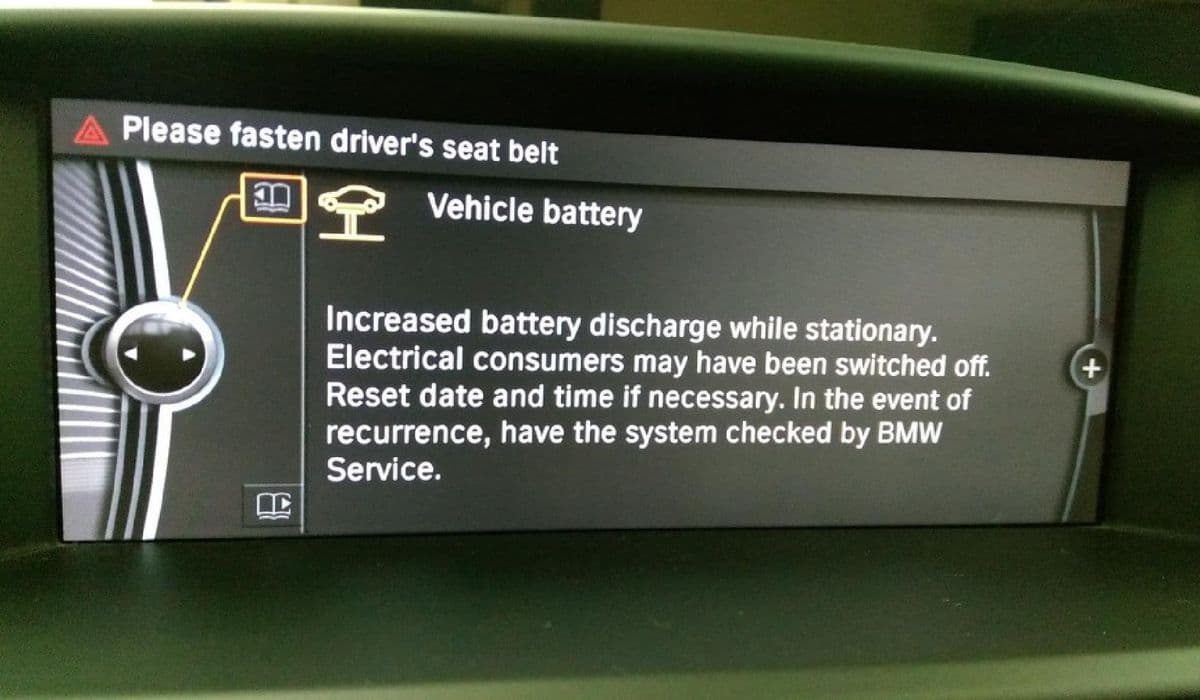
Prepare the Vehicle Park on a level surface and let the engine cool completely. Disconnect the negative battery terminal for safety. Remove the engine cover by releasing the clips or bolts.
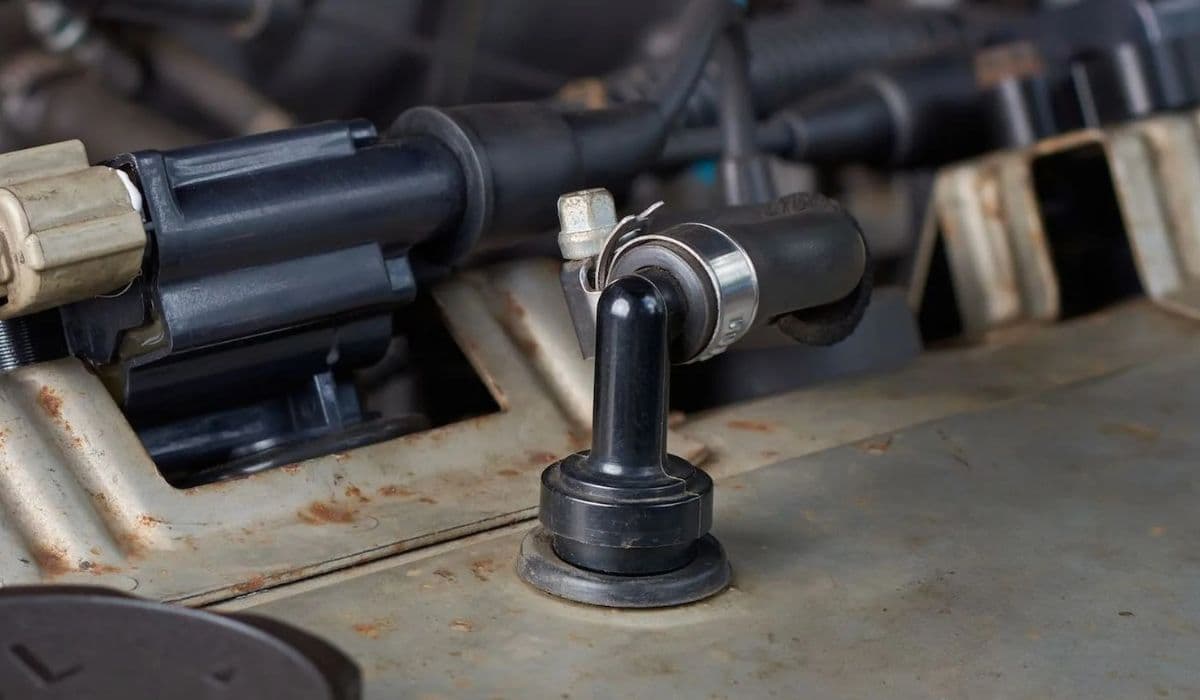
Clear Access to the Valve Cover Remove the air intake duct, air filter housing, and any connected hoses. Disconnect the PCV breather hose carefully—use a hose clamp if needed to avoid damaging the plastic nipple. In turbo models, remove the charge pipes or intercooler connections. For N55 engines, carefully pull the ignition coils and high-pressure fuel lines (depressurize the fuel system first).
Remove the Valve Cover Locate all valve cover bolts (usually 15–20). Loosen them in a crisscross pattern to avoid warping. Gently pry the cover upward, working around the edges. Be patient—stuck gaskets can tear. Lift the cover slowly while disconnecting any remaining vacuum lines or wiring harnesses clipped to it.
Inspect and Replace the PCV Components Examine the old diaphragm for cracks, tears, or hardening. If using a full new valve cover, transfer any reusable parts like spark plug tubes. For repair kits (common on N52/N55), carefully cut out the old diaphragm with a sharp tool or Dremel, clean the housing thoroughly, and install the new membrane and cap. Apply a thin bead of RTV sealant around the edges for a secure fit. Let it cure if instructed.
Clean and Prepare Surfaces Wipe the mating surfaces on the cylinder head and valve cover with brake cleaner. Remove old gasket material completely—no residue should remain. Check for any oil sludge inside the cover channels and clean if necessary.
Install the New Valve Cover or Repaired Unit Position the new gasket (or reuse if undamaged). Lower the cover carefully, ensuring all hoses and wiring align. Hand-tighten bolts first, then torque them to spec in the proper sequence (usually starting from the center outward). Reconnect all breather hoses, coils, and lines.
Reassemble and Test Reinstall the intake system, air filter, and engine cover. Reconnect the battery. Start the engine and let it idle. Listen for unusual noises and check for leaks around the cover. Rev the engine gently and verify smooth operation. Drive a short test loop and monitor for smoke or warning lights.
Pro Tips for a Perfect Job
Always replace the valve cover gasket when removing the cover—old gaskets rarely reseal properly.
Use new bolts if they are torque-to-yield (common on some engines) to prevent stripping.
In tight engine bays, use zip ties to hold wiring and hoses out of the way.
Apply a light coat of oil to the gasket for easier installation.
After installation, monitor oil level closely for the first few hundred miles—slight consumption is normal as the system settles.
For turbo engines, inspect charge pipes for oil pooling during the job.
Common Mistakes to Avoid
Forcing hoses off—plastic nipples snap easily; use proper tools.
Overtightening bolts—warps the plastic cover and causes leaks.
Skipping the torque sequence—uneven pressure leads to gasket failure.
Ignoring related components—replace cracked breather hoses at the same time.
Not cleaning the intake—old oil residue can cause ongoing issues.
With careful attention to detail, this repair transforms your BMW's performance and reliability. The engine breathes freely again, idle smooths out, and oil stays where it belongs. Many owners report dramatic improvements in drivability after this fix. Tackle it with confidence, and your BMW will thank you with thousands more trouble-free miles.
More from BMW
How to fix high-voltage battery shutdown (BMW i4/iX recall)
14.12.2025 14:38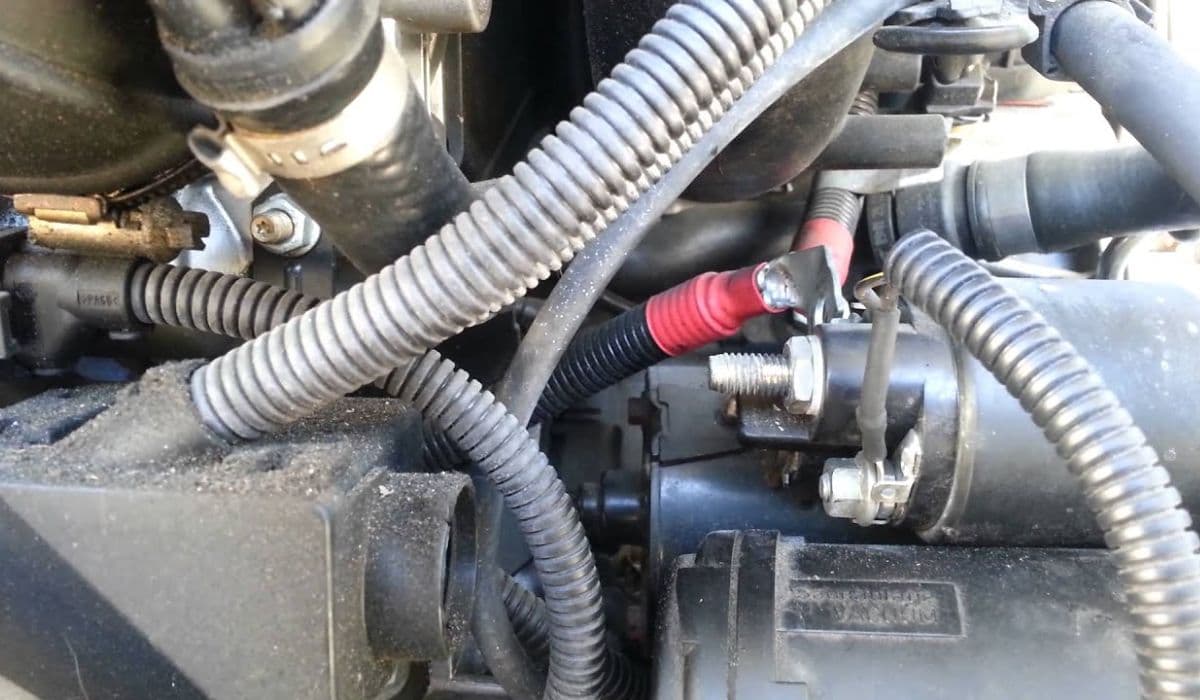
How to replace starter-generator connection BMW
14.12.2025 11:51
How to fix panoramic roof noise or leaks BMW
14.12.2025 07:56
How to fix brake booster vacuum issues BMW
14.12.2025 06:06
How to replace 12V battery and register it (2025 BMW X5/iX issues)
14.12.2025 03:36