How to Replace Rear Subframe Bushings on a BMW
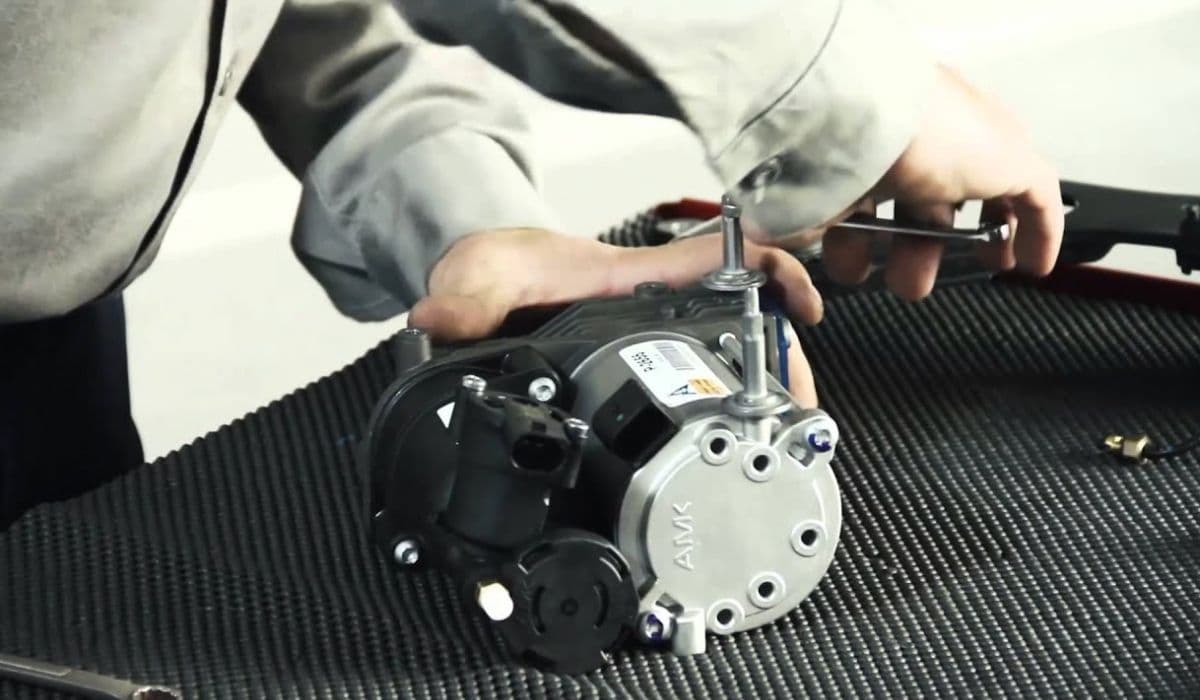
The rear subframe bushings in BMW models play a critical role in maintaining the integrity of the rear suspension system. These bushings connect the subframe — which supports the differential, trailing arms, and other components — to the chassis. Over time, they degrade due to constant exposure to road forces, leading to noticeable changes in how the car handles. Replacing them can transform a loose, unpredictable rear end into a tight, responsive setup that feels like a new vehicle.
Enthusiasts often tackle this job because it addresses common complaints in older BMWs, restoring precision and confidence during spirited driving. Whether you're dealing with vague steering feedback or unwanted movement under acceleration, fresh bushings make a profound difference. This guide walks through the process in detail, focusing on practical techniques used by DIY mechanics.
Understanding Rear Subframe Bushings and Why They Fail
Rear subframe bushings isolate vibrations while allowing controlled movement of the subframe. Made typically from rubber, they absorb impacts but eventually crack, soften, or separate from their metal sleeves. This wear allows excessive shift in the entire rear assembly.
Common symptoms include:
Clunking or thumping noises from the rear during acceleration or gear changes
A loose or wandering feeling in the rear end over bumps
Vague steering response, especially in corners
Uneven tire wear or instability under hard braking
In performance-oriented driving, worn bushings exaggerate wheel hop and reduce traction. Many owners notice these issues becoming prominent after high mileage, prompting a refresh that sharpens the car's dynamics.
Choosing the Right Replacement Bushings
Options range from OEM-style rubber to aftermarket polyurethane. Rubber bushings maintain factory comfort levels with good isolation from road noise. They suit daily drivers prioritizing smoothness.
Polyurethane bushings offer greater stiffness, minimizing subframe flex for improved handling precision. They install more easily in some cases and resist degradation longer. Harder compounds suit track-focused setups, while softer ones balance performance and comfort.
Consider your driving style: street use favors materials that preserve ride quality, while aggressive applications benefit from reduced deflection.
Tools and Preparation
This job demands patience and the right equipment. Basic requirements include:
Jack and jack stands for safe lifting
Socket set, including large sizes for subframe bolts
Torque wrench for proper reassembly
Pry bars and hammers for component separation
Specialized tools simplify bushing removal and installation:
Hydraulic press or threaded rod setup for pressing bushings
Reciprocating saw for cutting old bushings if needed
Bushing-specific puller kits for on-car work in some models
Preparation steps:
Park on a level surface and chock the front wheels
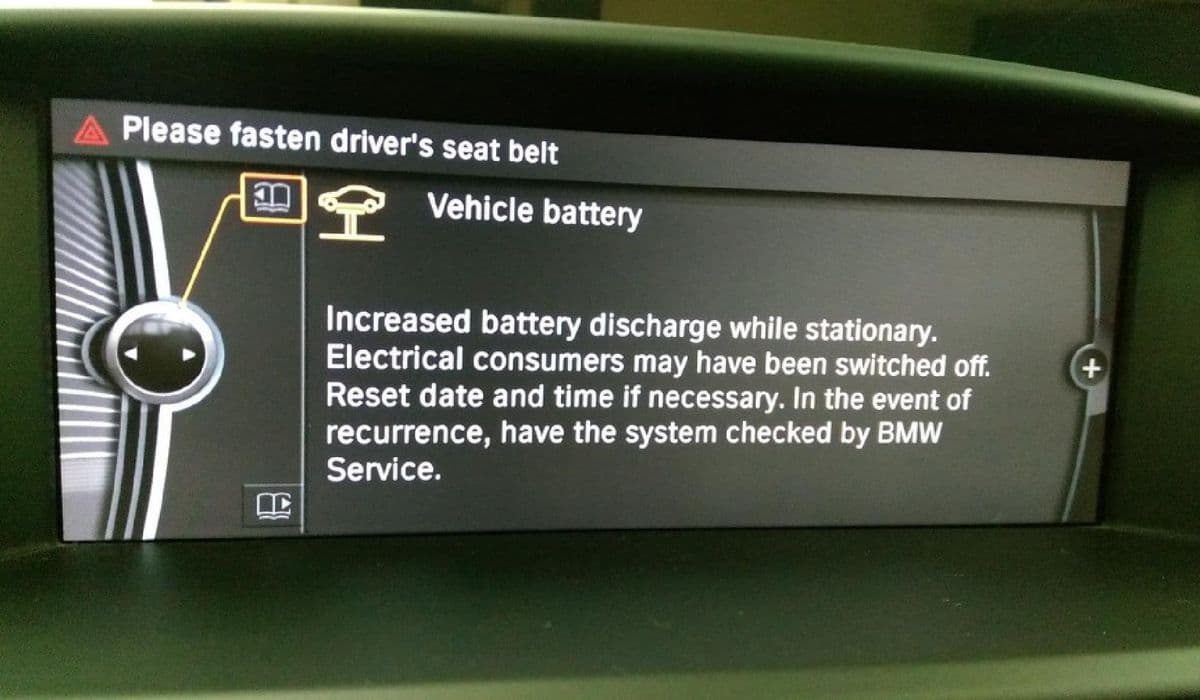
Disconnect the battery for safety
Spray penetrating oil on bolts days in advance to ease removal
Gather new hardware, as old bolts often seize
Work in a well-ventilated area, wearing gloves and eye protection.
Removing the Rear Subframe
Dropping the subframe provides full access, though some advanced tools allow on-car replacement.
Key disconnection steps:
Lift the rear and secure on stands
Remove exhaust sections for clearance
Disconnect the driveshaft at the differential
Unbolt shocks, sway bar links, and brake lines (cap lines to prevent fluid loss)
Support the subframe with a transmission jack
Remove mounting plates and large bolts securing the subframe
Lower the assembly carefully, watching for hanging components like parking brake cables. Once out, inspect for corrosion or damage.
Removing Old Bushings
Old bushings cling stubbornly. Methods vary by preference:
Use a hydraulic press with proper adapters to push them out cleanly
Burn rubber with a torch (outdoors only) then hammer out the sleeve
Cut with a reciprocating saw, avoiding damage to the subframe
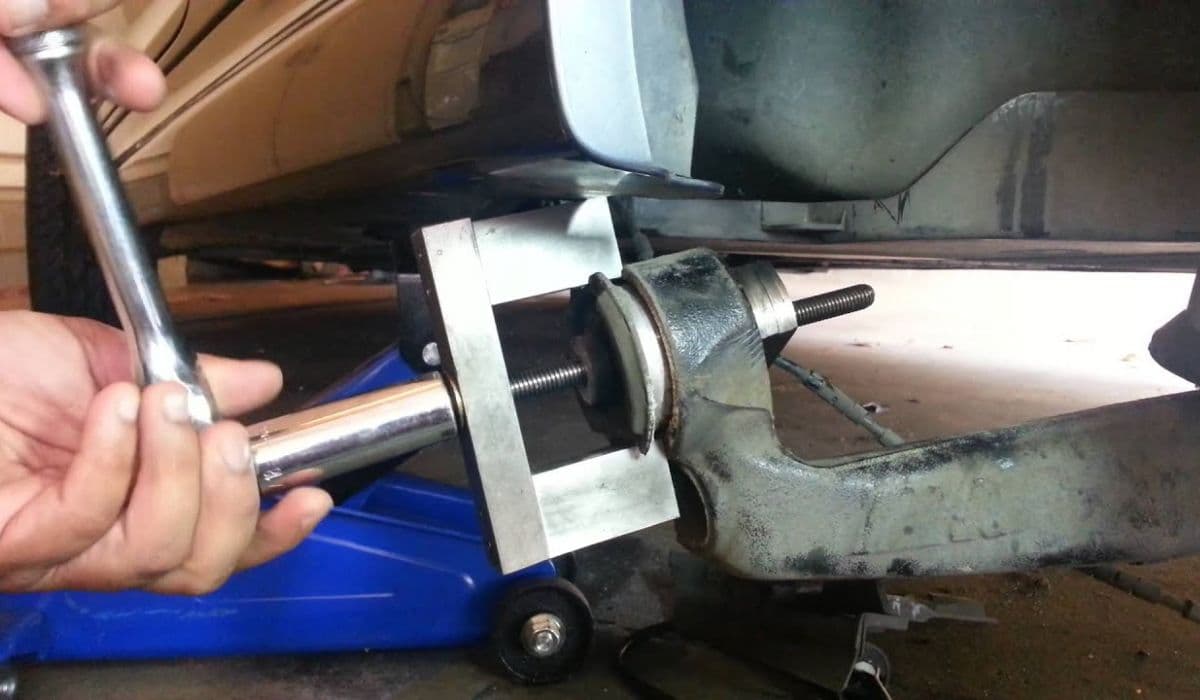
Threaded rod tools with plates for gradual extraction
Clean the bores thoroughly after removal, removing debris for smooth installation.
Installing New Bushings
Polyurethane often presses in by hand with lubricant, while rubber requires pressing.
Tips for success:
Align voids or markings correctly for proper load distribution
Use assembly lube to prevent binding
Press evenly to avoid distortion
Spacer blocks ensure full seating
If dropping the subframe, reinstall other bushings like differential mounts simultaneously for efficiency.
Reassembly and Final Steps
Raise the subframe into position, threading bolts loosely at first.
Reconnect in reverse order:
Driveshaft, exhaust, and suspension links
Brake lines and sensors
Torque all fasteners to specifications
Lower the vehicle and perform a professional alignment, as geometry shifts. Test drive gently, listening for abnormalities.
This upgrade often reveals how much compliance was lost over time, delivering sharper turn-in and stable power delivery. Many drivers report the rear feeling planted and predictable again, enhancing the signature BMW driving experience.
More from BMW
How to fix high-voltage battery shutdown (BMW i4/iX recall)
14.12.2025 14:38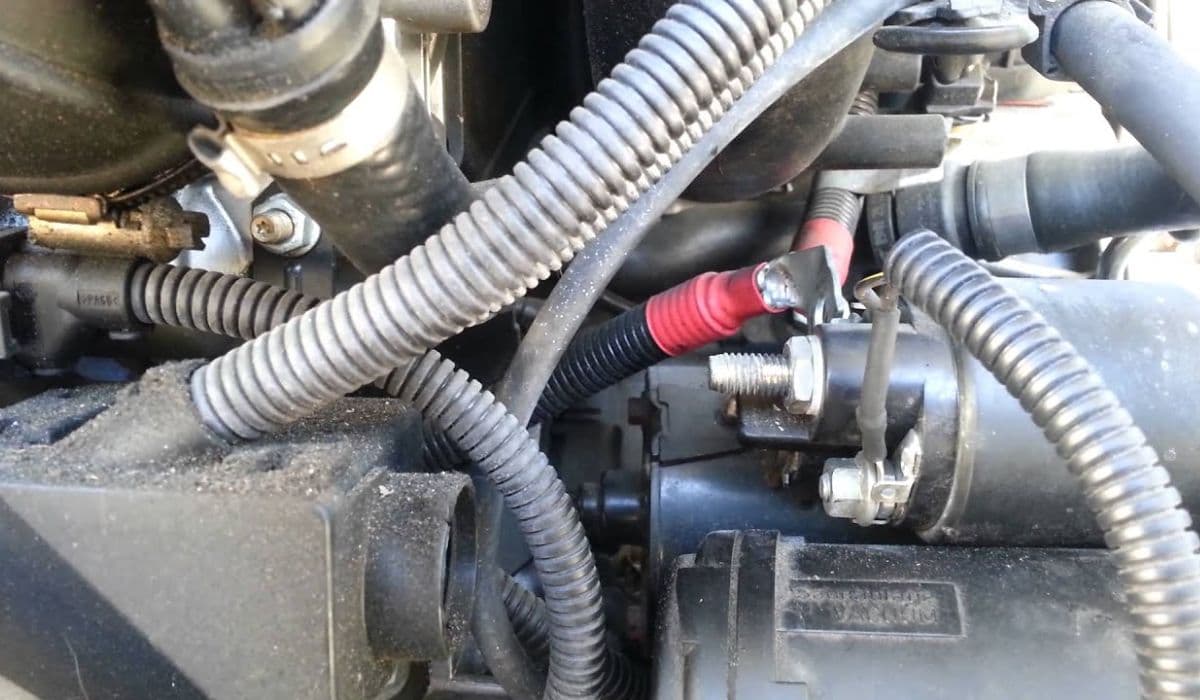
How to replace starter-generator connection BMW
14.12.2025 11:51
How to fix panoramic roof noise or leaks BMW
14.12.2025 07:56
How to fix brake booster vacuum issues BMW
14.12.2025 06:06
How to replace 12V battery and register it (2025 BMW X5/iX issues)
14.12.2025 03:36