How to replace transfer case fluid and actuator (BMW xDrive models)
Maintaining the transfer case in your BMW xDrive vehicle is essential for ensuring smooth power distribution between the front and rear axles, which directly impacts handling, traction, and overall performance. The transfer case fluid lubricates internal components, while the actuator engages the all-wheel-drive system as needed. Over time, fluid can degrade due to heat, contamination, or mileage, and the actuator may fail from wear or electrical issues. This guide provides a detailed walkthrough for BMW owners with models like the X3, X5, or 3 Series equipped with xDrive, focusing on DIY replacement procedures. Always consult your vehicle's service manual for model-specific variations, and if you're not mechanically inclined, seek professional assistance to avoid voiding warranties or causing damage.
Understanding the Role of the Transfer Case in BMW xDrive Systems
The BMW xDrive system is an intelligent all-wheel-drive technology that dynamically adjusts torque distribution for optimal grip on various surfaces. At its core is the transfer case, a gearbox-like component mounted near the transmission that splits engine power between the axles. In most BMW xDrive models from 2004 onward, such as the E90 3 Series or F15 X5, the transfer case uses a chain-drive or gear mechanism to transfer power.
Transfer case fluid, often a specialized synthetic oil like BMW's DTF-1 or equivalent ATF, provides lubrication, cooling, and hydraulic pressure for clutch packs. It typically needs replacement every 30,000 to 50,000 miles, depending on driving conditions—more frequently in harsh environments like off-road use or extreme temperatures. Neglecting it can lead to overheating, increased wear on bearings and chains, or even complete failure, resulting in drivetrain vibrations or loss of all-wheel drive.
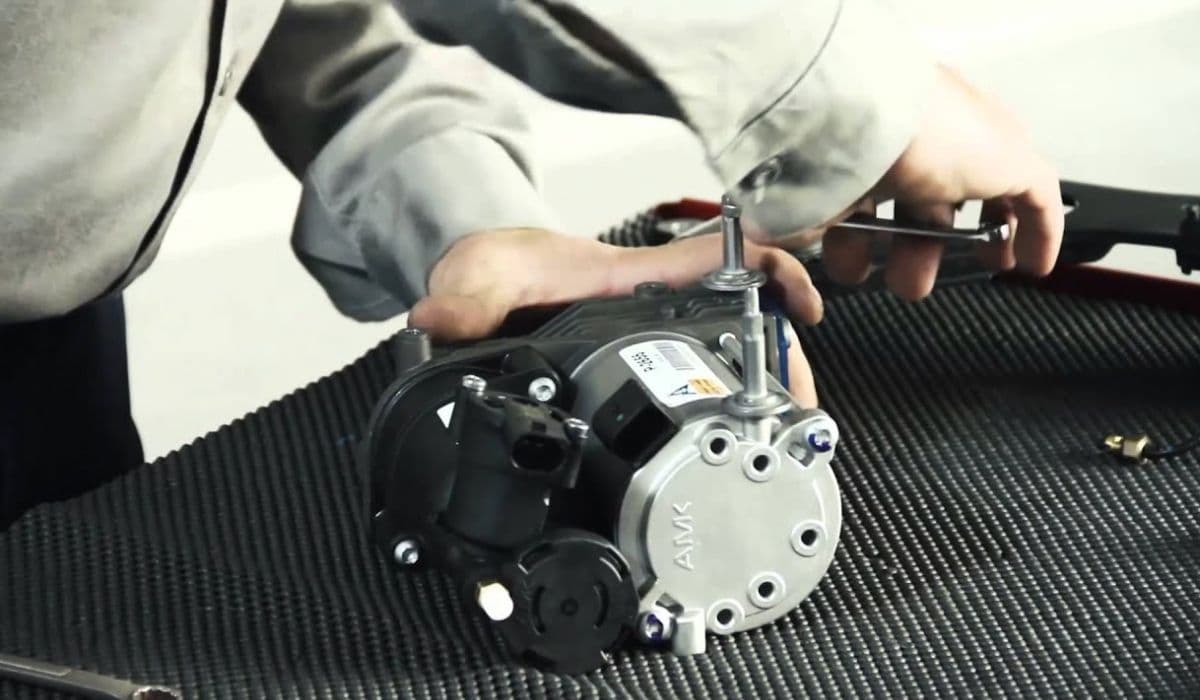
The actuator, also known as the servo motor or VTG (Variable Torque Gear) actuator in BMW terminology, is an electric motor that modulates the multi-plate clutch inside the transfer case. It responds to inputs from the vehicle's dynamic stability control (DSC) system, adjusting torque split from 100% rear to up to 50/50 front/rear. Common in models like the G01 X3 or G05 X5, actuators can fail due to stripped gears, moisture ingress, or electrical faults, triggering dashboard warnings like "4x4 System Malfunction."
Identifying Symptoms of Transfer Case Issues
Before diving into replacement, recognize the warning signs to confirm if fluid or actuator service is necessary. Fluid-related problems often manifest as a whining or grinding noise from under the vehicle, especially during acceleration or turns, indicating insufficient lubrication. You might also notice fluid leaks around the transfer case seals, a burning smell from overheated oil, or sluggish engagement of all-wheel drive on slippery roads.
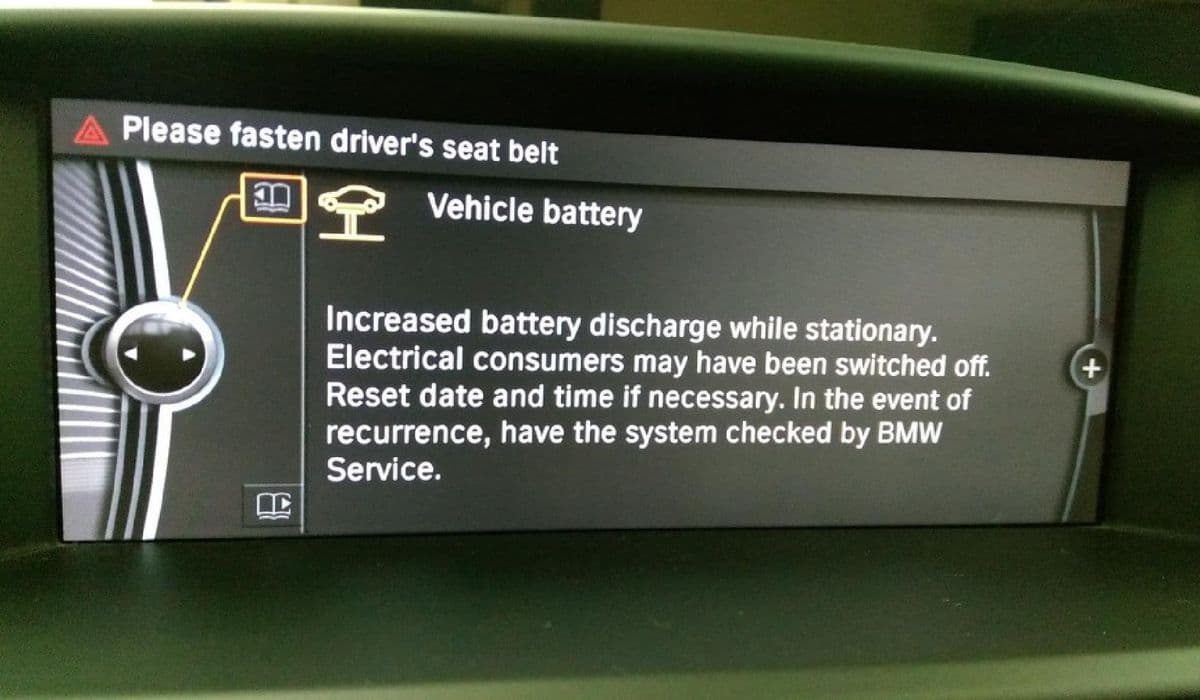
For the actuator, symptoms include erratic torque distribution, such as the car pulling to one side under load or failing to engage front-wheel assistance. Diagnostic trouble codes (DTCs) like P17E8 (actuator position sensor fault) or P17E9 (actuator motor fault) may appear when scanned with an OBD-II tool compatible with BMW systems, such as INPA or Carly. Vibrations at highway speeds or a "Drivetrain Malfunction" message on the iDrive screen are also red flags. In severe cases, the system may default to rear-wheel drive only, reducing traction in adverse weather.
Regular inspections during oil changes can help catch these early—check fluid levels via the fill plug and inspect for metal shavings or discoloration, which signal internal wear.
Preparing Tools and Materials for the Job
To perform these replacements safely and effectively, gather the right equipment. For fluid change, you'll need a jack and jack stands or a lift for elevation, as the transfer case is underneath the vehicle. Essential tools include a torque wrench (for precise bolt tightening), socket set (typically 17mm or 19mm for drain/fill plugs), Allen keys or Torx bits for access panels, and a fluid pump or syringe for refilling.
Materials: Approximately 1-2 liters of BMW-approved transfer case fluid (e.g., Shell TF 0870 or equivalent, check your model's specs), new crush washers or gaskets for plugs to prevent leaks, and rags or drip pans for cleanup. For actuator replacement, add a multimeter for electrical testing, pliers for connector removal, and possibly a scan tool to reset adaptations post-install.
Safety gear is non-negotiable: gloves, eye protection, and ensure the vehicle is on a level surface with the parking brake engaged. Disconnect the battery if working near electrical components to avoid shorts.
Step-by-Step Process for Replacing Transfer Case Fluid
Begin by warming up the engine to operating temperature, as warm fluid drains more completely. Park on a flat surface, engage the parking brake, and chock the wheels.
Elevate the vehicle securely using a jack and stands, ensuring all four wheels are off the ground for models with electronic parking brakes.
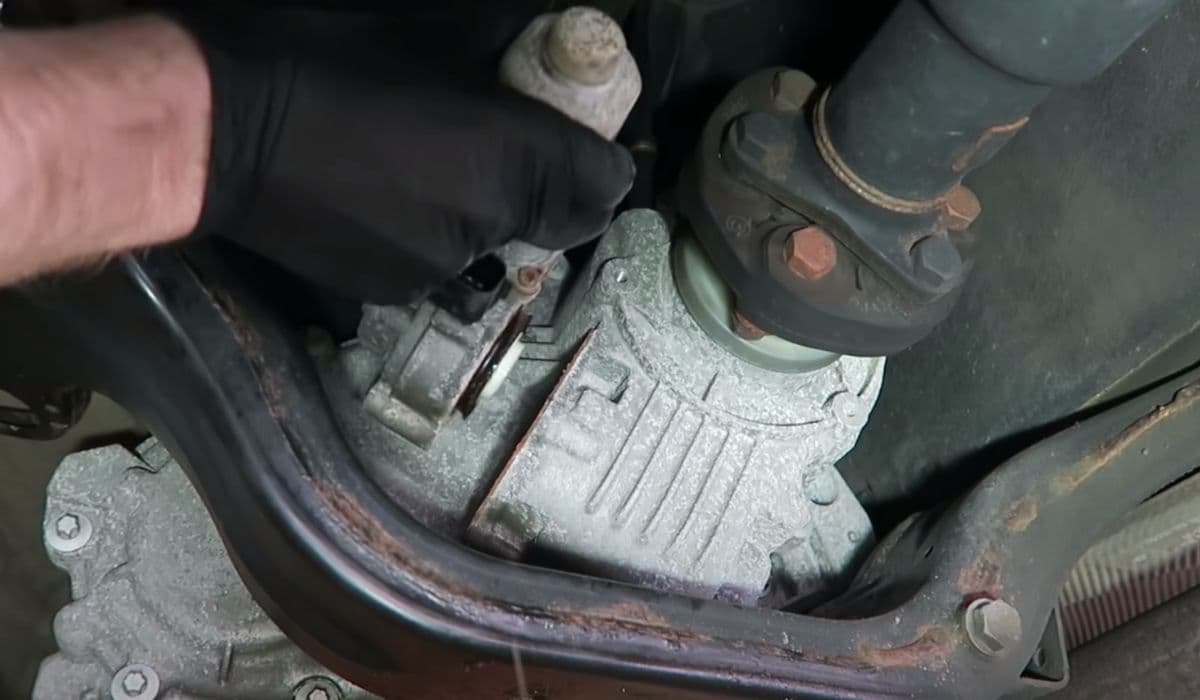
Locate the transfer case—it's usually bolted to the rear of the transmission, with drain and fill plugs on the side or bottom. On BMW xDrive, the drain plug is often at the lowest point, marked with a hex head.
Place a drain pan underneath and remove the fill plug first (using a 17mm socket) to allow air in and prevent vacuum lock. Then, remove the drain plug and let the old fluid empty completely—this may take 10-15 minutes. Inspect the drained fluid: milky appearance suggests water contamination, while metallic particles indicate wear.
If your model has a filter (rare in BMW transfer cases but present in some like the ATC300/400 series), access it by removing the cover plate and replace it with a new one.
Clean the drain plug magnet of any debris, install a new crush washer, and torque the drain plug to spec (typically 25-30 Nm—check manual).
Using a fluid pump, refill through the fill plug until fluid starts to overflow, indicating full capacity (around 0.8-1.2 liters for most models). Wipe excess and torque the fill plug similarly.
Lower the vehicle, start the engine, and shift through gears to circulate the new fluid. Recheck levels after a short drive and top off if needed.
This process typically takes 1-2 hours and can prevent costly repairs if done prophylactically.
Detailed Procedure for Actuator Replacement
Actuator swaps are more involved, often requiring partial disassembly. Confirm the fault with a diagnostic scan first.
Safely lift the vehicle and support it. Disconnect the negative battery terminal to de-energize the system.
Locate the actuator on the transfer case—it's a cylindrical or box-shaped motor attached via bolts, with electrical connectors and possibly a vent hose.
Unplug the wiring harness carefully, noting pin orientations. Use a multimeter to test for continuity or resistance if diagnosing.
Remove mounting bolts (usually 3-4 Torx T30 or E10 sockets) while supporting the actuator to prevent it from dropping. Some models require removing heat shields or exhaust components for access—on X5s, this might involve loosening the propshaft.
Inspect the old actuator for damage, like cracked housing or seized gears. Clean the mounting surface on the transfer case to ensure a good seal.
Install the new actuator (OEM part numbers like 27107566296 for older models or updated versions), aligning splines or gears precisely to avoid misalignment errors.
Torque bolts to spec (around 8-10 Nm), reconnect wiring, and reattach any hoses.
Reconnect the battery, clear fault codes with a scan tool, and perform a system adaptation reset via the diagnostic menu—this recalibrates the actuator's position sensors.
Test drive the vehicle, monitoring for smooth engagement and no warning lights. Full functionality may require a few drive cycles.
Expect 2-4 hours for this, longer if additional components block access.
Avoiding Common Pitfalls During Replacement
Many DIYers encounter issues from improper torque or mismatched fluids. Always use BMW-specified fluid—substitutes can cause clutch slippage or foaming. Overfilling leads to pressure buildup and leaks, while underfilling accelerates wear.
For actuators, forcing misaligned parts can strip internal gears, necessitating full transfer case rebuilds costing thousands. Neglect battery disconnection risks airbag deployment or ECU damage. Post-replacement, avoid immediate high-stress driving; allow components to bed in.
Environmental factors matter—work in a well-ventilated area, as fluids are hazardous, and dispose of old oil responsibly at recycling centers.
Enhancing Transfer Case Longevity Through Maintenance
To maximize durability, integrate transfer case service into your routine. Monitor fluid every 10,000 miles via the fill plug, topping off if low. In high-mileage vehicles (over 100,000 miles), consider additive packages for enhanced protection against shear.
Drive habits influence lifespan: Avoid aggressive launches on dry pavement, which strains the clutches, and use proper tires with matching tread depths to prevent uneven wear. Software updates from BMW dealers can optimize actuator calibration, reducing premature failures.
For off-road enthusiasts, more frequent fluid changes (every 20,000 miles) and actuator inspections are advisable. Pair this with differential and transmission services for comprehensive drivetrain health.
By following these detailed steps and tips, BMW xDrive owners can maintain peak performance and avoid breakdowns, ensuring reliable all-wheel-drive capability year-round.
More from BMW
How to fix high-voltage battery shutdown (BMW i4/iX recall)
14.12.2025 14:38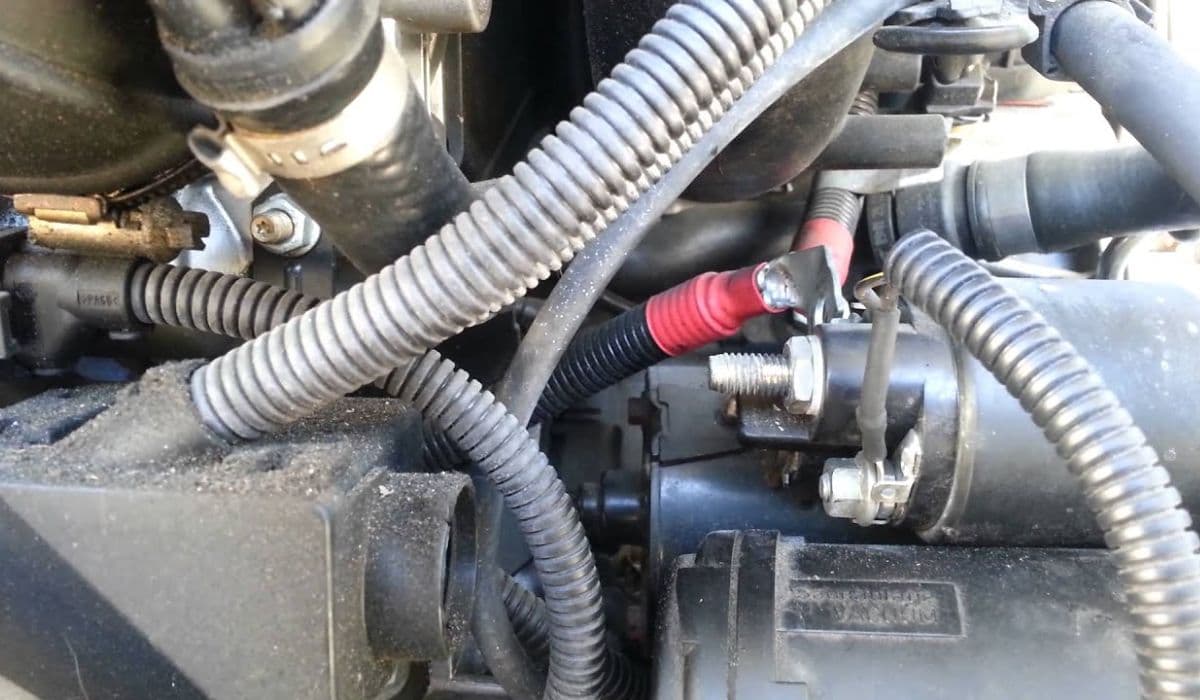
How to replace starter-generator connection BMW
14.12.2025 11:51
How to fix panoramic roof noise or leaks BMW
14.12.2025 07:56
How to fix brake booster vacuum issues BMW
14.12.2025 06:06
How to replace 12V battery and register it (2025 BMW X5/iX issues)
14.12.2025 03:36