Honda Pilot 9-Speed ZF Transmission Fluid Change DIY: Complete Step-by-Step Guide
The Honda Pilot equipped with the ZF 9HP 9-speed automatic transmission (found in many third-generation Pilots with the J35Y6 V6) uses a very specific ATF called Honda ATF Type 3.1 (previously known as ATF DW-1 in some documentation, but Type 3.1 is the current required fluid). Doing a proper drain-and-fill yourself can save hundreds of dollars compared to dealer prices and, if done correctly, will significantly extend transmission life. This guide covers every critical detail for a safe, effective DIY fluid change.
Why the ZF 9-Speed in the Honda Pilot Needs Regular Fluid Changes
Unlike older Honda transmissions that were marketed as “lifetime fill,” the ZF 9G-Tronic (badged as 9-speed in the Pilot) requires periodic fluid and filter service. Honda’s official maintenance schedule calls for ATF replacement every 30,000–40,000 miles under severe conditions (towing, mountainous driving, stop-and-go traffic) and many owners report shifting improvements, reduced harshness, and smoother operation after a fresh fluid change. Old, oxidized fluid leads to clutch wear, valve-body sticking, and eventually expensive rebuilds.
Tools and Parts You Will Actually Need
8–9 quarts of genuine Honda ATF Type 3.1 (part number 08200-9109). Do NOT substitute with generic “DW-1 compatible” fluids — the ZF 9-speed is extremely sensitive to friction modifiers.
New crush washer for the drain plug (Honda P/N 90471-PX4-000) and fill plug (94109-20000).
New internal transmission filter (Honda P/N 25430-PLR-003) and O-ring.
Optional but highly recommended: external spin-on filter (Honda P/N 25450-TZ5-A01) — some model years have it, some don’t.
3/8" ratchet, 17 mm deep socket (drain plug), 24 mm socket (level check plug).
Long-neck funnel and clear 3/8" ID hose (~3 ft).
Fluid pump (hand or electric) — gravity fill is possible but extremely slow.
Torque wrench capable of 18 ft-lb and 35 ft-lb.
Jack and jack stands or ramps.
Drain pan with at least 6-quart capacity.
Nitrile gloves, rags, brake cleaner.
Safety note: Never get under a vehicle supported only by a jack.
Getting the Transmission to the Correct Temperature
ZF specifies fluid level check at 95–113 °F (35–45 °C) for this transmission. Too cold or too hot and you will over- or under-fill. Use an OBD-II scanner with live data (Torque Pro, OBD Fusion, or Honda HDS) and monitor “ATF Temp” or “TFT Sensor.” If you don’t have a scanner, a non-contact infrared thermometer aimed at the transmission pan works reasonably well — aim for ~100 °F pan temperature.
Step-by-Step Drain and Fill Procedure
Warm up the engine and transmission with a 15–20 minute drive, including highway speeds to circulate fluid through the torque converter.
Park on a level surface, engage the parking brake, and chock wheels.
Raise the front of the vehicle and support securely on jack stands (or use ramps).
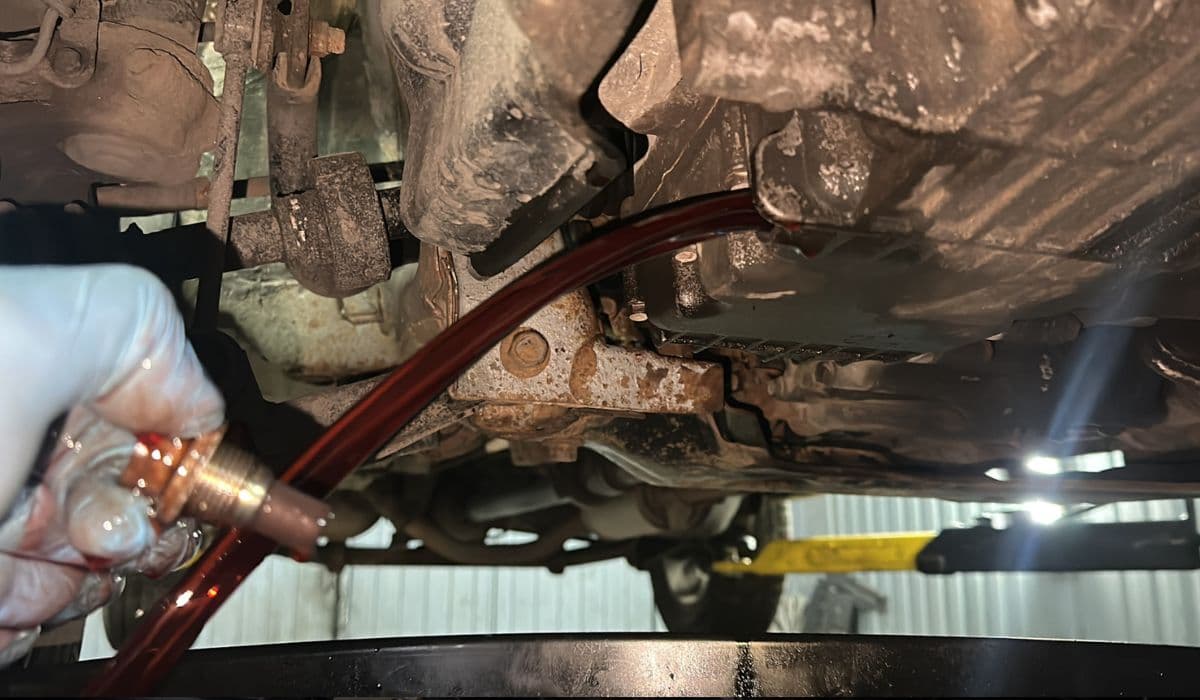
Locate the transmission drain plug on the bottom of the pan (17 mm hex). Place drain pan underneath.
Remove the drain plug and allow fluid to drain completely — expect ~4.2–4.5 quarts to come out.
While draining, remove the fill plug on the side of the case (24 mm) to allow air in and speed draining.
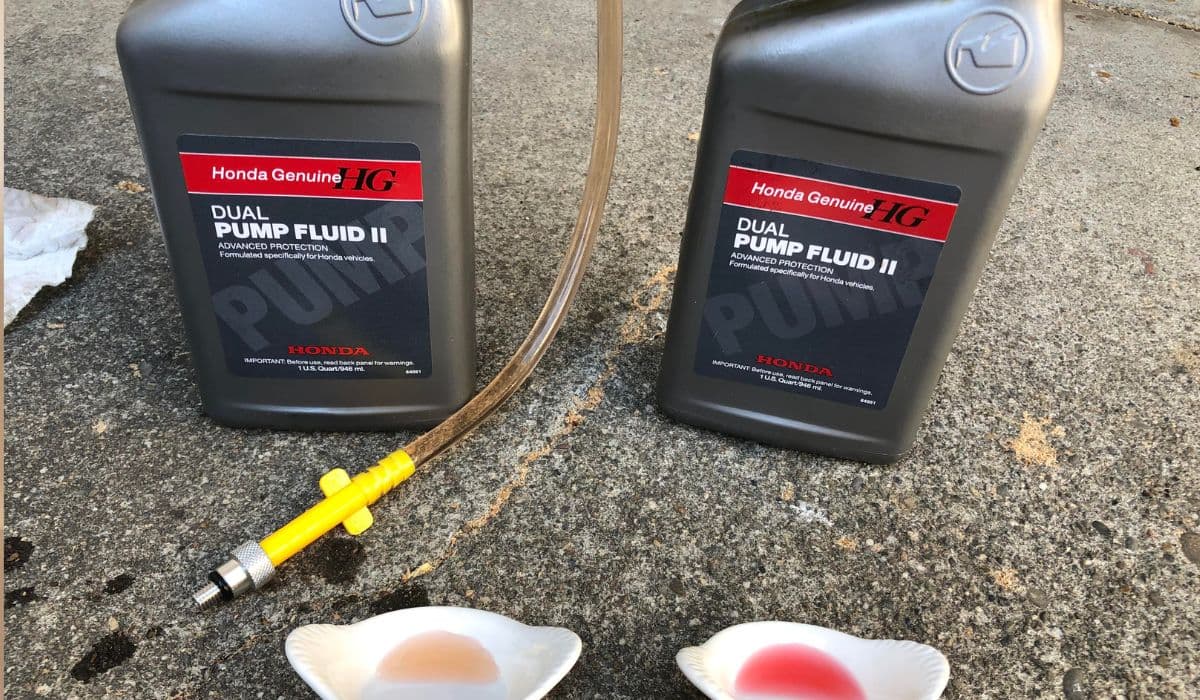
Inspect drained fluid: normal is bright red and slightly transparent. Black, brown, or metallic particles indicate internal problems.
Replace crush washer and reinstall drain plug. Torque to 29 ft-lb (40 Nm (about 35 ft-lb is commonly used).
Lower vehicle temporarily if you used a jack.
Open hood and locate the transmission dipstick tube (passenger side, rear of engine bay).
Insert long funnel with hose.
Pump or pour in exactly the same amount that drained (typically 4.3–4.5 quarts).
Start engine, move shifter through all gears (P-R-N-D-S-L) pausing 5 seconds in each, twice.
With engine running and foot on brake, remove the side level-check plug (24 mm) — it’s about halfway up the case, facing the radiator.
Fluid should trickle out steadily. If nothing comes out, add 0.2–0.3 qt at a time until it drips.
If fluid pours out in a heavy stream, it’s overfilled — let it drain until it slows to a drip.
Reinstall level plug with new crush washer, torque to 26 ft-lb (35 Nm).
Recheck after a test drive and re-warm to temperature if needed.
3x Drain-and-Fill vs Single Change — What Actually Works
A single drain-and-fill replaces only ~40–45% of total fluid because most remains in the torque converter and valve body. For heavily degraded fluid, perform three consecutive drain-and-fills spaced 300–500 miles apart. This method dilutes old fluid to less than 10% and is far more effective than a single service.
Internal Filter Replacement (Advanced)
The internal filter is a metal mesh screen located under a cover on the passenger side of the transmission. Replacement requires:
Removing the battery and battery tray for access.
Draining fluid first.
Removing ~12 bolts on the side cover.
Carefully prying cover (it has alignment dowels).
Replacing filter and O-ring.
Reinstalling with new gasket or RTV if required.
Most owners skip this unless doing a major service or rebuild, as the filter rarely clogs before 150k+ miles.
External Spin-On Filter (When Equipped)
Some 2016–2018 Pilots have an external filter near the radiator. It uses a standard Honda element (same as many Accord V6 models). Replace every second fluid change.
Common Mistakes That Destroy ZF 9-Speed Transmissions
Using non-Type 3.1 fluid (Valvoline MaxLife, generic DW-1, etc.) — will cause harsh shifts and clutch slip).
Overfilling — leads to foaming and overheating.
Checking level when cold or engine off.
Not cycling through gears after filling.
Reusing old crush washers — leaks guaranteed.
Signs Your Fluid Change Was Successful
Smoother 1-2, 2-3, and 3-4 shifts.
Reduced flare on downshifts.
Quieter transmission operation.
Fluid remains red after 5,000 miles.
How Often Should You Really Change It?
Despite Honda’s “severe = 30k” schedule, many owners and independent transmission shops recommend 40,000–50,000 miles maximum for fluid and 80,000–100,000 miles for internal filter on vehicles that tow or see hot climates. Neglect beyond 100k miles almost always leads to torque converter clutch failure or solenoid issues.
Follow this guide exactly and your Pilot’s ZF 9-speed will shift like new for many years.
More from Honda

How to Fix Honda Civic 10th Generation Infotainment System Random Rebooting
08.12.2025 12:01Honda CR-V 1.5T Turbo Coolant Leak – Complete DIY Repair Guide
08.12.2025 12:03
How to Fix and Prevent Premature Brake Wear on Honda Accord 2018–2022
08.12.2025 12:06
How to Change Honda CVT Fluid Properly (Step-by-Step)
08.12.2025 12:08
10th Gen Honda Civic AC Compressor Clutch Replacement – Complete DIY Guide
08.12.2025 12:12