How to clean and recalibrate cameras yourself Tesla (free method)
Tesla vehicles rely heavily on their suite of cameras for advanced features like Autopilot, Full Self-Driving capability, Sentry Mode, and even basic safety functions. Over time, dirt, haze, or environmental buildup can degrade camera performance, leading to blurry visuals, reduced feature availability, or unexpected behavior. Fortunately, owners can handle most cleaning and recalibration tasks at home without any special equipment or costs, restoring optimal clarity and functionality.
Why Camera Maintenance Matters
The cameras in Tesla models—forward-facing triple cameras behind the windshield, side repeaters in the fenders, pillar cameras, and the rearview camera—are exposed to road grime, pollen, insects, and interior off-gassing that creates haze on the inside glass. Clean cameras ensure accurate object detection, lane recognition, and smooth operation of driver assistance systems. Neglecting them might trigger warnings like "camera blocked" or limit Autopilot engagement. Regular DIY maintenance keeps everything sharp and prevents minor issues from escalating.
Tools You'll Need for Cleaning
Gathering the right supplies makes the process safe and effective. Avoid harsh chemicals or abrasive materials that could scratch lenses.
Several lint-free microfiber cloths
Isopropyl alcohol (70% or higher) or a neutral pH glass cleaner
Distilled water for rinsing if needed
A soft plastic trim tool (for accessing forward camera housing on some models)
An LED flashlight for inspection
These common household items work perfectly and protect sensitive surfaces.
Cleaning Exterior Cameras
Exterior cameras, like the side repeaters, pillar cams, and rearview camera, accumulate dirt from driving. Start here for quick improvements.
Park in a shaded area to avoid streaks.
Gently spray the lenses with water to loosen debris.
Wipe in circular motions with a damp microfiber cloth.
For stubborn spots, dampen the cloth with isopropyl alcohol and polish lightly.
Dry immediately with a fresh dry microfiber to prevent water marks.
Repeat for all visible cameras. Many owners notice immediate sharper Sentry Mode recordings and better side visibility after this step.
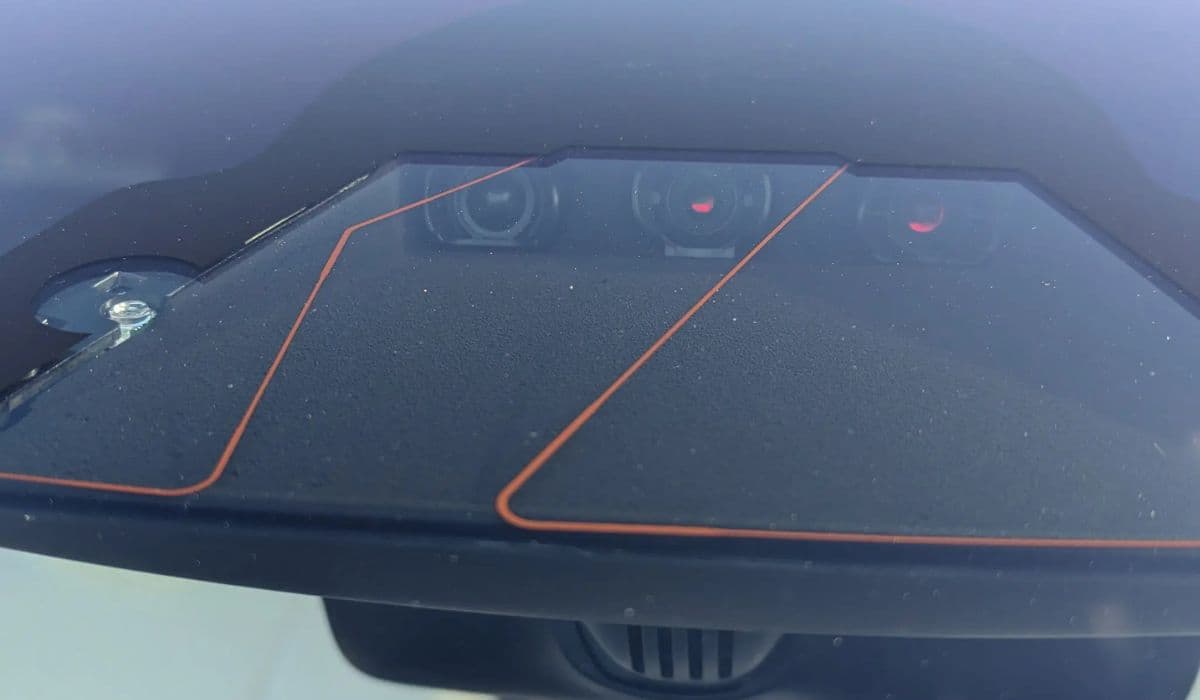
Precision Cleaning the Forward-Facing Cameras
The triple forward cameras behind the windshield are prone to interior haze from cabin vapors, which looks like fogging and severely impacts vision. This is one of the most common complaints and easiest fixes.
Use the touchscreen to access camera preview: Go to Controls > Service > Camera Preview (or via the app's live view) to inspect each lens (main, wide, narrow).
Shine an LED flashlight from outside the windshield toward the camera area at an angle to reveal haze or residue on the inner glass.
For basic cleaning, apply glass cleaner to a microfiber cloth (never directly on glass) and reach up to wipe the interior windshield section in front of the cameras.
For deeper access on models with removable covers: Carefully pry off the glare shield or housing with a plastic tool, clean the inner cavity thoroughly, including edges and notches, then reassemble snugly.
Verify clarity using the preview mode after each wipe. This often resolves "poor visibility" alerts instantly.
Preventing Future Buildup
Proactive habits extend the time between cleanings.
Regularly precondition the cabin in cold or humid weather to reduce condensation.
Clean wiper blades with isopropyl alcohol to avoid streaking the forward view.
Park in covered areas when possible to minimize dust accumulation.
Consider applying a hydrophobic coating to exterior lenses for easier water beading (use glass-safe products).
These simple routines keep cameras performing like new longer.
When and How to Recalibrate Cameras
Recalibration is the vehicle's self-learning process to align camera data accurately. It's needed after software updates, if features feel off, or following any cleaning that involves housing removal (though basic wipes usually don't require it).
Navigate to Controls > Service > Camera Calibration.
Select Clear Calibration (or Reset All Cameras if available).
A progress indicator appears on the Autopilot icon.
Drive normally afterward—the system learns from real-world data. Optimal conditions speed it up:
Multi-lane highways with clear, well-painted lines
Moderate traffic for varied scenarios
Good weather for visibility
Most complete in 20-40 miles, though it can take longer in suboptimal roads. Avoid heavy city driving initially. Once done, features unlock fully with improved precision.
Troubleshooting Common Issues
If problems persist after cleaning and recalibration:
Check for condensation by warming the cabin and directing vents toward pillars.
Inspect for physical obstructions like stickers or damage.
Perform a soft reboot (hold both scroll wheels) to refresh systems.
Monitor for recurring haze, which might indicate interior material off-gassing in newer vehicles.
Persistent errors warrant monitoring, but most owners resolve 90% of camera woes with these steps.
Mastering these free DIY methods empowers Tesla owners to maintain peak camera performance, enhancing safety and enjoyment of advanced features without unnecessary downtime.
More from Tesla

How to fix FSD visualization lag after Tesla 2025.14 update
16.12.2025 07:02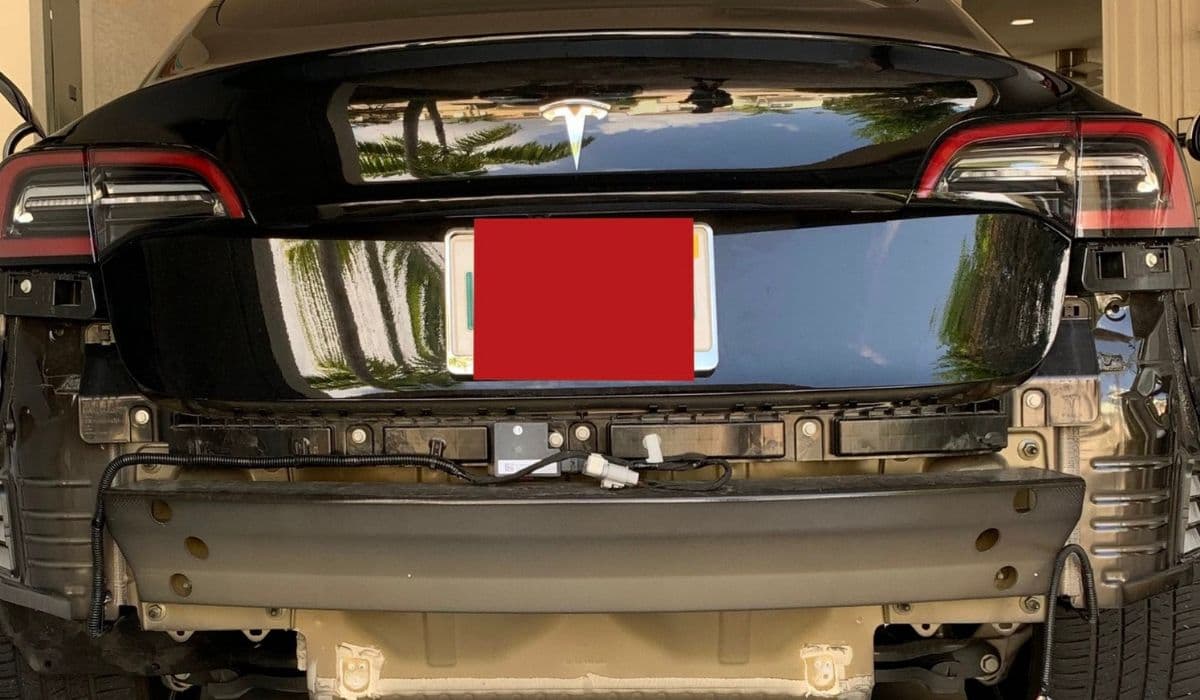
How to replace Tesla Model 3/Y rear bumper clips (easy DIY)
16.12.2025 05:46
How to fix phantom drain overnight Tesla
16.12.2025 04:50
How to replace octopus coolant leak (Tesla Model 3 2017–2020)
16.12.2025 03:21
How to replace torn rear seat bolsters Tesla
16.12.2025 03:09