How to fix yellow border on touchscreen (Tesla 2024–2025 models)
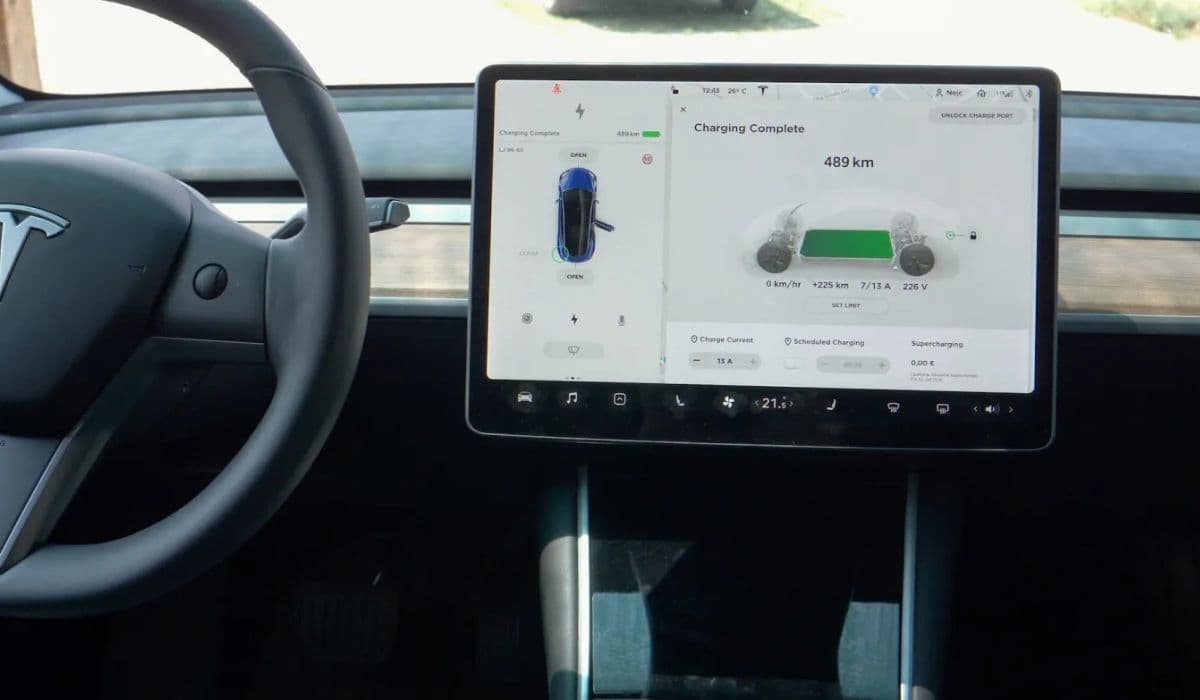
The massive central touchscreen is one of the defining features of modern Tesla vehicles, serving as the hub for navigation, entertainment, climate control, and vehicle settings. However, some owners of recent models have noticed an unsightly yellow border appearing around the edges of the display. This discoloration can be distracting, especially against lighter backgrounds like maps or menus, detracting from the otherwise premium feel of the interior.
Fortunately, this issue is well-understood within the Tesla community and service network. It's primarily a cosmetic concern that doesn't impact touchscreen functionality, responsiveness, or overall performance. Understanding its causes and solutions can help you address it effectively and restore your screen to its pristine condition.
Understanding the Yellow Border Issue
The yellow border typically develops gradually, starting as a faint tint along the edges and potentially darkening over time. It's most visible on white or light-colored interfaces, such as the energy graph or web browser.
The root cause lies in the adhesive layer used to bond the display components during manufacturing.
This glue can degrade or discolor due to prolonged exposure to heat, humidity, and UV rays from sunlight.
Parking in direct sun or in hot climates accelerates the process, as internal cabin temperatures rise significantly.
Unlike hardware failures like delamination or bubbling seen in older displays, this is a chemical reaction in the adhesive that doesn't affect touch sensitivity or pixel performance.
Many owners first spot it after a few months of ownership, often mistaking it for dirt or a software glitch. Rest assured, it's a known phenomenon that Tesla technicians encounter regularly.
Initial Troubleshooting Steps
Before heading to a service center, try these simple at-home checks and resets. They resolve temporary display anomalies in many cases and rule out software-related quirks.
Perform a soft reboot: Press and hold both scroll wheels on the steering wheel until the screen goes black and the Tesla logo appears (about 10-15 seconds). This refreshes the system without losing settings.
Check for software updates: Go to Controls > Software in the touchscreen menu or use the Tesla app to ensure your vehicle is running the latest version. Over-the-air updates occasionally include display optimizations.
Switch display modes: Toggle between Day and Night mode (Controls > Display) to see if the border is less noticeable in darker themes.
Clean the screen: Use a microfiber cloth and the built-in Screen Clean mode (Controls > Display > Clean Screen) to eliminate any smudges that might mimic discoloration.
If the yellow border persists after these steps, it's likely the adhesive issue rather than a transient problem.
Professional Fix: UV Treatment at Tesla Service
The most reliable and recommended solution is Tesla's specialized UV treatment, performed at authorized service centers. This non-invasive procedure has become the standard approach for addressing yellow borders.
Technicians use a high-intensity UV light fixture designed specifically for Tesla displays.
The light is applied directly to the screen for several hours, fully curing the adhesive and reversing the discoloration.
No parts are removed or replaced—the process is done with the screen in place.
Results are often dramatic, with the border completely vanishing, restoring a uniform appearance.
Owners report high satisfaction with this method, as it's quick (typically same-day) and preserves the original hardware. Scheduling via the Tesla app is straightforward—describe the issue with photos for faster approval.
Preventive Measures to Avoid Recurrence
While the UV treatment is effective, taking proactive steps can help minimize the chances of the border returning or developing in the first place.
Enable Cabin Overheat Protection (Controls > Safety) to keep interior temperatures below a safe threshold when parked.
Use a windshield sunshade, especially in sunny regions, to block direct UV rays from hitting the dashboard.
Park in shaded areas or garages whenever possible to reduce heat buildup.
Avoid leaving the screen on bright settings for extended periods when the car is unoccupied.
These habits not only protect the display but also benefit other interior components like seats and trim.
When to Seek Further Assistance
If the yellow border reappears after treatment or is accompanied by other symptoms—like unresponsiveness, bubbling, or pixel issues—document it thoroughly and contact Tesla service again.
Early intervention often leads to smoother resolutions.
Community forums and owner groups can provide additional insights from similar experiences.
Staying on top of vehicle software ensures any future display enhancements are applied automatically.
Addressing the yellow border promptly keeps your Tesla's touchscreen looking sharp and maintains that futuristic, high-tech ambiance that makes driving these vehicles so enjoyable.
More from Tesla

How to fix FSD visualization lag after Tesla 2025.14 update
16.12.2025 07:02
How to replace Tesla Model 3/Y rear bumper clips (easy DIY)
16.12.2025 05:46
How to fix phantom drain overnight Tesla
16.12.2025 04:50
How to replace octopus coolant leak (Tesla Model 3 2017–2020)
16.12.2025 03:21
How to replace torn rear seat bolsters Tesla
16.12.2025 03:09