How to replace 12V battery and avoid warning messages Tesla
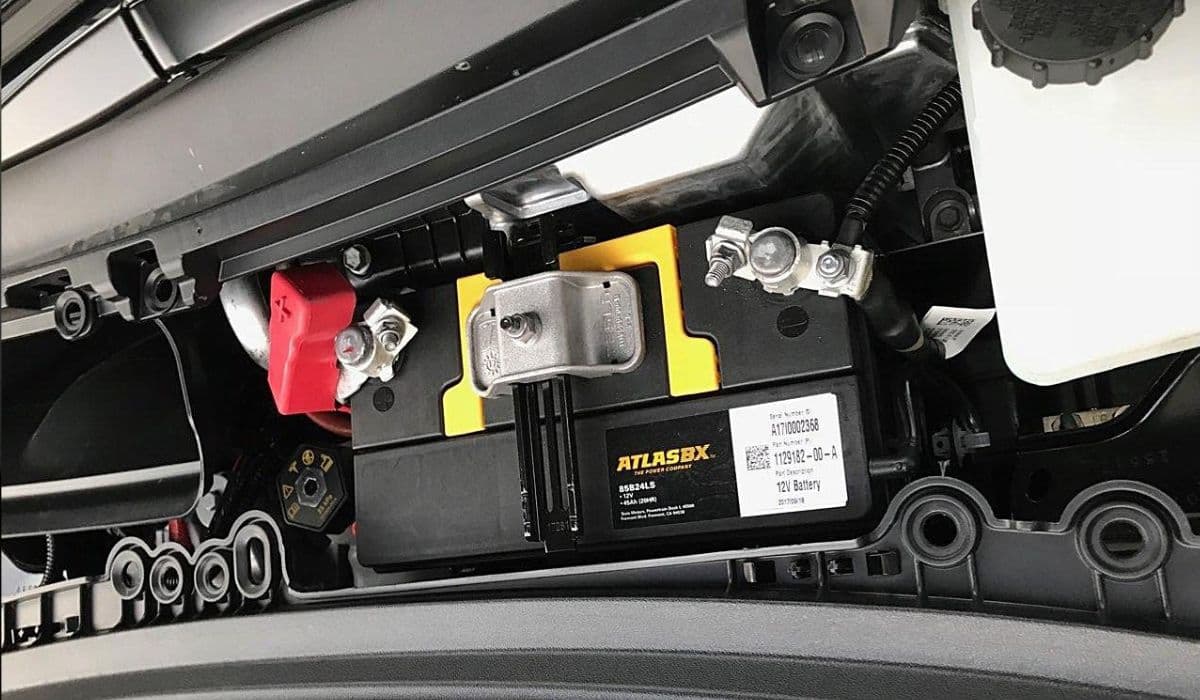
The 12V battery in a Tesla vehicle plays a critical role beyond just starting the car—unlike traditional internal combustion engines. It powers essential systems like door locks, windows, lights, the touchscreen, and various electronic modules that keep the vehicle operational even when parked. The high-voltage battery pack charges this low-voltage battery through a DC-DC converter, but if the 12V battery degrades, it can trigger a cascade of warnings, limit features, or even prevent the car from waking up properly. Understanding how to replace it correctly ensures smooth operation and prevents persistent error messages that frustrate many owners.
Understanding the Tesla 12V Battery System
Tesla vehicles use a 12V battery to handle auxiliary functions, while the main traction battery powers propulsion. Over time, this battery can weaken due to constant cycling, extreme temperatures, or parasitic drains from features like Sentry Mode. Modern software monitors its health and sends notifications when degradation is detected, often with messages like "Schedule service to replace low voltage battery" or "Electrical system backup power unavailable."
Common warning signs include reduced feature support, slower touchscreen response, or alerts about energy conservation.
Ignoring these can lead to the vehicle entering a low-power state, disabling non-essential systems to protect the battery.
In severe cases, a failing battery might cause the car to shut down unexpectedly, though proactive monitoring usually provides advance notice.
Newer models have transitioned to lithium-ion 12V batteries for better longevity and lighter weight, but many vehicles still rely on lead-acid types. Checking your battery type via the touchscreen (Controls > Software > Additional Vehicle Information) is a smart first step before any replacement.
Signs Your 12V Battery Needs Replacement
Tesla's system is designed to alert owners early, but symptoms can vary. Pay attention to these indicators:
Push notifications or on-screen messages recommending service for the low-voltage battery.
Limited functionality, such as disabled climate control preconditioning or reduced accessory power.
Frequent alerts about the vehicle consuming more energy while idle.
In rare instances, difficulty accessing the frunk or charging port due to low power.
Driving habits influence battery life—frequent short trips or leaving the car unplugged for extended periods can accelerate wear. Extreme cold or heat also impacts performance, as the battery struggles to maintain charge in harsh conditions.
Preparing for Safe 12V Battery Replacement
Safety and preparation are key to a successful DIY replacement. Always work in a well-ventilated area and wear protective gloves to avoid acid exposure if handling a lead-acid battery.
Park the vehicle on a level surface and ensure it's in Park.
Open all doors and lower windows to prevent lockout risks during power disconnection.
Gather tools: 10mm socket wrench, torque wrench (for precise tightening), and gloves.
Verify your battery type and source a compatible replacement—using the exact specification prevents compatibility issues.
A fully charged new battery is essential; measure its open circuit voltage—it should read above 12.6V for optimal performance. If lower, charge it externally before installation.
Step-by-Step Replacement Process
Replacing the 12V battery requires careful steps to fully discharge residual power and avoid triggering errors.
Access the frunk and remove the rear underhood apron or maintenance panel for clear workspace.
Disconnect low-voltage power by accessing the penthouse connector under the rear seat (lift the seat base and unplug the first responder loop or designated connector).
Wait at least two minutes for systems to fully power down—this prevents the vehicle from staying partially awake.
Disconnect the vent tube (if present), negative terminal first, then positive to avoid shorts.
Remove hold-down brackets or straps securing the battery.
Lift out the old battery carefully—it's heavier than it looks—and install the new one in reverse order.
Tighten terminals securely but avoid over-torquing, which can damage posts. Reconnect the penthouse connector firmly until it clicks.
Avoiding Persistent Warning Messages After Replacement
Many owners report warnings lingering post-replacement due to improper procedure. The key is ensuring a complete power cycle.
By disconnecting the penthouse loop, you force a full system reset, allowing the vehicle to recognize the new battery.
After reconnection, the car may take several minutes to boot fully—listen for contactor clicks indicating high-voltage engagement.
Drive the vehicle for a short period or let it sit plugged in; the DC-DC converter will charge the new battery and calibrate systems.
If switching battery brands (e.g., from one lead-acid variant to another), enter Service Mode via the touchscreen to update the configuration if prompted by newer software.
Persistent alerts often stem from skipping the full disconnect, leaving modules in a fault state. A proper reset clears these without needing service intervention.
Post-Replacement Tips and Maintenance
Once installed, monitor the vehicle for normal operation. The touchscreen should respond quickly, and no low-voltage alerts should appear.
Keep the car plugged in when not in use to maintain optimal charge.
Disable power-hungry features like Sentry Mode in secure locations to reduce drain.
Periodically check software updates, as they refine battery monitoring accuracy.
For longevity, consider environmental factors—park in moderate temperatures when possible.
Regular awareness of your Tesla's low-voltage system transforms a potential headache into routine maintenance, keeping your drive seamless and enjoyable.
More from Tesla

How to fix FSD visualization lag after Tesla 2025.14 update
16.12.2025 07:02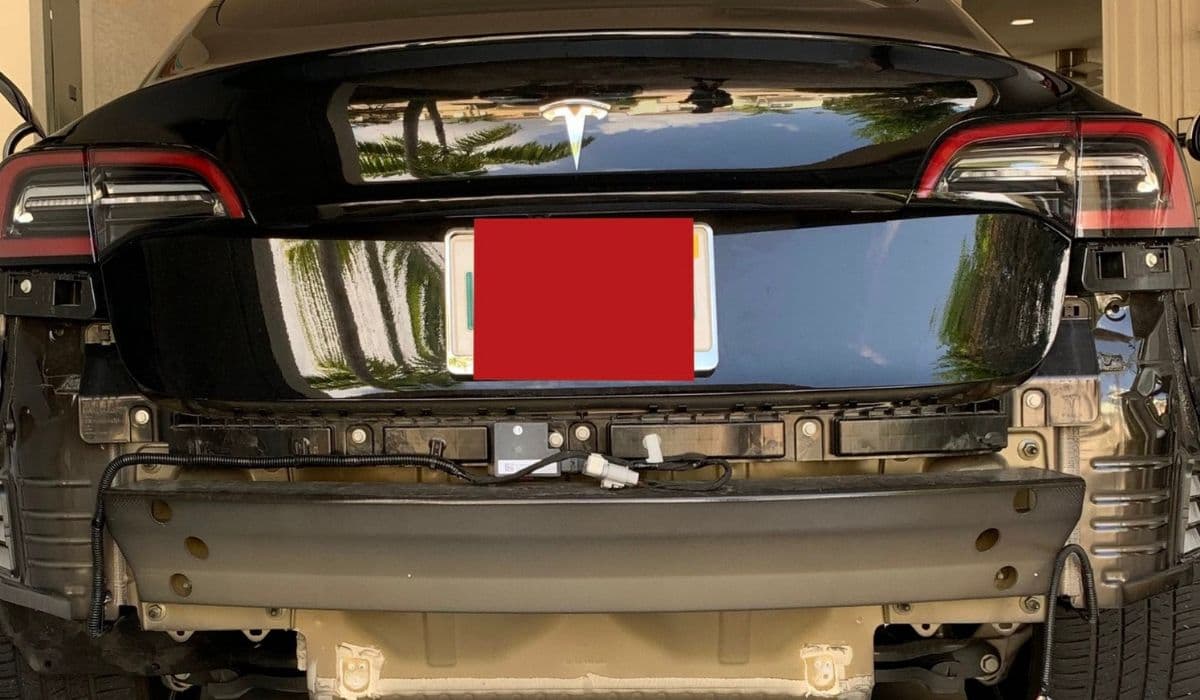
How to replace Tesla Model 3/Y rear bumper clips (easy DIY)
16.12.2025 05:46
How to fix phantom drain overnight Tesla
16.12.2025 04:50
How to replace octopus coolant leak (Tesla Model 3 2017–2020)
16.12.2025 03:21
How to replace torn rear seat bolsters Tesla
16.12.2025 03:09